Happy Windfall Handpies

Handpies 1

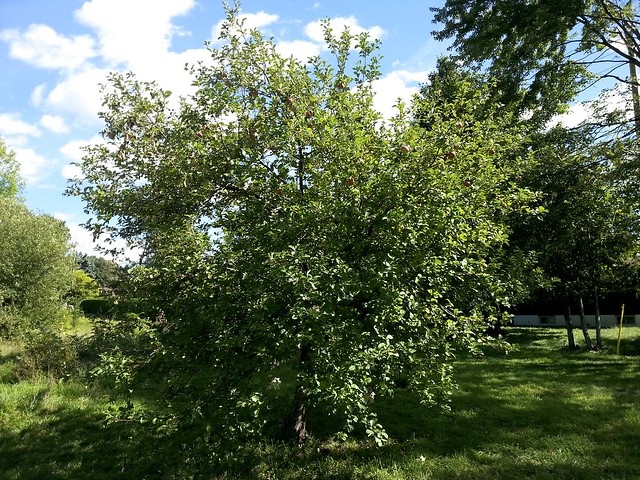
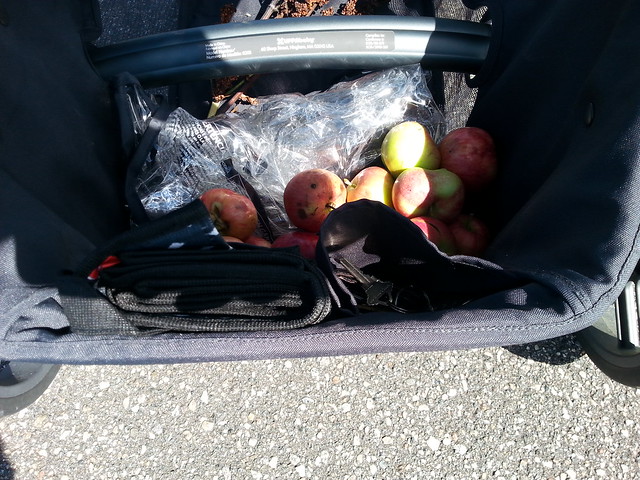
There’s this tree in the green space where I walk with Gren and LongJohn in the mornings. It’s a beautiful old apple tree. I know it’s old because the apples on it are tiny and REALLY sour. But that doesn’t stop people from picking them – no sir. All the apples within a reasonable reach have been removed, so I scoured through the windfall after a recent storm and brought home about 15 or so more or less unscarred apples (because as you know I can’t resist stealing fruit from public places). I wanted to make turnovers, or handpies.

Handpies 2
Holy Hannah are strollers ever handy for carrying crap. And babies, I suppose.

This is the first bit of baking I’ve done while solo in the house with an active and demanding baby on my hands, so it was a challenge to test both my rusty cooking skills and my son’s patience threshold. All in all, it worked out for the most part. I also cheated and used puff pastry but can you really blame me?

Handpies 4
We didn’t cut the lawn for a long time and the long grass killed our mower. So now we REALLY need to cut the grass.

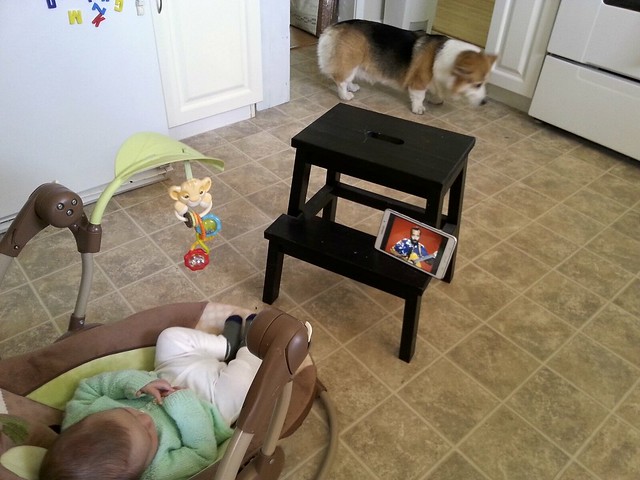
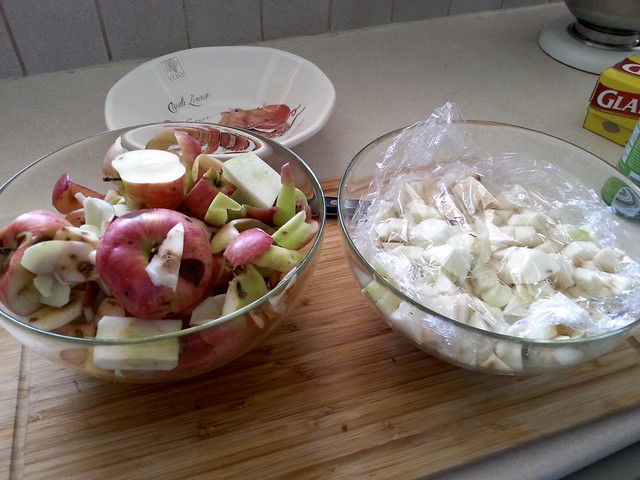
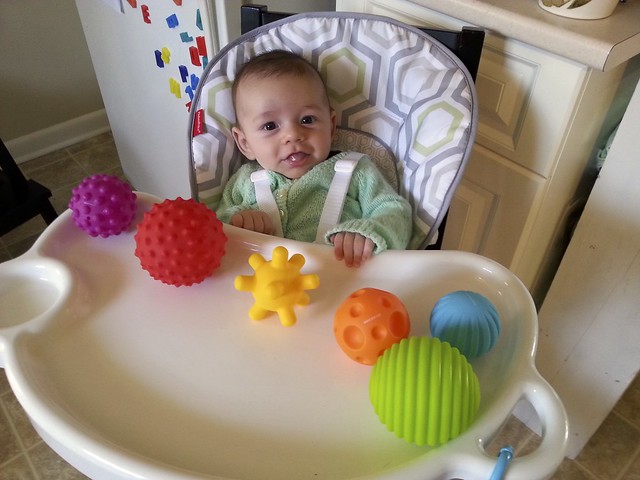
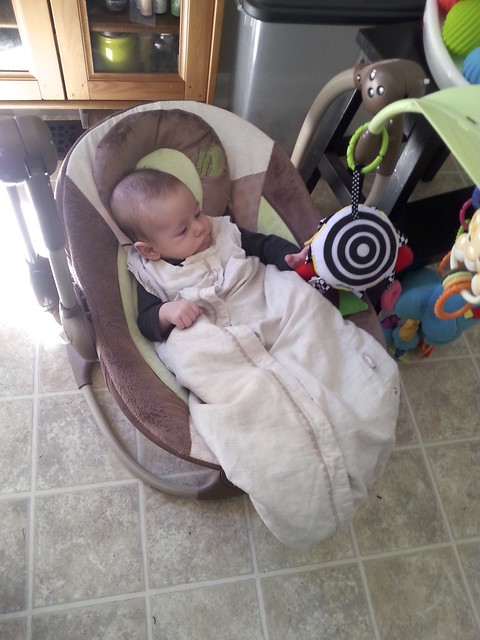
First, you need to peel the apples. I used about 15 of these tiny sour things but if you’re using regular apples maybe 3 large apples would suffice. Actually, before you peel the apples, you need to install the baby in his swing chair with Raffi for company. This will buy you about fifteen minutes.

Handpies 5

It takes a while to peel 15 tiny misshapen apples.

Handpies 6

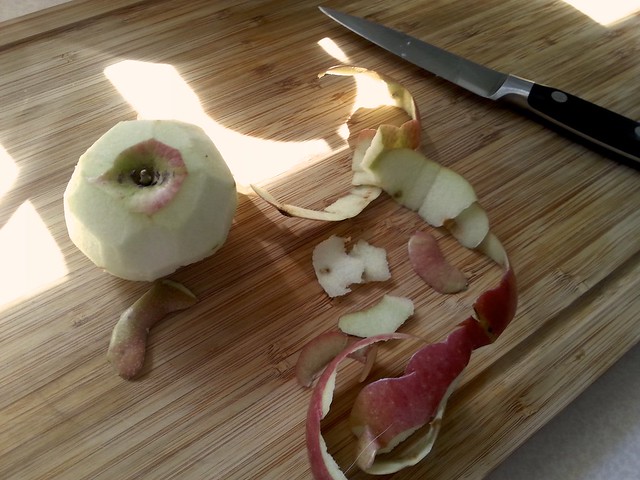
Avoid the wormy ones.

Handpies 7

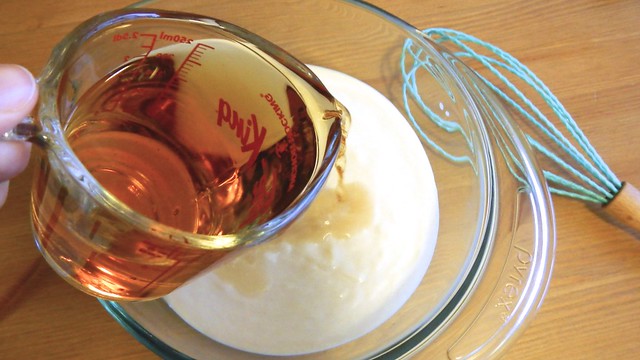
Chop the apples up roughly and sprinkle the pieces with lemon juice, both to keep them from going brown and to add some tartness to the mix (not that you really need tartness with sour apples). Wrap them up and set them aside.

Handpies 8

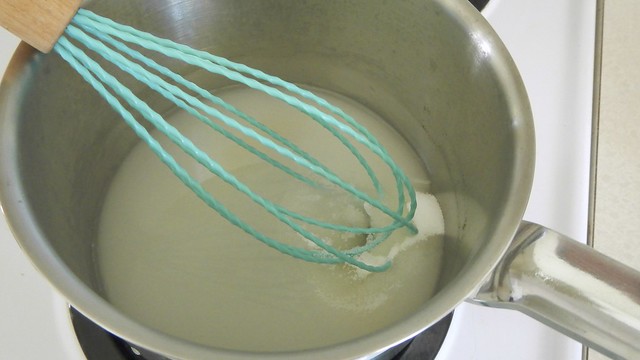
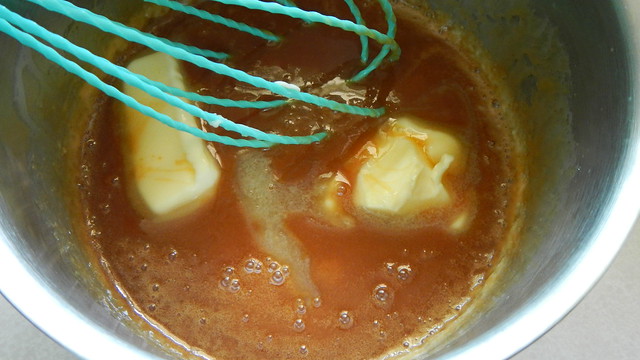
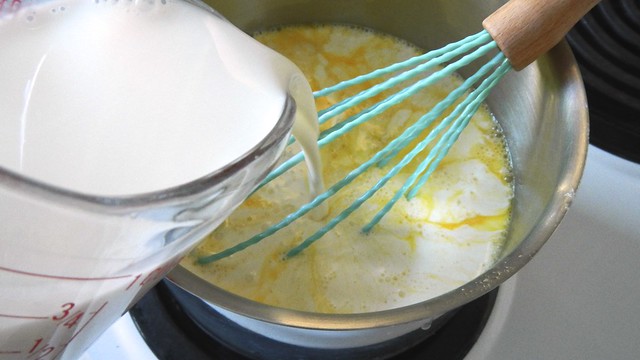
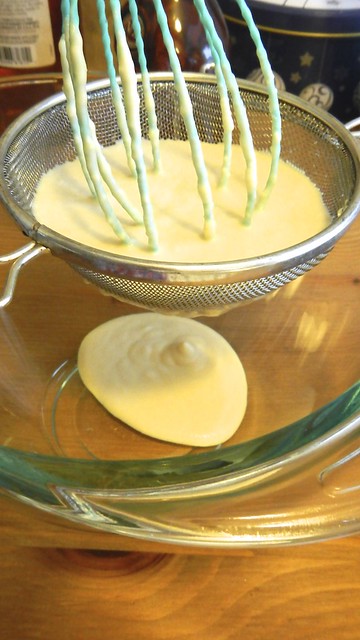
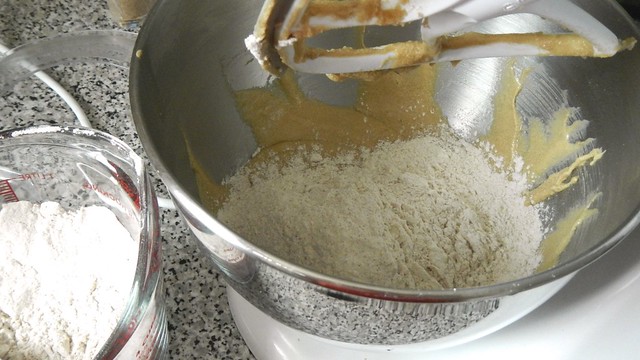
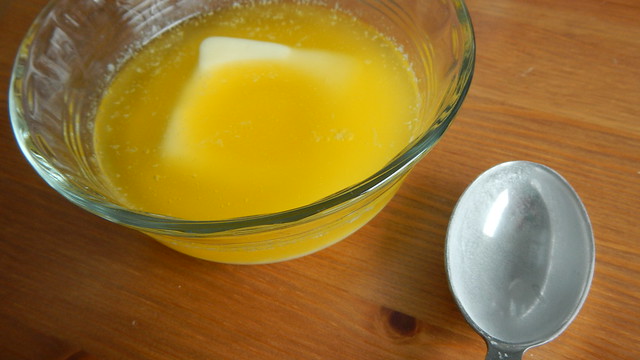
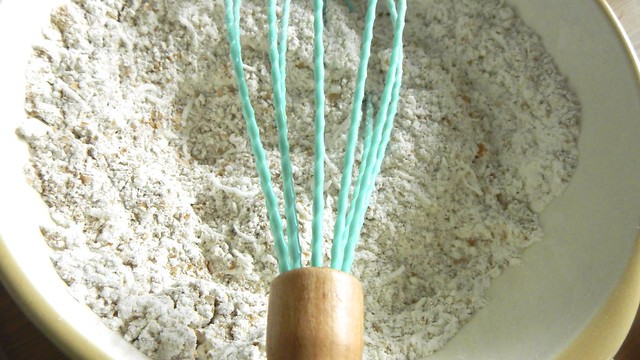
Next, whisk together 3 tablespoons cornstarch with 1/2 cup water.

Handpies 9

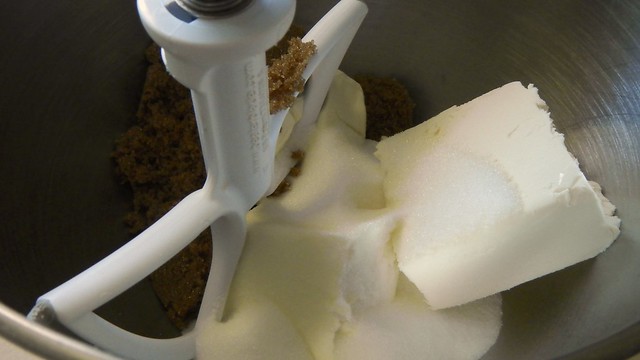
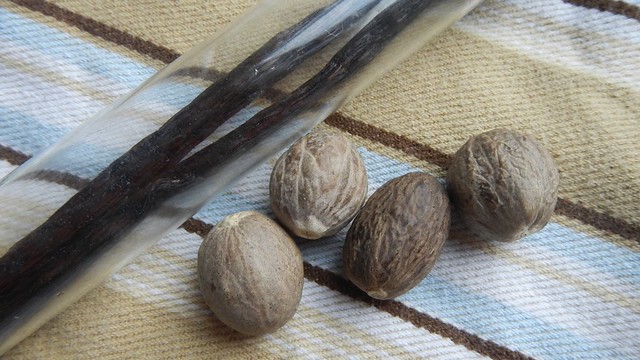
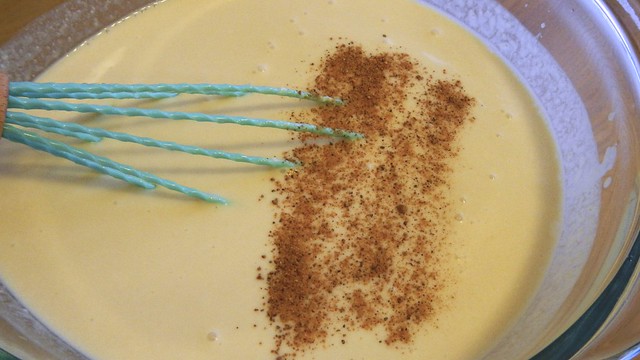
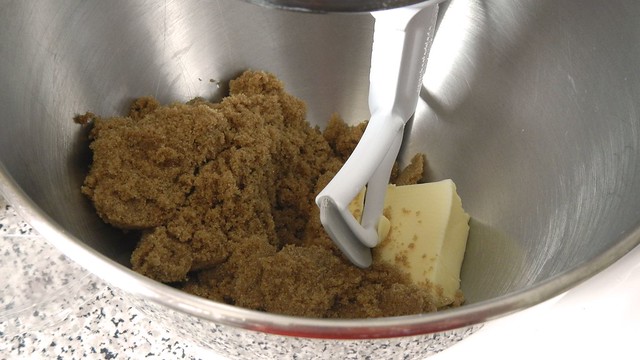
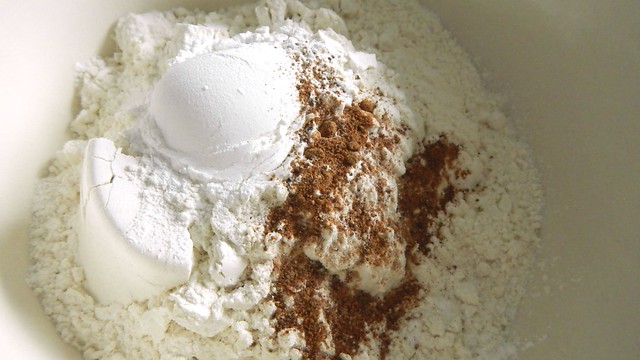
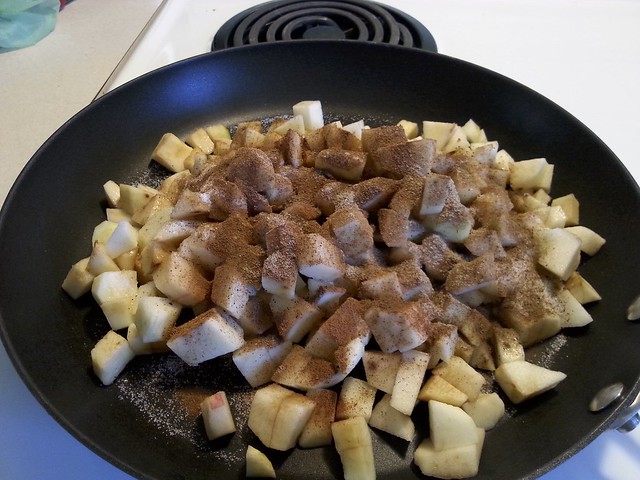
Tip your apple pieces into a pan with some liberal dashes of cinnamon, cloves, nutmeg, and some sugar. Use about 2 teaspoons sugar for each regular apple – for the sour ones I went a bit more generous and added about 6 tablespoons for the whole lot.

Handpies 10

Re-install your baby in a new location with new focal points. You’ve got another fifteen minutes or so.

Handpies 11

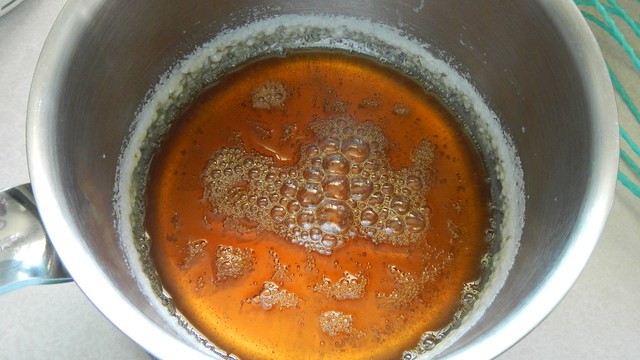
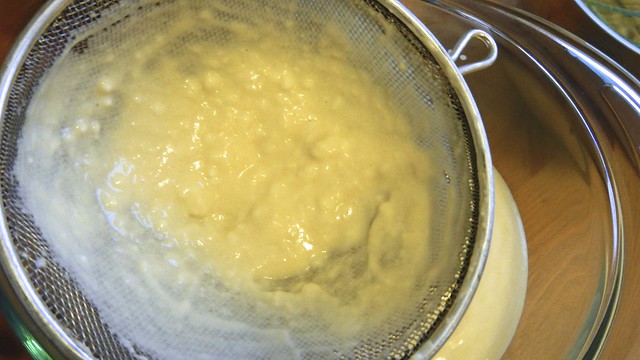
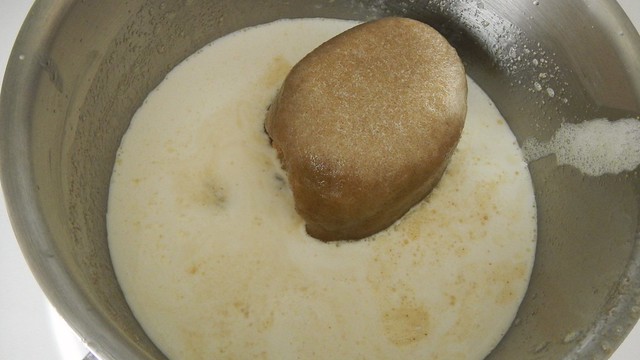
Cook the apples on medium heat until they’re bubbly and the liquid is starting to cook down.

Handpies 12

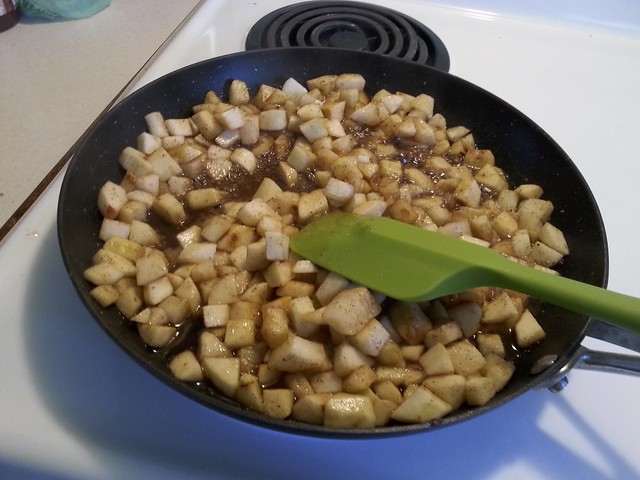
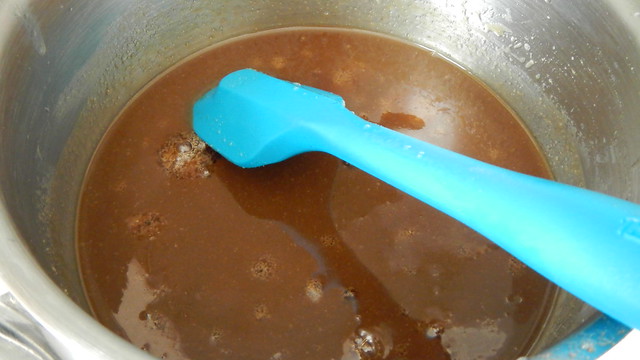
Tip in the cornstarch mixture (you may need to re-whisk it because it’s not a solution and the cornstarch will likely be sticking firmly to the bottom of your dish).

Handpies 13

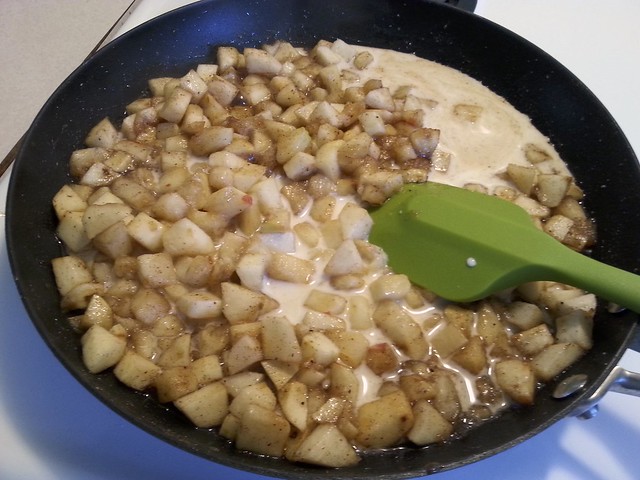
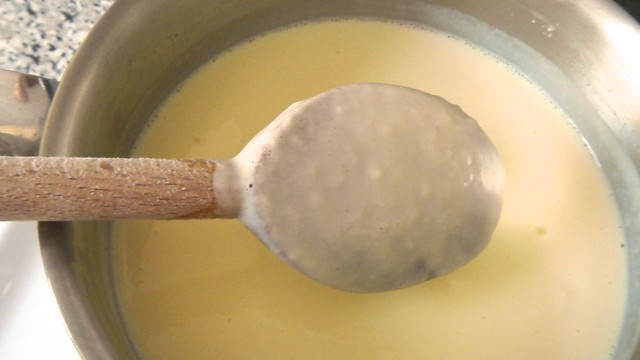
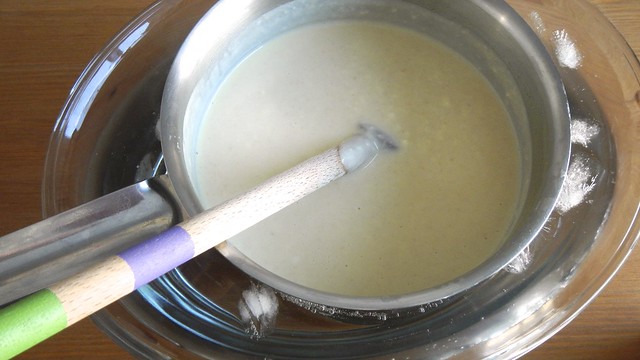
Stir quickly in and watch the juices thicken.

Handpies 14

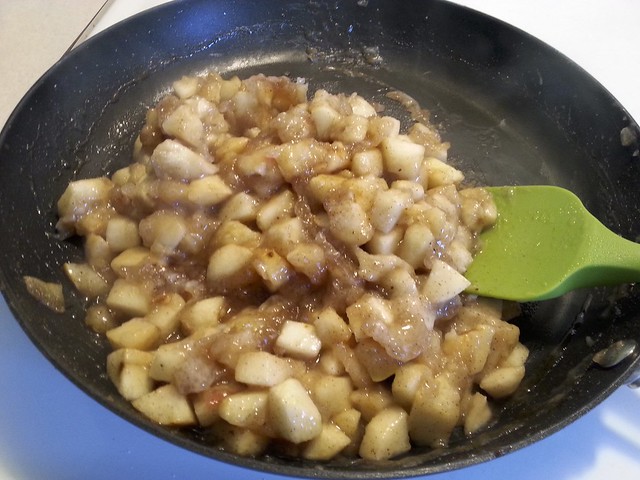
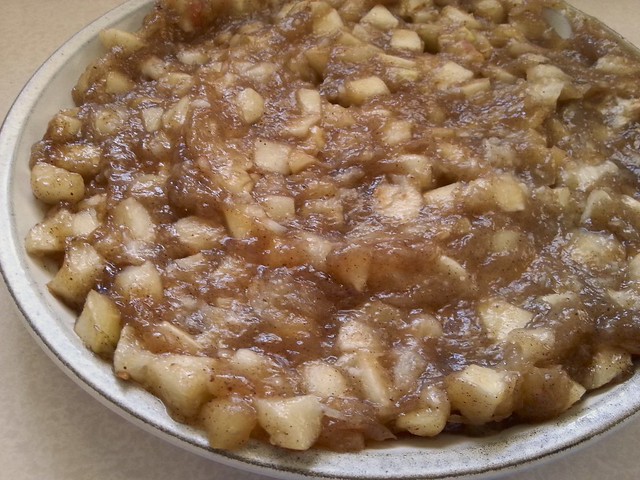
Remove from the heat and spread in a thin layer on a plate to cool. Attempt to put your baby down for his nap.

Handpies 15

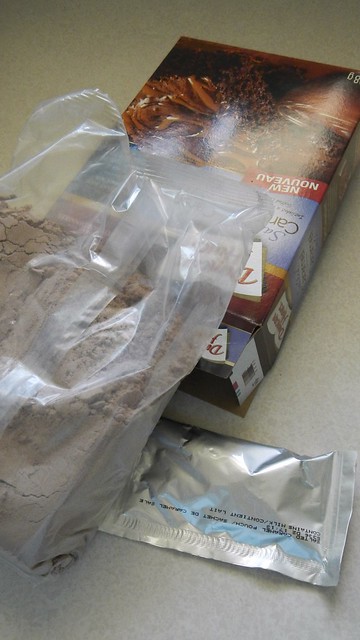
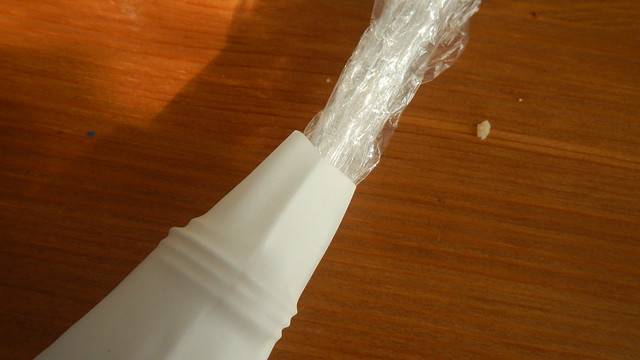
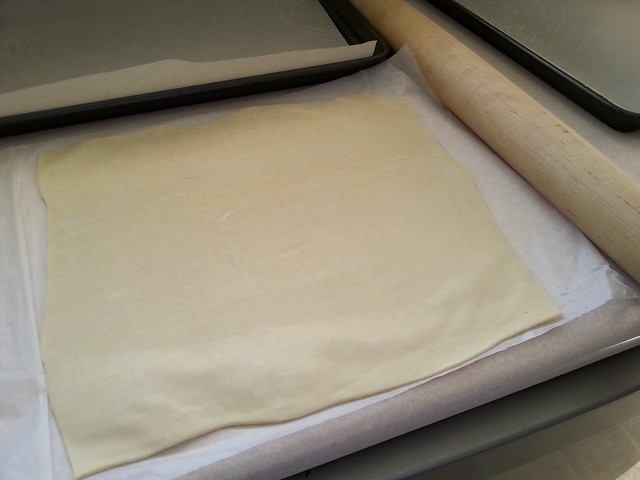
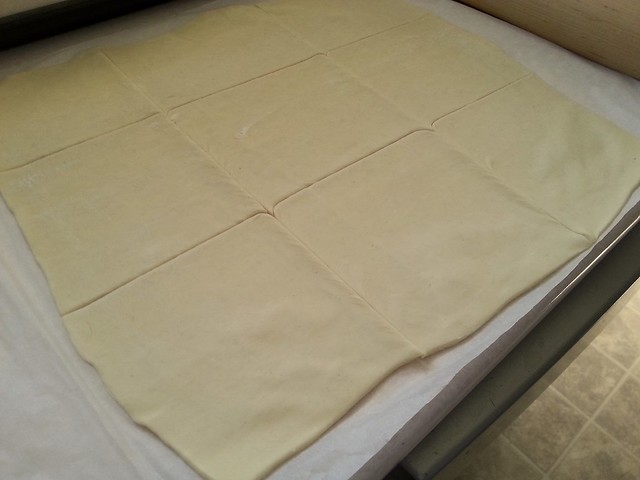
After failing to put your baby down for his nap (strange how a logical argument does not work on a three-month-old), grab some thawed puff pastry (this stuff comes in a box with two rolled out squares in it) and use a rolling pin to gently expand the sheet. You want the pastry a little thinner than it comes standard.

Handpies 16

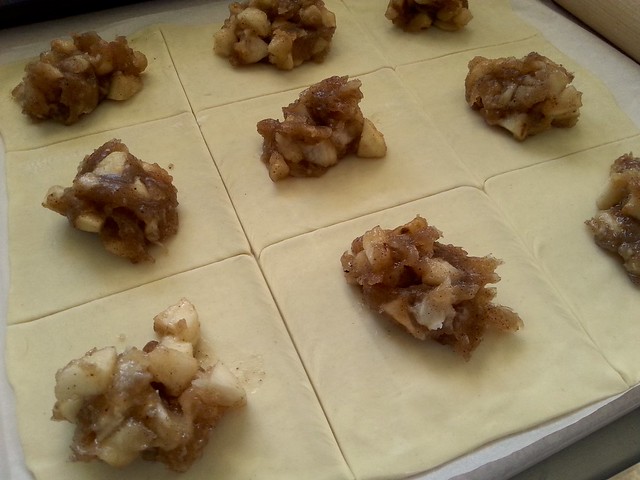
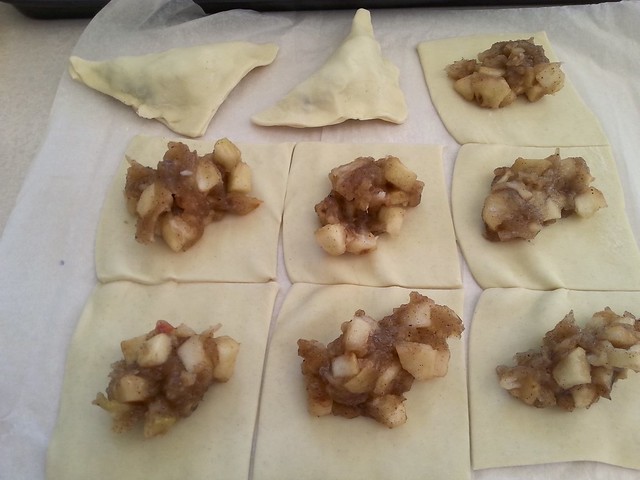
Cut the square into 9 equal(ish) pieces.

Handpies 17

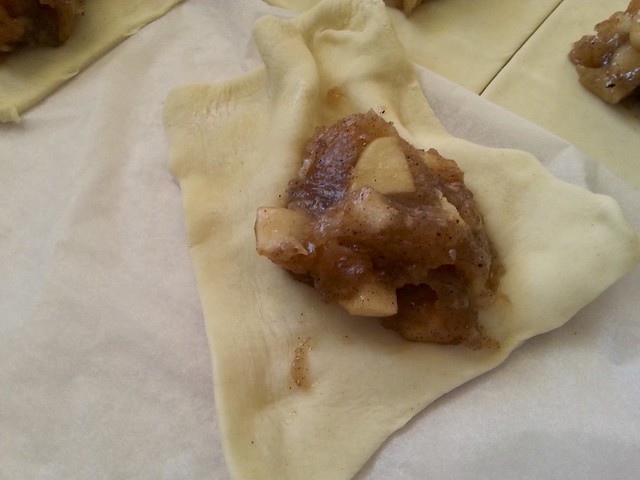
Place a dollop of the cooled apple goo on each square.

Handpies 18
Mmm, cooled goo …

Carefully peel the pastry off the paper and fold it over itself to form a triangle. Pinch the seams closed.

Handpies 19

Puff pastry objects to being handled so roughly so they look a little demented.

Handpies 20

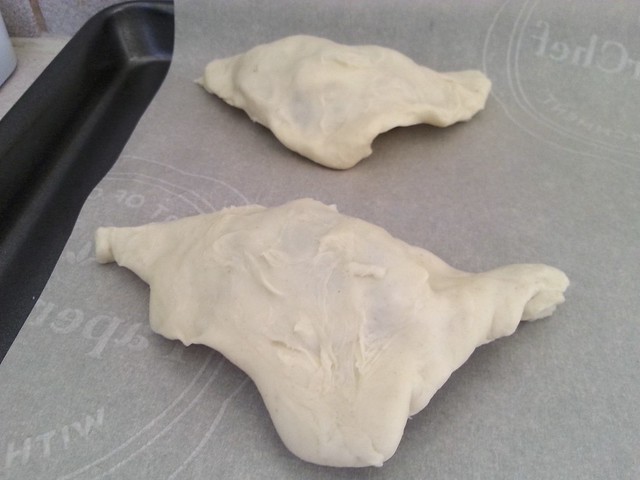
Give your baby a different toy to punch. Encourage him to yell obscenities at the toy (I don’t speak baby so that’s what I’m assuming he’s doing) to buy yourself some more time.

Handpies 23

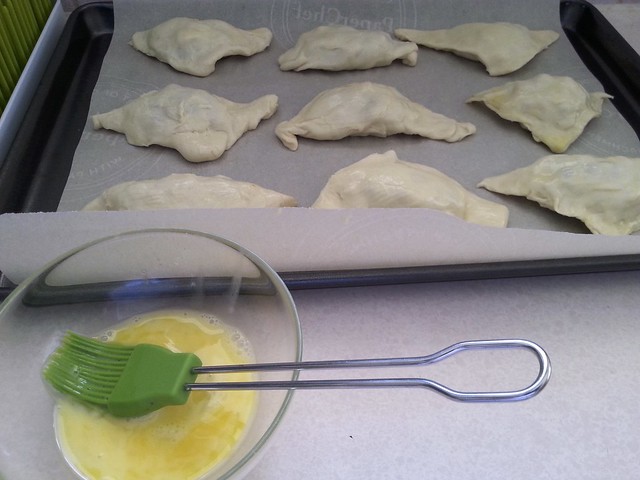
On the second sheet, I didn’t roll the pastry out as much, and it was easier to remove it from the paper. They looked less demented.

Handpies 24

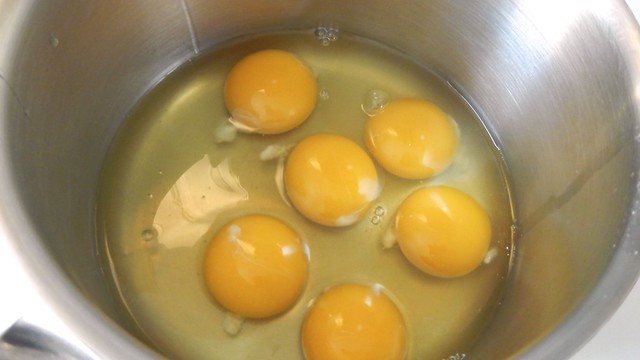
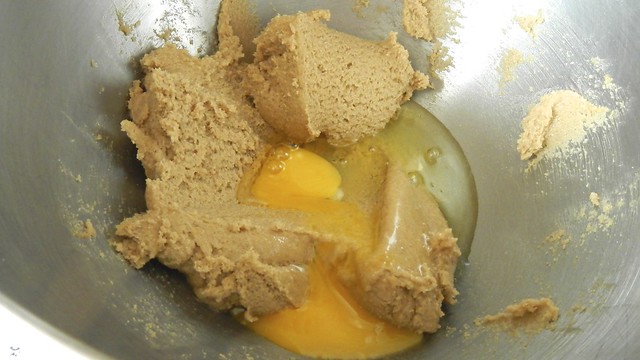
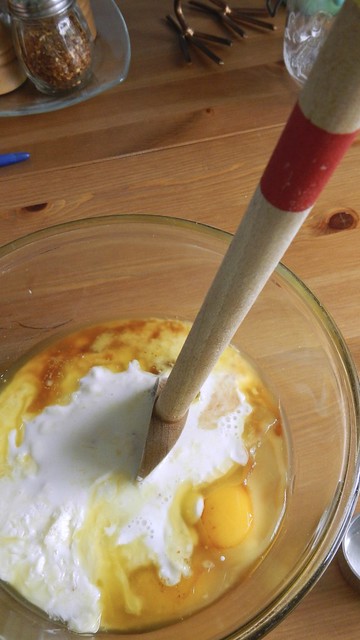
Crack and beat an egg and brush each of the pastries with a bit of egg goo. Set them on a sheet of parchment on a baking sheet.

Handpies 22

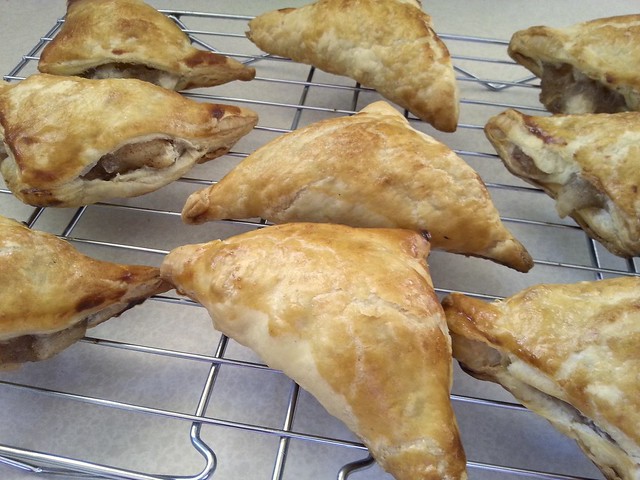
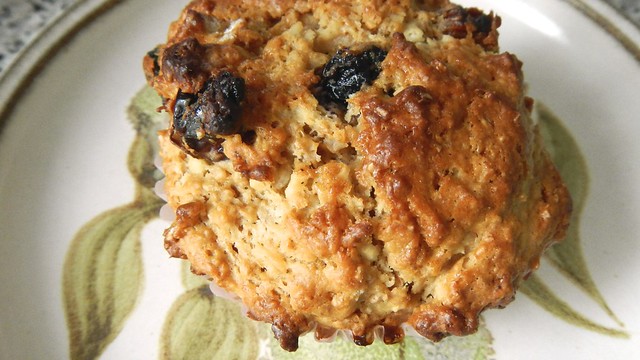
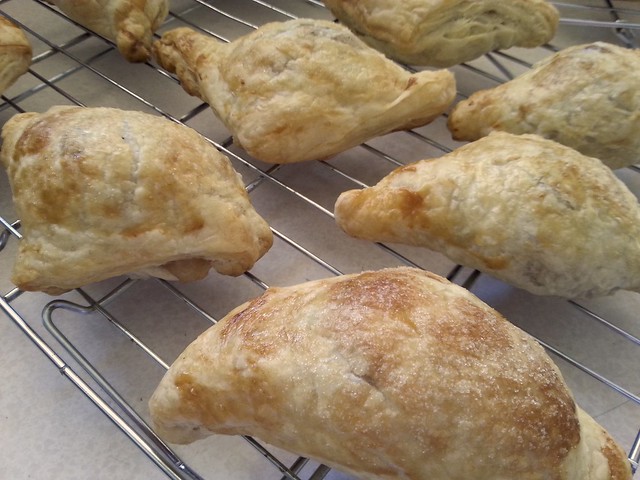
Bake your pastries for about 20-25 minutes at 375°F and eat them as soon as they’re cool enough to hold in your hand. The demented ones stayed together better than the non-demented ones – just keep that in mind.
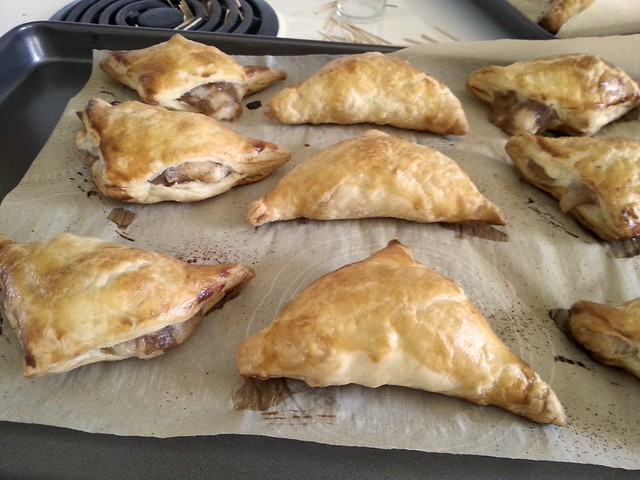
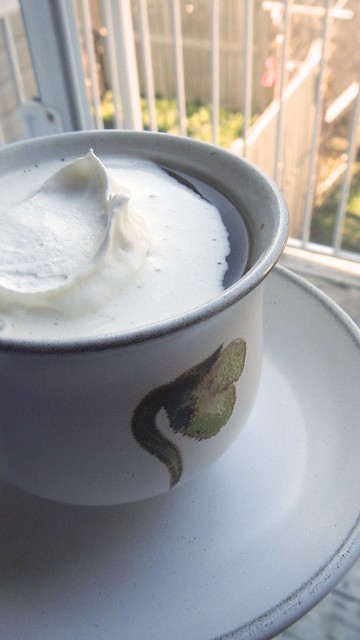
Handpies 26
Non-demented …
Handpies 29
Demented …

Enjoy!

Handpies 28

Half-Baked Turtle Brownie Cheesecake

Half-Baked Turtle Cheesecake 27

While I was waiting for the kid to show up I was getting pretty bored and pretty desperate, but I didn’t have a lot of energy. One of my former colleagues recommended cheesecake as a way to start labour and I figured, why not? I had nothing to do, and an easy cheesecake recipe would be doable given my lack of energy. This one from Sprinkle Some Sugar seemed to fit the bill. It involves using store-bought brownie mix, fudge sauce, AND COOL WHIP, so it’s the ultimate in cheater recipes for me. And given that the day I baked it the temperatures skyrocketed again for a roller coaster June, I was happy to be able to chuck this in the fridge instead of hanging over a hot oven.

Half-Baked Turtle Cheesecake 20
The belly bump may have accidentally encountered some caramel during the making of this recipe.

The original recipe is a bit of a misnomer, as it states that there is no baking involved whatsoever with this recipe. That is a bold-faced lie – you gotta bake the brownie bottom. But it’s worth it.

Half-Baked Turtle Cheesecake 2

Find a round springform pan, about 8″ or 9″ (this one is 9″ I think), spray it with cooking spray, and whip up some brownie batter. You can use your favourite recipe but I used this boxed stuff (hey man, I was really pregnant at the time, gimme a break).

Half-Baked Turtle Cheesecake 3

I figured the salted caramel would add more panache to the finished product.

Half-Baked Turtle Cheesecake 7

Plus I love the ridiculous measurements of the wet ingredients. So simplistic!

Half-Baked Turtle Cheesecake 5

While this is baking, work on your caramel sauce (you can buy caramel sauce, of course, but this one is easy and a good way for caramel newbs to get started).

Half-Baked Turtle Cheesecake 8

In a small pot over medium-high heat, whisk together 1 cup granulated sugar and 1/4 cup water. Whisk and swirl the pot until the sugar is all dissolved, then keep swirling the pot (but no stirring or whisking!) frequently until the liquid turns a nice dark amber colour.

Half-Baked Turtle Cheesecake 10

When you get the colour you like, carefully pour in 3/4 cup heavy cream – watch out, because it will fizz up like crazy – and whisk that until smooth. Then tip in 3 tablespoons butter and 1 teaspoon vanilla and stir until those are all melted away. Set the finished caramel sauce aside to thicken up and cool completely.

Half-Baked Turtle Cheesecake 12

Once the brownie bottom is ready and baked according to whatever instructions you have, remove the outer ring and let it cool completely as well and start working on your filling.

Half-Baked Turtle Cheesecake 9

In the bowl of a mixer, beat together 16oz softened plain cream cheese, 1/2 cup granulated sugar, and 1/2 cup brown sugar until smooth and creamy. I mean, it’s gonna be creamy anyway because it’s cream cheese but you get what I mean about the texture, right? Man I need more sleep …

Half-Baked Turtle Cheesecake 13

Stir in about 3/4 cup of that lovely caramel sauce you made (or squeeze it from the bottle you purchased you philistine) and add in as well 1/2 teaspoon cinnamon and a pinch of nutmeg.

Half-Baked Turtle Cheesecake 15

Then I want you to do something totally foreign to me: grab 4oz Cool Whip and fold that in as well.

Half-Baked Turtle Cheesecake 17

Put the outer ring of your springform pan back on and smush all that Cool-Whipped creaminess into the pan.

Half-Baked Turtle Cheesecake 18

Give it some smoothing out so it *kind* of looks like you baked it, then chuck that in the fridge for 3-4 hours.

Half-Baked Turtle Cheesecake 19

Before serving, crush a bunch of pecans and spread them over top.

Half-Baked Turtle Cheesecake 23

Grab some fudge sauce (I bought it, don’t judge) and whatever’s left of your caramel.

Half-Baked Turtle Cheesecake 25

Pop off the outer ring and drizzle liberally with fudge and caramel. The fudge I bought didn’t drizzle, so I have fudge poops drizzled with caramel but you get the general intention here, at least. Keep the leftover cheesecake wrapped up in the fridge for up to a week. Enjoy!

Half-Baked Turtle Cheesecake 24

Warm Vanilla Apple Cider

Warm Vanilla Apple Cider 4

When we were on vacation at the Landmark Inn in Cooperstown, they had warm apple cider from the Fly Creek Cider Mill simmering in a crock pot in the dining room all afternoon and it was heaven to come back to at the end of the day. Why not do it at home too? I modified this from a Martha Stewart recipe and it’s so easy I wonder why I don’t do it all the freaking time.

Warm Vanilla Apple Cider 1

I doubled the recipe to accommodate my massive family so don’t let the pictures scare you. Start with some apple cider of your choice. This stuff from Farm Boy doesn’t QUITE match up to the Fly Creek stuff but it’s pretty darned good. Tip about 6 cups apple cider into the bowl of your slow cooker and put it on low heat. You have the option to add some brown sugar to the mix, about 2 tablespoons. This cider is pretty sweet as it is, so I didn’t bother.

Warm Vanilla Apple Cider 2

Grab 2 whole nutmeg seeds and a vanilla bean. Split and scrape the bean and dump all that goodness into the pot and give it a good stirring. Leave it be. Do this first thing in the morning before, say, a lunch party, and just let it do its thing all morning while you do other more important things.

Warm Vanilla Apple Cider 3

When you’re ready to imbibe, whip up some heavy cream in a chilled bowl. Add a bit of maple syrup for sweetness. Scoop out all the solids in the slow cooker with a mesh spoon and ladle the delicious cider into a heat-proof mug. Add a dollop of whipped cream and you’re all set for amazing!

Warm Vanilla Apple Cider 5

Apricot Oatmeal Loaf

Apricot Oatmeal Loaf 10

I’m always looking for new ways to put more fibre into my baking that don’t necessarily involve bran (I feel like that sentence alone puts me in the “grown-up” category.  And you know what’s good for you if you’re not getting enough fibre? APRICOTS. So I made an apricot loaf. And if you like apricots you can make one too.

Apricot Oatmeal Loaf 1

Preheat your oven to 350°F and spray or butter a loaf pan in preparation. In a medium-sized bowl, whisk together 1 1/2 cups flour, 1 1/2 teaspoons baking powder, 1/2 teaspoon baking soda, and 1/2 cup granulated sugar. I don’t even have a picture of it because it’s just a bowl of white (and because maybe I forgot). Sprinkle in 1 teaspoon cinnamon and 1 teaspoon nutmeg for colour (and flavour).

Apricot Oatmeal Loaf 3
Because I forgot, you get a slightly more interesting picture of chopped apricots instead.

In a small bowl, scramble together 2 large eggs.

Apricot Oatmeal Loaf 4

Then tip in 1/2 cup melted butter, 1/2 cup plain yogurt (or fruity yogurt, maybe apricot yogurt, it’s up to you), 1/3-1/2 cup apricot jam, and 1/2 cup milk.

Apricot Oatmeal Loaf 5

Pour that wet stuff into the dry stuff and stir until combined. Then pour in 1 cup oats and 3/4 cup chopped dried apricots. Stir stir stir!

Apricot Oatmeal Loaf 7

Smooth that into your pan and then bake for about 1 hour, until a deep caramel brown and a toothpick inserted in the centre comes out clean. Let it mostly cool in the pan and tip it out onto a rack to cool completely.

Apricot Oatmeal Loaf 8

I’m really enjoying it toasted, with butter, for breakfast.

Apricot Oatmeal Loaf 12

Baked Oatmeal

Baked Oatmeal 9I modified this recipe from Babble and made a great easy breakfast that can easily be played with and served in many ways. If you like the idea of an easy hot breakfast these little baked oatmeal squares are going to be a new staple for you. Plus you can reheat the squares later on for breakfast on the go. Feel free to play with the sugar amount if you want to take this dish from a breakfast to a nice dessert with ice cream! Start by preheating your oven to 375°F and butter up an 8″ x 8″ baking dish. In a bowl, mix together 3 cups rolled oats (not instant), 1/2 cup sugar1 teaspoon baking powder, 1 teaspoon pumpkin pie spice, and the zest of 1 lemon. Baked Oatmeal 1

In another bowl, mix together 2 tablespoons melted cooled butter, 2 cups milk, and 2 eggs.

Baked Oatmeal 2Spread half the oat mixture into the bottom of your dish. Spread 1 cup berries or fruit of your choice, fresh or frozen (I used 1 cup frozen service berries) over the oat mixture. Baked Oatmeal 4

Spread on the other half of the oat mixture, and then an additional 1 cup berries. Press the berries into the mix a little.

Baked Oatmeal 5Pour the milk mixture over the oats and berries and pop it in the oven for 35-45 minutes, until the centre is set and everything is starting to get lovely and golden. Baked Oatmeal 6

Let it rest for about ten minutes before you scoop out a piece and eat it because it will be molten.

Baked Oatmeal 7I bet these would be good with butter and maple syrup … Baked Oatmeal 8

Egg Nog?

Egg Nog 19

I love egg nog.  So much so that I wish I could have it all year ’round.  So of course I learned to make my own.  And every time I offer it to people, I try to do it in Denholm Elliott’s voice from (my favourite movie of all time — don’t judge) Trading Places.  He’s just so emphatic.

I know.  I don’t know why I showed you that. I just love egg nog that much. So when I found this recipe on Design*Sponge I knew the time had come. THIS WAS IT.

So first you start by creating an ice bath. That means either filling your sink with water and ice cubes, or a large bowl that will hold your pot. My sink is terrible at retaining water (not my sink, not my problem), so I opted for a heat-proof bowl.

Egg Nog 1

Then grab a medium-sized pot and crack in 6 whole eggs. Give those a thorough whisking.

Egg Nog 2

Pour in as well 2 cups whole milk (we call it homogenized here in the Great White North), 1 cup heavy (whipping) cream, and 1/2 cup granulated sugar.

Egg Nog 3

Cook over medium heat, stirring often, until the custard (because that’s what it is) thickens and coats the back of a wooden spoon. Resist the urge to speed things up by turning up the heat. That’s how you get scrambled eggs plus milk. Not cool.

Egg Nog 5

Plop the pot into the ice bath. Add in 2 teaspoons vanilla extract and whisk the whole shebang for about 3 or 4 minutes.

Egg Nog 7

Put the lid on the pot, haul it out of the ice bath, and let it come to room temperature, about an hour (I had some errands to run so I actually put mine in the fridge for about four hours and it was fine as well).

Egg Nog 8

Next, strain the egg solids (those lumpy bits) out of your custard by pouring it through a sieve over a bowl.

Egg Nog 10

You can throw these out. Or compost them like a good citizen.

Egg Nog 11

Now whisk in your booze***. The original recipe calls for brandy or rum plus bourbon, but the Pie and I are not bourbon fanatics like Trav, so we opted for 1/2 cup rum plus 1/2 cup maple whisky.

Egg Nog 12

Whisk that whisky right in there.

Egg Nog 13

Might as well add a few dashes of grated nutmeg as well.

Egg Nog 14

Now pour 1 cup whipping cream into a bowl and beat the crap out of it until it forms stiff peaks.

Egg Nog 16

Then fold that gorgeousness into your eggnog.

Egg Nog 17

Let your eggnog chill for a couple of hours before drinking. It’s like drinking whipped cream, essentially. I personally don’t think the recipe would be that good without the alcohol to kind of dilute it, so if you’re looking for a non-alcoholic version, this is probably not it.

*** That said, however, if you want to try this particular recipe without the booze, this is what I recommend: instead of adding 1 cup booze, add 1 cup whole milk, and then when it gets to the final 1 cup whipping cream, just add it in without whipping. Then the whole thing is much less solid and easier to drink on its own.

Egg Nog 18

Bees plus Booze: Making Krupnikas

Krupnikas 50

This recipe popped up on Global Table back in January 2012 and I have been positively itching to make it ever since. The problem is that in order to make lovely, lovely liqueurs, you need grain alcohol. And there are very few provinces in Canada where you can legally purchase such things. Fortunately one of my lovely friends picked some Everclear up for me when he was in Michigan and brought it across the border for me for my birthday.  And this lovely warming sipper will make a fantastic gift. Did I mention it makes your house smell lovely as you’re making it, and also that it’s ridiculously easy? LOVELY.

Krupnikas 51

First, though, you have to do your due diligence regarding what you’re going to put your finished concoction in. I searched high and low, in second-hand stores and restaurant supply stores, to find appropriate bottles for a reasonable price. Finally I found these 200mL flasks at Terra20 (sorry non-Ottawans, it’s a local store, but they do have online shopping). Now, you can put your bottles through a run in the dishwasher if you like, but I don’t trust my dishwasher fully because I have never cleaned it. I am my father’s daughter and as such he has taught me to properly sterilize things you’re going to put booze in. So first you wash them thoroughly in detergent and hot water.

Krupnikas 1

Let them drip dry.

Krupnikas 2

Then grab some Star-San if you can get it from a local home-brew place.

Krupnikas 3

Follow the instructions carefully, and wear gloves! Let your bottles air dry while you prepare your ingredients.

Krupnikas 4

I love that this recipe uses whole spices.

Krupnikas 19

In fact, it uses WHOLE turmeric, which was tricky for me to find after trolling through several health food stores. But it was super cheap. When the cashier asked me how much I wanted to order, I said, “Oh, 200g or so,” not knowing how much that would be. It was a lot. And it cost me about $4. I only need one of those weird little ginger-like knobs.

Krupnikas 6

You’ll need about 1 1/2lbs of honey (organic and local if possible, naturally). This works out to about 550mL liquid honey.

Krupnikas 10

Peel 1 orange.

Krupnikas 11

Krupnikas 29

And peel half a lemon.

Krupnikas 12

Grab 3 or 4 cinnamon sticks.

Krupnikas 9

And 5 allspice berries.

Krupnikas 13

And a nutmeg. (A nutmeg? A meg nut? I dunno.)

Krupnikas 14

And 8 cloves.

Krupnikas 15

And 10 cardamom pods.

Krupnikas 16

And 1 teaspoon fennel seeds.

Krupnikas 17

And 1 1/2 teaspoons black pepper.

Krupnikas 18

You will also need 1 vanilla bean, sliced and scraped. Except for some reason I totally forgot to include that in the recipe. It’s still amazing, but I bet a vanilla bean would make it even more amazing.

Grab yourself a 3″ knob of ginger, and slice that into four pieces.

Krupnikas 7

And grab a 2-3″ knob of turmeric, and slice THAT into four pieces.

Krupnikas 8

Look at that gorgeous orange. The turmeric will give a nice sort of earthy base to the booze, while at the same time keeping that lovely yellow tint you expect of something made with honey.

Krupnikas 27

Crack all the spices to let the flavour out. I used a nutcracker on the nutmeg.

Krupnikas 22

And my pestle for the rest.

Krupnikas 23

Gather your spices and plop them in a cup for now. Not shown of course is the vanilla bean I forgot.

Krupnikas 32

In a large saucepan, dump in your honey and 1L water and bring that to a simmer.

Krupnikas 30

Skim any foam off the top with a slotted spoon.

Krupnikas 38

Dump all your spices in and let that become an amazing concoction.

Krupnikas 39

Simmer that sucker, stirring occasionally, for about 35 minutes. At this point the young man who was fixing my ceiling crept up behind me and asked me what I was making that smelled so good. As he was about 16 years old I did not offer him any of it. I’m not sure if he was sad or not. But I’m sure the craftsmanship on my ceiling would have suffered.

Krupnikas 41

Remove the pot from the heat and pour in 750mL grain alcohol. Watch out, as it will fizz up and the fumes will likely make you cough a bit. While it still smells good I don’t recommend you go around huffing grain alcohol fumes. That might be bad.

Krupnikas 42

Strain out the spices and use them for something else, like a syrup or ice cream base.

Krupnikas 43

I plopped them into some applesauce I was making. It made the applesauce taste like CANDY.

Krupnikas 46

Line up your bottles ready for filling. I put them all in a dish and wedged them with a dish towel to keep them steady while I filled them.

Krupnikas 40

I filled all 8 200mL bottles exactly, just like I’d planned.

Krupnikas 47

Seal the bottles and let them cool. The mixture will be cloudy at first.

Krupnikas 52

But still gloriously cheerfully yellow.

Krupnikas 49

The cloudiness is a sediment that will settle over the next couple of days. You can drink this stuff right away and it will be unbelievably good, but the longer you let it sit the mellower and more amazing it will get. Try to wait at least two weeks.

Krupnikas 53

Even after just 24 hours most of the sediment has settled. You can stir the sediment back in if you like, or filter it out and serve it on cake or whatever.

Krupnikas 55

My true sadness is that I was hoping for a little extra krupnikas to try myself, but I didn’t get any. I am going to give all of this away. So I hope that my friends share.

When in doubt, make soup!

Beef and Cabbage Stew 15

My parents are down in Florida and I’m looking after the house while they’re gone. This entailed cleaning out the fridge after they left, and so I arrived home with this oddment of groceries: 1 small zucchini, 4 wilted green onions, 2 baby bok choi, 9 multicoloured carrots, half a large sweet onion, half a large rutabaga, and half a large Savoy cabbage.

Beef and Cabbage Stew 1

Welp, that looks like a soup to me. Fortunately I had some stewing beef in the freezer which I chucked in the sink to defrost. Then I got to chopping.

Beef and Cabbage Stew 3

I also chopped up 1 head of garlic, and sautéed it with the onions in a large stockpot with a drop of olive oil until they were soft and sweet.

Beef and Cabbage Stew 4

Remember when cutting up rutabagas to be very careful. Slice off the top and bottom first so you have a flat surface to work on before you go after the skin, as it will be tough, especially if it’s been waxed.

Beef and Cabbage Stew 5

I added all the other chopped veg to the pot. I only scrubbed the carrots, didn’t peel them. All that vitamin-y goodness is in the skin and these are such tender carrots it seemed like a waste to remove the skin.

Beef and Cabbage Stew 6

Make sure to dry your beef before you brown it. It will make browning way quicker.

Beef and Cabbage Stew 7

I also like to dredge it in flour for a nice crust, and the flour will help thicken the stew as it cooks. You can use rice flour for a gluten-free option.

Beef and Cabbage Stew 8

Brown the meat until it has a nice seared edge all the way around.

Beef and Cabbage Stew 9

Then you can chuck that in the pot, too. I added about 8 cups water and two mini cups of concentrated beef bouillon, but go with whatever floats your boat.

Beef and Cabbage Stew 10

Give it a stir and set it to simmer for about 30-45 minutes, until the rutabagas are soft when you smush them with a spoon.

Beef and Cabbage Stew 11

I added in a pinch of ground nutmeg and cloves, as well as a few teaspoons of dried oregano. Add salt and pepper as well, if you like.

Beef and Cabbage Stew 12

To combat the bitterness of the cabbage I also added in a few tablespoons each of maple syrup and rice vinegar (it sounds weird, I know, but it works). You can also use cider vinegar.

Beef and Cabbage Stew 13

My scrumptious savoury stew!

Beef and Cabbage Stew 14

I shoved it into large freezer bags that I froze flat for easy storage. I can’t wait to haul one of these babies out in the dead of winter for some comfort food!

Beef and Cabbage Stew 17

Spider-Man Spice Cake

Spider-Man Spice Cake 39

A couple of weeks ago my sister-in-law Ryder winged a banana coffee cake that had me drooling — alas, Rusty refused to share.  So when the Pie requested a spice cake for his birthday I figured I’d wing something similar of my own devising (it’s actually his birthday today, but we celebrated on Saturday).  For the basic cake, I used this one from Dinner with Julie, and it’s excellent.  As for the rest … well, you’ll see.

Spider-Man Spice Cake 44

Start by preheating your oven to 350°F and butter two 8″ round cake pans.

Spider-Man Spice Cake 1

In a bowl (or a measuring cup, as I prefer), stir together 2 1/2 cups all-purpose flour, 2 teaspoons baking powder, 3 teaspoons cinnamon, 2 teaspoons ground ginger, and 1/2 teaspoon nutmeg.

Spider-Man Spice Cake 3

In the bowl of an electric mixer, beat together 1/2 cup softened butter with 1 1/4 cup brown sugar until light and fluffy.

Spider-Man Spice Cake 7

Add in 3 large eggs, one at a time, and keep beating.

Spider-Man Spice Cake 8

Stir together 1 cup buttermilk and 1 tablespoon vanilla.

Spider-Man Spice Cake 6

Add about 1/3 of the flour mixture to the eggs and sugar, beating on low speed. If you don’t beat on low speed you will get flour in your face. Consider yourself warned.

Spider-Man Spice Cake 9

Add in half the buttermilk, followed by another third of the flour, then the rest of the buttermilk, and then the rest of the flour.

Spider-Man Spice Cake 10

In a separate bowl, mash 2 large ripe bananas.  In another, mix 2 tablespoons instant coffee in with 1/2 cup water (or cold coffee as I used here) and 1/3 cup Nutella (or hazelnut spread).

Spider-Man Spice Cake 5

Divide your batter in half and mix one with the bananas and the other half with the coffee.

Spider-Man Spice Cake 12

Pour into your prepared pans in bits, and give it a bit of a swirl with a fork to combine but not fully mix.

Spider-Man Spice Cake 14

Bake for 30-35 minutes until solid on top and a toothpick inserted in the centre comes out clean.  Set those aside to cool completely.

Spider-Man Spice Cake 21

While that’s on the go you can make this truly amazing icing.  It might be my new favourite. I doubled it from the original to enable me to do what I had to do and only had a little bit left, but I’ll give you the real proportions here.

In a small saucepan melt 1/4 cup butter over medium heat.

Spider-Man Spice Cake 15

Keep cooking, stirring occasionally, until it gets all nice and foamy, and when you look beneath the foam the butter has turned the colour of caramel (this is, of course where the colour in caramel comes from).

Spider-Man Spice Cake 16

Pour that into the bowl of an electric mixer together with another 1/4 cup butter and set that aside for now.

Spider-Man Spice Cake 18

In the same saucepan, still over medium, combine 1/4 cup half and half cream with 1/2 cup brown sugar.

Spider-Man Spice Cake 19

Dissolve the sugar in the cream and keep stirring.

Spider-Man Spice Cake 20

Remove the mixture from the heat when it gets smooth and foamy, like this:

Spider-Man Spice Cake 22

Pour that in the mixer bowl too, and let the whole thing cool a bit.

Spider-Man Spice Cake 23

Slowly mix in 2 cups icing sugar, give or take, until you achieve a consistency that you like.  Now, if you’re a normal person, you can go ahead and just ice your cake to your specifications and enjoy it for what it is.  Me? Nope.  I had to go and make a Spider-Man themed cake for my husband, because I like him a bunch.

Spider-Man Spice Cake 24

So I divided up the icing into four batches.  One was my control, and would go in the centre between the two halves of cake.  The others were getting dyed with gel paste food colouring.

Spider-Man Spice Cake 25

I like to do this in glass containers because then I can look through the bottom to see what I’ve missed.  Glass is also way less likely to stain on you.

Spider-Man Spice Cake 26

The finished concoctions.  Euch.

Spider-Man Spice Cake 27

Here’s a trick I learned on the internet somewhere for when you need to pipe different colours of icing and don’t want a huge mess.  Not that I’m capable of doing anything neatly.  But anyway.  Plop your icing onto a sheet of plastic wrap.

Spider-Man Spice Cake 28

Roll the ends of the plastic wrap together, making a tight seal.

Spider-Man Spice Cake 29

Keep rolling until you run out of wrap to roll.

Spider-Man Spice Cake 30

Grab the ends of the wrap and swing them around so the icing twists further into a tight little sausage.  Because it was hot as Hades’ hoo-ha in my kitchen I chucked these little sausages in the fridge while I put the cake together.

Spider-Man Spice Cake 31

Icing in the middle …

Spider-Man Spice Cake 32

Now you take your sausage of icing and tie a knot in one end of your wrap.

Spider-Man Spice Cake 35

Then you shove the other one into your icing bag and cut off the end.  Screw on your tip and ice as usual.

Spider-Man Spice Cake 36

At the end you just pull out this wizened piece of plastic and you are good to switch!  No fuss no muss!

Spider-Man Spice Cake 37

I think I put too much icing sugar into my icing, so I ended up pressing the top part on with my fingers.

Spider-Man Spice Cake 38

Then I piped on the best approximation of the Spider-Man logo that I could do with my unsteady hand.  Not bad!

Spider-Man Spice Cake 42

Chock-Full Muffins

Chock-Full Muffins 14

The thing I like best about muffins is that, while they’re pretty picky about how you mix them, there is no exact science as to what you mix into them.  This means that every time I make a batch, I try my hardest to cram everything I can into each one.  How many things?  All the things.

Chock-Full Muffins 2

Let’s DO this.  Preheat your oven to 400°F and grease a muffin tin or line it with paper liners.  Greasing might actually work better in this situation, as I found the baked muffins were hesitant to come out of their liners.

Chock-Full Muffins 1

In a bowl, whisk together 2 cups all purpose flour, 1 tablespoon baking powder,  and 1/2 teaspoon ground nutmeg.

Chock-Full Muffins 3

Then plop in 1/2 cup bran and 1/2 cup unsweetened coconut and stir that as well.

Chock-Full Muffins 5

Melt about 1/2 cup butter and add it to a bowl with 2 large eggs, 1/2 cup milk, 1/2 cup yogurt (your choice), 2 teaspoons vanilla, and 2/3 cup brown sugar and give that a stir.

Chock-Full Muffins 8

I actually used coconut sugar, because I had it on hand.  I like it because it’s not super sweet.

Chock-Full Muffins 7

Grab a few handfuls of dried fruit and nuts, if you’d like, about 1 1/2 cups.  Here we have dried versions of cranberries, cherries, blueberries, grapes (raisins, duh), and apricots.

Chock-Full Muffins 9

Now here’s the trick with muffins: don’t mix the wet with the dry until you’re ready to plop the batter in your baking tin.

Chock-Full Muffins 10

Add the flour mixture to the egg mixture and stir until just barely combined.  Now you can add in your fruit and stir just until it’s evenly distributed throughout.

Chock-Full Muffins 11

Drop the batter into your muffin tins.  I ended up completely overflowing mine because these puppies don’t expand too much.

Chock-Full Muffins 12

Bake for about 17 minutes, until a toothpick inserted into the centre muffin comes out clean, and let cool for a few minutes.

Chock-Full Muffins 13

So good with butter!

Chock-Full Muffins 16