Slapdash Souvlaki

May was an INTENSE month here at the Ali Does It household. LongJohn went to daycare a month earlier than scheduled and I had a whole four weeks to get all the stuff done on the house I hadn’t had an opportunity to do when we moved in … because of the whole having-a-baby thing. Some of those projects are still in progress but I have SO MUCH to show you when they’re ready to be shown. If May was intense, then June is even more so. I went back to work full time AT A NEW JOB. And on my first day, I had HAND surgery. Today I’m having hand surgery on the OTHER hand. So things are a little nuts, to say the least. Luckily I have a bit of a backlog of posts for you guys. Let’s start with this one for the barbecue, now that we’re officially into grilling season.

Slapdash Souvlaki 26

The Pie is a huge fan of souvlaki. We’re fortunate that some of the best souvlaki in town is only a short drive away. But it’s actually pretty easy to make your own souvlaki at home, provided you have some time to prep. Here’s how you can do it.

Slapdash Souvlaki 1

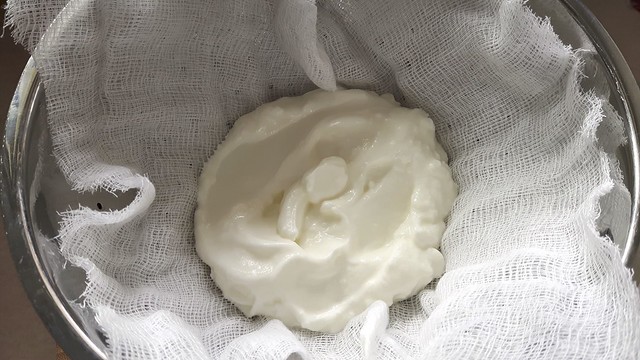
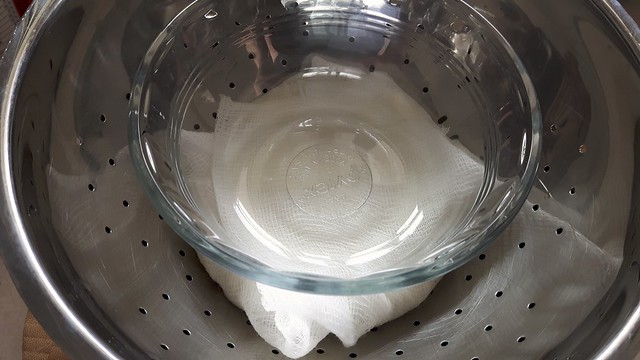
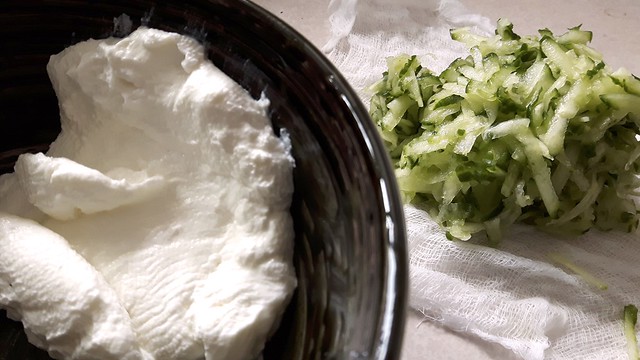
First, let’s start with that most essential of condiments: tzatziki. You can always buy this but it’s easy to make as well. I rarely measure my amounts because I find they vary depending on my mood but here’s an approximation for you. Start off by grabbing about 1/2 cup plain yogurt and plopping it in a few layers of cheesecloth in a colander. Wrap it well and put something with a bit of weight on top. Place the colander over a bowl and shove it in the fridge for a few hours. I use Balkan style yogurt for this, but if you have Greek yogurt you can skip this step.

Slapdash Souvlaki 2

After your yogurt has been pressed and some of the water has drained out, you can unwrap it and give the cheesecloth a bit of a rinse. You’re going to need it in a second.

Slapdash Souvlaki 15

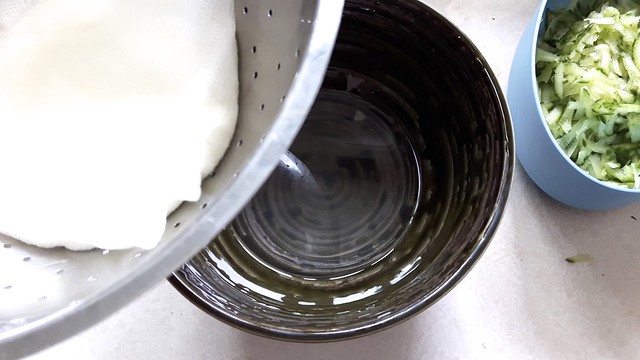
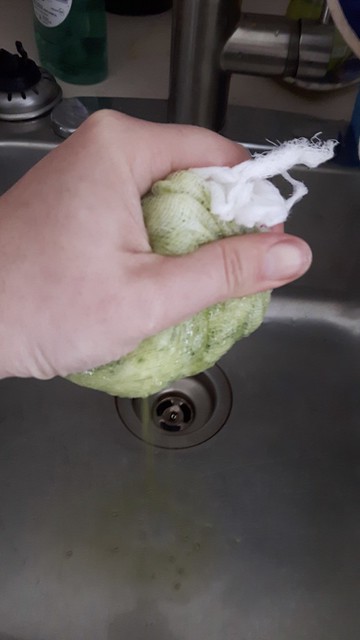
Grate up about half a cucumber. Plop the cucumber bits onto the cheesecloth, wrap it up, and give it a good squeeze over the sink and get rid of excess water.

Slapdash Souvlaki 17

Slapdash Souvlaki 18

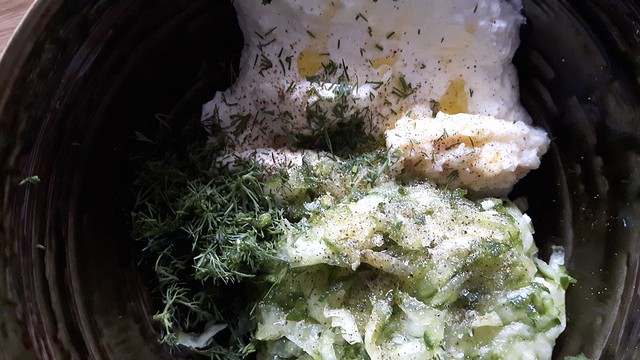
Now, tip that into a bowl together with the yogurt, some minced garlic, chopped fresh dill, salt, pepper, a few drops of lemon juice, and a drizzle of olive oil.

Slapdash Souvlaki 19

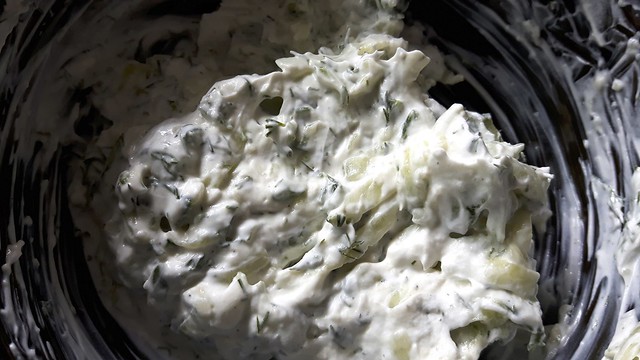
Stir, stir, stir! Shove that back in the fridge for a few hours (preferably overnight) to let the flavours mingle.

Slapdash Souvlaki 20

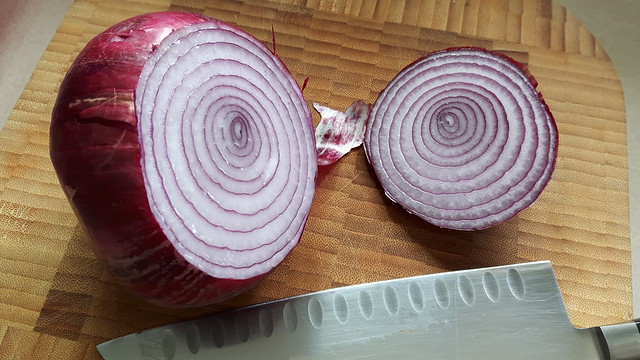
For the souvlaki we’re going to create a marinade. Start by finely chopping up a small red onion. I’m being smart here and using a large red onion because I’m making the recipe twice and chucking half of it in the freezer.

Slapdash Souvlaki 4

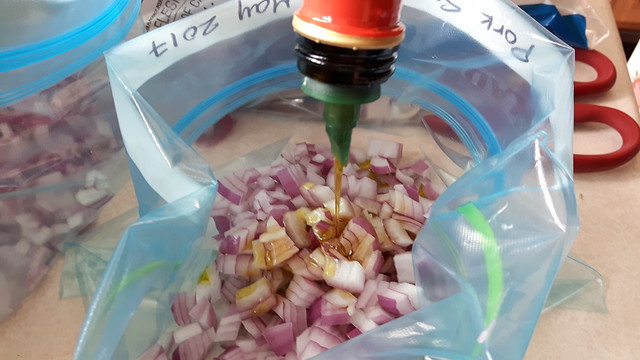
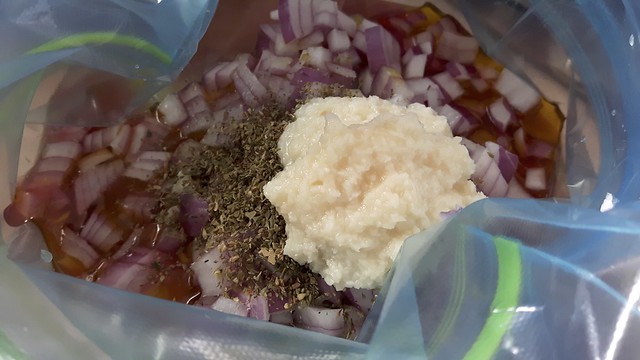
Throw the onion bits in a large Ziploc freezer bag and tip in about 1/2 cup olive oil,

Slapdash Souvlaki 5

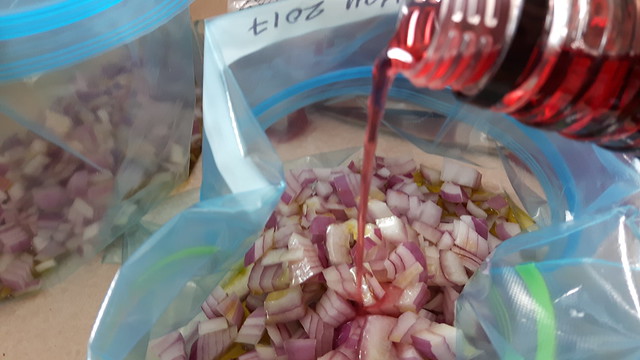
2 tablespoons red wine vinegar,

Slapdash Souvlaki 6

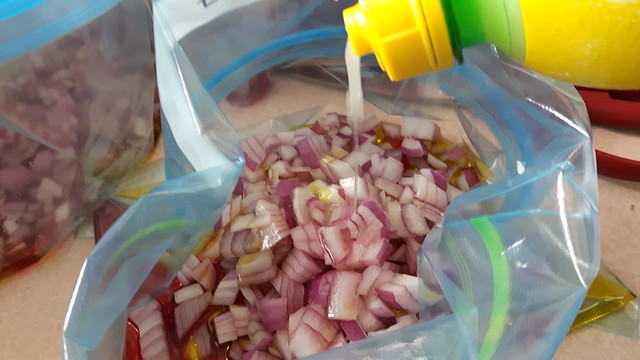
and 4 tablespoons lemon juice.

Slapdash Souvlaki 8

Next plop in about 2 cloves minced garlic, 2 teaspoons dried (or fresh) oregano, and of course salt and pepper to taste.

Slapdash Souvlaki 9

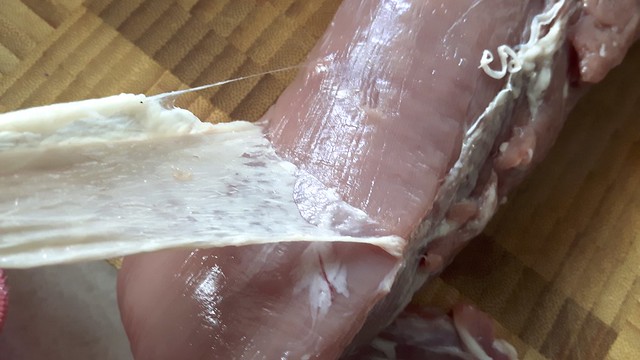
Wrangle yourself a decent-sized pork tenderloin (you can do this with chicken breast too). Don’t be tempted to use a pork shoulder or any other cut for this, as they’ll be too gristly when cubed. Trust me. I did it once when they were on sale and I regretted it. Pull the tough membrane off the tenderloin and trim any excess fat.

Slapdash Souvlaki 10

Cut it into cubes.

Slapdash Souvlaki 11

Chuck those cubes into your freezer bag.

Slapdash Souvlaki 12

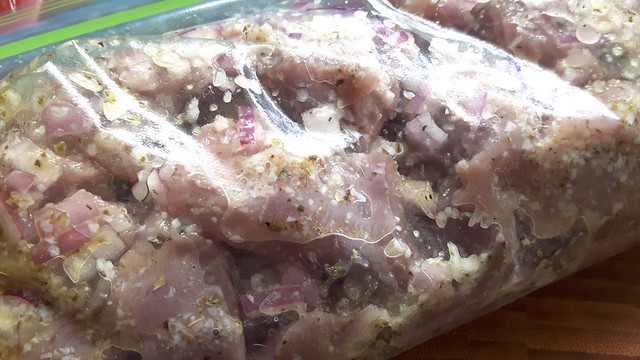
Seal the bag carefully, give it a good smushing together, and bung it in the fridge for several hours. While you’re waiting, grab some wooden skewers and plop them in a tray of water to soak for at least thirty minutes before you grill.

Slapdash Souvlaki 13

When you’re set to start, shove the cubes of marinated meat onto your skewers (I like to use two skewers per so that they’re easier to flip) and grill until cooked through and at an internal temperature of about 145°F.

Slapdash Souvlaki 23

Slapdash Souvlaki 24

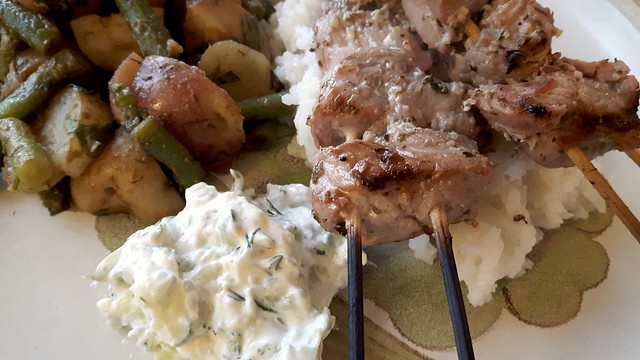
Serve over rice with a hefty side of your fresh tzatziki and enjoy the summer!

Slapdash Souvlaki 25

Creole Okra with Chicken and Tomatoes

Okra Chicken Tomatoes 23

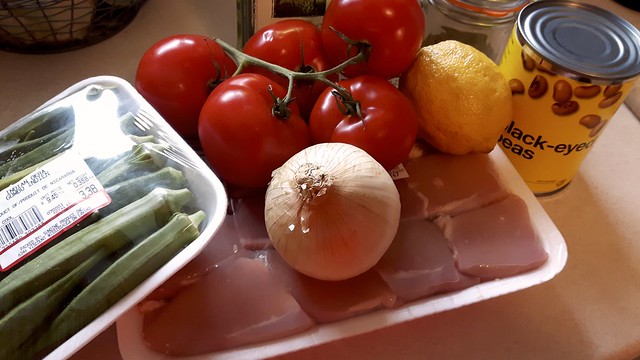
I don’t really know that much about southern food except that I like it a lot, and whenever I’m down south (I’m talking the southern US states here) I eat as much of it as I can. This dish started because I found okra at a good price at the grocery store and is more Creole-inspired than actually authentic (because again I don’t know much). It is adapted from something I found on The Kitchn. I doubled the amounts, prepared half this recipe in the pan and then chucked half of it in the freezer for later, like the clever person that I am†. Not that this recipe isn’t dead simple. I’m just lazy.

Okra Chicken Tomatoes 1

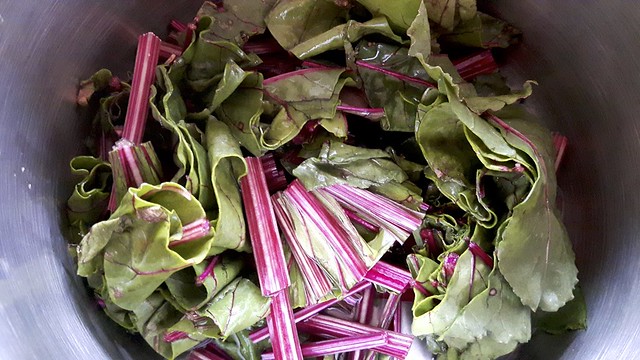
I accompanied this one-dish meal with another dish: steamed beet greens.

Okra Chicken Tomatoes 4

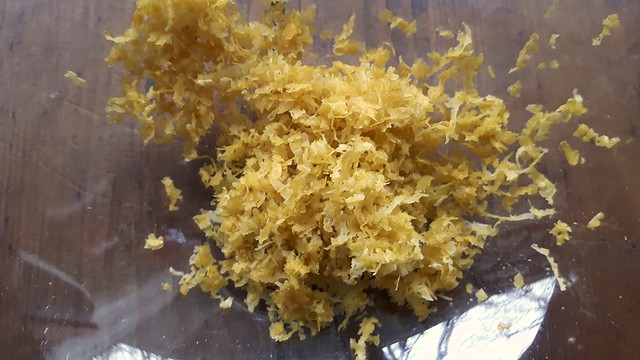
Preheat your oven to 400°F and line a baking sheet with parchment paper. Zest 1 lemon.

Okra Chicken Tomatoes 3

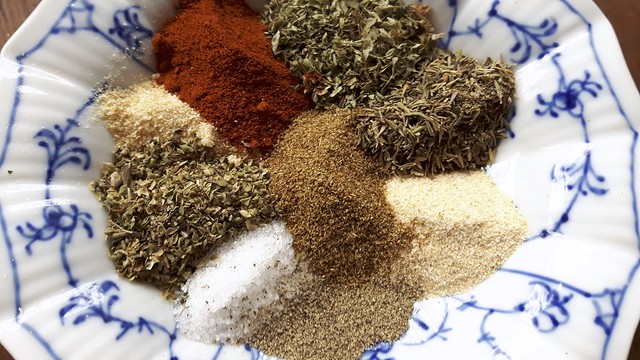
Gather your spices. Creole spice blends tend to run to mixtures of the following, so make one to suit your own taste (this one is about 1 teaspoon of each): onion powder, garlic powder, oregano, thyme, parsley, smoked paprika, salt, pepper, cayenne. The recipe I was looking at didn’t use creole spices; instead it called for a bit of cumin and coriander. So I just used everything. Set that aside for a few minutes.

Okra Chicken Tomatoes 2

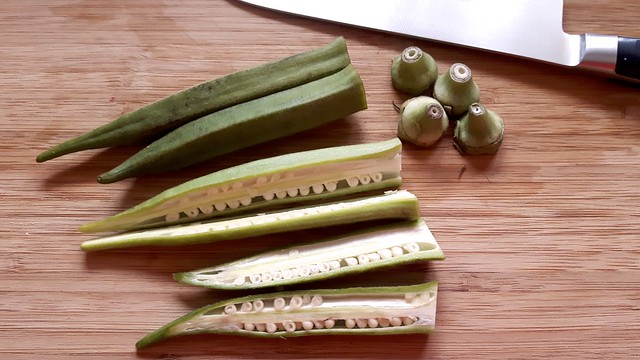
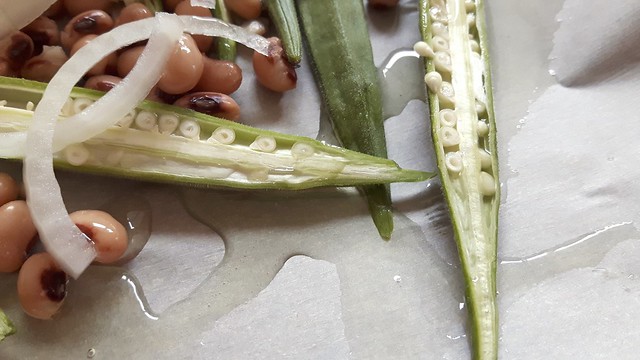
Start with your okra, about 1lb, and slice the tops off before cutting it in half lengthwise. Apparently people either love or hate okra, because it’s a bit slimy. I am ambivalent so far.

Okra Chicken Tomatoes 5

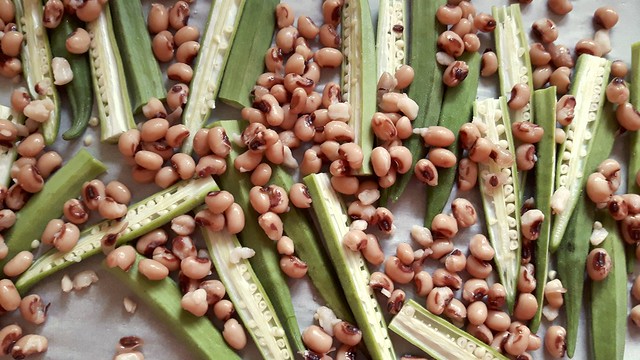
Lay that on your baking sheet and sprinkle with about 1 cup (canned/drained/rinsed) black-eyed peas.

Okra Chicken Tomatoes 7

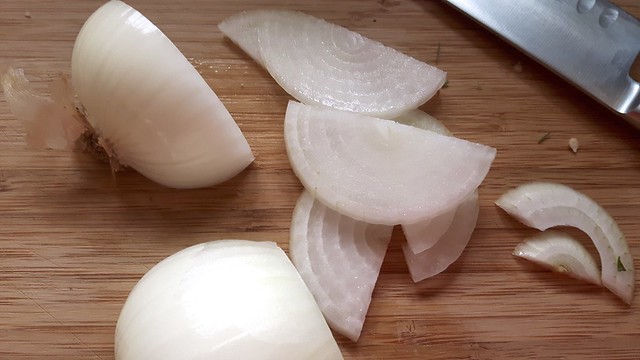
Next, slice up a small white onion.

Okra Chicken Tomatoes 8

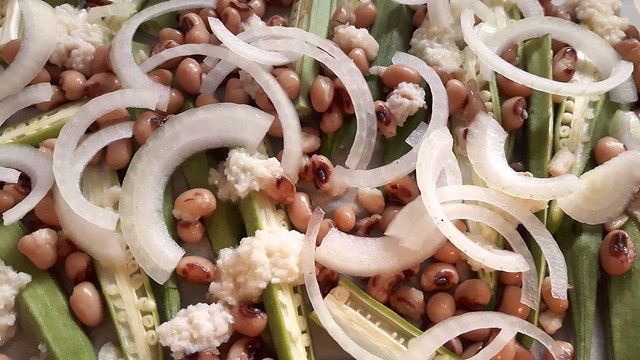
Sprinkle that onto the pan, together with a few cloves crushed or minced garlic.

Okra Chicken Tomatoes 11

Give that a good drizzle with some nice olive oil.

Okra Chicken Tomatoes 12

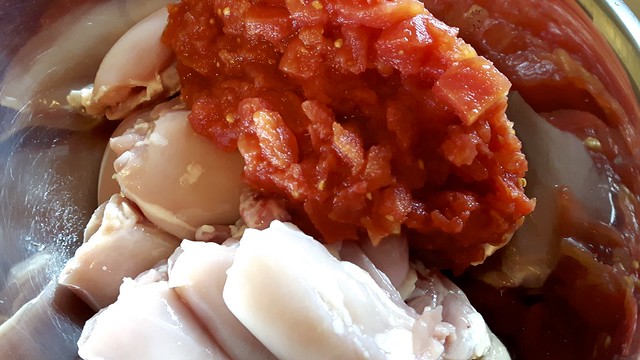
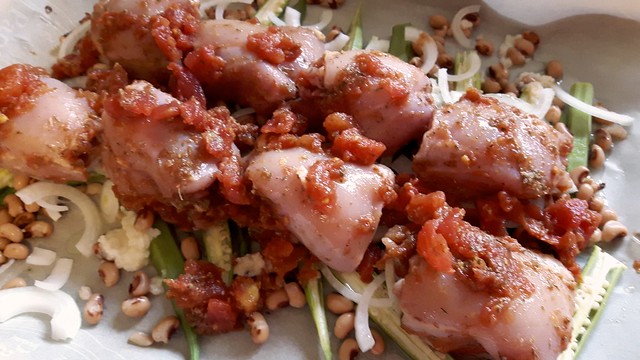
Now here’s where I kind of diverged from the recipe. This dish is a good meal all in itself as a vegetarian option, but I feed boys (boys who are not vegetarians) so I had to chuck some meat in here somehow. In a large bowl, I threw 8 boneless, skinless chicken thighs together with a 14oz can of diced tomatoes and your lemon zest.

Okra Chicken Tomatoes 14

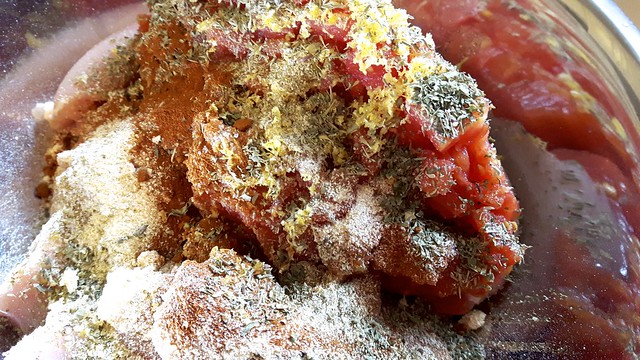
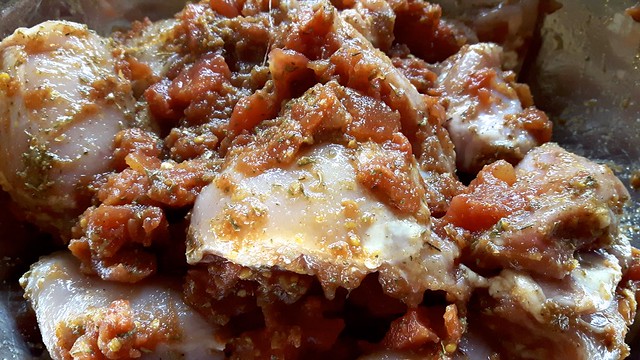
Then I chucked in all those lovely spices and gave it a good mixing.

Okra Chicken Tomatoes 16

Okra Chicken Tomatoes 17

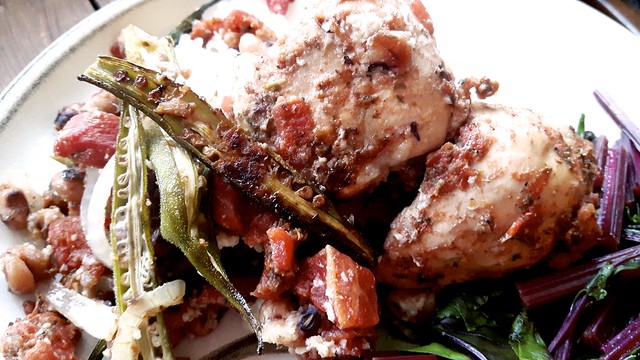
Spread the chicken and tomatoes evenly across the top of your peas and okra and shove it in the oven for about an hour. Give it a stir once or twice to make sure everything is browning evenly.

Okra Chicken Tomatoes 18

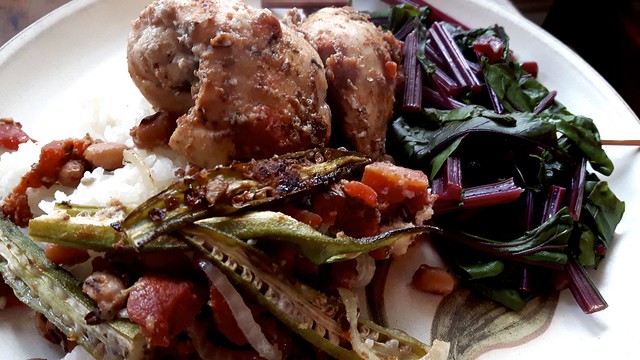
We served ours over rice with the beet greens and it was pretty good. The Pie thought the okra was a little slimy (#1 reason why many people dislike it) but I thought it was pretty good!
Okra Chicken Tomatoes 20

If you plan to freeze this recipe for later, I would recommend freezing it in two parts: in one bag goes the okra, peas, garlic, rice, and oil, and in the second bag goes the tomatoes, chicken, and spices. It just seems like a logical thing to do to tenderize the meat and prevent the peas and okra from getting too soggy.

Another Slow Cooker Dip Trio – in two parts

This past weekend, we had our housewarming party – finally. Mostly because we finally had enough furniture for people to sit on. And also because it’s hard to warm a house in the middle of the winter. This way, we could use the barbecue.

Dip Trio 1

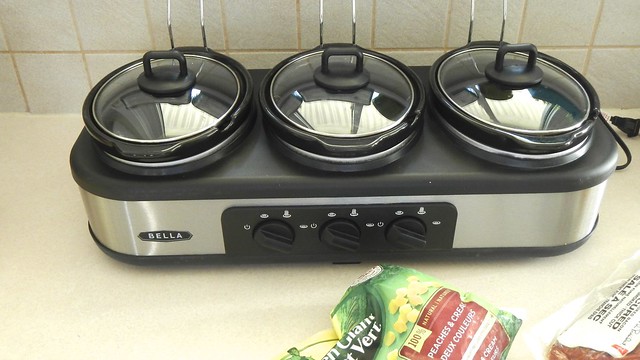
The Pie wanted to make use of our three-pot mini slow cookers and prepare some dips for our guests, so here are two of the ones we came up with. The final one involved a bit of extra prep so it’s a post on its own. The two posted today were made significantly smaller so they’d fit in our tiny pots.

Dip Trio 4

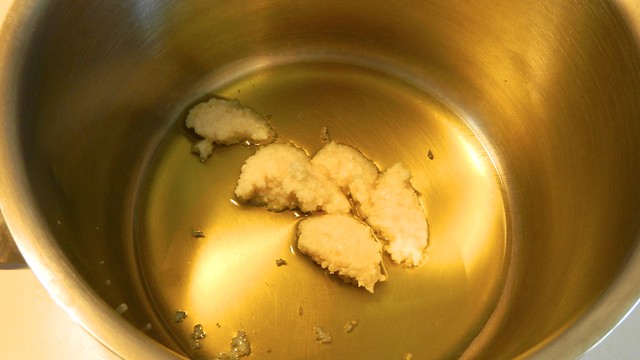
This first one, a garlic white bean dip, doesn’t really require a slow cooker, unless you want it to be served warm (which we did). I also took out some of the prep steps to make the whole thing a one-shot process. Start by glugging 1/4 cup olive oil into a small saucepan, and add in the equivalent of 6 cloves of garlic, thinly sliced. Cook that on low for about 5 minutes, until garlic smells start to fill your whole kitchen.

Dip Trio 3

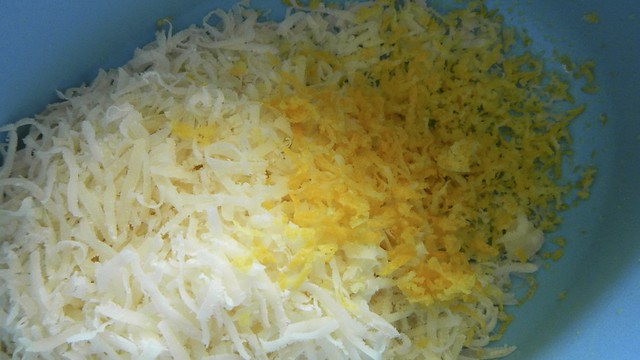
Grate up about 3/4 cup parmesan cheese and the zest from 1 lemon.

Dip Trio 6

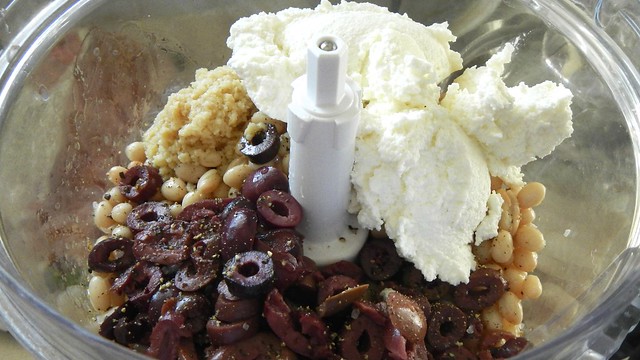
Then, grab your food processor and chuck in 2 cans of cannelini beans, drained and rinsed. I used one can white beans and one can of white navy beans. Tip in as well 1/3 cup water, 1 cup ricotta cheese, your garlic and oil stuff, the parmesan and lemon zest, 1/4 cup pitted kalamata olives, and a generous helping of salt and ground black pepper.

Dip Trio 5

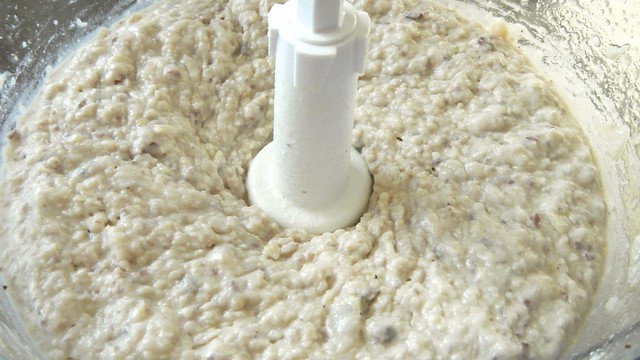
Give that a good whaz until it’s all smooth. Add a bit more olive oil if you think it looks dry (and if you’re going to keep it in the slow cooker all day, add a bit more as it has a tendency to dry out).

Dip Trio 7

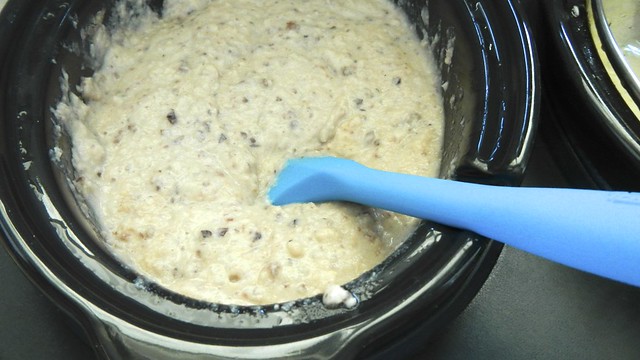
Plop that in the slow cooker and leave it on low for about 2 hours to warm through. Enjoy!
Dip Trio 23

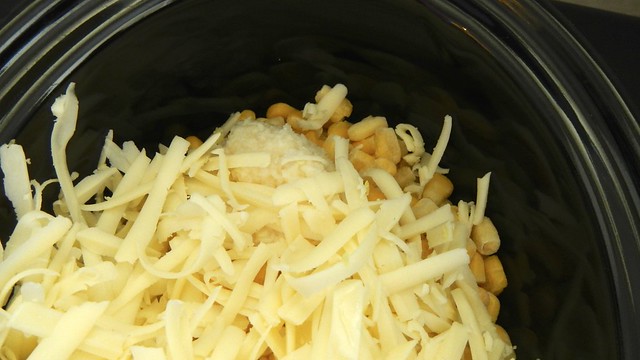
This next one is pretty good, but we actually found it a little bland and might spice it up some more next time. It’s a corn and cheese dip with bacon and pale ale and I think it has plenty of potential for enhancement. Start by tipping 3 1/2 cups frozen corn into your slow cooker. Top that with 2 minced cloves of garlic and 1 1/2 cups grated cheese (we used an extra-old cheddar).

Dip Trio 8

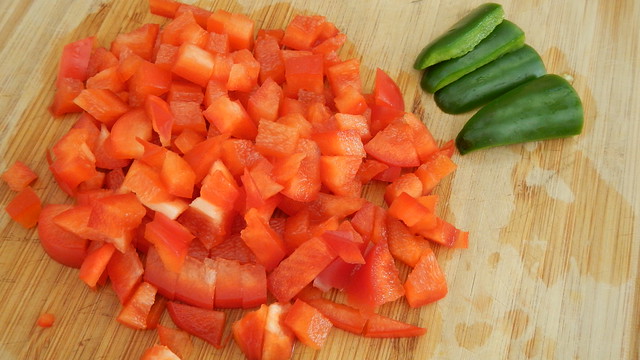
Dice up a red bell pepper and a de-seeded jalapeno.

Dip Trio 9

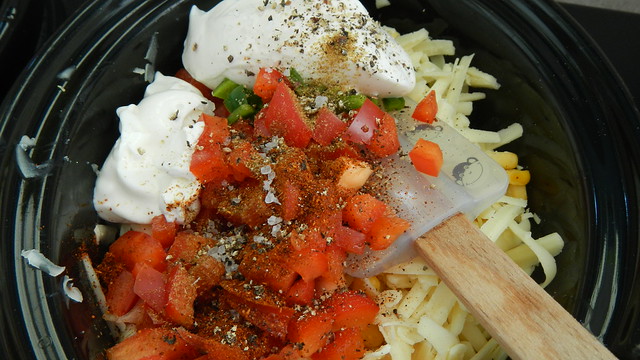
Chuck those in the pot with 3/4 cup sour cream, 1/2 teaspoon ground cumin, 1/2 teaspoon chili powder, and salt and pepper to taste.

Dip Trio 13

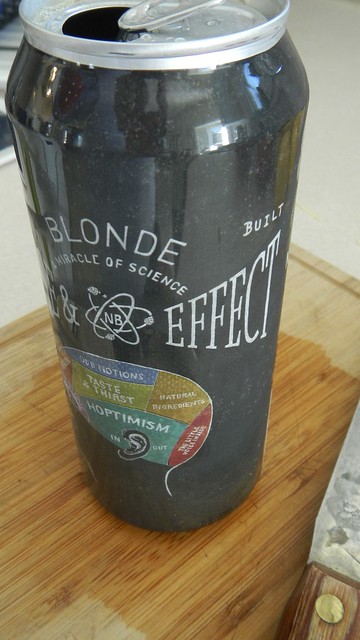
Grab a pale ale as well and tip in about 1/3 to 1/2 cup of it. I think next time I’d use something with a bit more flavour, as neither the Pie nor myself are IPA fans (not that I’m drinking these days anyway).

Dip Trio 12

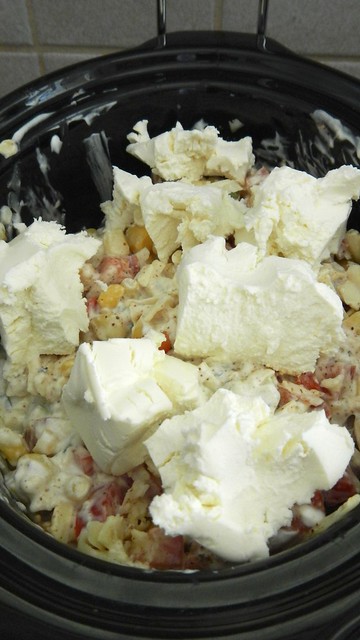
Give that a good stirring to mix things up. Then grab a package of plain cream cheese and break it up into chunks, which you can then spread over the top of the thing. Cover and cook on high for 4 hours.

Dip Trio 14

While that’s on the go, cook up about 4 slices of bacon until it’s crispy enough to crumble and let it cool (so you can crumble it). Harvest some fresh chives from your garden (it’s the only thing growing right now). Cut those up in a wee bowl and set the bacon and chives aside until the dip is ready.

Dip Trio 15

When the dip is hot, stir well to incorporate the cream cheese and then garnish with the chives and bacon. Eat!

Dip Trio 21

Meals en Masse: Honey Chicken with Quinoa

Honey Chicken 13

Here’s another quick-to-make slow-cooking easy-to-freeze recipe that is highly satisfying and adaptable (which I adapted, of course, from i heart naptime). You can use fresh or frozen chicken breasts in the recipe, which means that even if you didn’t plan ahead you’re still going to be just fine.

Honey Chicken 1

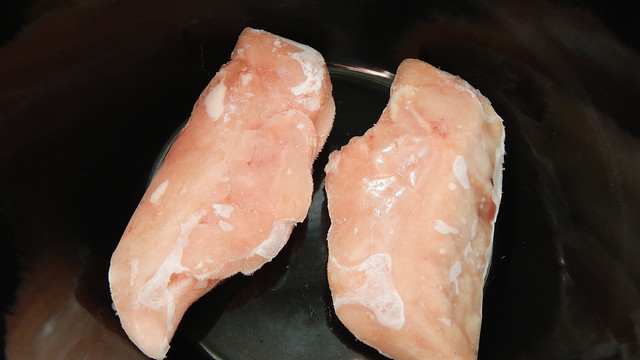
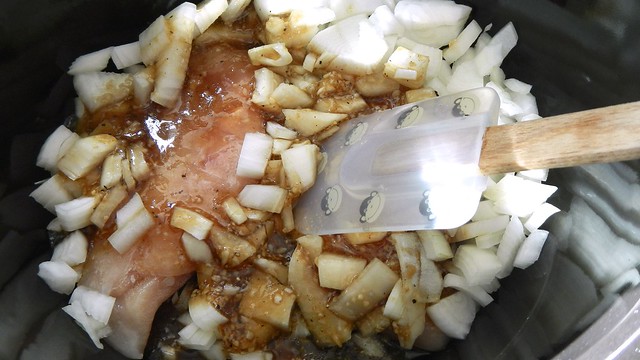
Take 2-3 boneless, skinless chicken breasts (mine are frozen) and plop them in the bottom of a slow cooker pot turned to low.

Honey Chicken 3

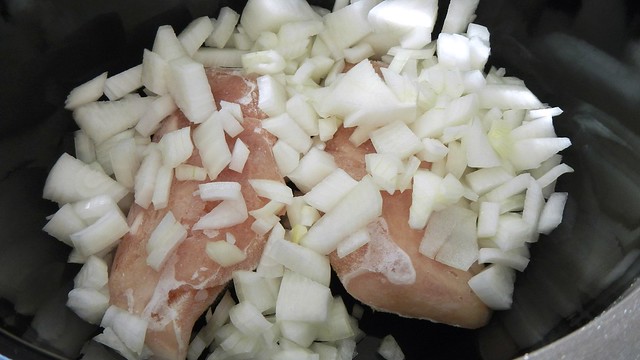
Chop up 1 sweet onion into bite-sized pieces (the original recipe calls for onion powder but I think real onions are better).

Honey Chicken 4

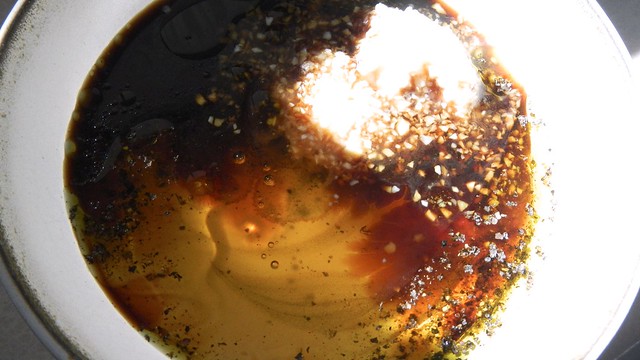
In a bowl, dollop 1 tablespoon olive oil, the equivalent of 2-3 cloves minced garlic, 1 teaspoon kosher salt, and a bunch of ground pepper, as much as you like.

Honey Chicken 5

Add to that as well 1/2 cup soy sauce and 3/4 cup honey and give it a good stirring.

Honey Chicken 6

Pour the sauce over your chicken and cook for 4-6 hours on low.

Honey Chicken 7

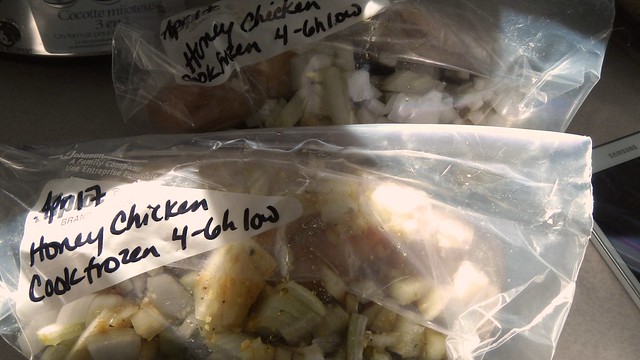
And if you happened to have additional chicken breasts, you can chuck those in a freezer bag with more onions and more sauce (I made the recipe in triplicate) and chuck those in the freezer for later.

Honey Chicken 8
I realized just now that I wrote “April ’17” on these bags. I hope future me isn’t too sleep-deprived to think that they were made by an even more future-me.

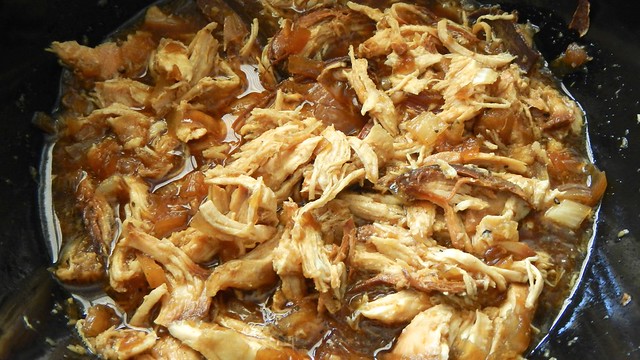
The chicken is done when it falls apart on you.

Honey Chicken 9

I decided to go whole hog and shredded it with a fork to expose all the chickeny bits to the sauce.

Honey Chicken 10

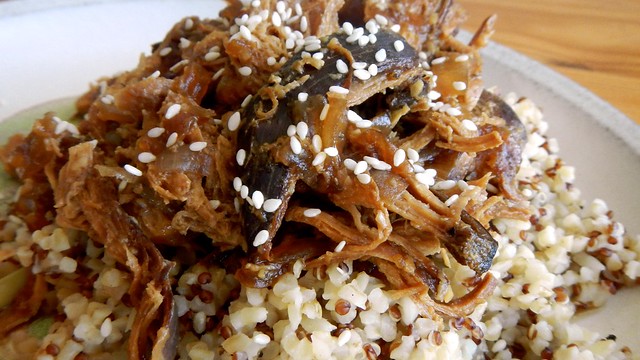
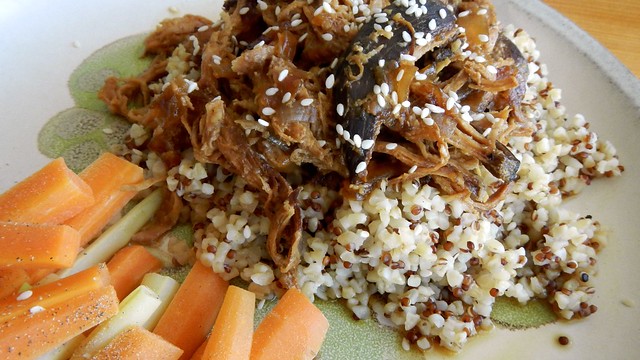
I served it on top of a quinoa-bulgur blend that I cooked with just a little bit of lemon juice added to the water, a little bit of extra sauce, and garnished the whole thing with a pinch or two of white sesame seeds.

Honey Chicken 12

Meals en Masse: Beef Lasagna

Meals en Masse- Lasagne 16

In preparation for the fact that in two months my life is about to get turned upside down and I won’t have any time or energy to do much, I’m trying to make it a little easier on myself. At least once a week I’m trying to prepare a meal that I can do in triplicate, where we eat one version and store the other two in the freezer. This week I made up a hearty lasagna to feed Papa John and Mrs. Nice, and the other two went into the freezer for some night this summer when we’re willing to brave the heat to get our pasta fix.

Meals en Masse- Lasagne 1

Of course I never measure anything when I make lasagna, but I’ll try to give you some approximations here for a triplicate recipe if you’re interested in trying it for yourself (and feeling very smug later when you realize you have two giant lasagnas sitting in your freezer).

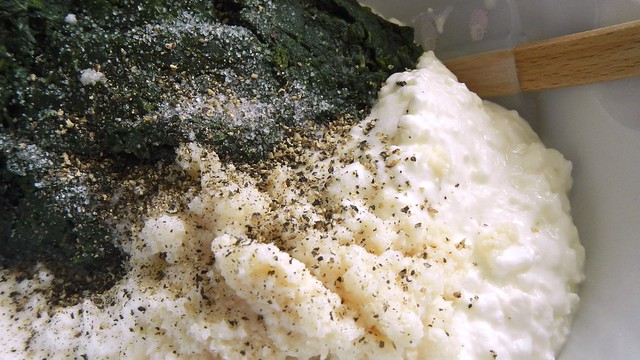
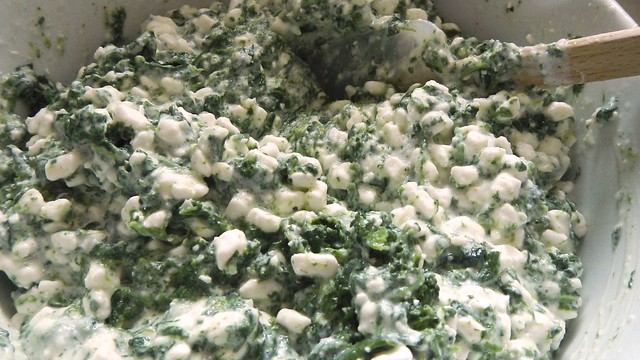
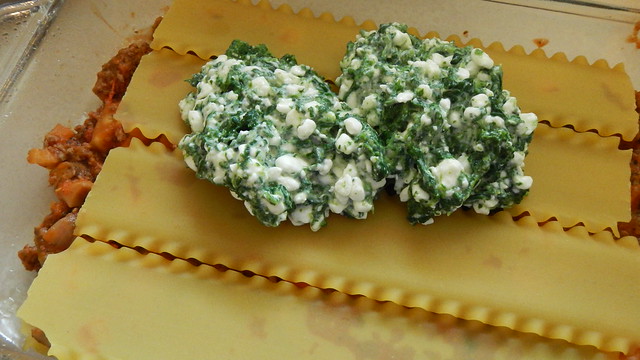
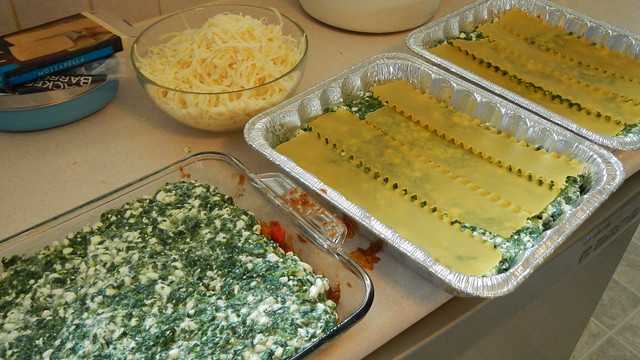
First I mixed up the cheese layer, which was 2 750g tubs of cottage cheese (you can use ricotta if you prefer, but if you’re buying in this amount the cottage cheese is way cheaper), 3 rectangular packages of chopped frozen spinach, thawed and drained, the equivalent of 2 heads minced garlic (or however much you prefer), and a smattering of freshly ground salt and pepper.

Meals en Masse- Lasagne 2

Creamy cheesy goodness.

Meals en Masse- Lasagne 3

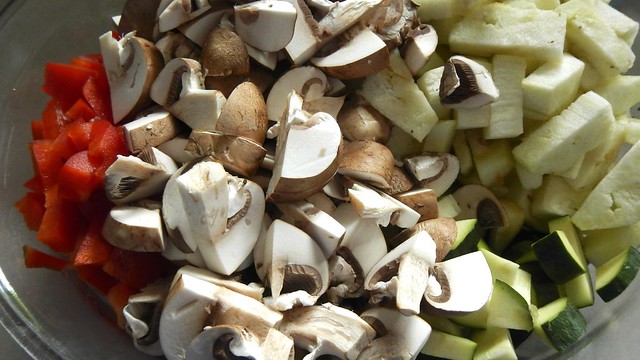
Then you can chop up your veg. I like to choose vegetables that add substance to the lasagna without competing with individual flavours, so mushrooms (8-10), eggplant (1), and zucchini (2 small) are favourites of mine, together with sweet red peppers (2) to boost the colour.

Meals en Masse- Lasagne 4

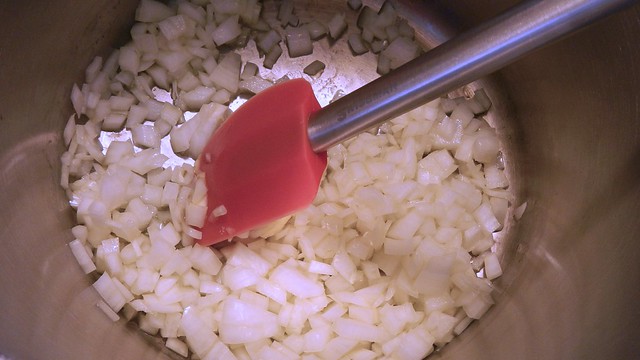
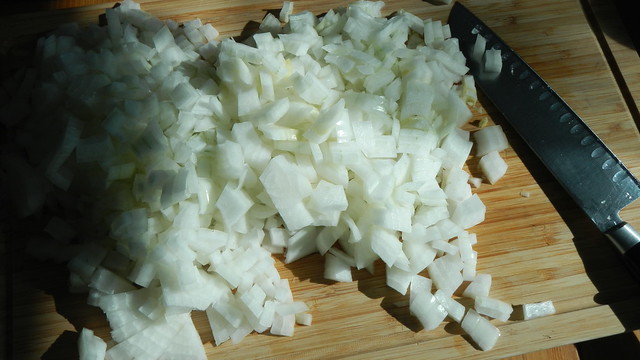
Next, a giant sweet onion gets chopped up and added to a large stock pot with a few tablespoons olive oil and a knob of butter.

Meals en Masse- Lasagne 5

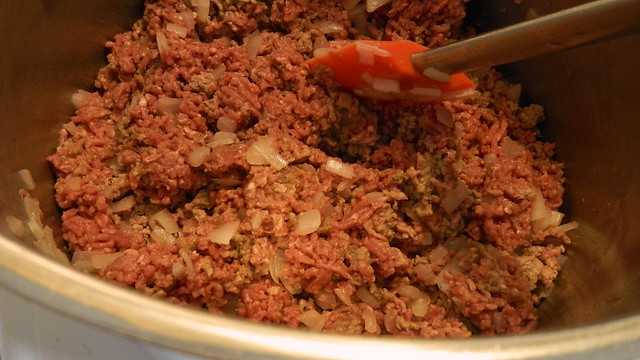
Once those are soft and fragrant, break up your ground meat with your fingers and tip it in. This is about 2kg extra lean ground beef. If you use medium ground you’ll probably want to drain the fat off once it’s cooked.

Meals en Masse- Lasagne 6

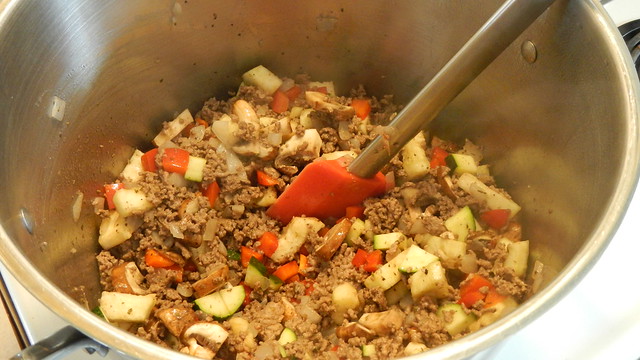
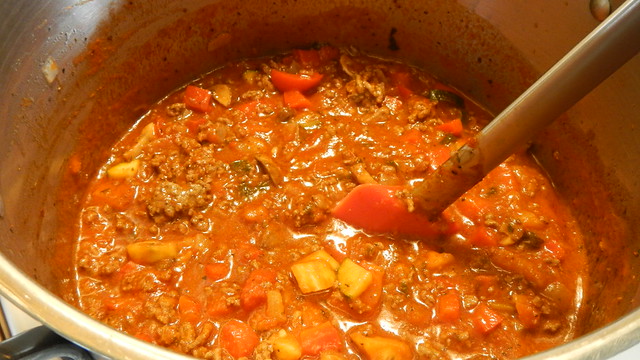
When it IS cooked, tip in your veg and let those soften. Add in some of your favourite spices, like oregano and basil.

Meals en Masse- Lasagne 7

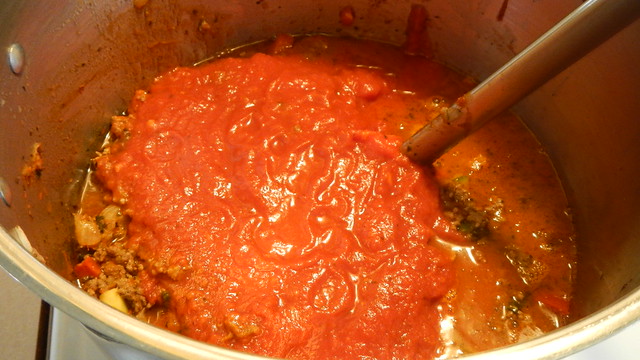
Next, about 3 jars tomato sauce.

Meals en Masse- Lasagne 8

Let that simmer down for a little bit.

Meals en Masse- Lasagne 9

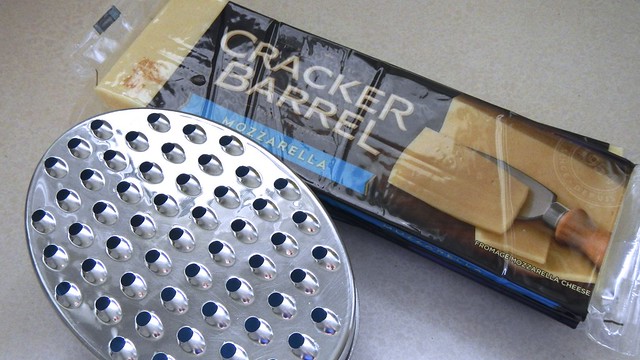
Grate up about 2 large bricks mozzarella. When in doubt, err on the side of too much cheese. Always.

Meals en Masse- Lasagne 10

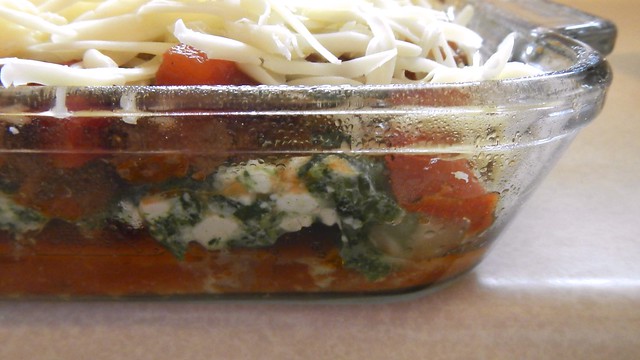
Now get your stuff organized for assembly. you’ll also need 2-3 boxes uncooked oven-ready lasagna noodles. Be smart and spray your pasta dishes before you use them. The glass one is the one I’m making right away, but the disposable aluminum pans are for the freezer – I don’t own enough Pyrex to put them all in the freezer at the same time. Plus the aluminum ones make great frozen tasty gifts for those of your friends who are in a similar situation to myself. HINT, HINT.

Meals en Masse- Lasagne 11

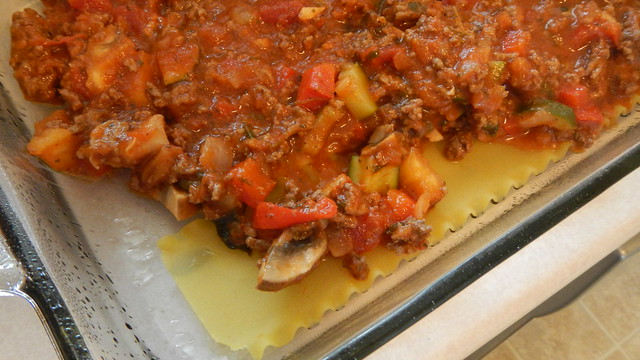
Layer on some noodles, flat in the bottom, then a generous helping of tomato sauce. You’re aiming for about 1/6th of your sauce for each pan.

Meals en Masse- Lasagne 12

More noodles, and then divide your cheese evenly between your three pans.

Meals en Masse- Lasagne 13

More noodles. I ran out of noodles at this point because I only had two boxes, so I had to run out and get more. And it was cold. Hooray for expectant mother parking spots.

Meals en Masse- Lasagne 14

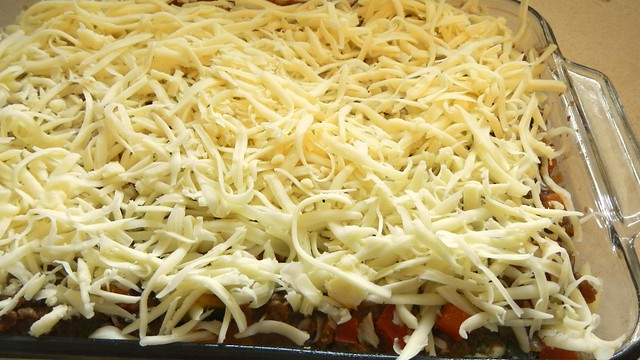
Finally add in the rest of your sauce and smother it lovingly in cheese.

Meals en Masse- Lasagne 15

The ready-made version can be cooked in about 45-60 minutes at 350°F.

Meals en Masse- Lasagne 16
I’m putting in this same photo again so you can see how saucy and liquidy the sauce is, despite its thickness – that extra liquid means the noodles will cook through properly without drying out the dish.

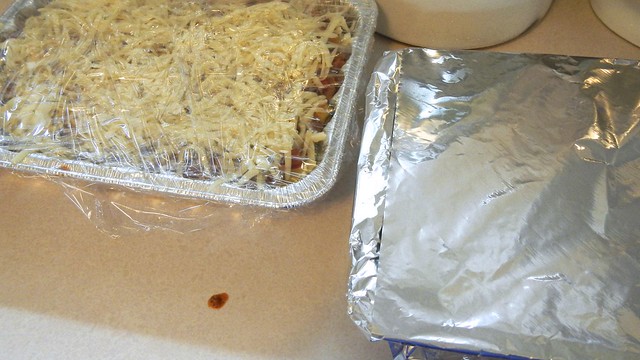
The others need to be wrapped well and frozen. I recommend thawing them before cooking, and they’ll probably take about twice as long to cook through because they won’t already be nice and warm. Enjoy!

Meals en Masse- Lasagne 17

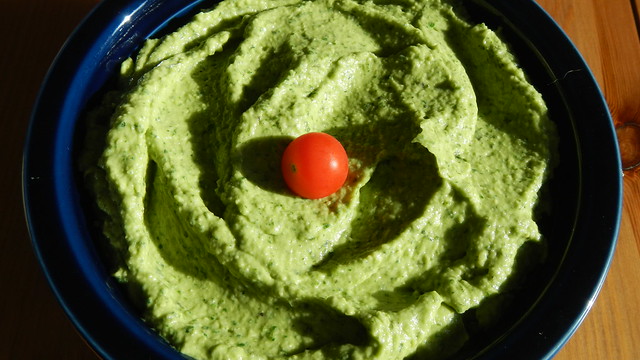
Guacamole Hummus

Guacamole Hummus 9

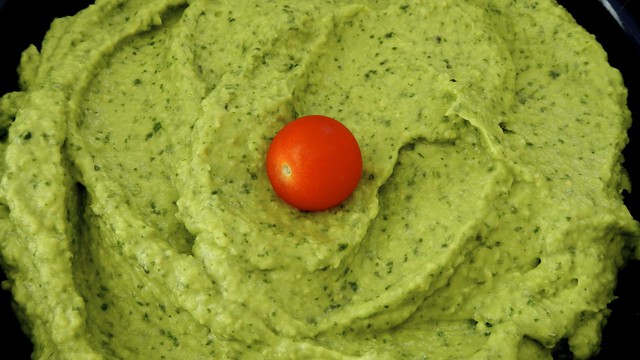
I made this Martha Stewart dip for my parents’ 40th wedding anniversary party and it was a lovely and cool addition to the nibblies section. It’s also got all the best parts of guacamole and of hummus without the extra effort of the hummus and the non-storability of the guacamole as separate entities. I made quite a few Martha Stewart recipes for this party, as Ms. Martha sure knows how to throw a shindig. It goes well with tortilla chips or any flatbread and lasts a couple days wrapped up in the fridge.

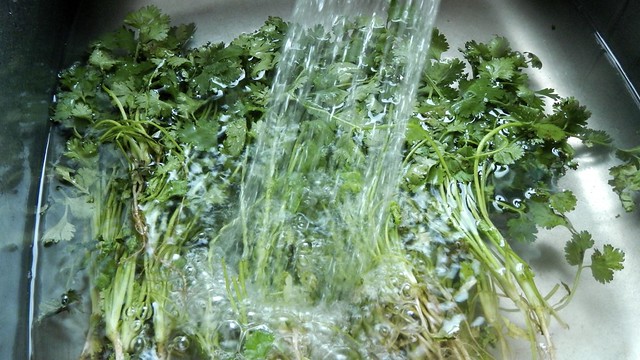
Start by thoroughly washing a large bunch of cilantro. And by washing I mean fill your sink with a few inches of water, plop the bunch in, and swish the stalks around with more water pounding down on top.

Guacamole Hummus 2

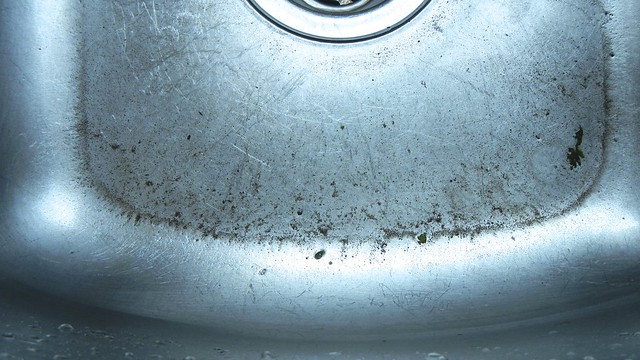
Because cilantro is filthy. This is the sink after I pulled it out, shook it off, and towel dried it. Chop the leaves off and shove them into the bowl of your food processor.

Guacamole Hummus 3

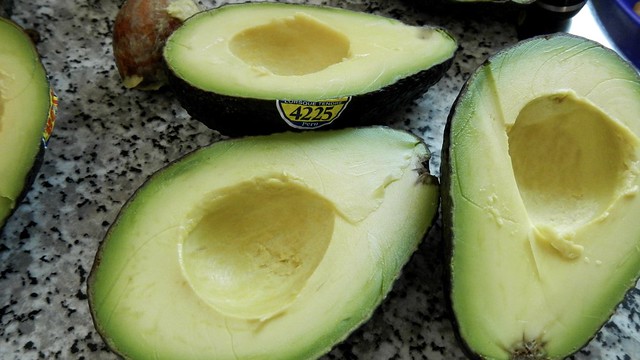
Halve as well two to three ripe avocados (the original recipe called for only one but that didn’t seem like enough). Chuck those in the food processor as well.

Guacamole Hummus 4

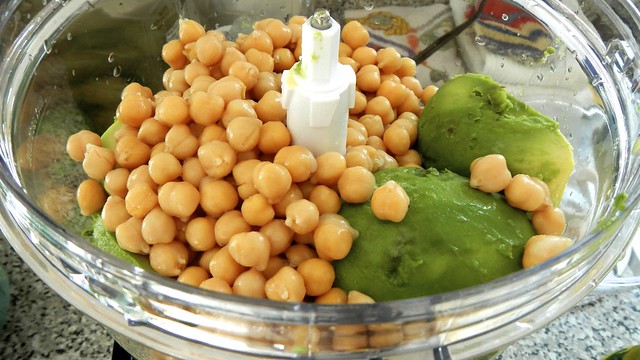
Then drain a 15oz can of chick peas and rinse them well. Pour those into the food processor too. I also added in one of my pucks of roasted garlic purée.

Guacamole Hummus 5

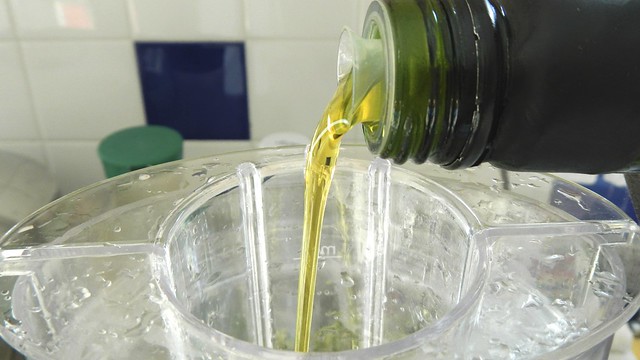
Start the machine running and chopping all your dippy goodness up. While it’s going, drizzle in some olive oil and some water until it’s the smooth consistency that you like. A couple tablespoons of each should suffice. Tip in a tablespoon or two of fresh lemon juice too.

Guacamole Hummus 6

Season it to taste with salt and pepper and serve with lemon wedges and all sorts of scoopable tortilla chips and flatbreads.

Guacamole Hummus 7

Greek Baked Eggs

Baked Eggs 14My brother and I take turns hosting a family brunch every second Sunday, and because both of our families are on tight schedules on Sundays (us with getting Gren exercised and tired prior to the brunch, and them with getting the General up and ready to go in time), it makes sense to prepare dishes that can be made ahead of time, or that can be cooked all at once, and also dishes that don’t require constant presence in the kitchen when we should be paying attention to the interactions between corgi and toddler. This one from Salted and Styled requires some focus and prior preparation but it’s very quick so you’re not in the kitchen for very long. The original recipe worked for 5 servings, but I upped mine to 8 so the measurements are approximate. Go with what looks good to you. Baked Eggs 2

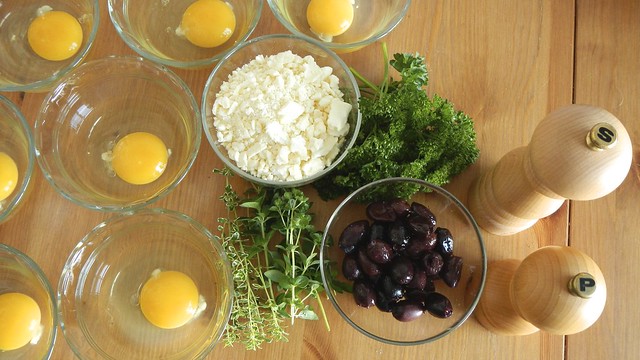
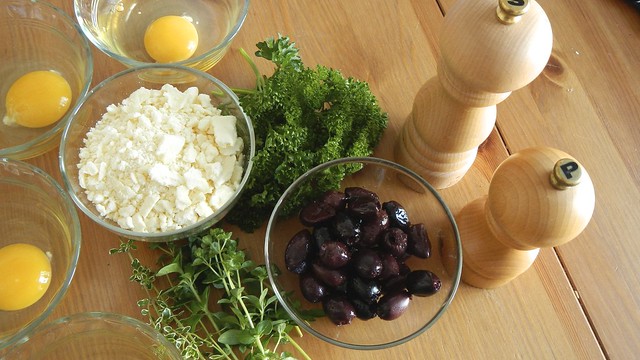
Start by cracking however many eggs you want into individual bowls. You’ll need to pour these quickly later so that’s why you’re doing this. Grab as well some fresh herbs from the garden: parsley, thyme, and oregano. I bet some sage would be tasty as well, and if you wanted to alter the flavour a little then you could maybe do a sage-savoury-chives combo or something like that. Chop up the herbs and set them aside for a minute. Grab a few handfuls of feta cheese and crumble that up as well.

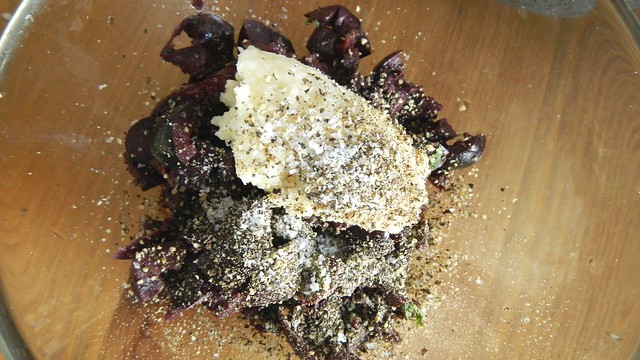
Baked Eggs 4Grab as well a handful of Kalamata olives, and chop those up (after removing the pits). Mix that with a little bit of minced garlic and some salt and pepper. Go easy on the salt though, as the olives and the feta are both pretty salty in their own right.Baked Eggs 5

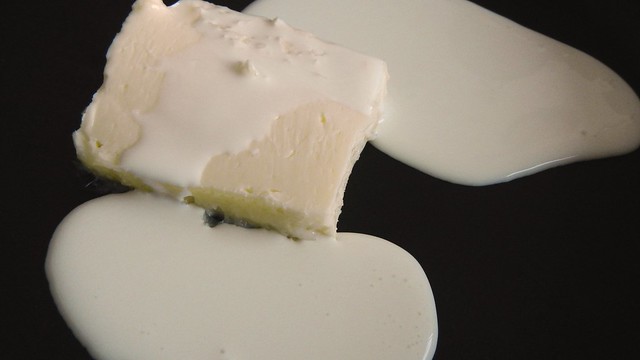
Now preheat your broiler and grab a large cast-iron skillet or wide, shallow baking dish. Dollop some butter in there as well as a few drops of heavy cream.

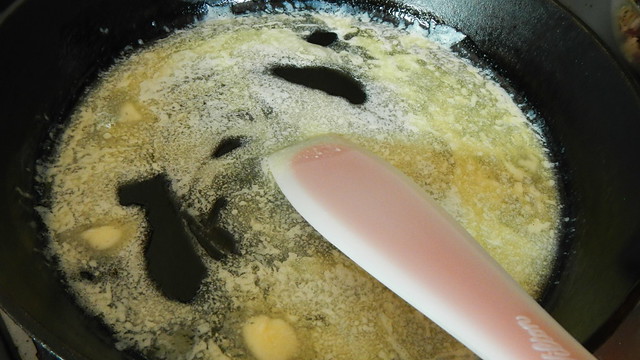
Baked Eggs 6Heat the butter and cream either under the broiler or on the stovetop until bubbly. Baked Eggs 7

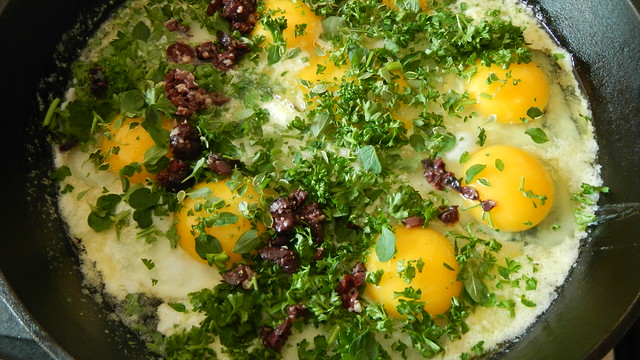
Then working very quickly, slide in all your eggs.

Baked Eggs 8Sprinkle with your herbs and olives. Baked Eggs 9

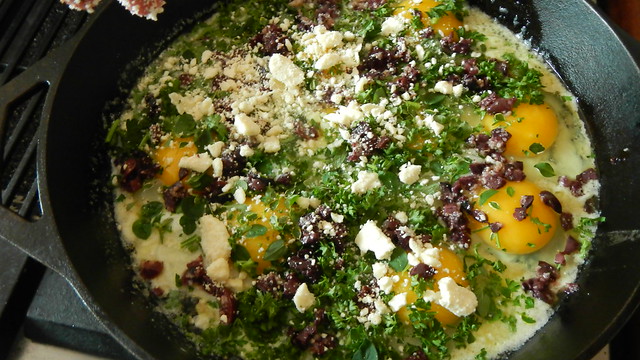
Top with feta.

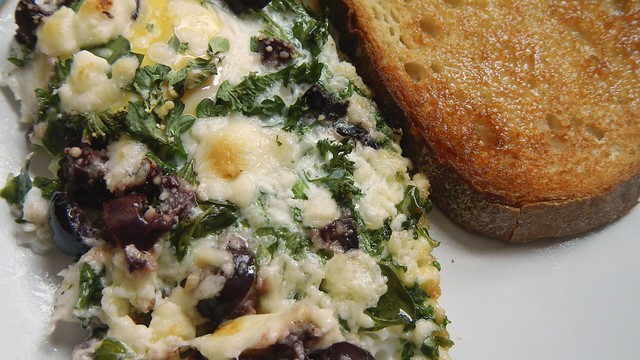
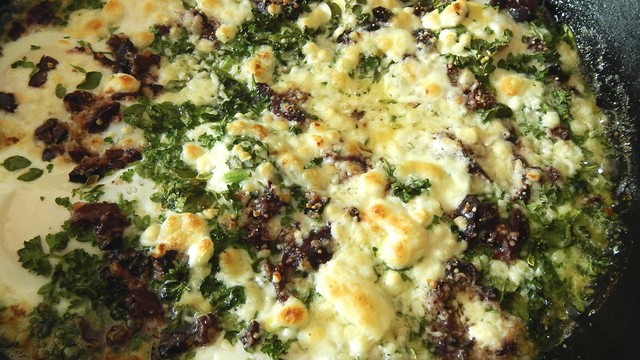
Baked Eggs 10Shove that under the broiler until the eggs are cooked to your satisfaction (runny or hard, it’s up to you) – probably less than 5 minutes. Baked Eggs 13

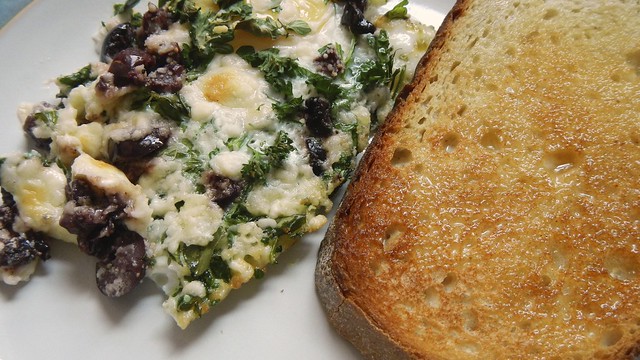
Serve straight from the pan with some buttered toast as a plate or for sopping up your yolks. Mmm!

Baked Eggs 15

Spag Bol Redux

Spag Bol Redux 16

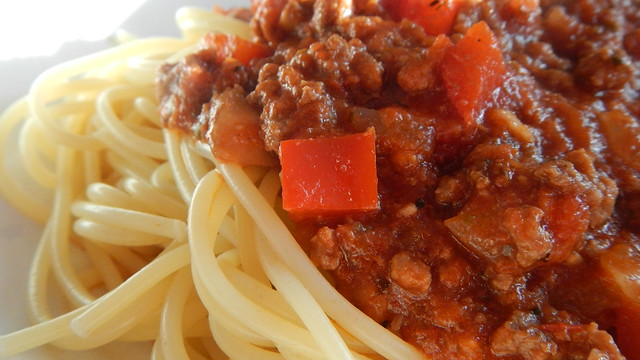
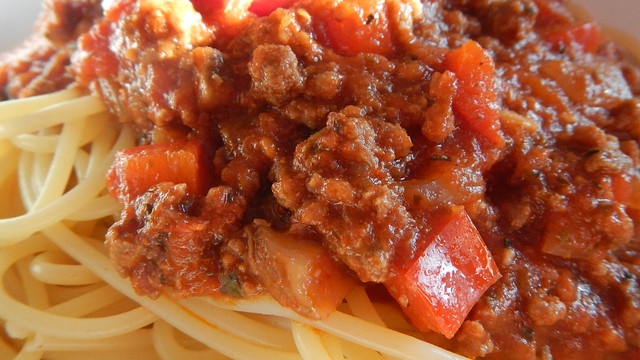
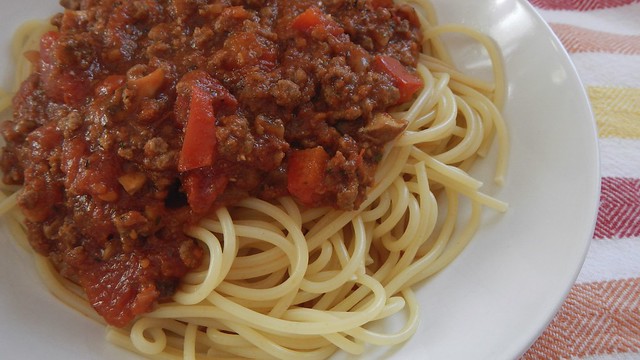
I have so many fun and exciting things to show you guys in the near future, but I thought I’d do a little bit of a retrospective today. My very first entry on this here blog, five-plus years and 900-odd posts ago, was a recipe for spaghetti bolognese. I make this spaghetti sauce all the freaking time, so I thought I’d do another post just to show you how things have changed over the years, but they still remain in essence the same. For one, the Pie and I went vegetarian for a month when I made that post so there’s no meat in that sauce. For another, I was way lazier when it came to chopping things up, so my sauces were much chunkier. I like them a bit more uniform these days.

Spag Bol Redux 17

Some things stay the same, though: I always load it down with diced onions to start. I made a crapton (a metric measurement of course) of this so that I could freeze it so I can’t give you exact measurements. Just lots.

Spag Bol Redux 2

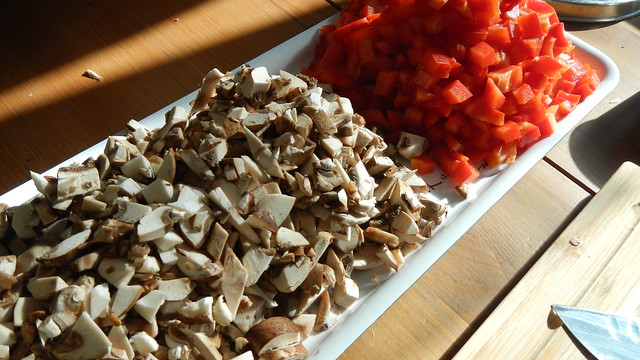
I always add diced red pepper (I’m allergic to green) and diced mushrooms. You can add whatever you wish, though. Sometimes I chuck in whatever’s in my fridge that needs to be used: avocadoes (they add a nice thickness the sauce), tomatoes, sometimes even carrots.

Spag Bol Redux 5

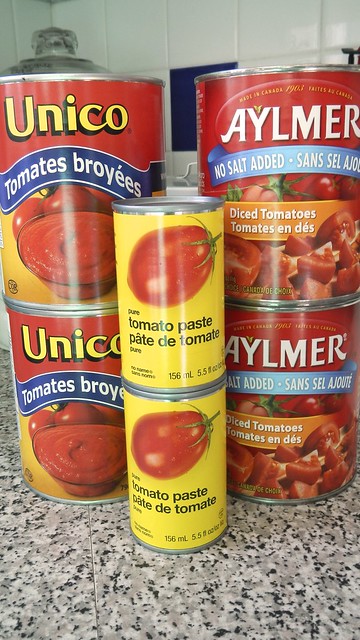
And then of course a variety of tomato-based canned items. I used to use jarred spaghetti sauce as my base but I found they were sneaking green peppers into the mix and it wasn’t doing my digestive system any good so I switched to canned crushed tomatoes, tomato paste, and canned diced tomatoes.

Spag Bol Redux 1

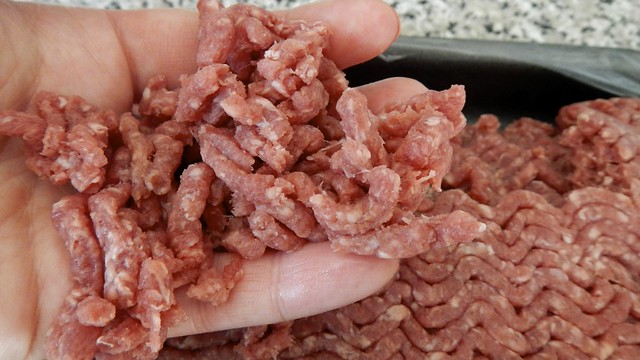
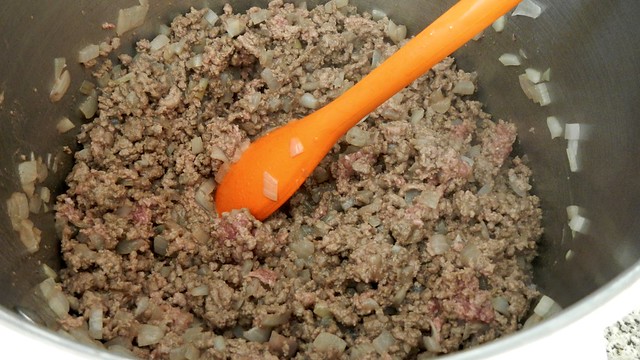
First I start by sautéeing up the onions with olive oil and a little butter. I let them go until they’re smelly and soft. Then I pull apart a large hunk of lean or extra lean ground beef. I like to break it up with my fingers to ensure that there are no big chunks in the pot. You can also use ground turkey or pork or whatever works for you. If you’re going the veggie route and using TVP, add that last.

Spag Bol Redux 4

Spag Bol Redux 6

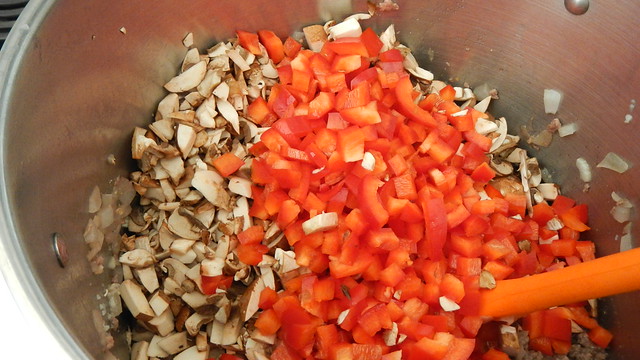
After the meat is browned to my satisfaction I tip in my vegetables, as well as some minced garlic, salt, pepper, and various spices.

Spag Bol Redux 8

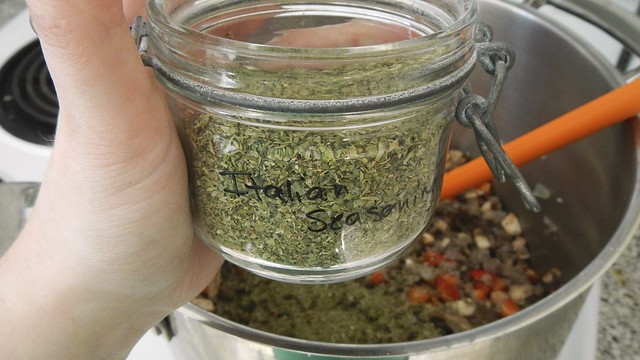
I like a mix of italian spice plus extra basil.

Spag Bol Redux 9

I add in all my tomato things as well and give that a grand old stirring.

Spag Bol Redux 10

Let that simmer for at least half an hour so the flavours can mingle, and feel free to adjust the spices as you see fit. I like to let it simmer as long as I can, but it’s good either way.

Spag Bol Redux 11

Cool and freeze or serve hot on top of your favourite fresh pasta, baked into a pasta casserole, or glopped on top of bread as a sloppy joe!

Spag Bol Redux 20

Rosemary Pork Loin Roast

Rosemary Garlic Pork Loin 11

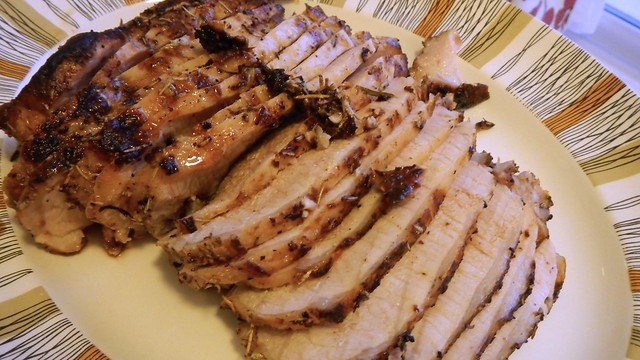
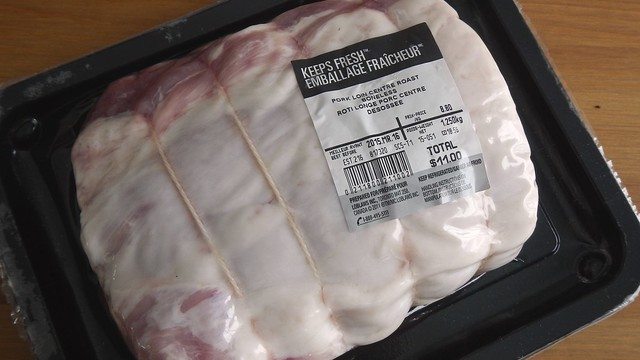
I made this pork roast for a recent dinner party and it turned out so perfectly I’m still thinking about it several days later. Start with a boneless pork loin roast. This one is a little over 1kg (I was serving 6 people at the dinner). Unwrap that and give it a quick rinse, then set it on a plate for a second.

Rosemary Garlic Pork Loin 1

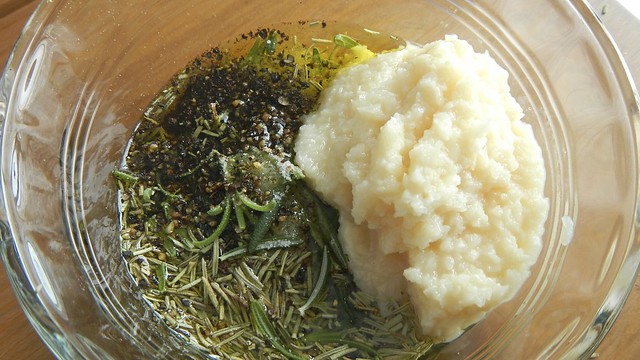
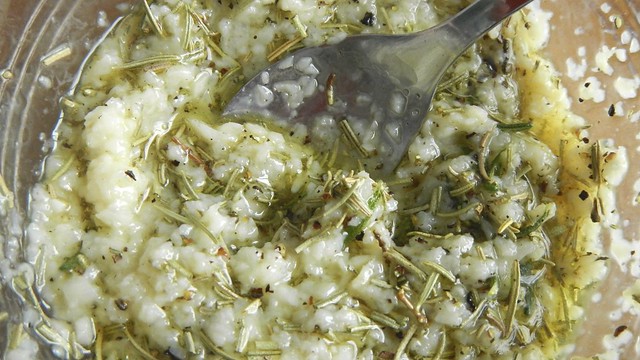
In a small bowl, mix together 1/4 cup olive oil, 8 cloves minced garlic, a bunch of coarsely chopped rosemary leaves (I used half fresh and half dried because I’m defenestrating my rosemary plant too quickly these days), 2 teaspoons kosher salt, and 1/2 teaspoon freshly ground black pepper.

Rosemary Garlic Pork Loin 2

This is your delightfully garlicky marinade.

Rosemary Garlic Pork Loin 3

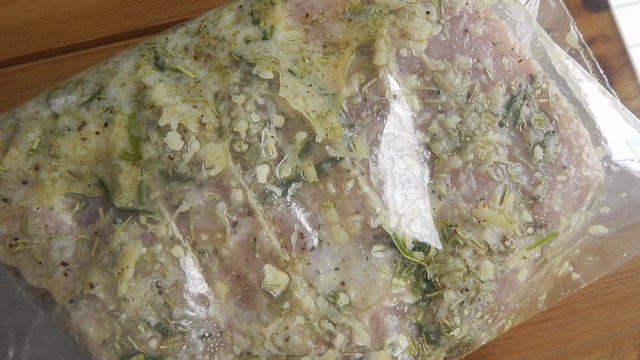
Rub it into the flesh and fat of your pork loin (don’t be shy – get it in there good), then shove the meat into a sealed plastic bag and chuck that in the refrigerator, preferably overnight.

Rosemary Garlic Pork Loin 4

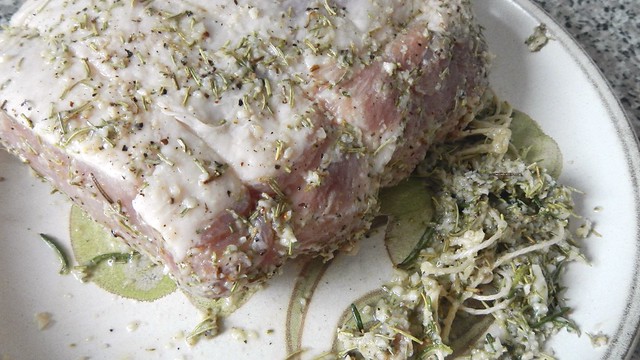
Bring the pork out of the fridge at least half an hour before you’re ready to cook it. Preheat your oven to 400°F and scrape most of the marinade off the meat. I cut the little strings as well while I was at it.

Rosemary Garlic Pork Loin 5

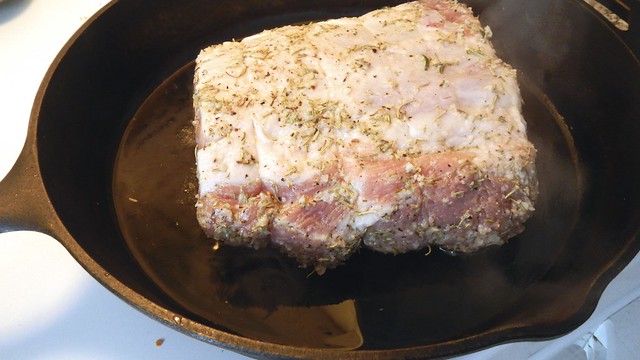
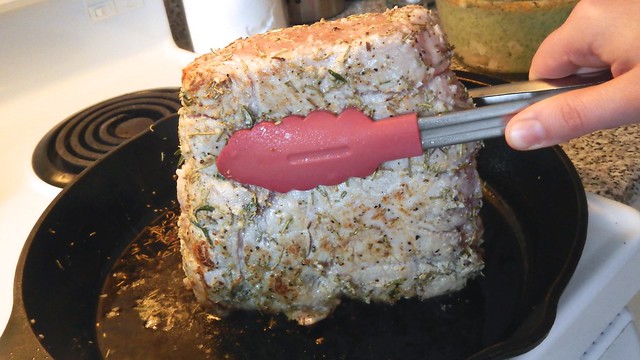
Grab a cast-iron skillet and set it on a burner at high heat. Tip in about 2 tablespoons olive oil and heat that until it starts to shimmer. Carefully place your pork into the skillet and cook it, rotating carefully, until it’s brown on all sides.

Rosemary Garlic Pork Loin 6

This should take about 5-10 minutes. You may want to turn your fan on as it can smoke a bit as the garlic and rosemary burn in the oil.

Rosemary Garlic Pork Loin 7

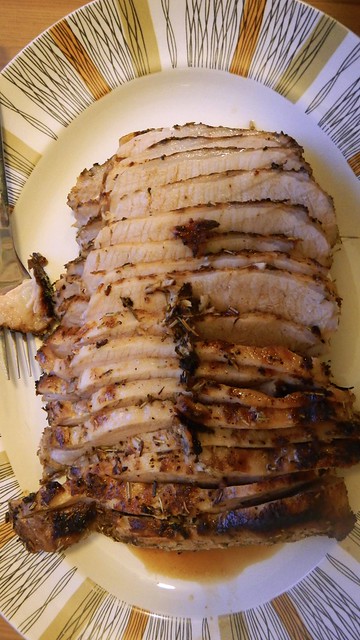
Shove the whole skillet into the oven with the pork lying fat-side-up and roast for 45 minutes or so, until the internal temperature reaches 135°F. Let the roast rest for about 15 minutes before slicing it into deliciously tender slices.

Rosemary Garlic Pork Loin 9

We served ours with a dollop of red pepper jelly and it made the night!

Rosemary Garlic Pork Loin 13

Pureed Pucks of Roasted Garlic

Garlic Pucks 8

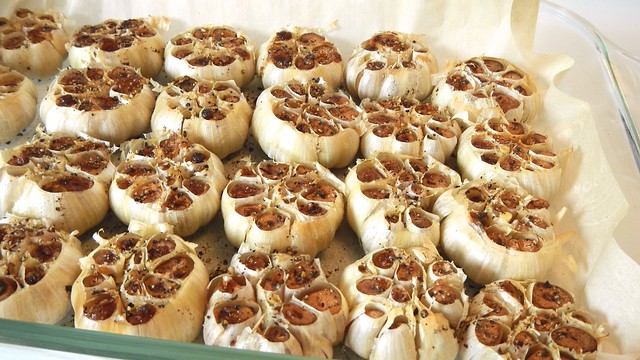
I was at the grocery store recently and I found a huge bag of garlic, 18 heads of it in total, for a whopping $2.49! I quickly nabbed a bag and surreptitiously shoved it through the scanner at the cash in the hopes that it wasn’t a pricing error. So now I had 18 heads of garlic to deal with. I of course roasted them all. If you’ve never done it, check out my instructions here. Now, roasting 18 heads of garlic means that your eyes are watering and you will never get the smell of roasted garlic out of the house, but it’s a worthy sacrifice.

Garlic Pucks 2

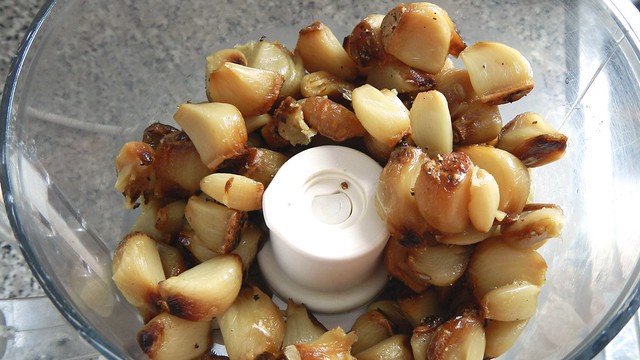
I let it cool and then carefully popped each gloriously caramelized clove of sweet roasted garlicky goodness out of the head and into my food processor. I saved one head for a soup I was making, but there are 17 heads in there.

Garlic Pucks 4

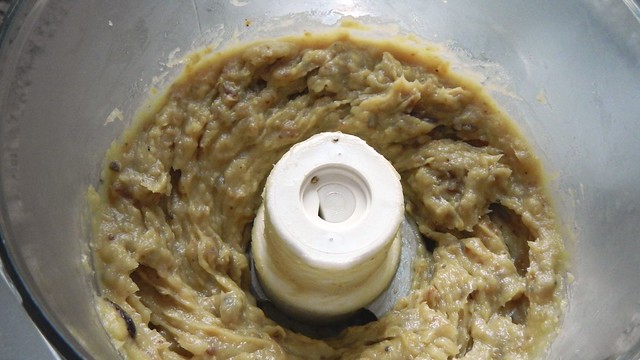
Then I gave it a whaz. Hello, gorgeous.

Garlic Pucks 5

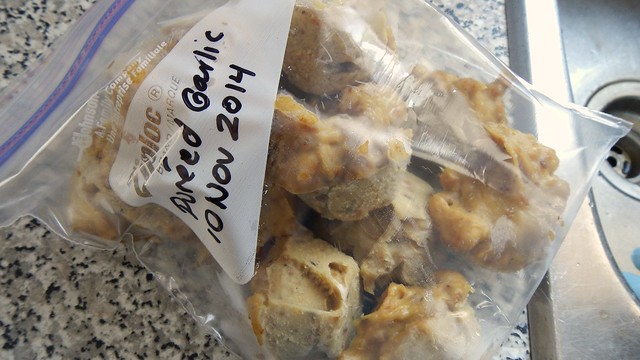
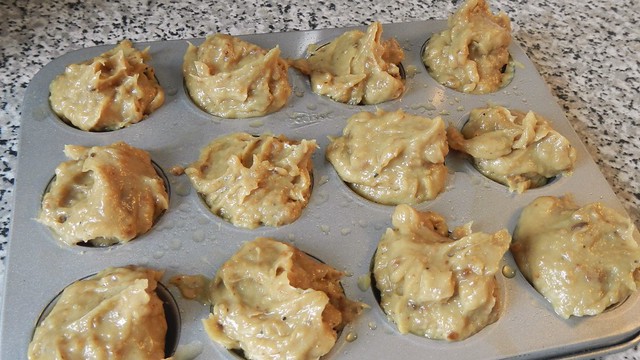
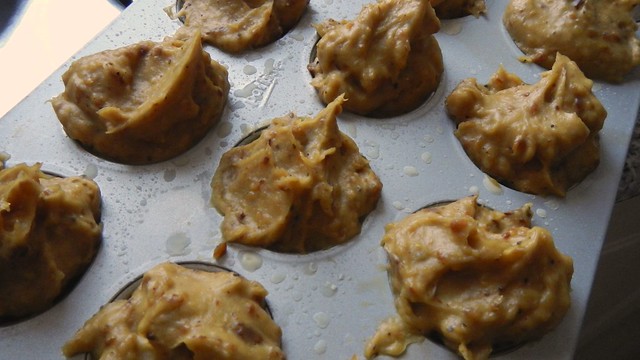
Then I sprayed a mini muffin tin with olive oil and shoved my new garlic paste into the cups. There are only twelve cups in this tin so it’s like concentrated garlic goodness: each one contains almost one and a half heads of roasted garlic.

Garlic Pucks 6

Pop that in the freezer overnight, then store the frozen lovely pucks in an airtight bag in the freezer and use as needed in soups and sauces and whatever else you want. When it comes to roasted garlic, the sky is the limit.

Garlic Pucks 7