Jammy Bran Muffins

These muffins are a little bit different from your usually brown bran muffins. As you may know, I have a love/hate relationship with bran, so I’m always looking for new ways to ingest fibre without feeling like I’m eating sawdust. It’s a never-ending challenge. The additional challenge of these is that for some reason I have four jars of jam in my fridge and neither the Pie nor I is eating a lot of toast at the moment. So I decided to use it as my sweetener in this shindig.

Jammy Bran Muffins 2

Start by setting your oven to preheat at 350°F and spray a muffin tin or rub it with butter. If you don’t have any buttermilk on hand, feel free to sour some milk by adding 1 tablespoon lemon juice to every cup of regular milk. Give that a stir and leave it for 5 minutes.

Jammy Bran Muffins 1

In a large bowl, whisk together 2 cups all-purpose flour, 1 1/4 cup bran, 1/4 cup ground flax (because it’s good for you – make sure it’s partially ground before you add it in), and 1 1/4 teaspoons baking soda.

Jammy Bran Muffins 3

Jammy Bran Muffins 4

In a smaller bowl, scramble together 4 tablespoons melted butter3/4 cup of your favourite jam (this one is serviceberry), 1 large egg, and 2 cups buttermilk (or alternative).

Jammy Bran Muffins 6

Now pour the liquids into the solids and gently whisk until only just combined.

Jammy Bran Muffins 7

Dump in 1 cup raisins (or not, if you’re not a fan of raisins) and whisk until just combined again – never over-mix muffins. If you do they end up flat. And that’s lame.

Jammy Bran Muffins 8

Divide the batter in your tin. Bake those puppies for 20-25 minutes, until the centre muffin tests clean when stabbed with a toothpick.

Jammy Bran Muffins 9

Leave them in the pan for about 5 minutes to cool a little bit before digging them out and eating them or letting them cool completely.

Jammy Bran Muffins 11

We always like our muffins hot, with butter. Because, well, butter.

Jammy Bran Muffins 14

Rice Pudding

Rice Pudding 25

I LOVE rice pudding. It was a big treat for us growing up in a household where desserts were a rarity. And it was a dessert that, like apple crumble, was totally legal for BREAKFAST too! My grandmother made it. My mother made it. I’ve made it too.

I’ve been hankering for it recently, and I realized I haven’t made it in almost a decade. BECAUSE THE PIE *HATES* RICE PUDDING. So in all the years we’ve been together I’ve only made it once.

Well that’s about to change. If he doesn’t like it, then it means I can have the whole thing to myself for breakfasts and desserts for, like, a WEEK.

Rice Pudding 1

Now there’s kind of two schools about rice pudding – there’s the totally squishy school of puddings, where the rice pudding actually is more pudding like – and then there’s the baked pudding school, where it’s more like a casserole with custardy bits surrounded by crunchy. I’m kind of somewhere in the middle, but on this one I’m going to go with the more creamy stove-top version. I also like mine with raisins and orange zest and cardamom and lots of cinnamon so if you don’t, well – just leave them out. But I’m going to judge you for that. I won’t judge you for replacing dairy with coconut milk – that stuff goes well with everything.

Rice Pudding 4

The type of rice you use can determine how creamy your pudding will turn out, and as traditionally this dish likely emerged from leftovers, take a look at what you’ve got stored in your fridge. If you use arborio rice, for example, your pudding will be very much like risotto (because that’s what arborio rice is for). Short or medium grain rices will also make for more creamy puddings. And then the spices you use all depend on which grandma’s recipe you’re using, and where that grandma is from. So this is *my* version, that I came up with after some experimentation. It’s not quite my mother’s. It’s not quite my grandmother’s. It’s all mine. I’ll be the grandma some day with this recipe.

Rice Pudding 3

Before you start, measure out 2 cups milk or cream and crack open a 400mL can of coconut milk (or use any combination thereof).

Rice Pudding 5

Beat up 1 egg and put that in a dish. Actually, scratch that. Put an egg in a dish. THEN beat it. Hard to do it the first way ’round.

Rice Pudding 8

Zest as well 2 oranges and put the zest in a dish. Juice the oranges and drink up that glorious vitamin C. You’re gonna need it – winter is coming.

Rice Pudding 7

Now, grab 1 cup arborio rice (the risotto stuff).

Rice Pudding 6

I plopped it in a large pot with 2 tablespoons butter and let the butter get all melty and bubbly and stuff.

Rice Pudding 9

Then I poured in 2 cups water and brought the whole thing to a simmer.

Rice Pudding 10

FOR LIKE EVER. Seriously it takes forever to cook risotto. Keep stirring it occasionally so it doesn’t stick to the bottom.

Rice Pudding 11

Getting there …

Rice Pudding 12

… almost there …

Rice Pudding 13

When you can kind of scoop it to one side and it doesn’t flow back super fast you’re probably ready for the next step.

Rice Pudding 14

Now you can pour in the milk and give it a stir. Tip in the egg as well and stir it around before the milk gets hot enough to curdle the egg.

Rice Pudding 15

Bring it to a simmer and let the mixture begin to thicken, which it will do pretty quickly. While that’s happening, I grabbed 1/2 cup raisins and left them to soak in 2 splashes warm water and 1 splash bourbon (optional).

Rice Pudding 16

Tip some honey into the pot until it’s sweetened to taste. I used about 1/4 cup honey.

Rice Pudding 17

You can add in your orange zest now, as well as 1 teaspoon cinnamon and 1 teaspoon cardamom.

Rice Pudding 18

Then I chucked in the raisins, bourbon-water and all.

Rice Pudding 19

Lower the heat and allow that to simmer, stirring occasionally.

Rice Pudding 20

The liquid will begin to disappear.

Rice Pudding 21

We are almost there. I dig those totally round air bubble pockets.

Rice Pudding 22

When the pudding is at a consistency that you like (i.e., when you stir it the liquid doesn’t form pools) then it’s ready to serve. You can enjoy it hot and liquidy or cold and solid – it’s entirely up to you!

Rice Pudding 24

Banana Oatmeal Bran Muffins

Banana Oat Bran Muffins 15

I’m not a huge fan of bran muffins, to tell the truth. I mean, the older I get the more I appreciate their functionality in my diet, but they’re still not a favourite. The Pie absolutely LOVES them, though. I swear he’s actually seventy. So I thought I’d play around with the mixture a bit and see if I could come up with something that still had all the benefits of bran with a bit more of a flavour, and these not-too-sweet muffins did the trick.

Banana Oat Bran Muffins 12

These can also be frozen in their unbaked form for cooking up later, which is handy for me as I am yet again filling up friends’ freezers in anticipation of future little ones. All you do is scoop the mixed batter into cupcake liners, freeze them, and then add five minutes to the baking time when you bake them from frozen. Easy peasy.

Banana Oat Bran Muffins 9

But of course you want to try some of these puppies right away. So preheat your oven to 350°F and line some muffin tins with liners (or give them a good spraying or buttering, whatever suits). I doubled this recipe (so I could freeze some) so don’t be alarmed at the massive amounts in the pictures. Deep breaths.

Banana Oat Bran Muffins 1

In a bowl, whisk together 2 cups all-purpose or whole wheat flour, 1 cup oats (rolled, not steel cut), 1 cup bran, 2 tablespoons sugar, and 1 1/4 teaspoon baking soda. That’s your dry bowl.

Banana Oat Bran Muffins 3

For your liquids you’ll likely need a bit more preparation. First, I had some bananas in the freezer that needed thawing out, but when they were good and squishy I went ahead and mushed up 3 ripe bananas.

Banana Oat Bran Muffins 4

You’ll also need some buttermilk. If you don’t have buttermilk you can simply sour regular milk by adding 1 tablespoon lemon/lime juice or vinegar to every cup of milk you use and letting that sit for about 5 minutes. For this recipe you’ll need 2 cups buttermilk/soured milk. I also opted to switch out the traditional molasses used in bran muffins for 1/2 cup honey. In addition to that in your liquid bowl you’ll need 1 large egg and 4 tablespoons melted butter.

Banana Oat Bran Muffins 5

Mix both the liquids and the dry stuff well, but SEPARATELY. The whole trick with muffins is not mixing them too much. I think in this case with me trying to incorporate the bananas I ended up overmixing but you should try not to do that.

Banana Oat Bran Muffins 6

Your batter should still be pretty lumpy when you tip in 1 cup raisins or nuts (optional).

Banana Oat Bran Muffins 7

Scoop your batter into your prepared tins and either freeze them or bake them for about 25 minutes, until a toothpick inserted in the centre muffin comes out clean.

Banana Oat Bran Muffins 8

Let those cool in the pan about 5 minutes before scooping out to a wire rack to cool completely.

Banana Oat Bran Muffins 10

I like eating them still-hot with a wee bit of butter. So good!

Banana Oat Bran Muffins 17

Super Fast Cinnamon Rolls

Cheater Cinnamon Buns 19

As you know, I’m on a quest to create the best cinnamon bun out there, for my tastes, at least. People are very particular about their cinnamon buns: some like them frosted, some like them dry, with nuts, with raisins, with nothing … I like mine soft and sticky AND frosted. Raisins are okay but nuts I can usually do without.

Cheater Cinnamon Buns 18

I don’t make cinnamon buns very often because of all the kneading and rising that they entail (and my current house is a little too cold at the moment). But these ones were easy – they’re not actually cinnamon buns in the way you’d expect – and they served to assuage my craving until I have the time and the temperature to do another batch for real. Preheat your oven to 350°F and line two baking sheets with parchment paper. I wouldn’t skip the parchment paper, as the sugar coming out of these will caramelize and stick, so it’s better that it sticks to the parchment and not your pans.

Cheater Cinnamon Buns 1

Grab a small bowl and dump in about 3/4 cup brown sugar, 2 teaspoons ground cinnamon, and 1/2 cup softened butter. Or less. You might want slightly less, as mine oozed everywhere. But if you like to live dangerously, then follow me!

Cheater Cinnamon Buns 2

Give that a good mooshing with a fork or pastry cutter or even your hands, doesn’t matter.

Cheater Cinnamon Buns 3

Now grab a package of thawed puff pastry (you will need to think far enough ahead for this to grab the box out of your freezer and chuck it in the fridge the day before, but that’s not that hard) and roll out the two rectangular sheets. If you bought the stuff that comes in blocks, then just roll it out flat.

Cheater Cinnamon Buns 4

Sprinkle the sugar mixture generously and evenly across the surface of the pastry.

Cheater Cinnamon Buns 5

If you’re feeling like going further, add a sprinkling of raisins and crushed walnuts as well.

Cheater Cinnamon Buns 6

Carefully roll each sheet up into a tube. Chuck that in the fridge or freezer for a few minutes to stiffen up.

Cheater Cinnamon Buns 7

Slice each tube into disks about 1 1/2″ thick. I think I ended up with 8 buns from each tube.

Cheater Cinnamon Buns 8

Lay those flat on your baking sheets and shove them in the oven for 10-15 minutes, until the pastry is puffed and golden and the butter is all melted.

Cheater Cinnamon Buns 9

Remove the sheets from the oven and carefully slip the still-hot buns onto a sheet of waxed paper or parchment to cool completely. Feel free to flip them upside down while they’re still warm and oozy if you like your sticky part to be on top.

Cheater Cinnamon Buns 12

If you leave them in the pan they’ll stick to the caramelized sugar at the bottom and then they won’t come off and you’ll be sad.

Cheater Cinnamon Buns 11

When they were cool, I mixed together about 1/2 cup icing sugar with 1 teaspoon vanilla bean paste and a dribbling (probably 1 tablespoon) of whipping cream.

Cheater Cinnamon Buns 14

Doesn’t that glaze make your mouth water?

Cheater Cinnamon Buns 15

I dumped it into a small plastic bag.

Cheater Cinnamon Buns 16

And piped it onto the cooled buns.

Cheater Cinnamon Buns 17

Try not to eat them all at once, okay?

Cheater Cinnamon Buns 21

Giant Apple Croissant French Toast

Apple Croissant French Toast 21

Our families are too big to have over at the same time (because our new dining room is tiny), so when we wanted to host a nice summer housewarming brunch, we split them up: my family last weekend, and the Pie’s family this coming weekend.

Apple Croissant French Toast 6

Because Krystopf and Atlas were coming and they were bringing the newly-mobile, currently-teething, and generally low-patience General Zod with them, we knew this particular brunch had to be easy and it had to be something they could eat and run.  I had made a Croissant French Toast Casserole before, and it had been pretty good, albeit way too sweet.  So for this one I dropped the sugar altogether in the egg mixture (it’s still in the streusel topping) and added a bunch of fresh and dried fruit to the mix.  I think it’s my new favourite, and everyone went back for second helpings so I think they liked it too.  I doubled the recipe to give leftovers, so this probably will feed 12 comfortably.  Feel free to halve it — though I bet it freezes well, and this amount made 2 casserole dishes’ worth, which would be enough for a potluck as well.

Apple Croissant French Toast 1

Start with 12 stale croissants.   If they’re not quite stale, rip them up and leave them out for a couple hours and then they’ll be stale.  Don’t sacrifice a truly fresh croissant for this, though.  If you have a hot fresh croissant, you need to stuff that in your face this instant, or we can’t be friends anymore.

Chop up 3 apples into bite-sized pieces and set those aside.

Apple Croissant French Toast 7

I also grabbed a jar of diced dried apricot and another of golden raisins, just for variety.

Apple Croissant French Toast 9

Apple Croissant French Toast 8

Crack 10 eggs into a large bowl.

Apple Croissant French Toast 10

Whisk in 3 cups milk (I used a mixture of cream and milk), 3/4 cup yogurt (any kind — I used Activia prune), 2 teaspoons cinnamon, and 2 tablespoons vanilla.

Apple Croissant French Toast 11

Make sure you manage to break all those yolks.

Apple Croissant French Toast 12

Butter two 9″ x 13″ pans generously and start layering in bits of torn-up croissant.  I then took a scoop or two of apple pieces and sprinkled them on, together with a small handful each of dried apricot and raisins.

Apple Croissant French Toast 13

Layer on more croissant pieces, and more fruit, but make sure that the top layer is just croissant pieces, as the fruit will simply burn in the oven if left exposed.  Then, just pour on the egg mixture until everything is lovely and saturated.  Cover the casseroles with plastic and chuck them in the fridge overnight.

Apple Croissant French Toast 15

The next day, preheat your oven to 350°F and grab a bowl.  Tip in 3/4 cup flour, 1 cup brown sugar, and 3 teaspoons cinnamon, and give that a good whisk up.

Apple Croissant French Toast 16

Use a pastry blender to cut in 3/4 cup cold butter until you’ve just got little pea-sized pieces of it.

Apple Croissant French Toast 17

Sprinkle that goodness all over the tops of your casseroles and bake them for about an hour and a bit, until the top is dark brown and the egg is all cooked. We served ours hot with maple syrup and a lovely layered fruit salad on the side.

Apple Croissant French Toast 19

Chock-Full Muffins

Chock-Full Muffins 14

The thing I like best about muffins is that, while they’re pretty picky about how you mix them, there is no exact science as to what you mix into them.  This means that every time I make a batch, I try my hardest to cram everything I can into each one.  How many things?  All the things.

Chock-Full Muffins 2

Let’s DO this.  Preheat your oven to 400°F and grease a muffin tin or line it with paper liners.  Greasing might actually work better in this situation, as I found the baked muffins were hesitant to come out of their liners.

Chock-Full Muffins 1

In a bowl, whisk together 2 cups all purpose flour, 1 tablespoon baking powder,  and 1/2 teaspoon ground nutmeg.

Chock-Full Muffins 3

Then plop in 1/2 cup bran and 1/2 cup unsweetened coconut and stir that as well.

Chock-Full Muffins 5

Melt about 1/2 cup butter and add it to a bowl with 2 large eggs, 1/2 cup milk, 1/2 cup yogurt (your choice), 2 teaspoons vanilla, and 2/3 cup brown sugar and give that a stir.

Chock-Full Muffins 8

I actually used coconut sugar, because I had it on hand.  I like it because it’s not super sweet.

Chock-Full Muffins 7

Grab a few handfuls of dried fruit and nuts, if you’d like, about 1 1/2 cups.  Here we have dried versions of cranberries, cherries, blueberries, grapes (raisins, duh), and apricots.

Chock-Full Muffins 9

Now here’s the trick with muffins: don’t mix the wet with the dry until you’re ready to plop the batter in your baking tin.

Chock-Full Muffins 10

Add the flour mixture to the egg mixture and stir until just barely combined.  Now you can add in your fruit and stir just until it’s evenly distributed throughout.

Chock-Full Muffins 11

Drop the batter into your muffin tins.  I ended up completely overflowing mine because these puppies don’t expand too much.

Chock-Full Muffins 12

Bake for about 17 minutes, until a toothpick inserted into the centre muffin comes out clean, and let cool for a few minutes.

Chock-Full Muffins 13

So good with butter!

Chock-Full Muffins 16

Cinnamon Buns and Puppy Sitting

Cinnamon Buns and Puppy Sitting 27

I have a serious backlog of posts for you folks just sitting, waiting for me to have a chance to write them all down.  I’m also horribly behind on my holiday gifts, too, but I’ll talk a bit more about that a little ways down the road.

IMAG0098

Anyway, a couple weeks back we were puppy sitting for a friend of ours.  This is Stella.  She’s grown significantly since I took this picture, but she’s still a little cuddly doll.

IMAG0114

That said, however, keeping an eye on the little troublemaker basically trapped us downstairs for a couple hours.  The best way to pass the time, I figured, was to make cinnamon buns.  Because, well, that’s the sort of thing I do. These ones are less sweet and not very sticky, more a roll than a sticky bun.  Papa John, of course, adored them, but they’ve got tons of cinnamon in them so that’s a foregone conclusion where he is concerned.

IMAG0099

Let’s start with the dough, shall we?  In a large bowl, mix together 2 1/4 cups all-purpose flour with 1 tablespoon active dry yeast (or one packet).

Cinnamon Buns and Puppy Sitting 1

In a small saucepan, melt together 1/3 cup butter with 1 cup milk and 1/3 cup granulated sugar.  Stir this until it’s just warm, about 130°F, then add this to the flour mixture.

Cinnamon Buns and Puppy Sitting 2

Add in 3 eggs and beat with an electric mixer on low for about 30 seconds.  Make sure to scrape the sides of the bowl so all the goodness is in there.  Then you can beat it for about 3 minutes.

Cinnamon Buns and Puppy Sitting 7

Use a wooden spoon to stir in about 2 1/4 to 2 3/4 cups additional flour.  It will be slightly more or less depending on humidity levels, moisture, etc.  All that jazz. Tip the dough out onto a lightly floured surface and knead that sucker with a bit more flour to make a nice soft dough that is smooth and not sticky (this will take you about 5 minutes).

Cinnamon Buns and Puppy Sitting 10

I was able to do this only because both Stella and Gren fell asleep for a little bit (after making a giant mess with their water bowl) and I had a free hand.

IMAG0115

Shape the dough into a ball and dump it into a greased bowl, turning once to coat it entirely. Cover that and let it rise in a warm place, about an hour and a half, until it’s twice the size it was.

Cinnamon Buns and Puppy Sitting 11

While that’s doing its thing, combine in a small bowl 3/4 cup packed brown sugar, 1/4 cup all-purpose flour, and 1 tablespoon ground cinnamon.

Cinnamon Buns and Puppy Sitting 3

Use a pastry blender to cut in 1/2 cup butter until it’s all crumbly.

Cinnamon Buns and Puppy Sitting 5

Give your dough a punch or two to flatten it out, then tip it back onto that lightly floured work surface and let it rest for about 10 minutes.

Cinnamon Buns and Puppy Sitting 14

Roll out your dough with a rolling pin until it’s roughly in the shape of a 12″ x 18″ rectangle.

Cinnamon Buns and Puppy Sitting 15

Sprinkle that cinnamon filling all over the rectangle, and then top with 1/2 cup toasted pecans and 1/2 cup raisins (I forgot the raisins, oops. I did add in some toasted almonds, too, just for fun).

Cinnamon Buns and Puppy Sitting 16

Start from one of the long sides and roll the dough up into a nice little tube.

Cinnamon Buns and Puppy Sitting 17

Slice your tube into 12 even pieces (start by cutting it in half, then each half into halves, and it’s easier that way) and lay them into a buttered 9″ x 13″ baking dish.

Cinnamon Buns and Puppy Sitting 18

Loosely cover the cut buns and let them rise in a warm place for another 45 minutes, until they’re all puffy and stuff.

Cinnamon Buns and Puppy Sitting 20

Then you can pop them into an oven preheated to 375°F and bake them for 25-30 minutes, until they’re a nice golden brown.

Cinnamon Buns and Puppy Sitting 21

Let them cool for a few minutes, and while they’re doing that, whip up a wee glaze.  In a small bowl, mix together 1 cup icing sugar, 1 tablespoon milk, and 1/4 teaspoon vanilla.  You can add additional milk, a little at a time, until it’s drizzle-able.  Having made this once, I would probably double the glaze amount, or at least increase it by 50%.

Cinnamon Buns and Puppy Sitting 23

Drizzle the glaze over your still-warm buns and serve!

Cinnamon Buns and Puppy Sitting 25

Coffee Raisin-Nut Bars

Coffee Raisin Nut Bars 20

We’re at that stage in the fall where we’re starting to get sick of pumpkin things, but the chocolate and peppermint of winter is still too far away.  At this point I like to rely on coffee and spice to bolster me through.  This quick plate of squares is adapted from The 250 Best Brownies, Bars & Squares, because Esther Brody has not disappointed me yet (well, except for that one time).

Coffee Raisin Nut Bars 1

Preheat your oven to 350°F and butter a 9″ x 13″ baking dish.  Make yourself a cup of coffee.

Coffee Raisin Nut Bars 3

In a small bowl, whisk together 1 1/2 cups flour, 1/2 teaspoon baking powder, 1/2 teaspoon baking soda, 1 teaspoon ground cinnamon, 1/2 teaspoon ground cloves, 1/2 teaspoon ground allspice, and 1/4 teaspoon ground nutmeg.

Coffee Raisin Nut Bars 2

In the bowl of an electric mixer, beat together 1/4 cup room temperature butter with 1 cup packed brown sugar until it’s all turned into one big bowl.

Coffee Raisin Nut Bars 4

Add in 1 egg and 2 teaspoons vanilla and beat until combined.

Coffee Raisin Nut Bars 5

Pour in 1/2 cup hot coffee and mix (drink the rest of it — I know *I* need the caffeine).

Coffee Raisin Nut Bars 6

Blend in your flour mixture, a bit at a time.

Coffee Raisin Nut Bars 7

Then tip in 3/4 cup raisins and 3/4 cup chopped nuts (I like pecans) and give that a stir.

Coffee Raisin Nut Bars 9

Spread that into your prepared pan and bake for 20-25 minutes, until you can stick a wooden skewer in it and it comes out clean.

Coffee Raisin Nut Bars 10

Set that on a wire rack to cool.

Coffee Raisin Nut Bars 16

While that’s on the go, make yourself up some frosting.

With an electric mixer, beat up 1 cup icing sugar with 1/2 cup softened butter until it’s all fluffy and frosty.

Coffee Raisin Nut Bars 12

In a measuring cup, mix together 3 tablespoons coffee liqueur, like Kahlua, with 2 tablespoons whipping cream (or milk) and 1 tablespoon instant coffee powder.

Coffee Raisin Nut Bars 11

Pour that into the frosting mixture, alternating with a further 1 cup icing sugar, and beat until fully combined.

Coffee Raisin Nut Bars 13

Spread the frosting on your cooled squares and cut them up.  Yum!

Coffee Raisin Nut Bars 18

Classic Sticky Buns

Sticky Buns 33

This is a recipe that the very pregnant Atlas found in a magazine my mother picked up called Donna Hay (it’s Australian.  Hello, Australians!).  I figured I would master the basic sticky buns so that later she and I could do the more complicated, fancy variations (so stay tuned for that).  We’ve already made one version of lovely cinnamon buns on Ali Does It, but I’m not above trying new recipes to see which ones I like the best.  So here goes!

Sticky Buns 30

Let’s start with the dough.

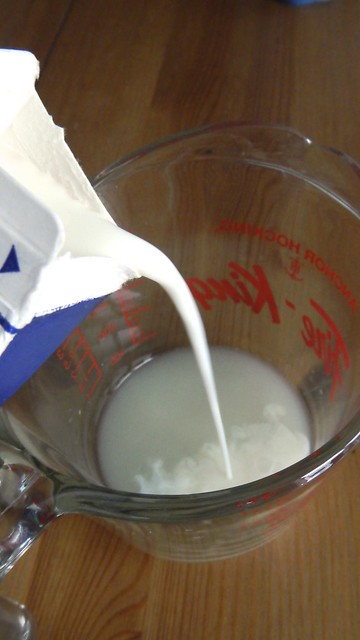
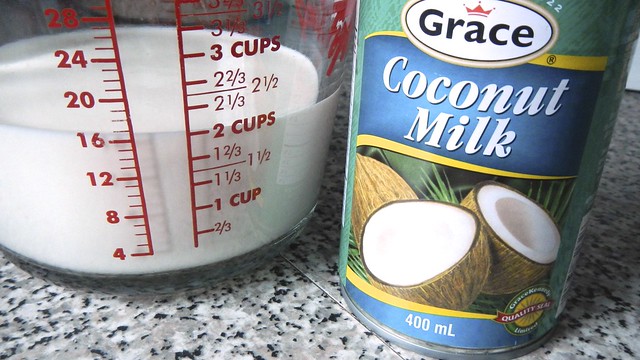
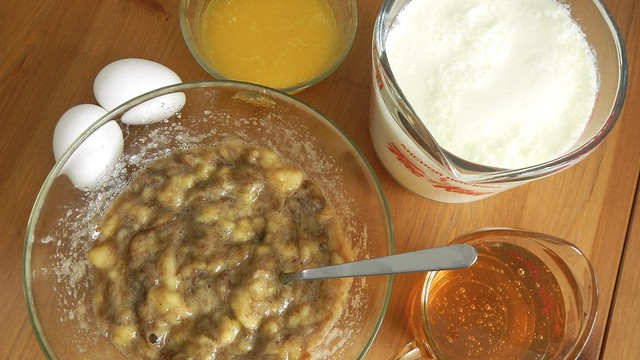
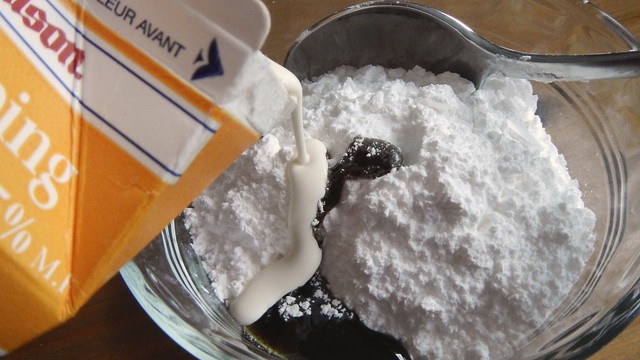
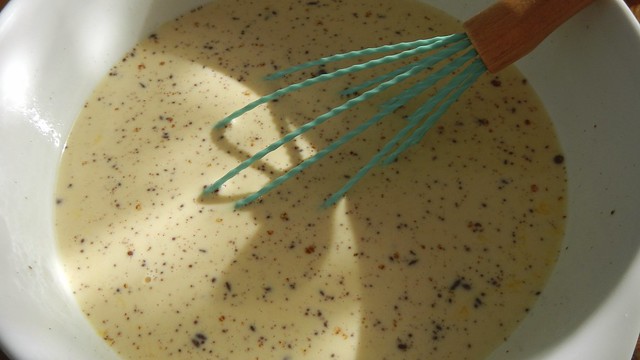
Take a small bowl and 2/3 cup milk and heat up the milk until it’s lukewarm.  Add to that 2 teaspoons vanilla extract and 1 1/4 teaspoons active dry yeast and give it a wee stir.

Sticky Buns 1

Set that someplace warm for 5 minutes, until the yeast starts to bubble and foam up.

Sticky Buns 5

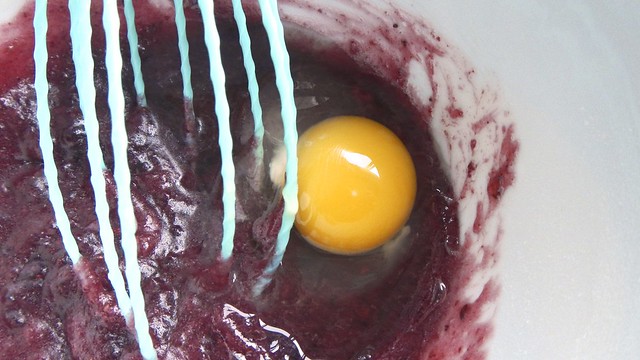
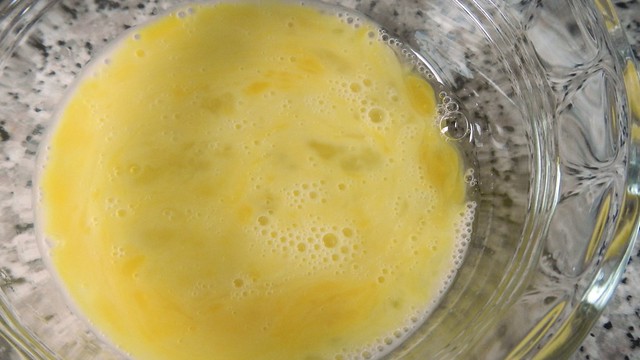
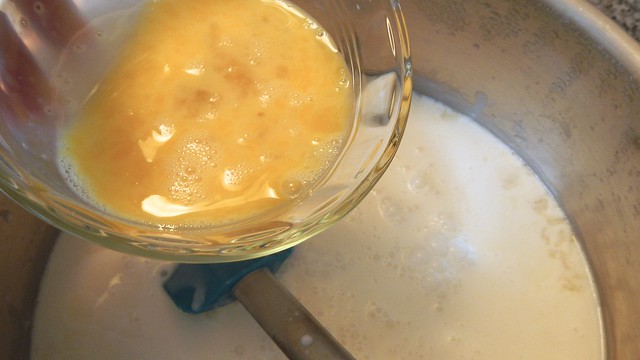
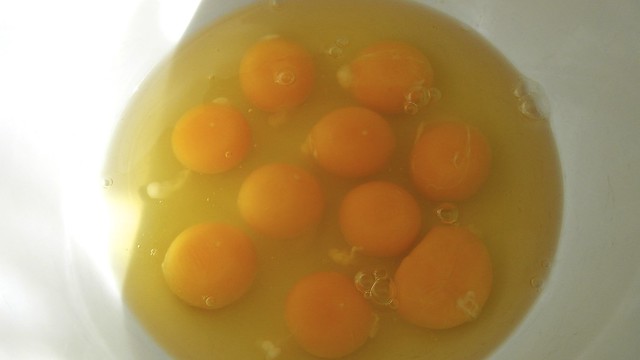
Lightly beat up 2 eggs.  Just bruise them a little.  Rough ’em up but no broken bones.

Sticky Buns 2

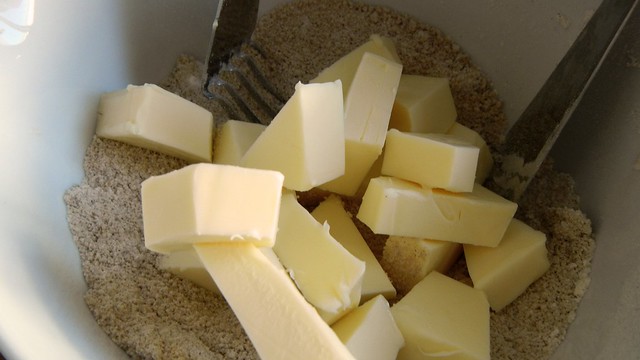
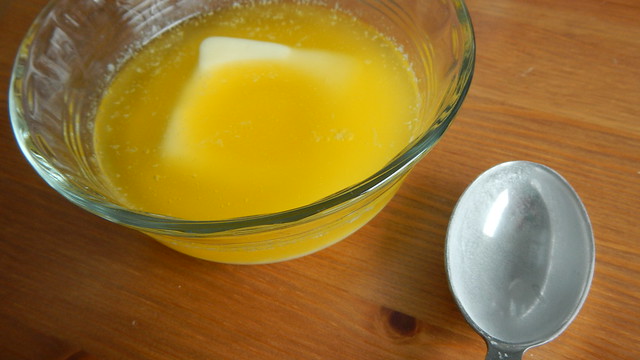
And melt 125g (1/4 cup) unsalted butter (I used salted butter and left out the 1/4 teaspoon sea salt I was supposed to add).

Sticky Buns 3

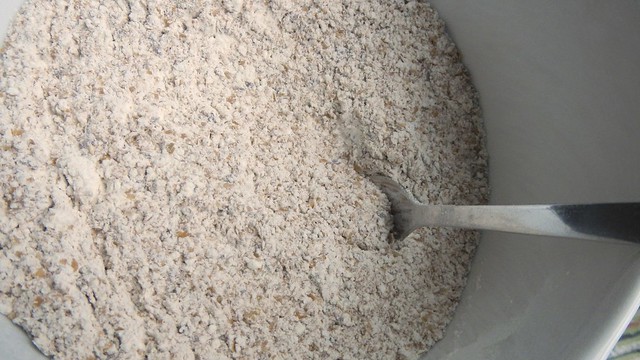
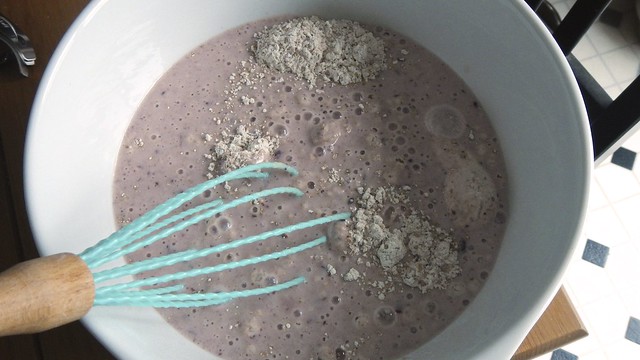
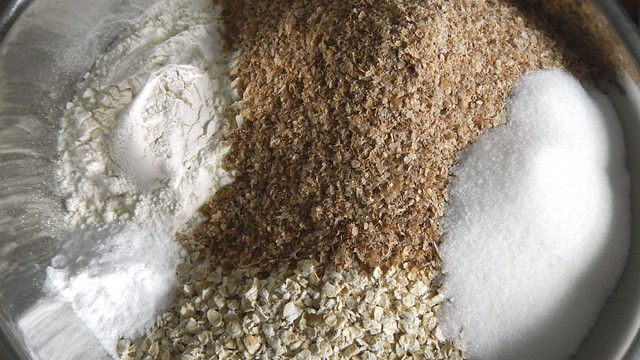
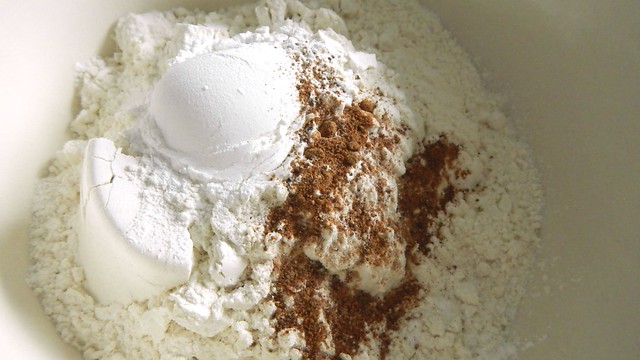
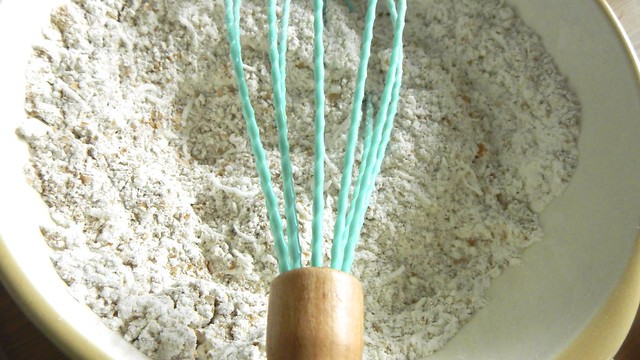
Plop 3 cups flour and 1/4 cup sugar into the bowl of your electric mixer.

Sticky Buns 4

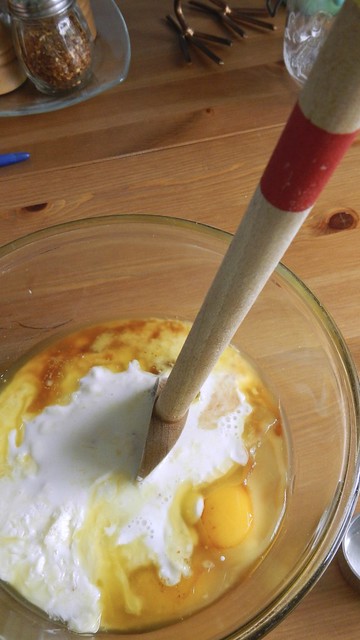
Add in the yeast mixture, the butter, and the eggs and mix on low for 1 minute until everything is combined.  You are supposed to use the dough hook attachment but I couldn’t find it so I went with ol’ reliable the paddle here.

Sticky Buns 6

After a minute, turn the mixer to high and beat for another 5-8 minutes, until the dough pulls away from the sides of the bowl.

Sticky Buns 7

Scoop the dough out into a clean, lightly greased bowl, cover it with a damp tea towel, and set it somewhere warm to rise for an hour.

Sticky Buns 8

Now the tops of these puppies are going to be covered in a sticky gooey maple glaze, which is actually going to go in the bottom of the pan and then when it’s all ready you’re going to flip it upside down.

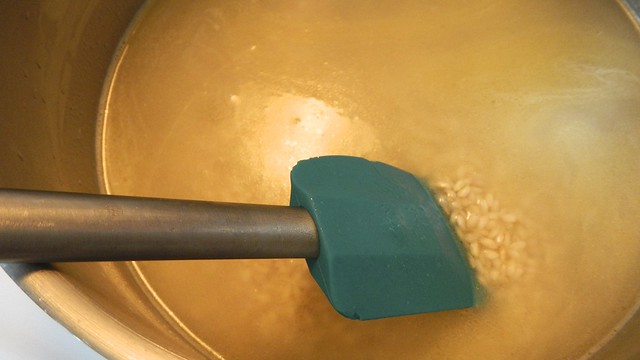
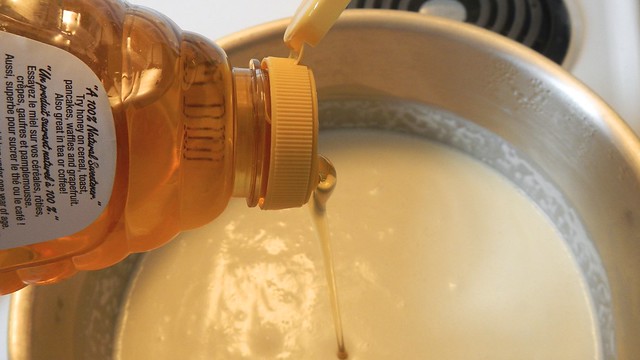
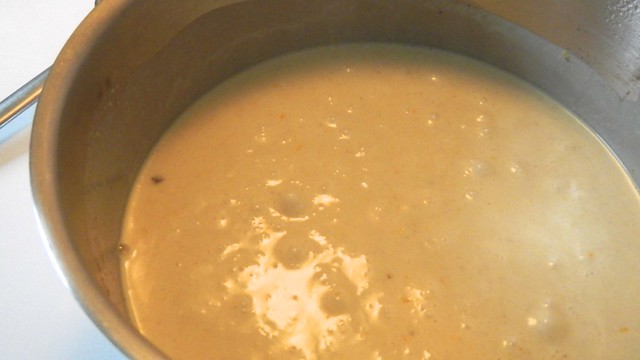
For the glaze, take a small saucepan and dump in 1/3 cup maple syrup, 1/3 cup brown sugar, and 75g unsalted butter (or salted, if you’re daring like me — it’s roughly 1/3 cup for you imperials).

Sticky Buns 9

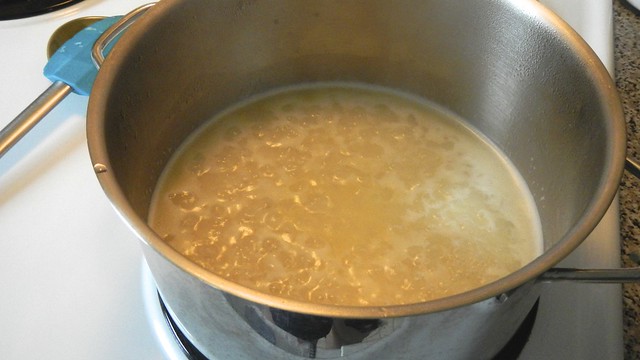
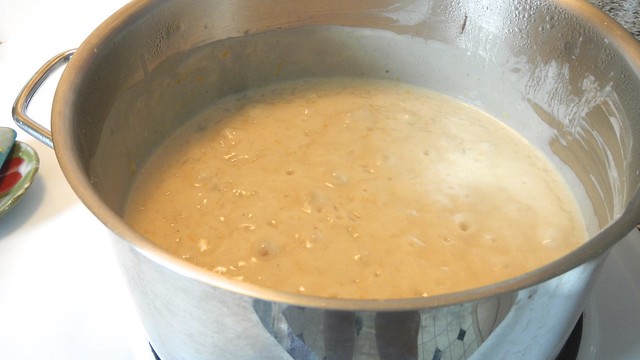
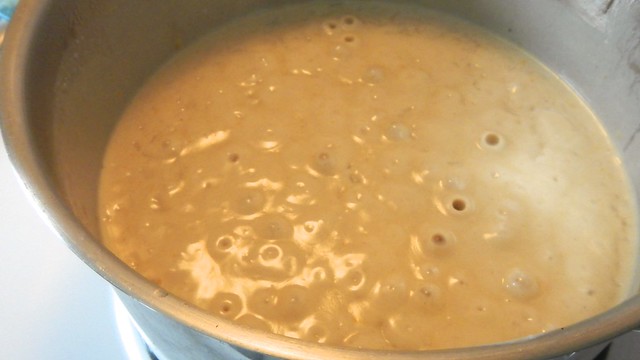
Cook, stirring, over low heat until everything is melted and dissolved.  Raise the heat to medium and bring your sugar mix to a boil. Cook for 3-4 minutes or until smooth.

Sticky Buns 11

Pour the glaze into the bottom of a lightly greased 20cm x 30cm baking pan (~9″ x 13″) and set aside.  Isn’t this pan nice?  It’s like the one in the magazine, and I said to my dad, “hey, if you were thinking of a Christmas present for me, this would be nice,” and he said, “we did.  It’s upstairs.”  TADA.  Early Christmas present.

Sticky Buns 13

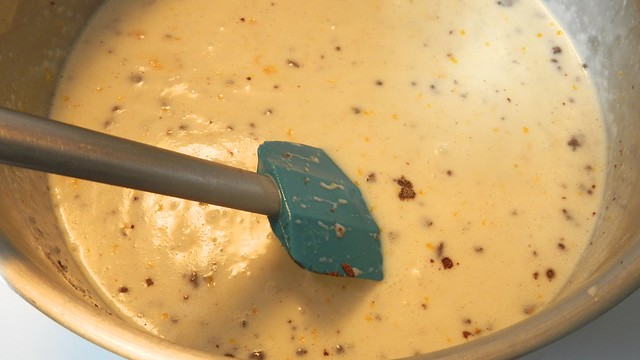
Once the spatula cooled off enough not to burn my face, I ate the toffee off it. It was lovely.

Sticky Buns 14

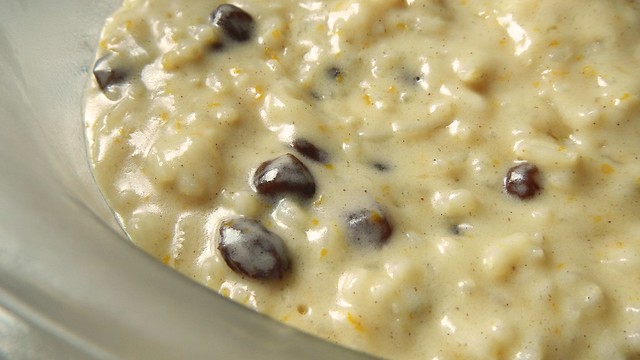
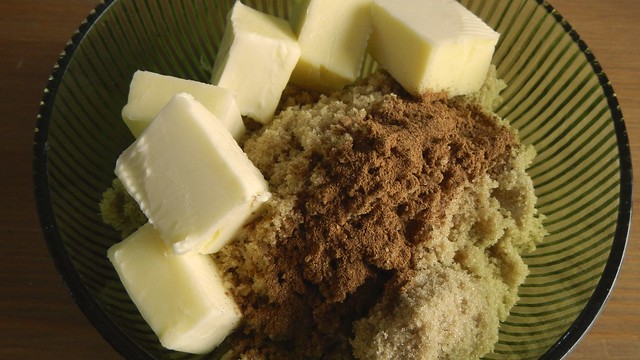
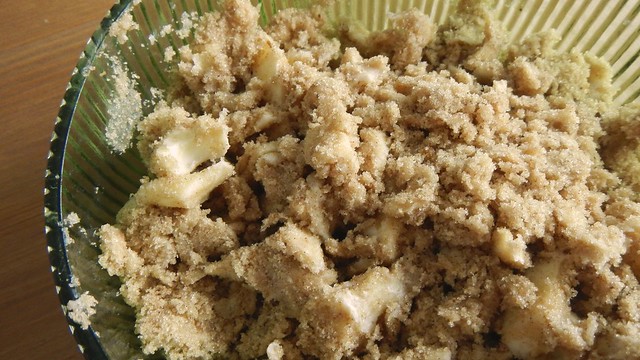
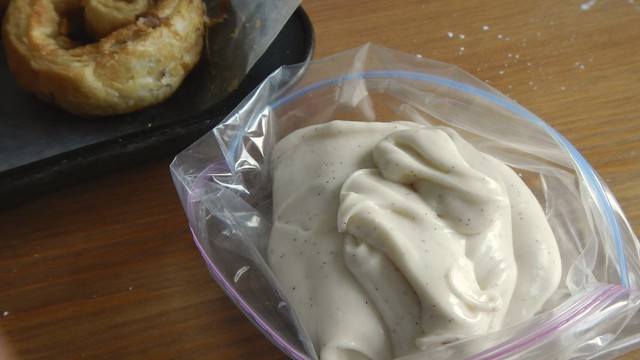
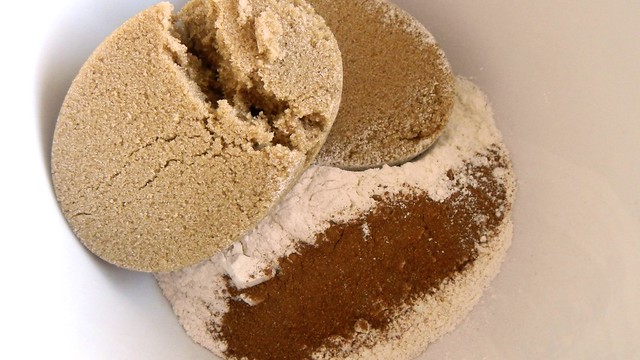
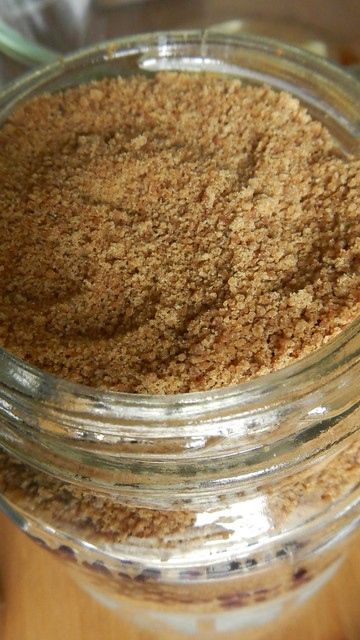
Now we’re going to make a cinnamon butter to spread inside the rolls.  In the bowl of your electric mixer, dump 100g softened unsalted butter (I used salted, and eyeballed it to be somewhere between 1/4 cup and 1/3 cup — this isn’t an exact science), 1/2 cup brown sugar, and 2 teaspoons ground cinnamon.

Sticky Buns 15

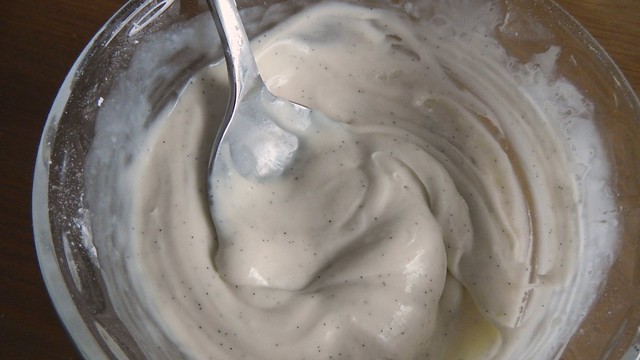
Whip those silly for about 5 minutes, until all pale and fluffy and heavenly.  Set that aside.

Sticky Buns 16

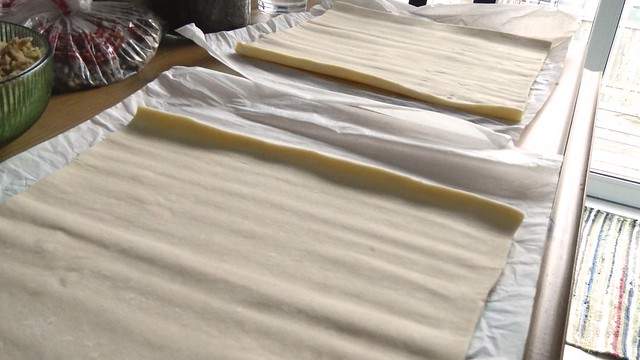
Now take your dough, which should have doubled in size, and slap it between two sheets of parchment or waxed paper.  Roll it out into a rectangle that is about 60cm x 25cm (2 feet by a little less than 1 foot).

Sticky Buns 18

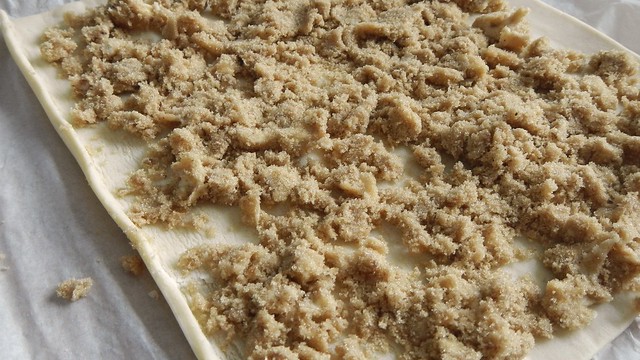
Spread your cinnamon butter all over the rectangle, leaving a 1cm border all around.

Sticky Buns 19

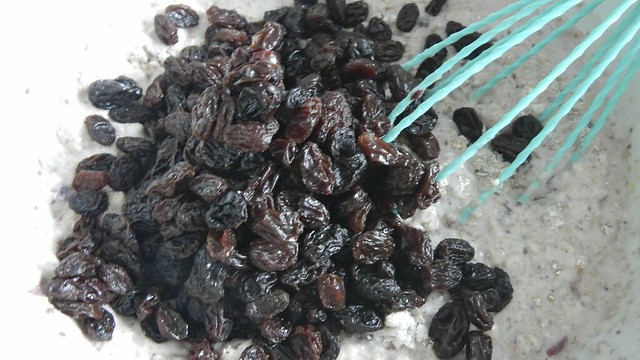
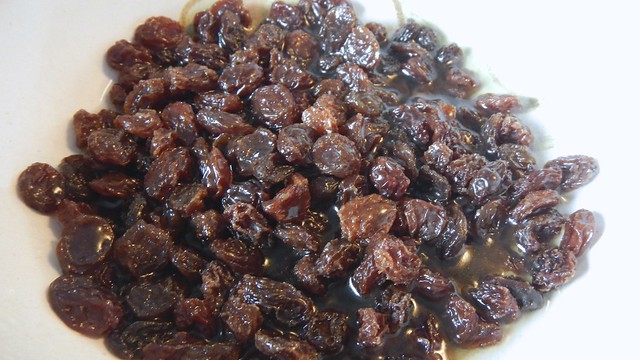
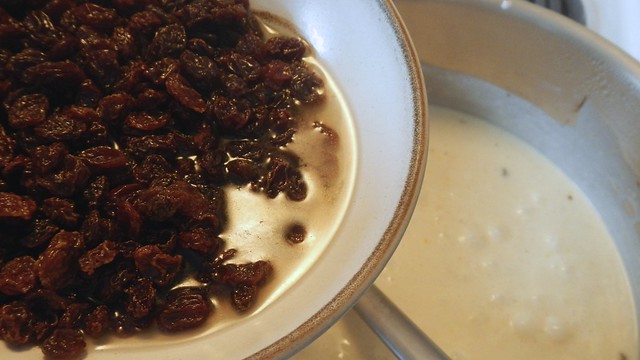
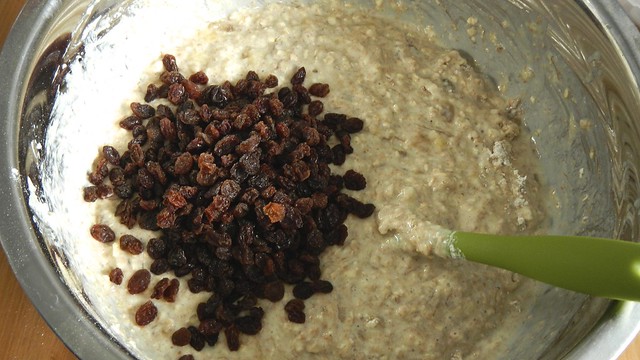
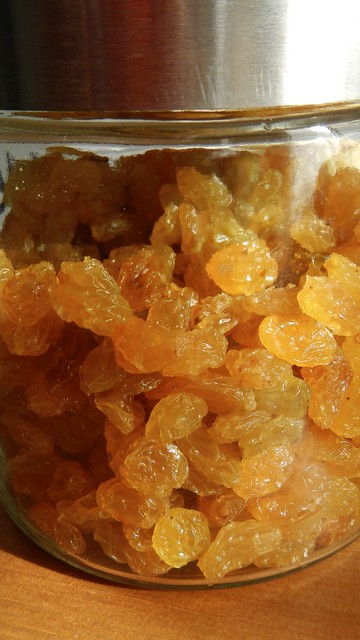
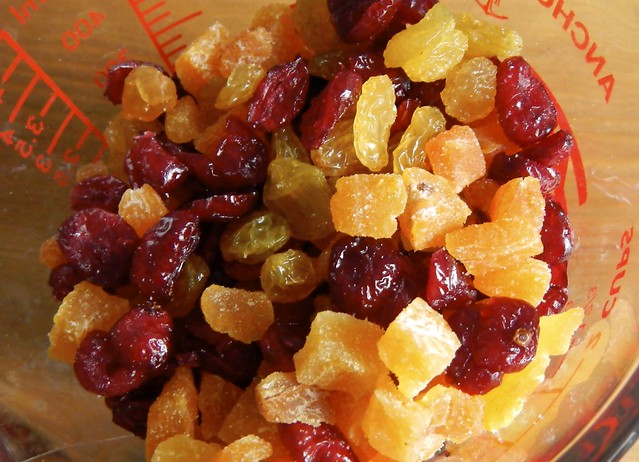
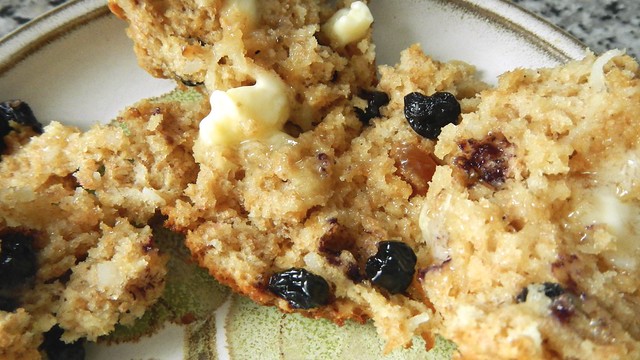
Sprinkle that with 1 cup toasted pecans (I had no pecans, so used raisins instead. I like raisins).

Sticky Buns 20

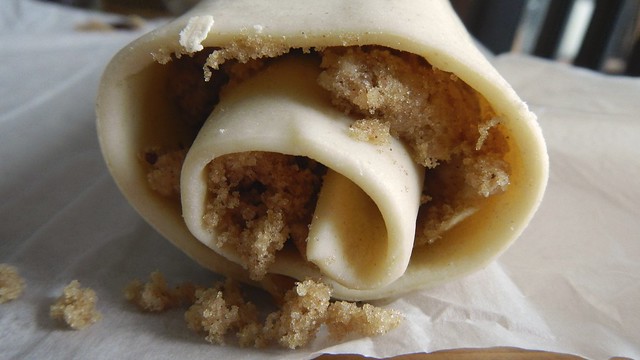
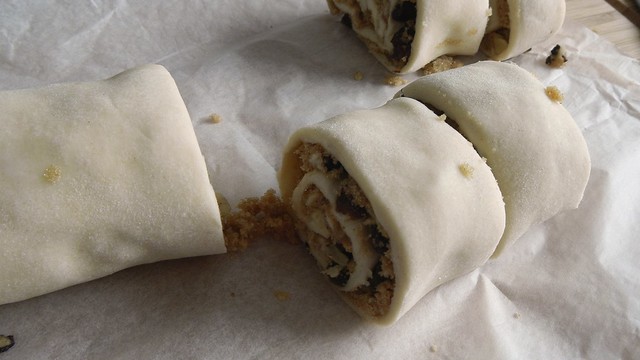
Take your dough by the long side and roll it up tightly into a happy tube.

Sticky Buns 21

Trim the edges of the bun so everything is even and cut it into 12 equal disks.

Sticky Buns 22

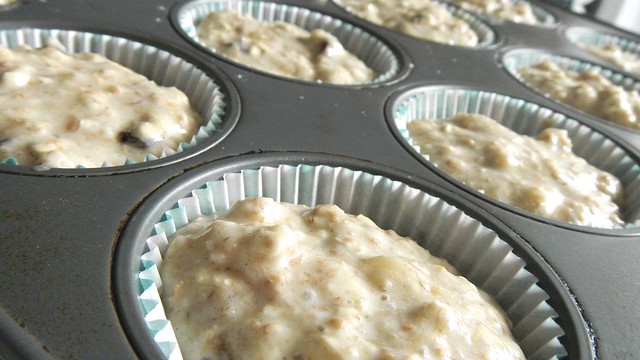
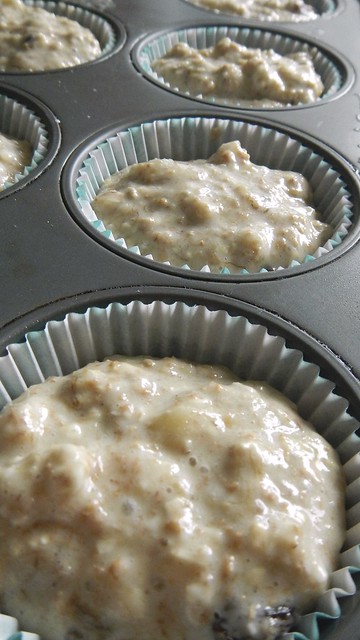
Place the pieces cut side up in the maple glazed baking tin, cover with another damp tea towel, and leave somewhere warm to rise for another 45-60 minutes or until they’re doubled again.

Sticky Buns 23

I took advantage of a cold day to sit them in front of the fire. This is the proofing stage.

Sticky Buns 24

Here they are all puffed up.

Sticky Buns 25

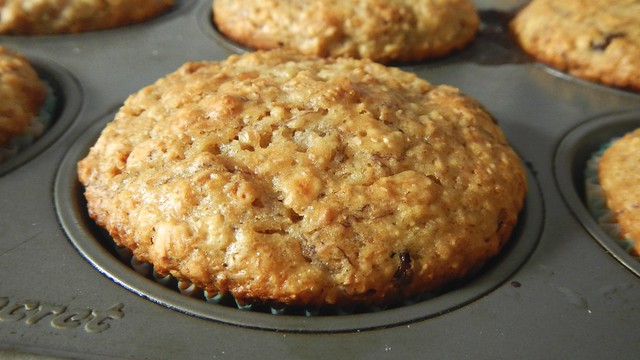
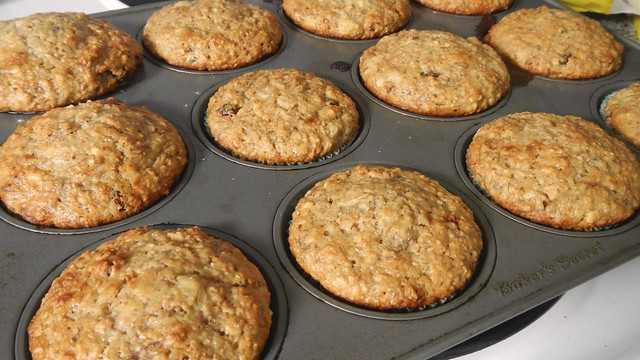
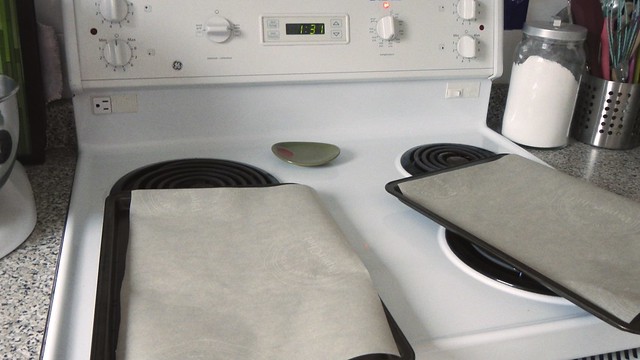
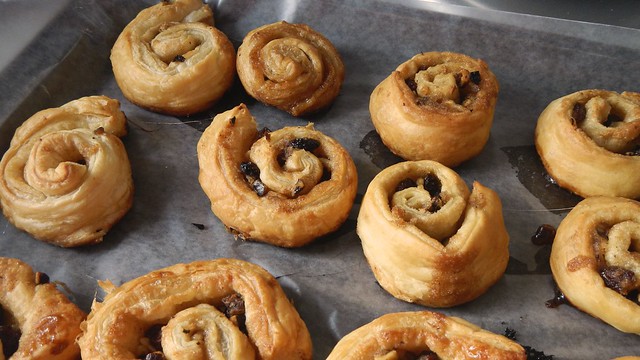
Preheat your oven to 350°F and place your baking tin on a baking sheet (to prevent burning sugar spillovers).  Bake for 20 minutes, cover with aluminum foil, then bake for another 15-20 minutes, until all golden and lovely and fully cooked.

Sticky Buns 26

I erred on the side of caution and resisted the urge to continue to bake mine after 35 minutes. The dough around the sides was soft and pale and I wasn’t sure it was cooked but it totally was and made a nice moist bun.

Sticky Buns 27

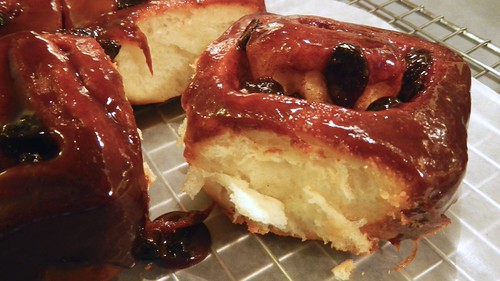
Let those stand in the pan for 2-3 minutes before turning out onto a wire rack to cool (you might want to line your rack with some parchment to catch drips).  I think I may have cooked  my maple glaze a bit long because it hardened quite a bit.  It was still super good, but not as sticky as I thought it should have been.

Sticky Buns 29

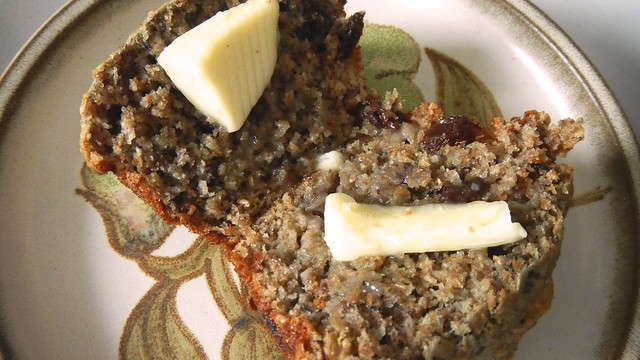
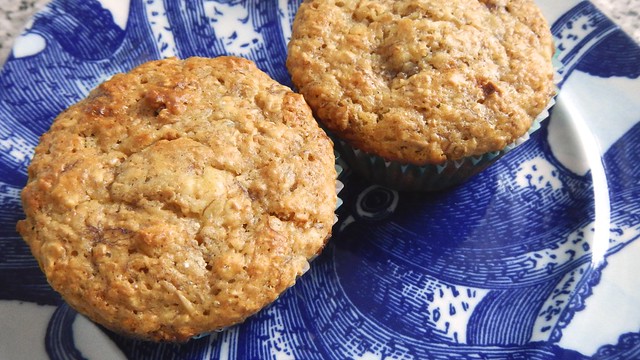
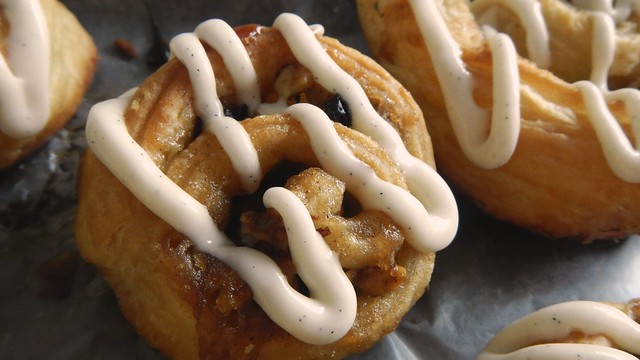
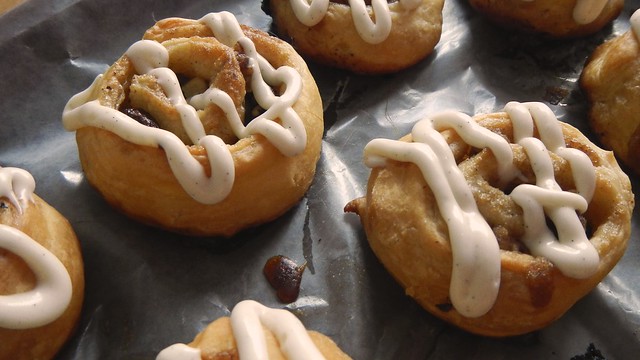
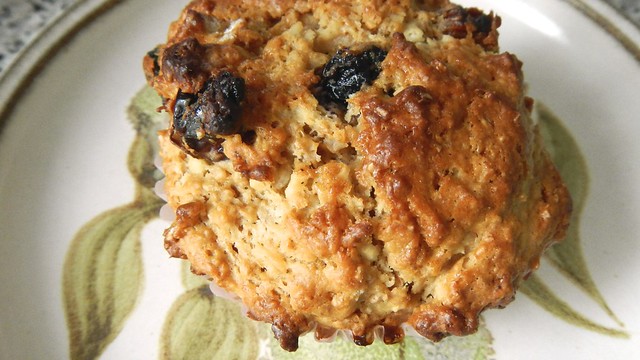
Final step: EAT THEM.

Sticky Buns 31

I love me some Granola

Granola 26

My morning meal usually consists of coffee, juice, yogurt, and granola.  Like I could eat that stuff every single day.

Granola 30

Until now, I’ve been buying our granola, but it’s quite expensive for the amount you get and it’s full of all sorts of weird additives and the like that I don’t really want to put in my system.

Granola 28

My mother used to make granola for us sometimes when we were kids, so I figured that I could probably do it myself if I tried.  And it’s easy.  And you can use what you’ve got in your cupboards, or what you can scoop up at the bulk food store.  Which means you can customize each batch.

Granola 6

So preheat your oven to 350°F and get out a large rimmed baking sheet.  I took the precaution of lining mine with parchment paper, so stuff wouldn’t stick.

The majority of granolas start with a base of oats, about 4 cups.  I used four double handfuls, because I measured my tiny hands once and put together that’s about what they hold.  And thus ends my list of measurements for this recipe.  Because you can do whatever you want.  So what else have I got going on here?  In addition to the oats, I have bran, ground flax, shredded coconut, sliced almonds, nutmeg, cinnamon, sesame seeds, poppy seeds, lavender flowers (yes), and then a selection of dried fruits: apricots, mango, and raisins.

Granola 3

Take all your happy dry ingredients (minus the fruits) and plop them in a bowl.

Granola 9

Mix ’em up.

Granola 8

In another bowl, add about 1/2 cup runny honey,

Granola 11

about 1/2 cup maple syrup,

Granola 12

and about 1/2 cup melted butter.

Granola 13

*** EDIT: If you’d like granola that forms clumps (and that’s my favourite kind), whisk 1 or 2 egg whites into a froth and add them to the mixture as well.  The protein in the whites will stick everything together during the baking process.  Just use caution when stirring mid-bake, as the amount you stir will affect the size of the clumps you create. ***

Pour that golden loveliness into the dry mixture and stir until all the dry ingredients are coated.

Granola 14

Spread that stuff out on your baking sheet and chuck that in the oven for about 40 minutes.

Granola 16

Make sure to stir with a spatula every 10-15 minutes or so to keep the stuff on the bottom from burning.

Granola 18

While that’s on the go, get your dried fruit ready. I chopped up the apricots and mango slices a little to make them easier to get on a spoon.

Granola 21

Remove from the oven and let it cool in the pan, stirring it occasionally to break up the chunks.  The finer grained your ingredients are, and the more sticky wet ingredients you use, the chunkier your granola will be.

Granola 19

While it’s still a little warm, stir in your dried fruit.

Granola 22

Store in an airtight container for up to 3 weeks, and enjoy whenever you want!

Granola 27