The other thing I made while we were in Florida was this amazingly simple (and kinda sorta almost healthy?) dessert. It was truly one of the best things I’ve eaten in a while. Now, here’s a caveat: I made it again once we got home to Ottawa and it was NOT as good.
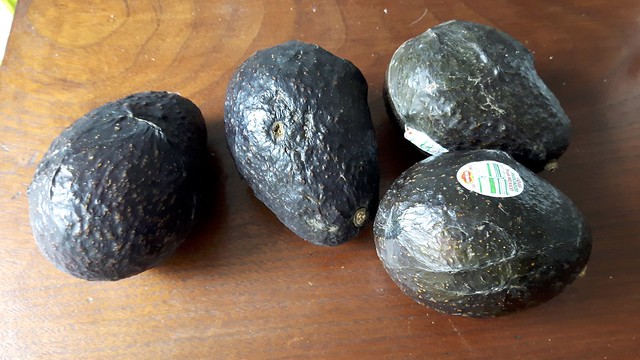
The avocados up here just aren’t as sweet as they were down south. So make sure you’re making this with the sweetest, ripest avocados you can find.
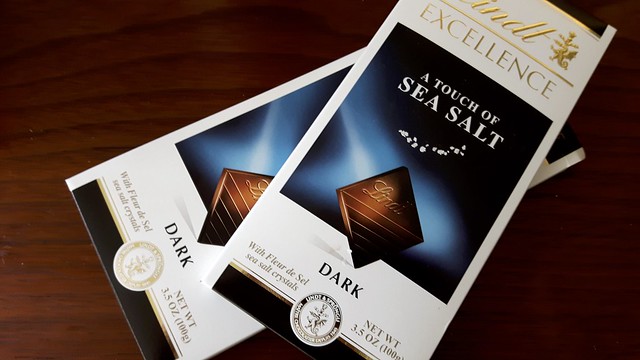
But before that, rustle up some chocolate. I have here 7oz dark chocolate. This stuff has a touch of sea salt in it. If you don’t use salty chocolate I’d recommend adding a pinch of the stuff to the recipe. Bust up that chocolate and melt it in a double boiler. Set it aside for a few minutes to cool a bit.
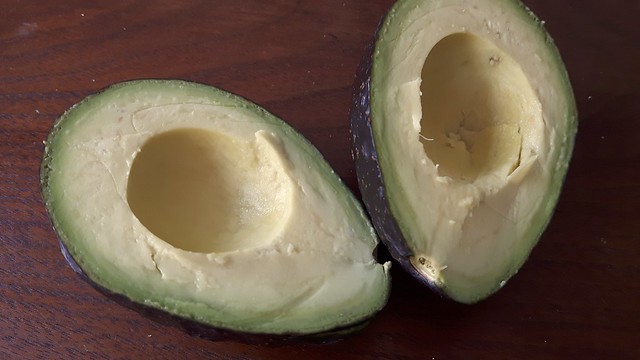
Grab yourself 4 ripe avocados.
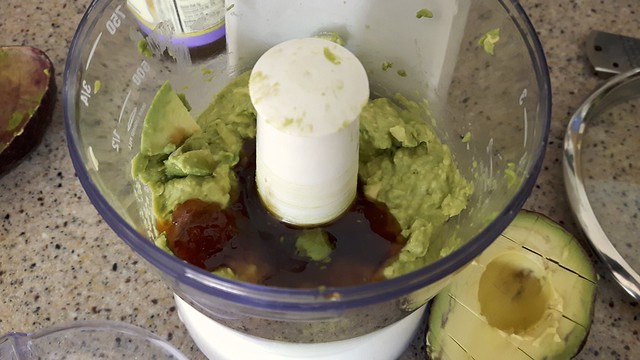
Scoop ’em out of the skin and plop them in a food processor. I had to use the baby food processor because that was all I had so I did everything in batches. If you have a normal-sized one then you can do everything in the one container. Tip in a couple tablespoons honey, to your taste. This was lavender flavoured honey and it was quite good.
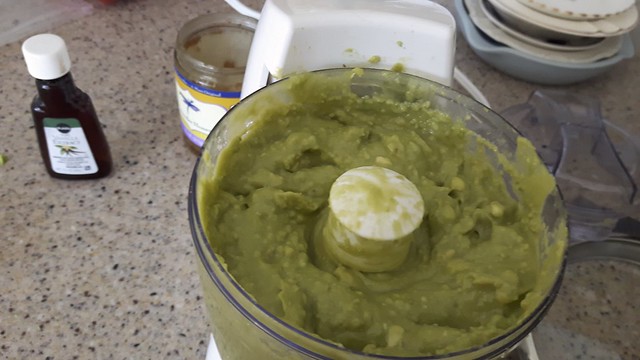
Add in as well a teaspoon or two of vanilla, just for flavour (people who think that chocolate and vanilla are binaries and can’t go together are crazypants). BLEND THE CRAPOLA OUT OF IT until you have green smooth lovely goodness.
Now if you have a regular sized food processor, you can pour the melted chocolate into the avocados and blend, blend, blend. I only had a weenie baby food processor and I ran out of room.
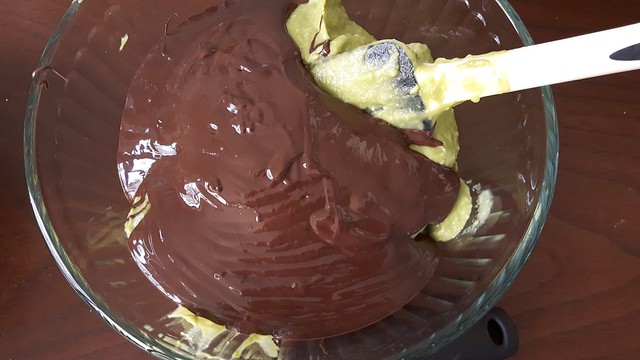
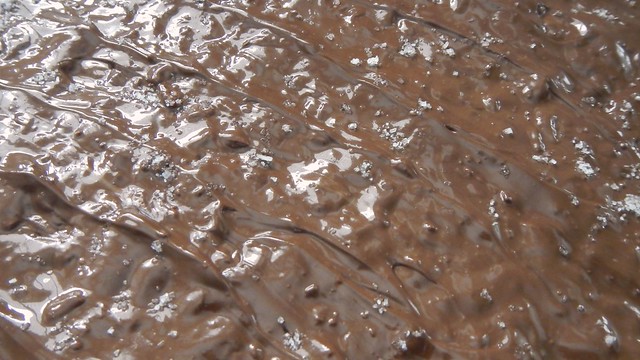
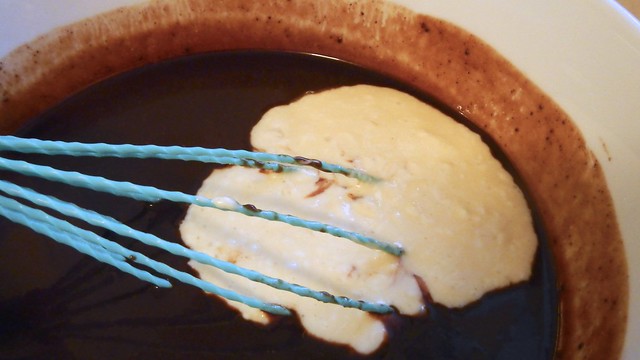
So here I am folding and whisking all that green and brown amazingness together. NBD.
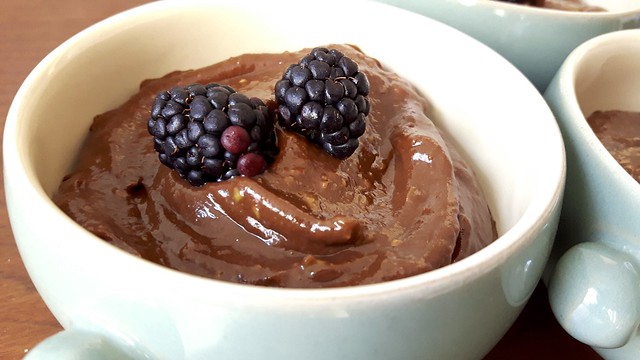
If you’re feeling fancy, before you serve the stuff, you can chill it and then whip it with a hand mixer to make it fluffy and moussey. And pipe it into cold pudding dishes.
That missing spoonful was my uncle doing some Quality Control.
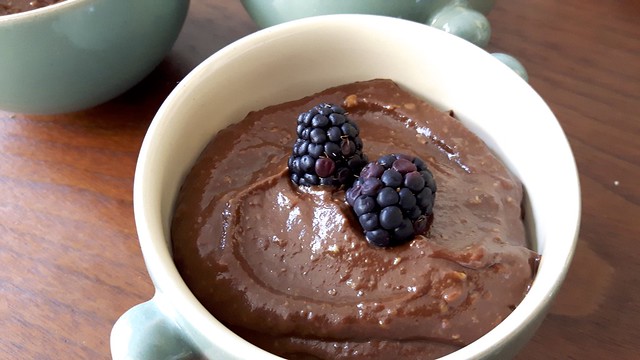
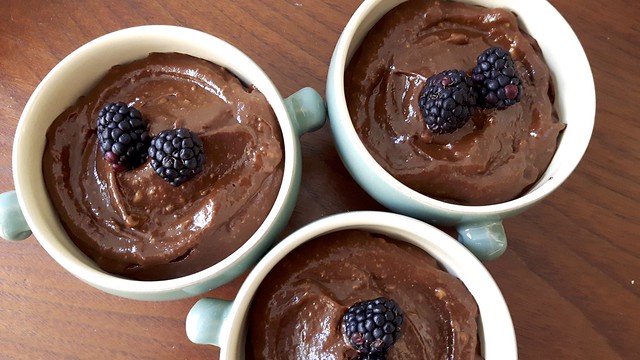
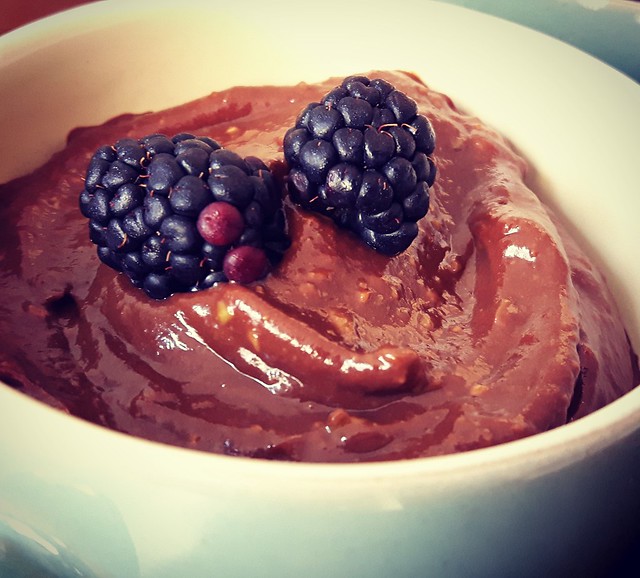
If you’re me you’ll dump giant spoons of it into room temperature dishes, top with whatever berries were in the fridge, and chill until dessert. You can see that my wee baby food processor didn’t do a super amazing job of making the pudding really smooth, but you can do better, right?
This recipe serves four GENEROUSLY. Like, if you really like rich pudding you’ll eat your serving and love every second of it but kind of want to die afterwards. So maybe make it for six? Also keep in mind that this is best served the same day – we found that the next day the avocado flavour came through too strongly, but that was with the less-sweet avocados so what do I know?
As a follow-up to the angel food cake we made in the last post, I made this devil’s food cake the same day to use up the 12 yolks I had on hand. The only problem was that there wasn’t actually a recipe out there that used 12 yolks in a chocolate cake. We had long since grown out of doing that, using whole eggs instead. All the 12-yolk recipes on the internet were for yellow cakes, not chocolate. So I had to make it up. And here it is. I’m quite pleased with the results.
Start by preheating your oven to 350°F and grab yourself a bundt pan. You can do this in any pan you like, or make it into a layer cake, but because I was serving this alongside the gluten-free angel-food cake, I wanted them both to be round with holes in the middle. Butter or spray your pan and then flour it to be on the safe side.
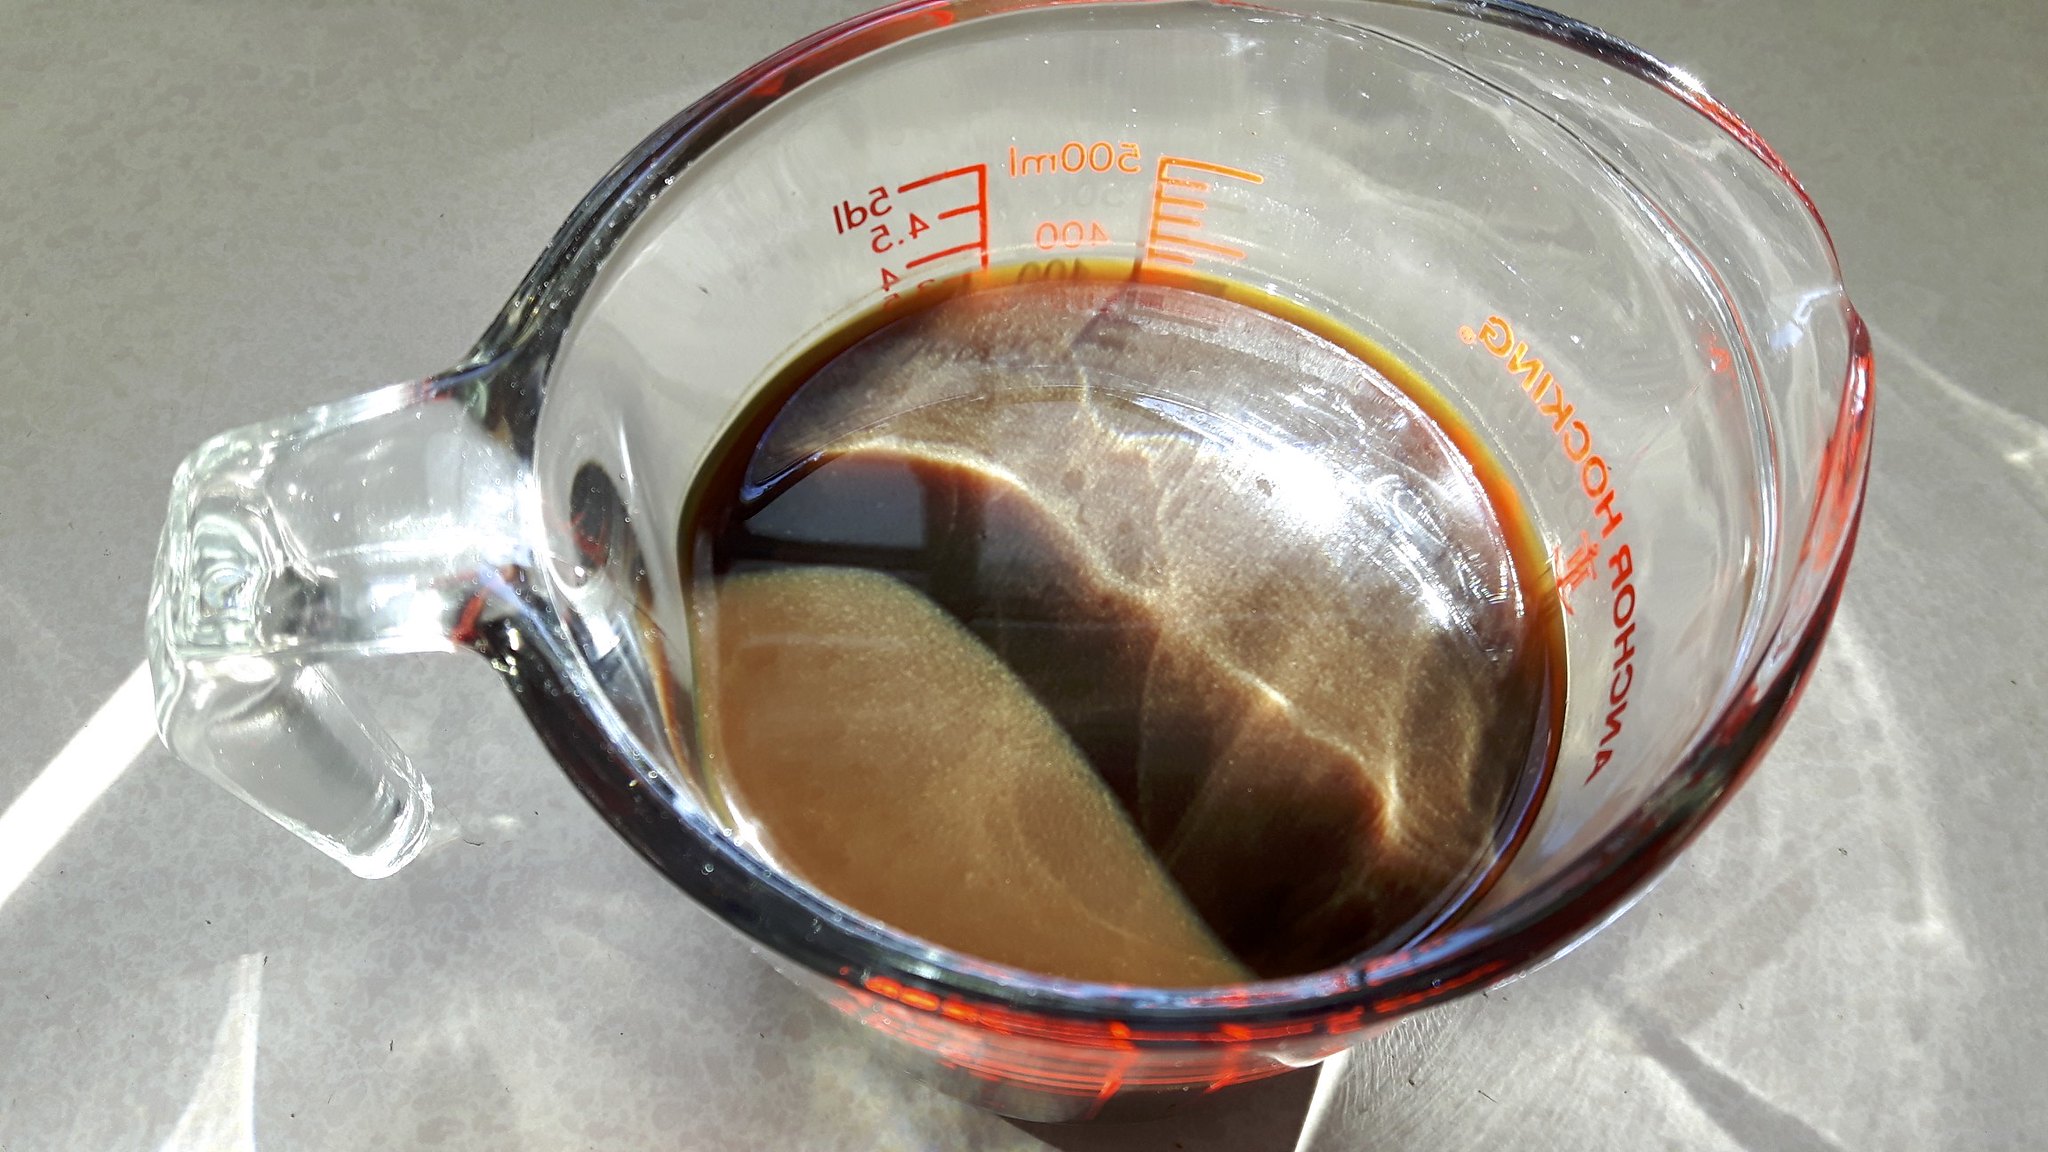
If you can bear to part with it (and as a parent of a nearly one-year-old, that’s a big sacrifice), save 1 3/4 cup coffee from your morning brew and allow it to cool. To up the coffee insanity (unless you made espresso earlier), tip in 2 tablespoons instant coffee or espresso powder and stir to combine.
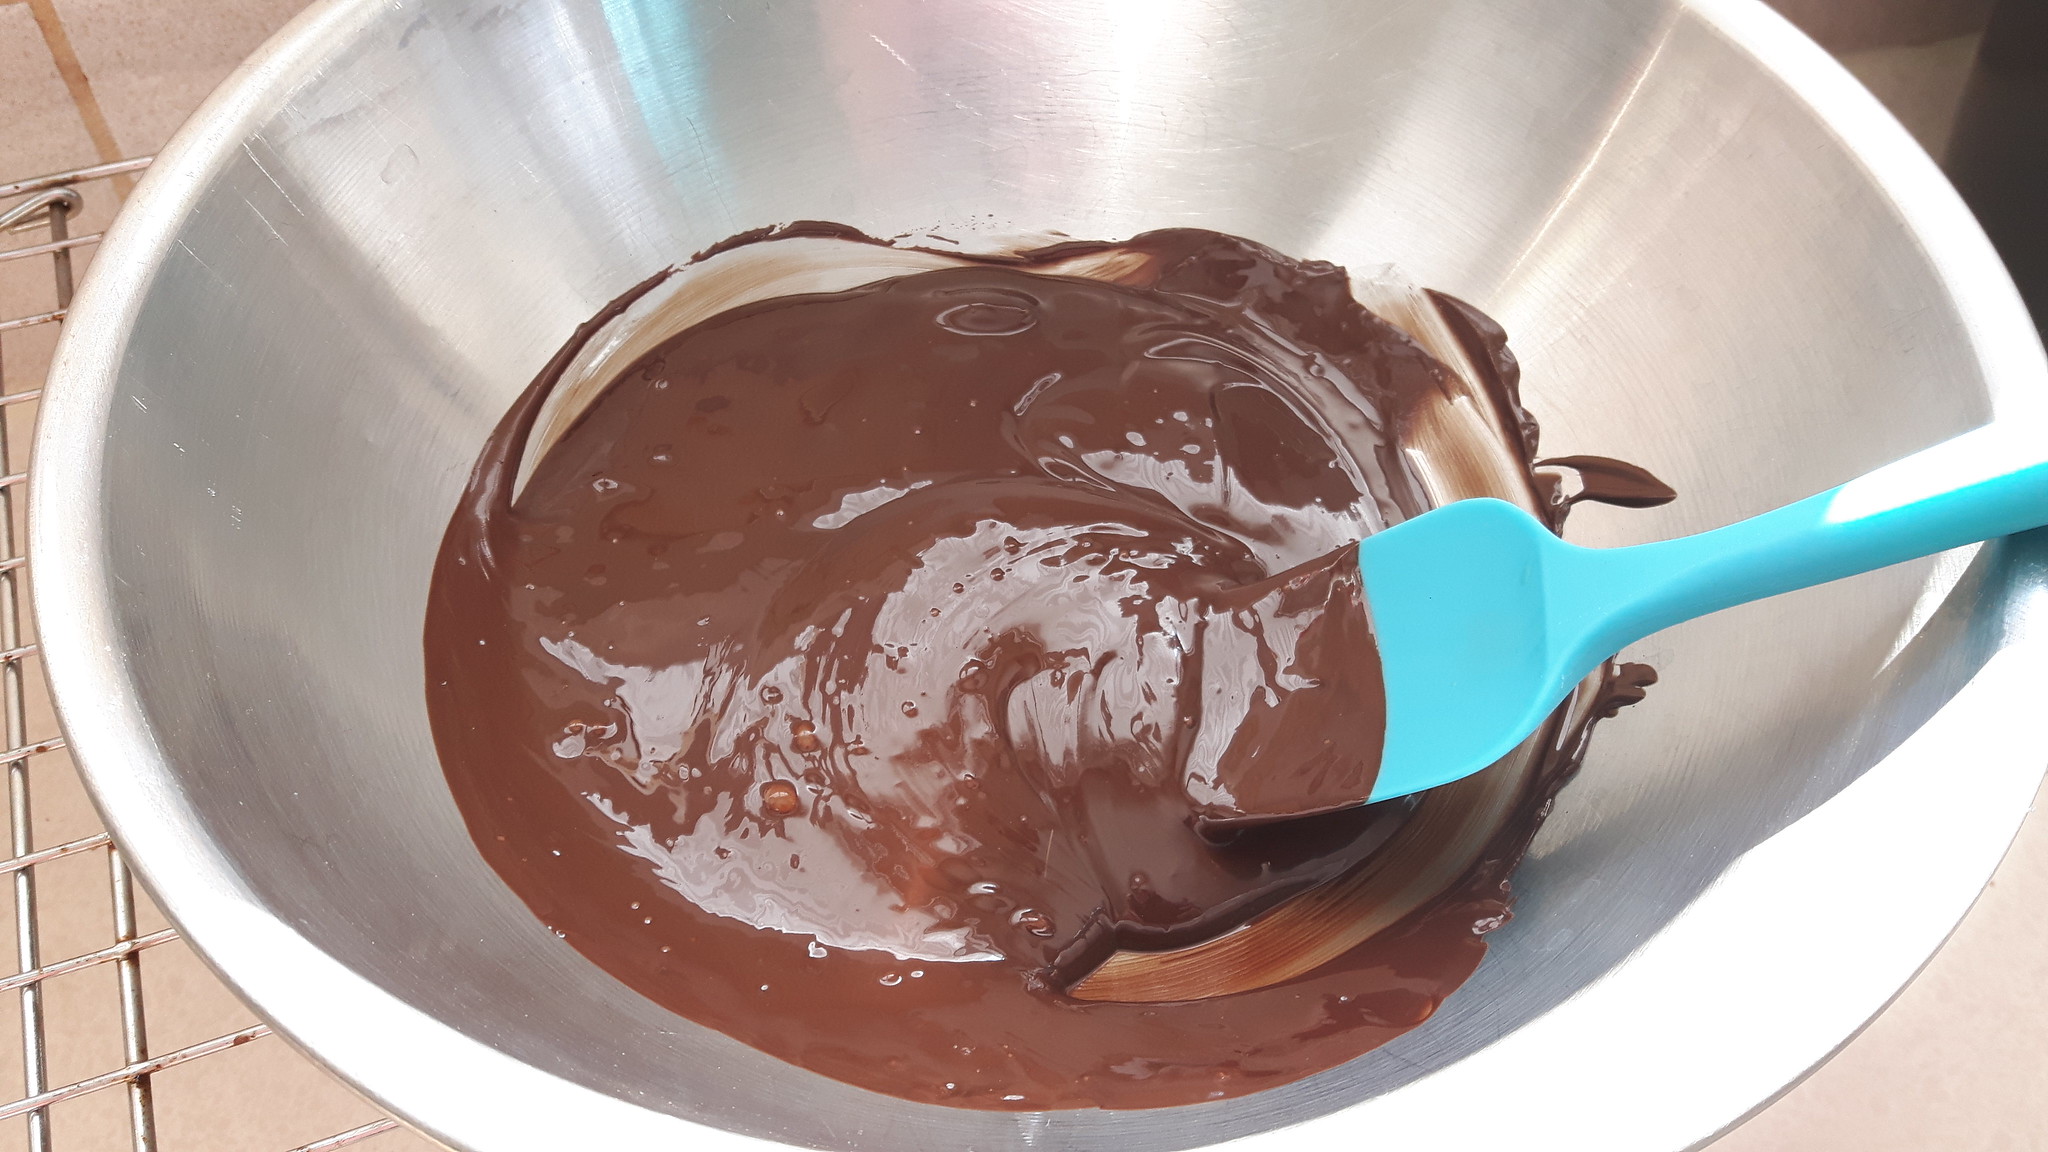
Chop up about 1 cup chocolate into wee pieces and toss it in the top of a double boiler or heatproof bowl over a pot of simmering water and let that sucker melt. Let it cool a little bit so it’s not molten lava.
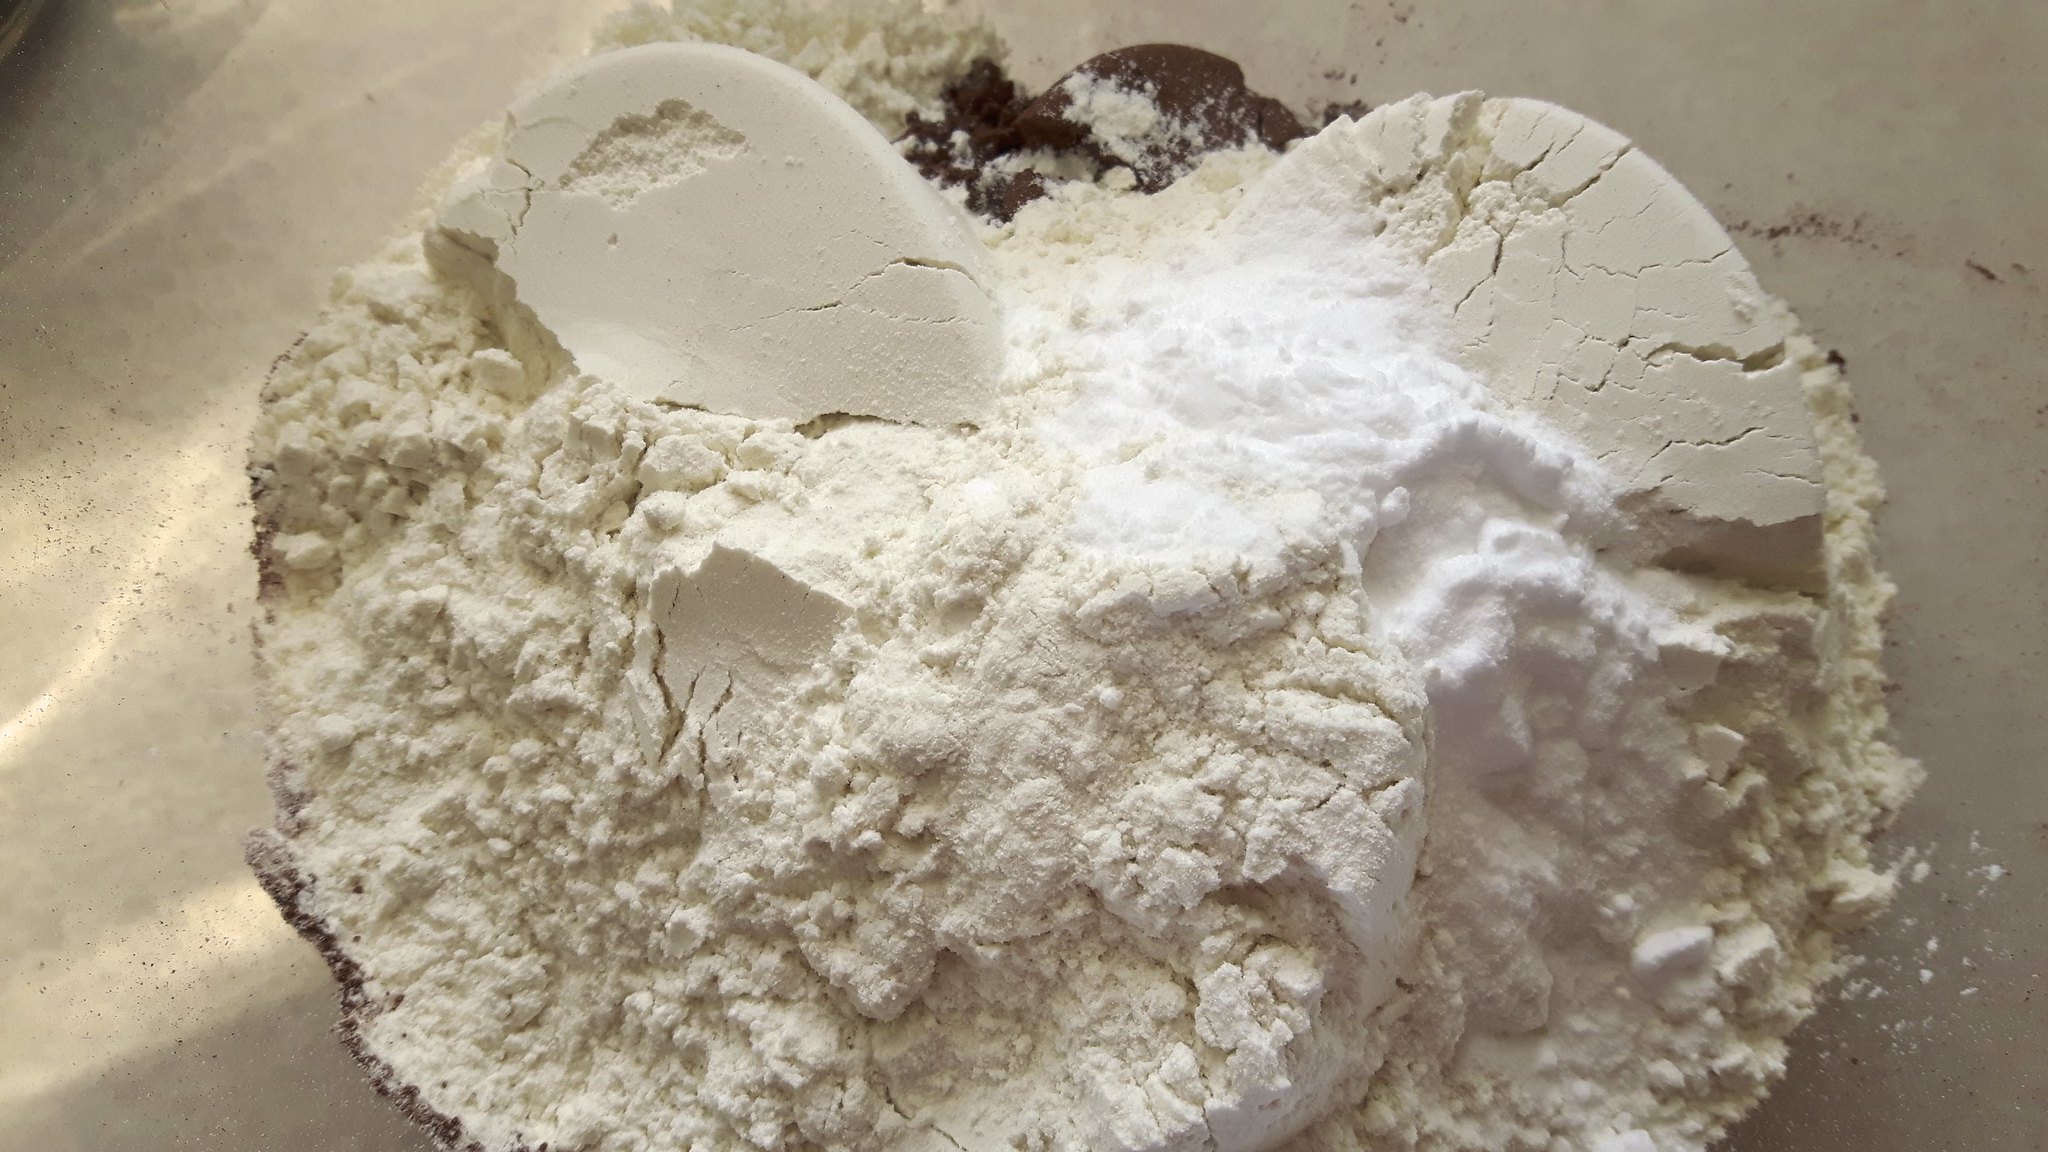
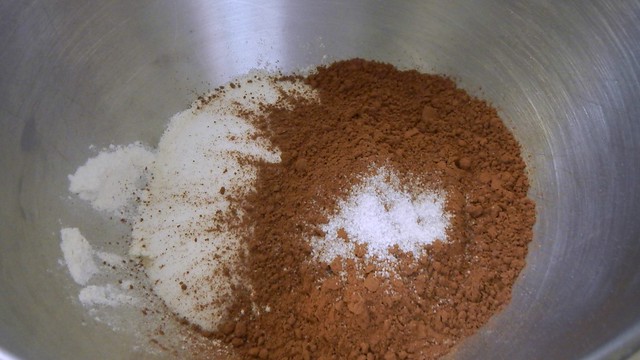
In another container, whisk together 1/2 cup unsweetened cocoa, 2 1/4 cups flour, and 1 1/2 teaspoons baking soda.
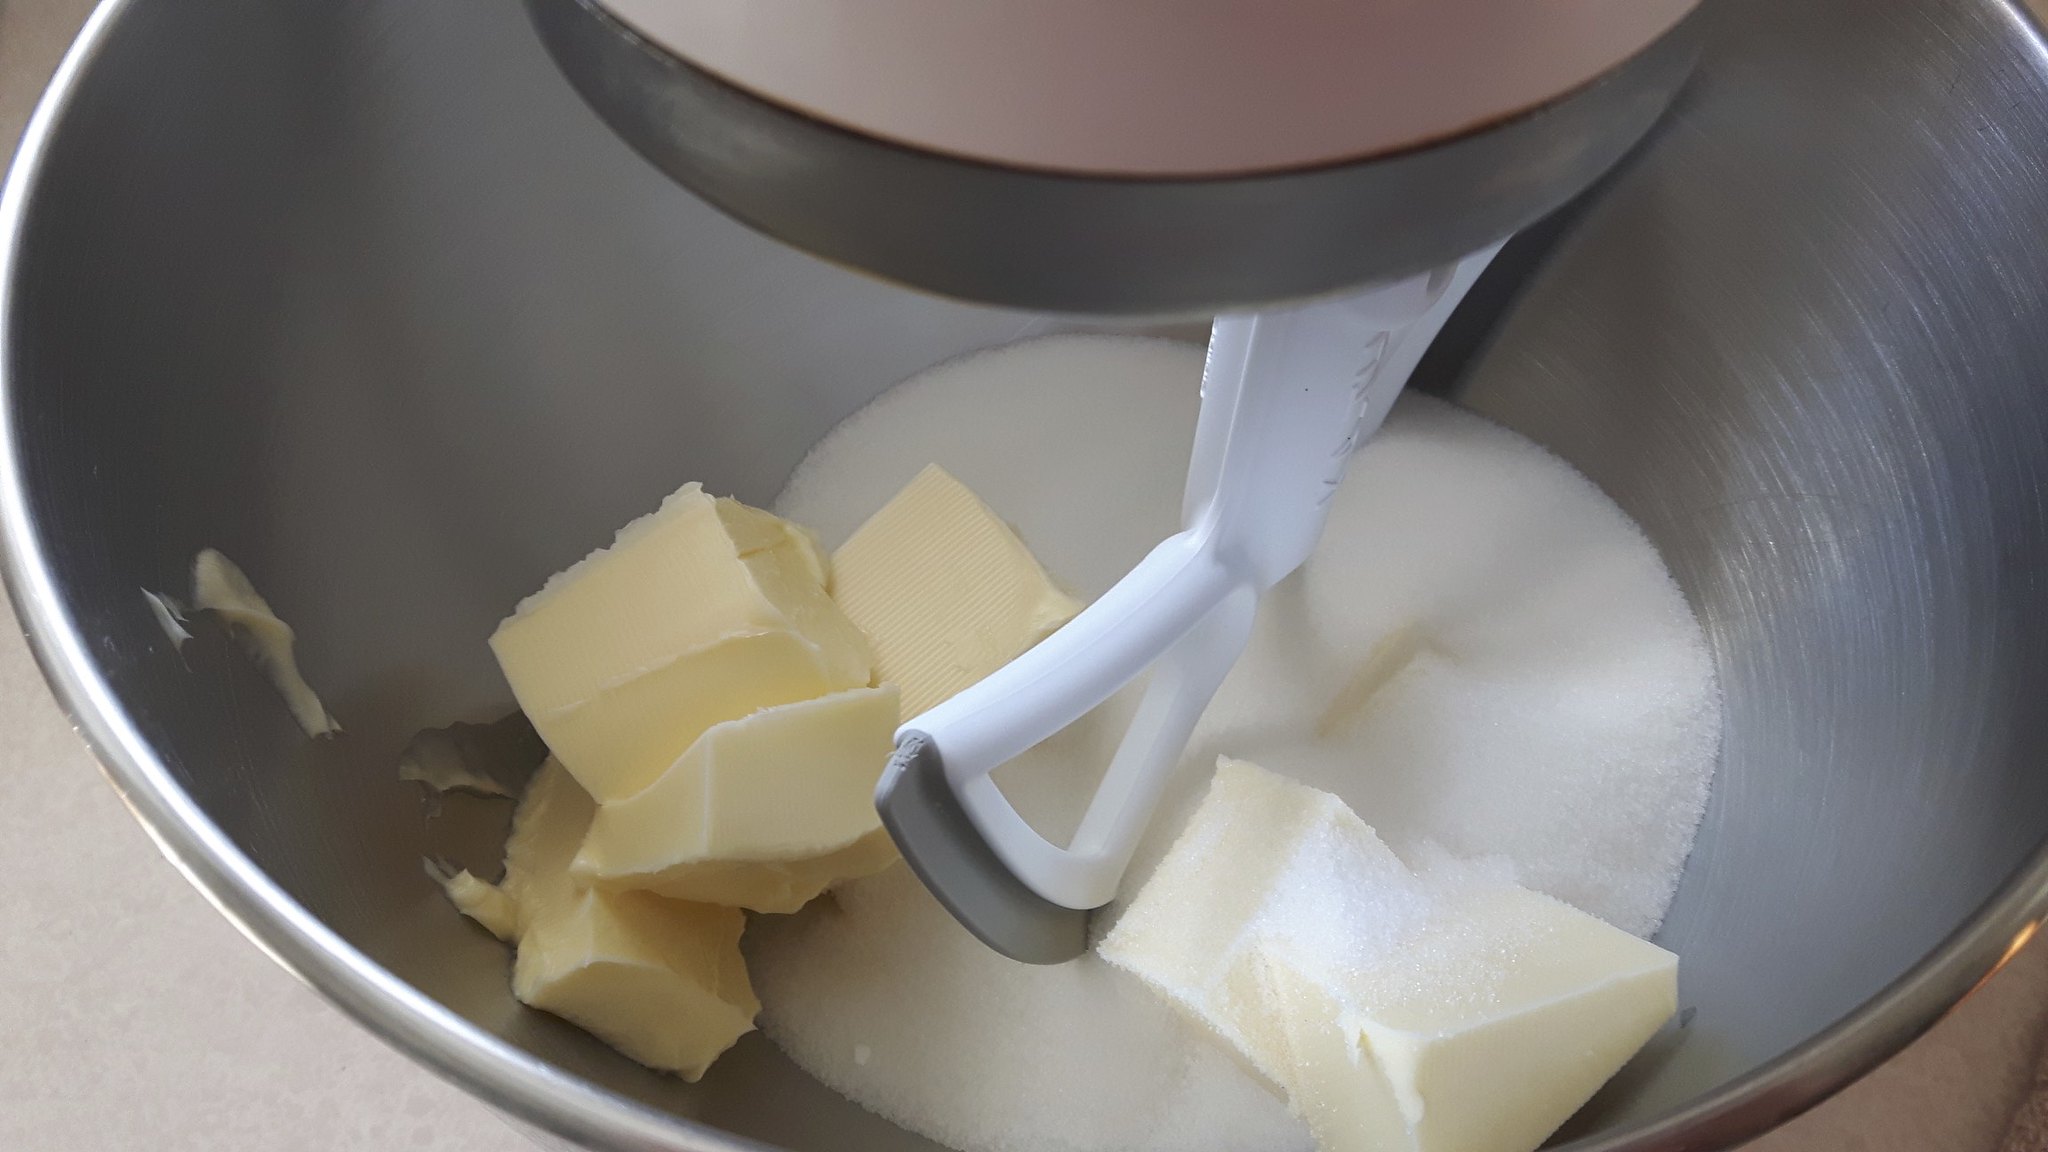
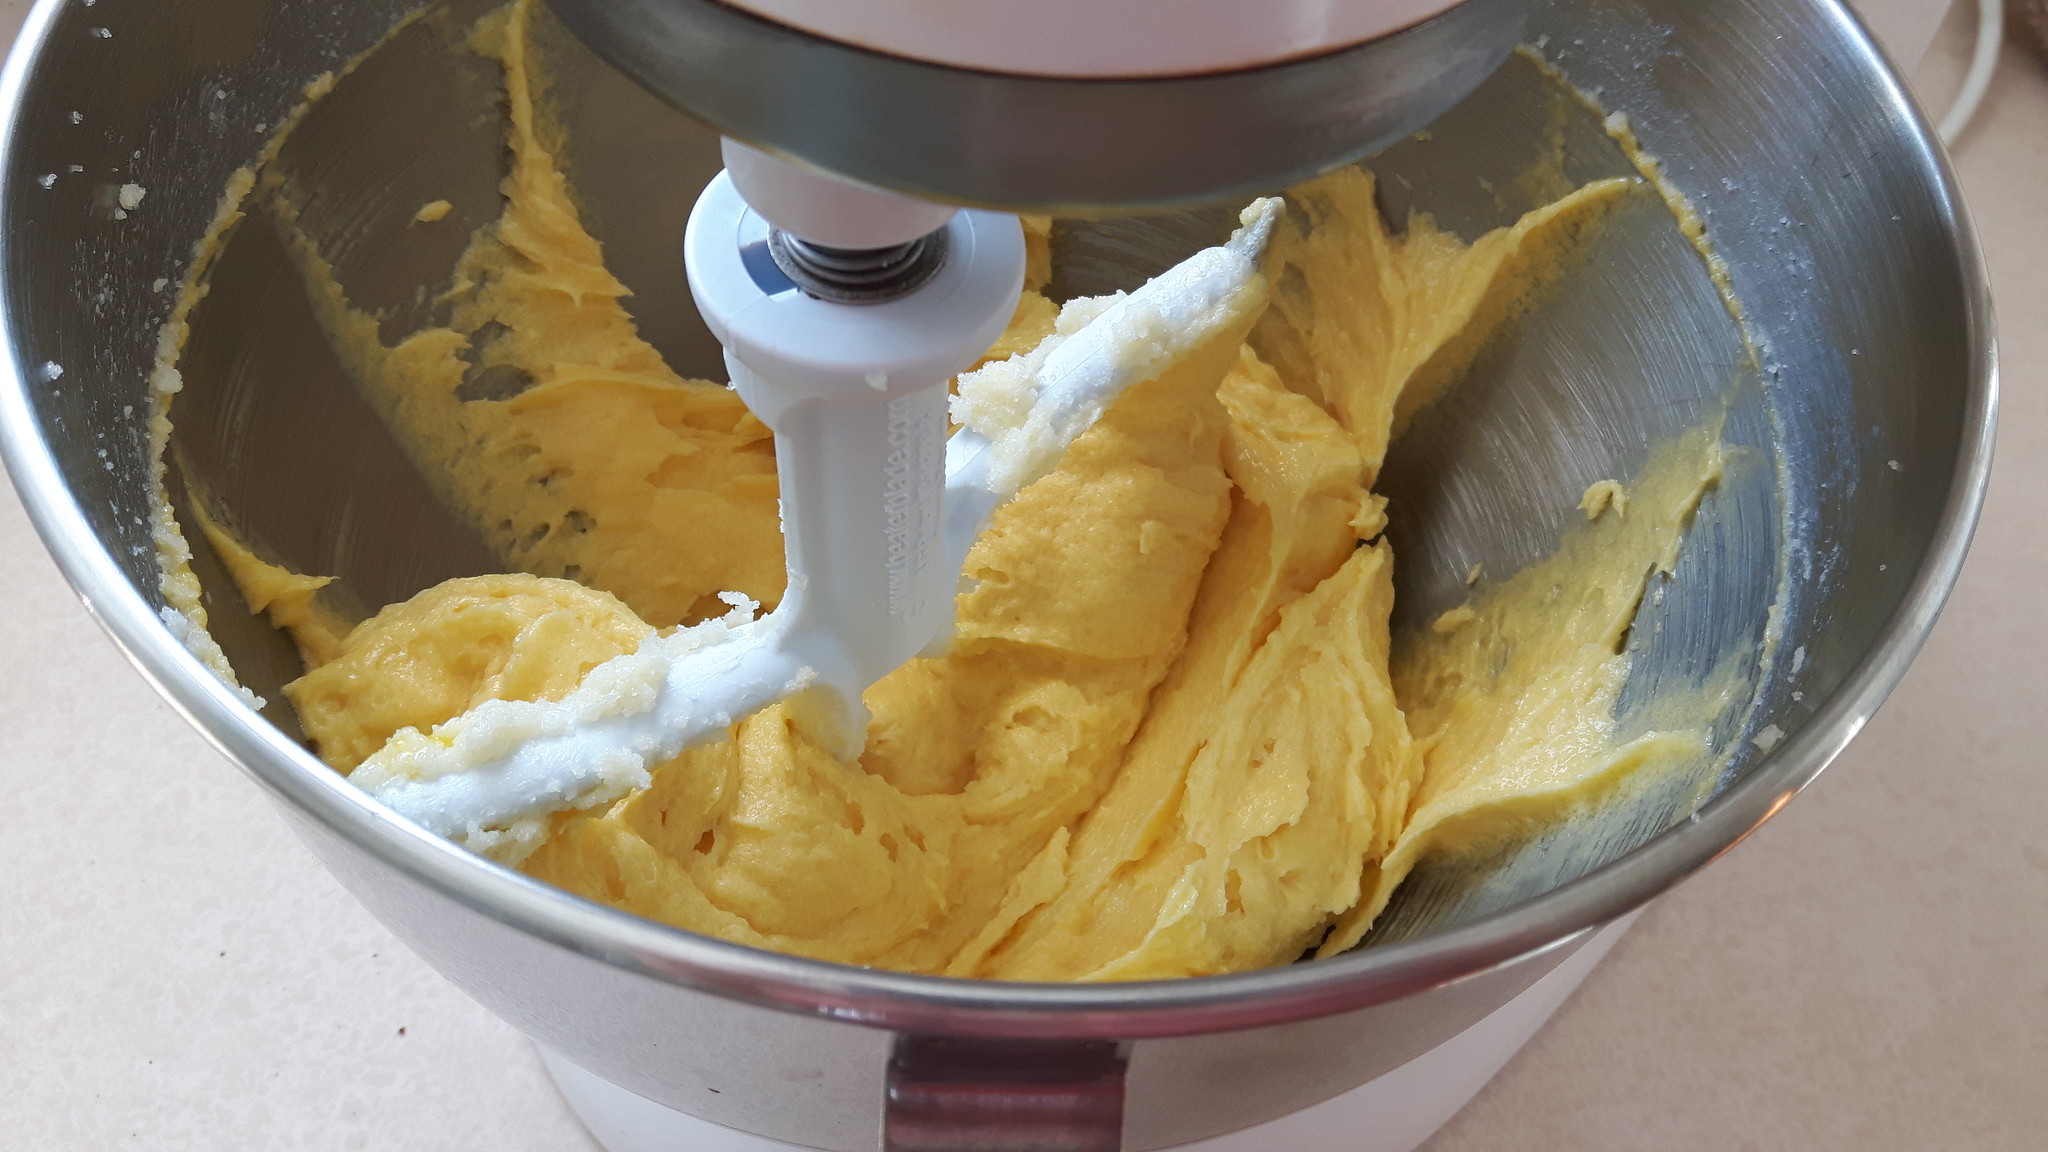
In the bowl of your mixer, cube up 1 cup butter (softened) and beat the crap out of it together with 1 1/2 cups sugar until it’s soft and fluffy.
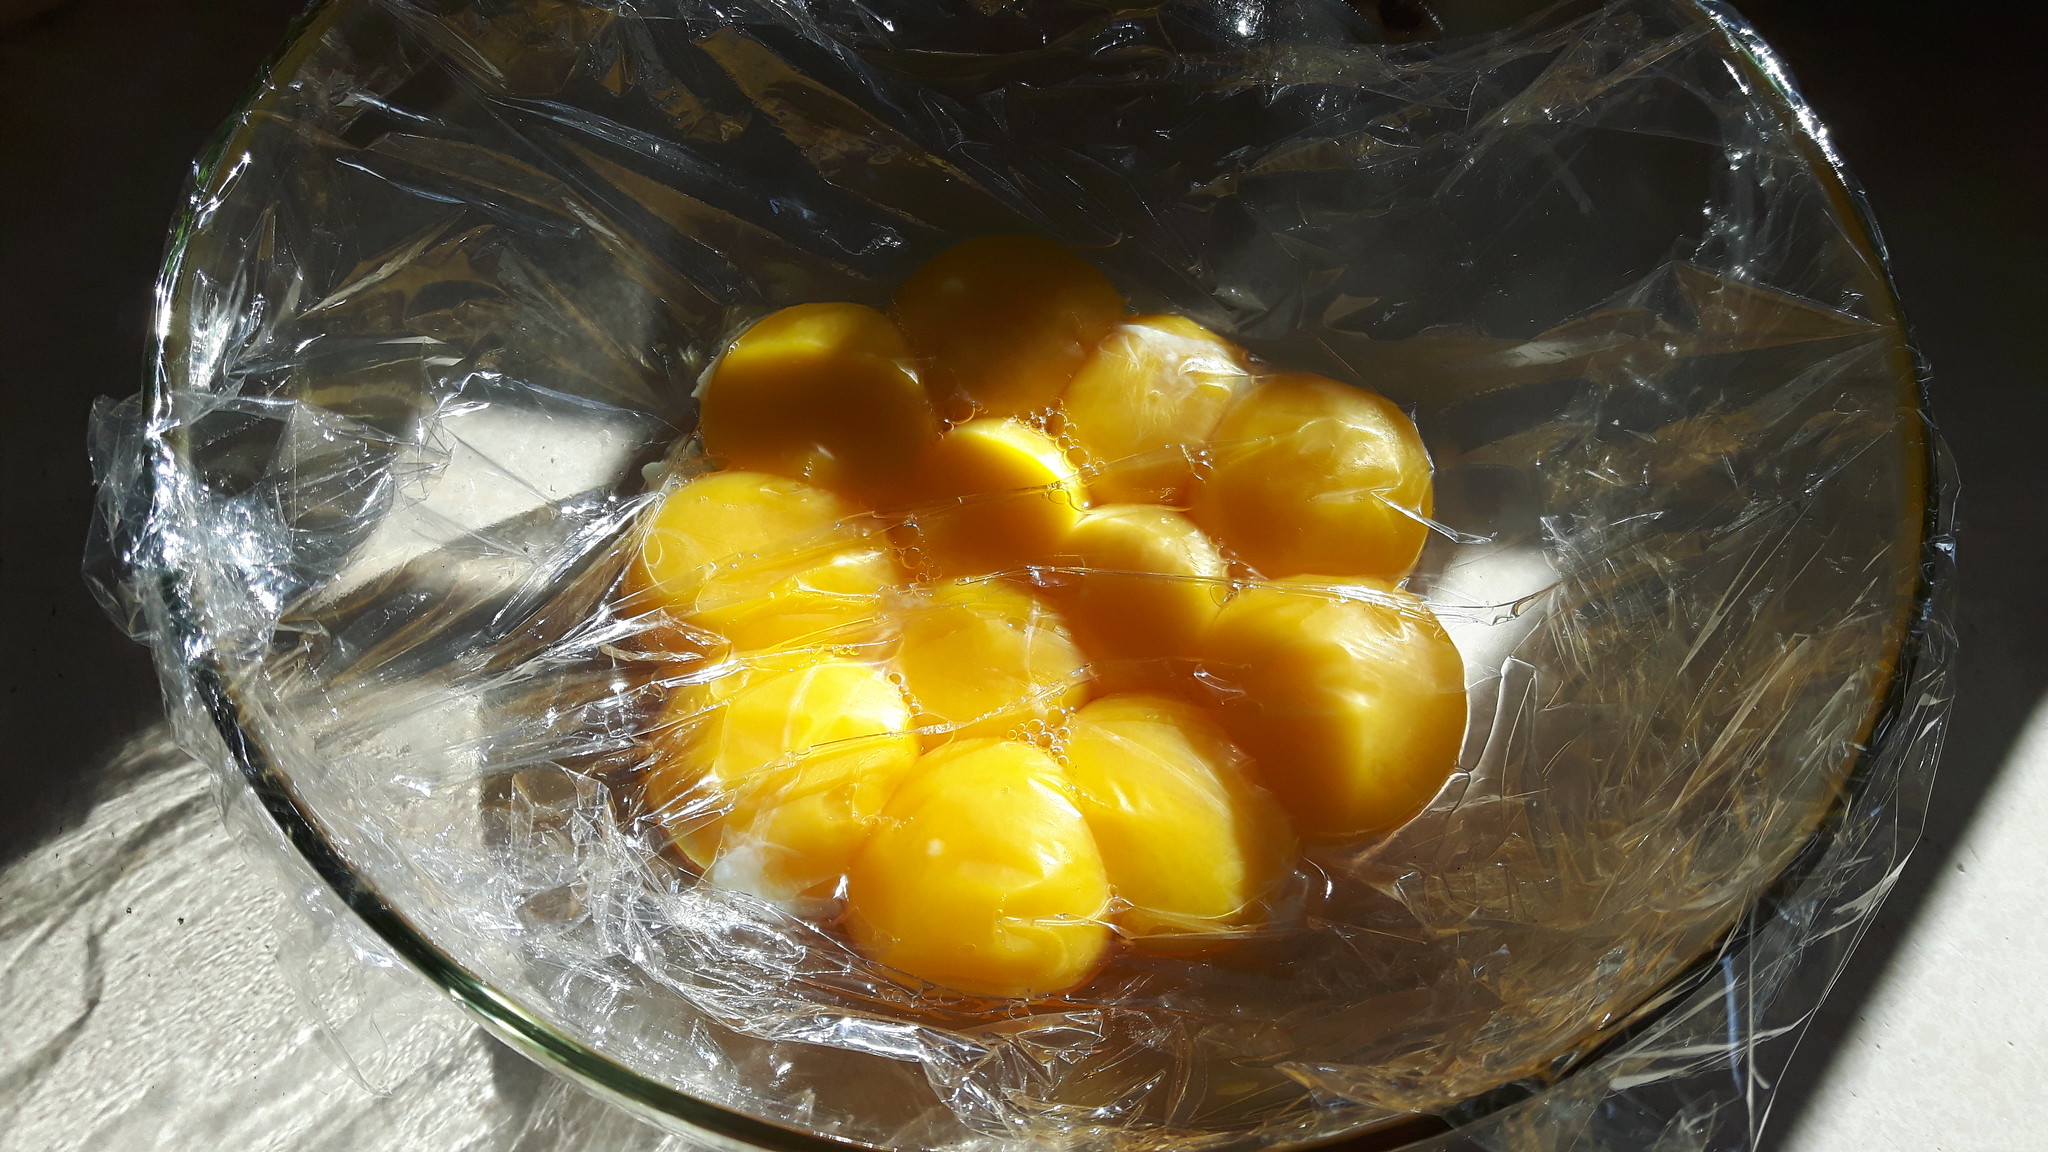
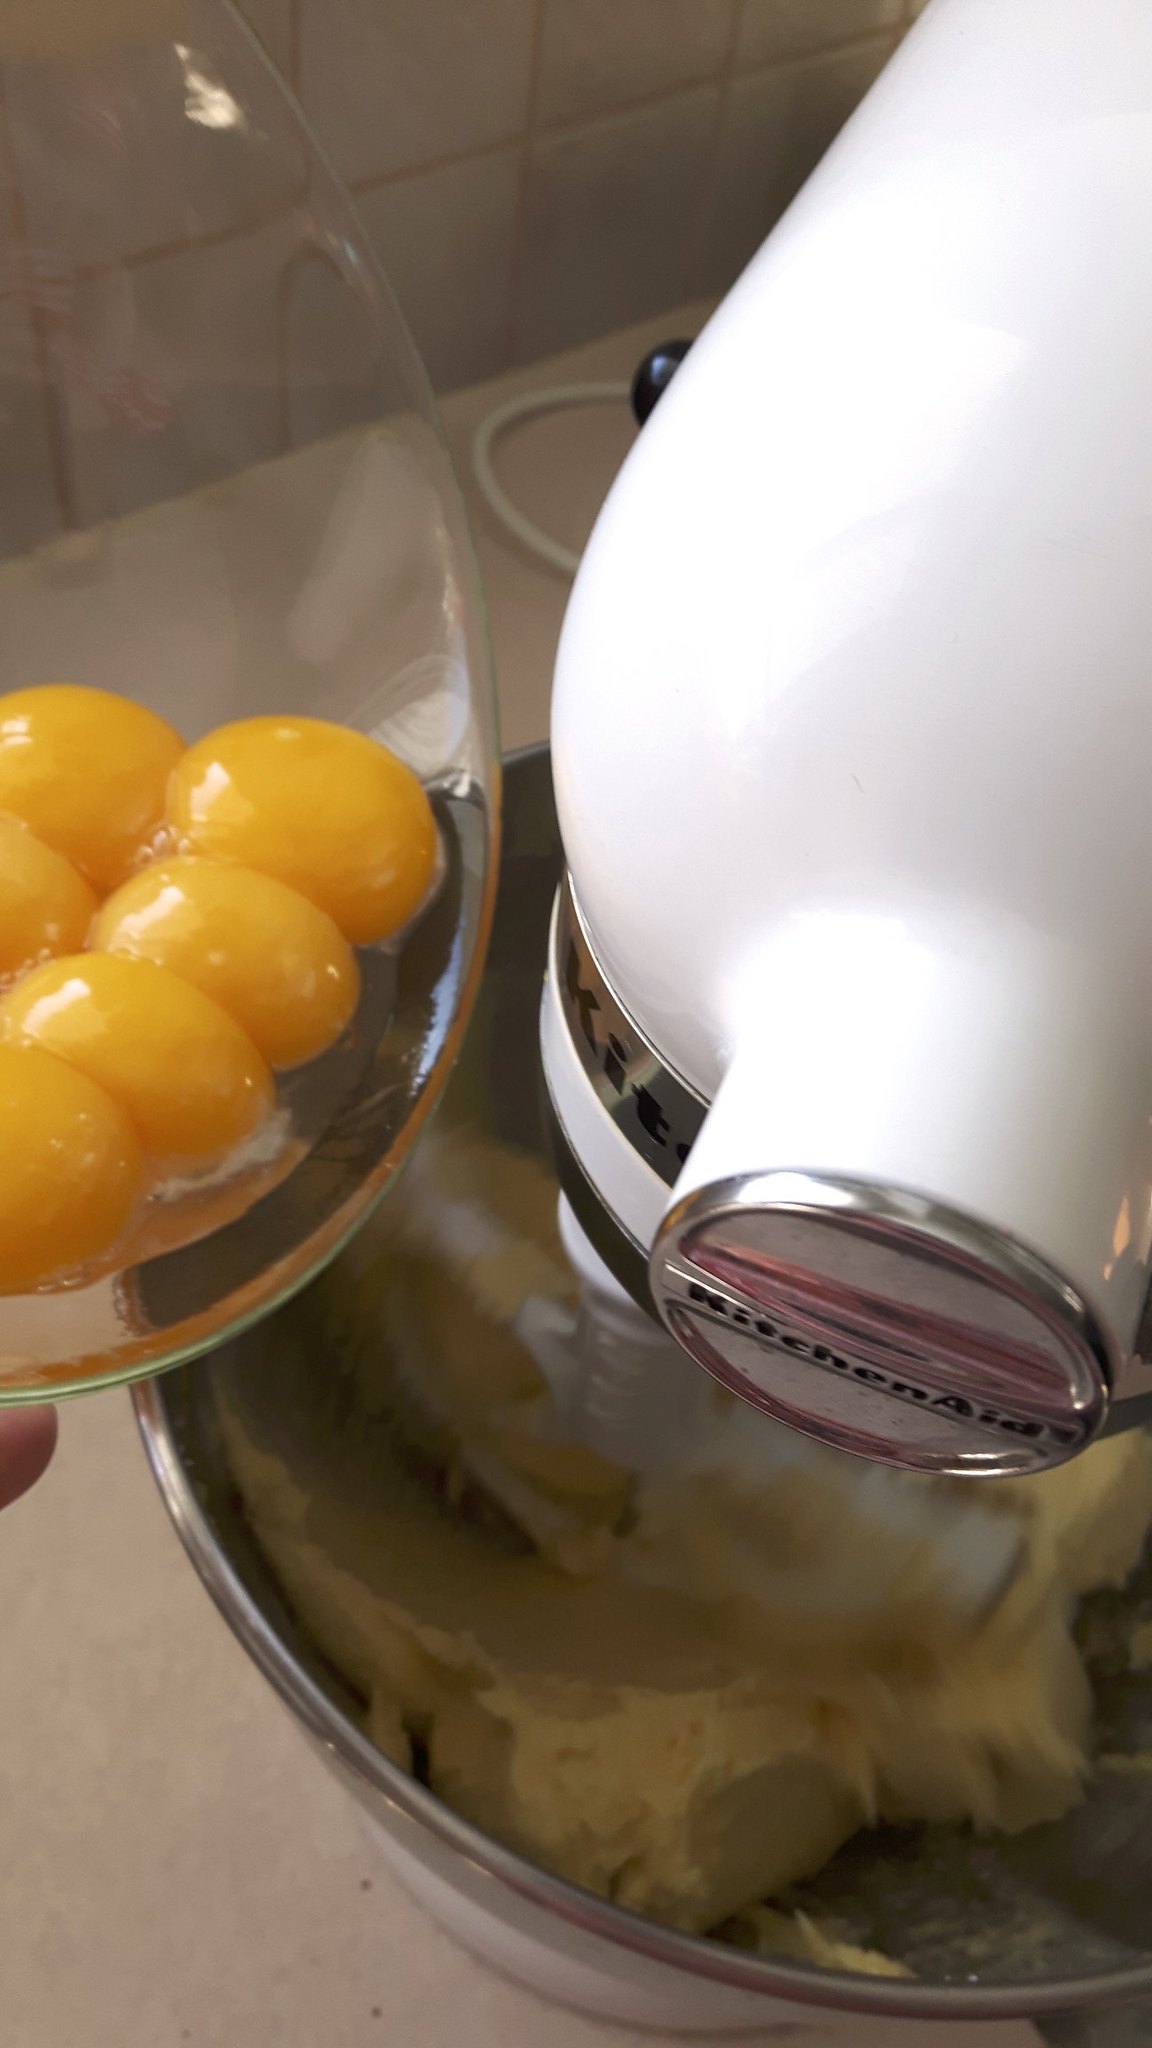
Then grab your 12 egg yolks and slide them into the mixer one at a time until they’re fully combined. Scrape down the sides of the bowl occasionally. Add in 2 teaspoons vanilla as well.
Look at that yellow loveliness.
Now beat in your melted chocolate until your batter resembles a tar pit.
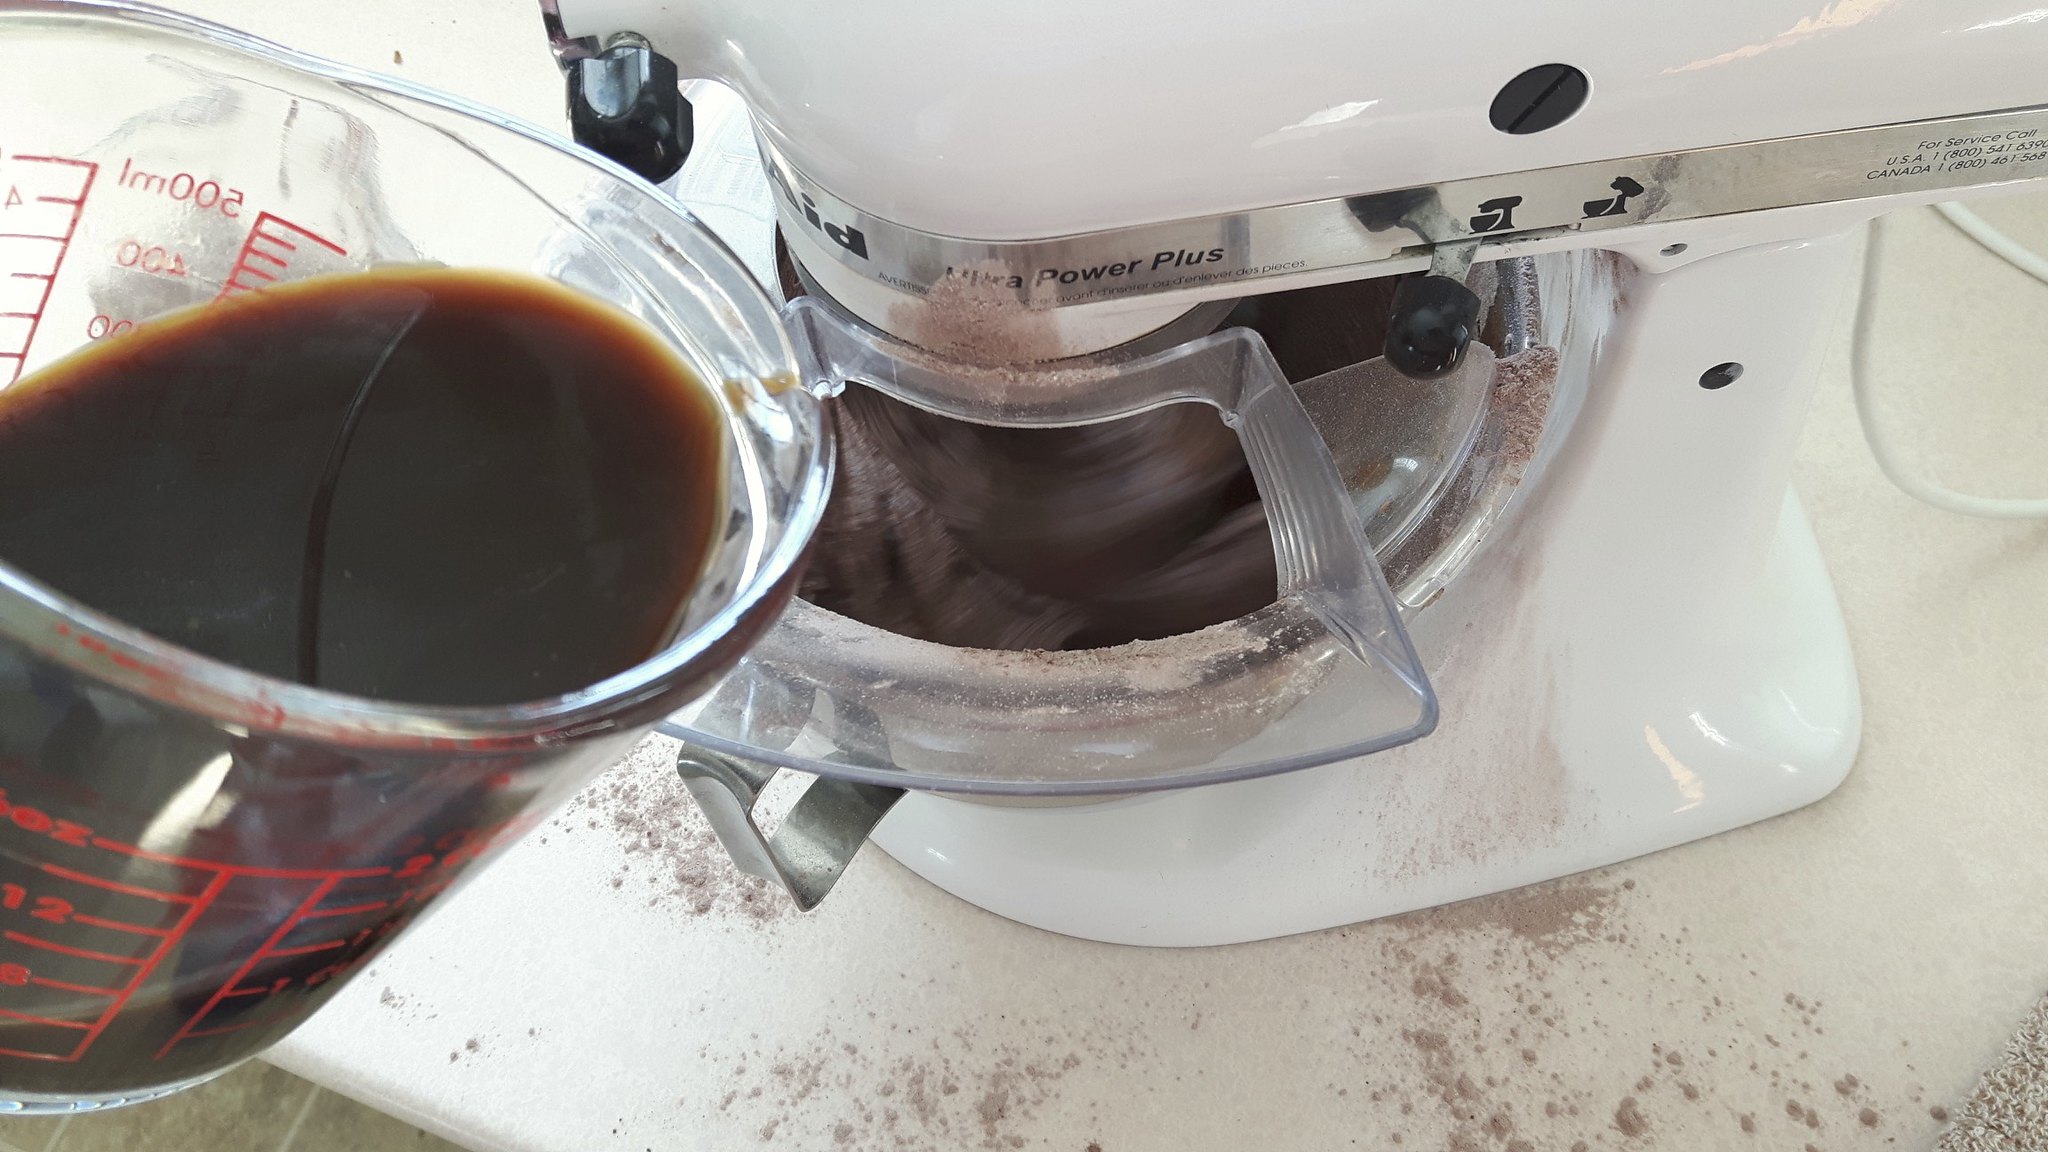
Then grab your flour/cocoa mixture and your coffee.
Alternate adding the two ingredient groups, flour-coffee-flour-coffee-flour and mix until the batter is smooth.
Even with a spatter shield in place I still had a bit of a mess.
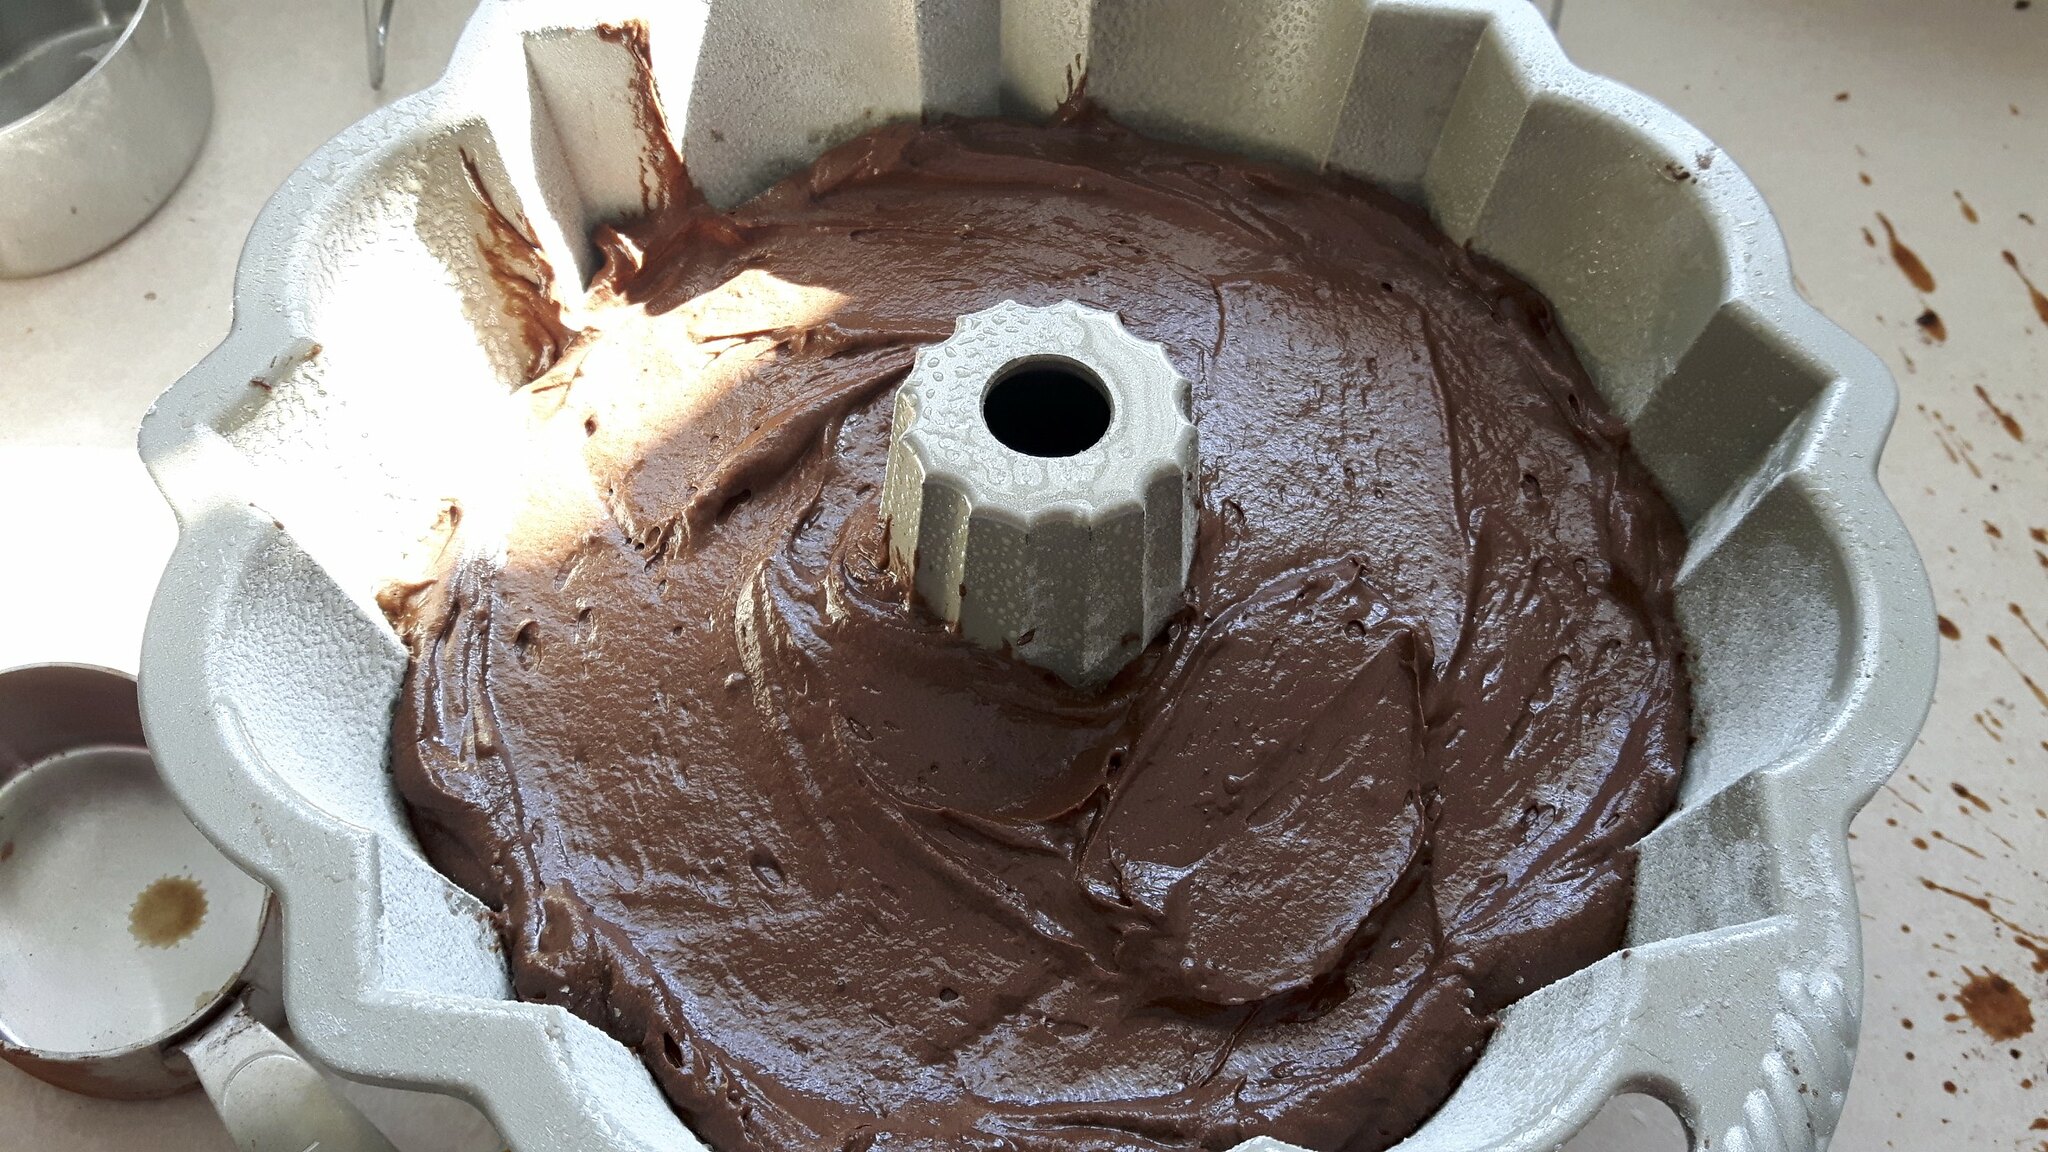
Smooth the batter into the prepared pan and bake for about 35 minutes, until a toothpick inserted in the centre comes out clean.
To be perfectly honest, I’m not sure if it’s 35 minutes or not. I didn’t write down that part of my recipe and after having dropped one angel food cake and had to make up another it kind of slipped my mind. But I’m guessing 35 minutes. If it’s not, then it’s a little longer, maybe 45 minutes. But certainly not less than 35 minutes. So keep an eye on it. And tell me what you come up with.
When the cake has somewhat cooled you can tip it out onto a rack to cool completely. You can see the light coloured stuff on the surface: that’s the flour/butter from the pan. If you don’t want that to show up – like if you’re not planning to ice the cake – then don’t flour it (maybe use cocoa?).
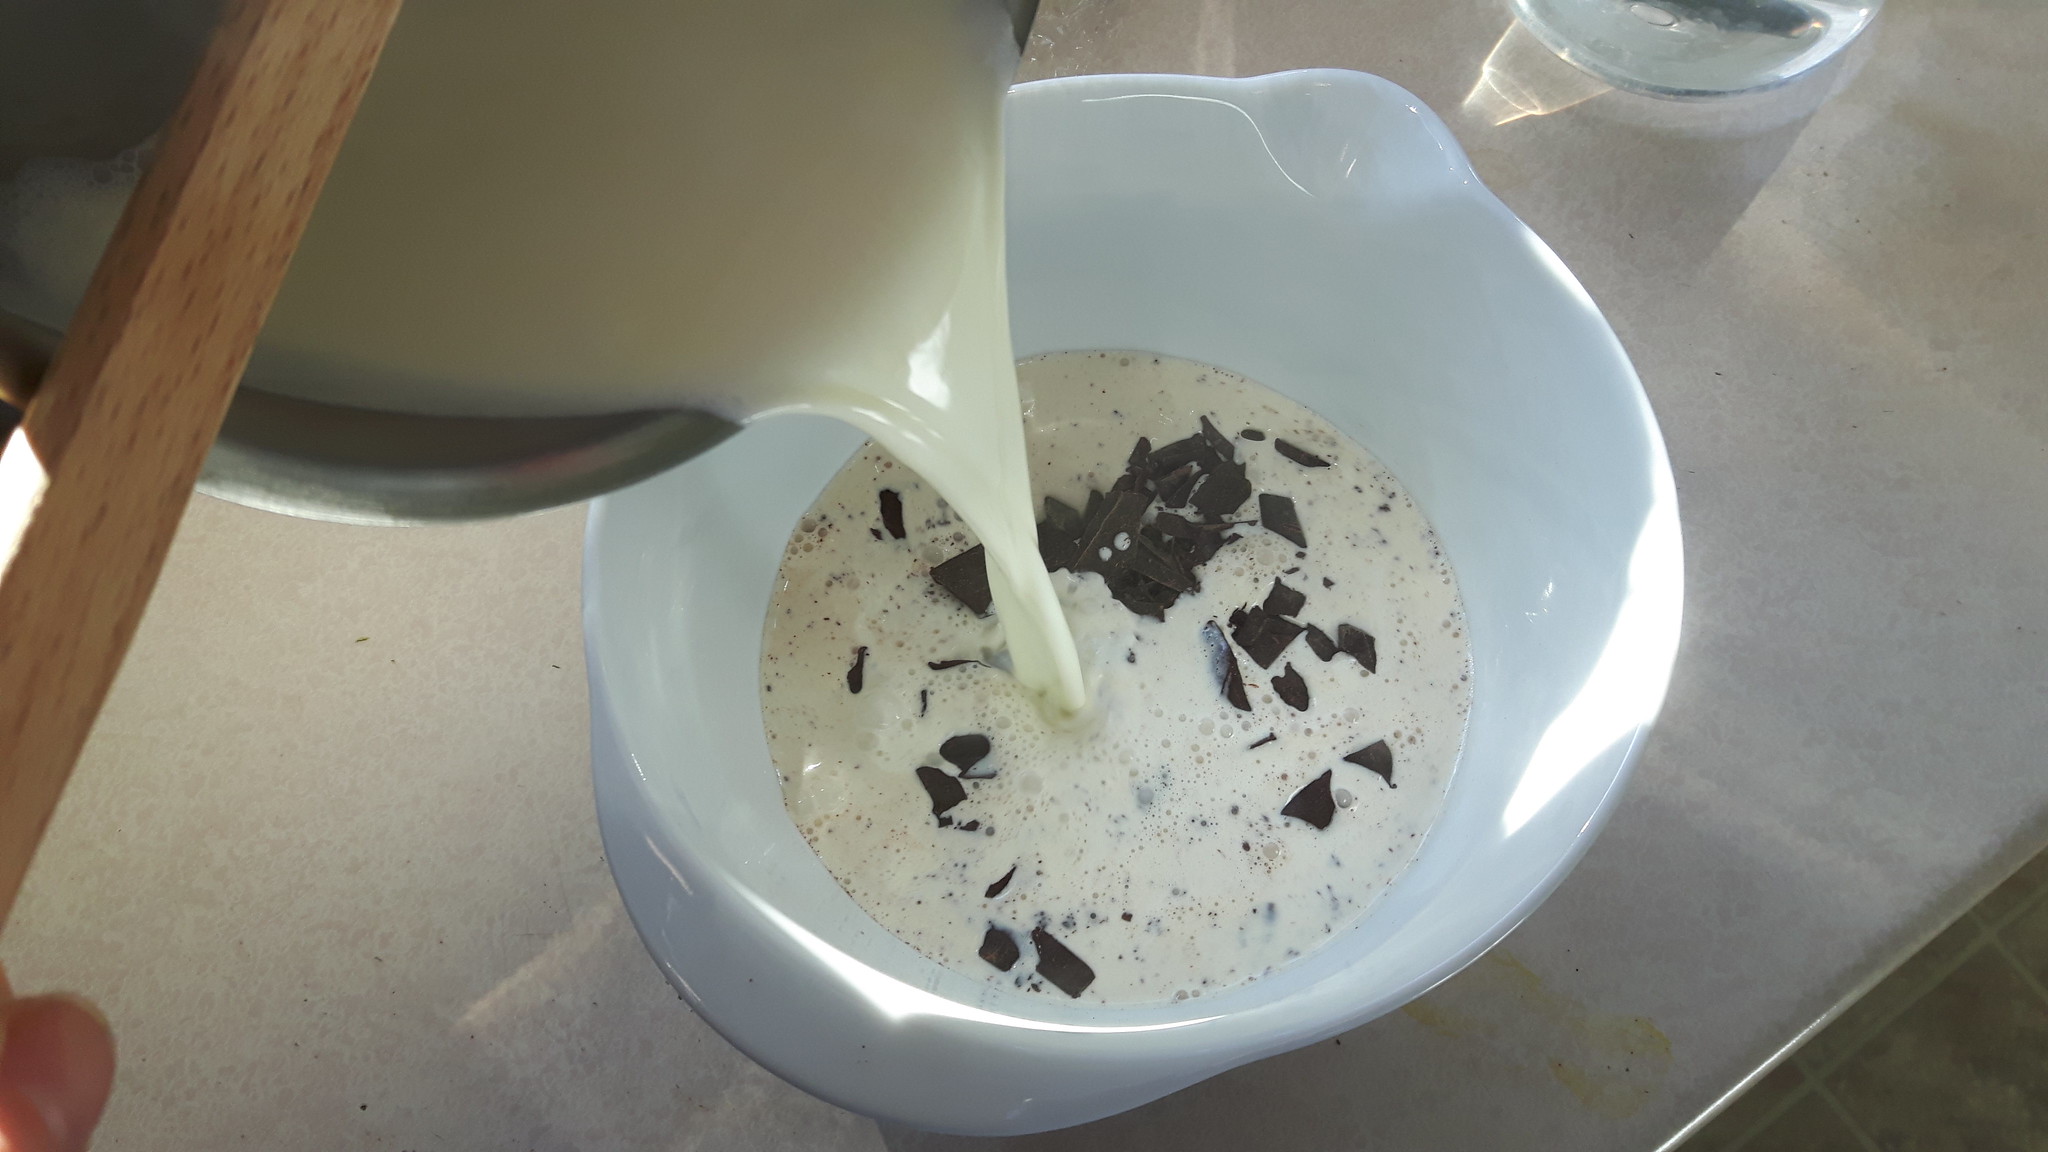
While the cake is cooling, you can make up a ganache. Chop up another 8 oz chocolate and set it in a heatproof bowl. In a small saucepan, heat 1 cup whipping cream until it’s just simmering, then pour it over the chocolate and stir it occasionally until all the chocolate is melted and the mixture is uniform.
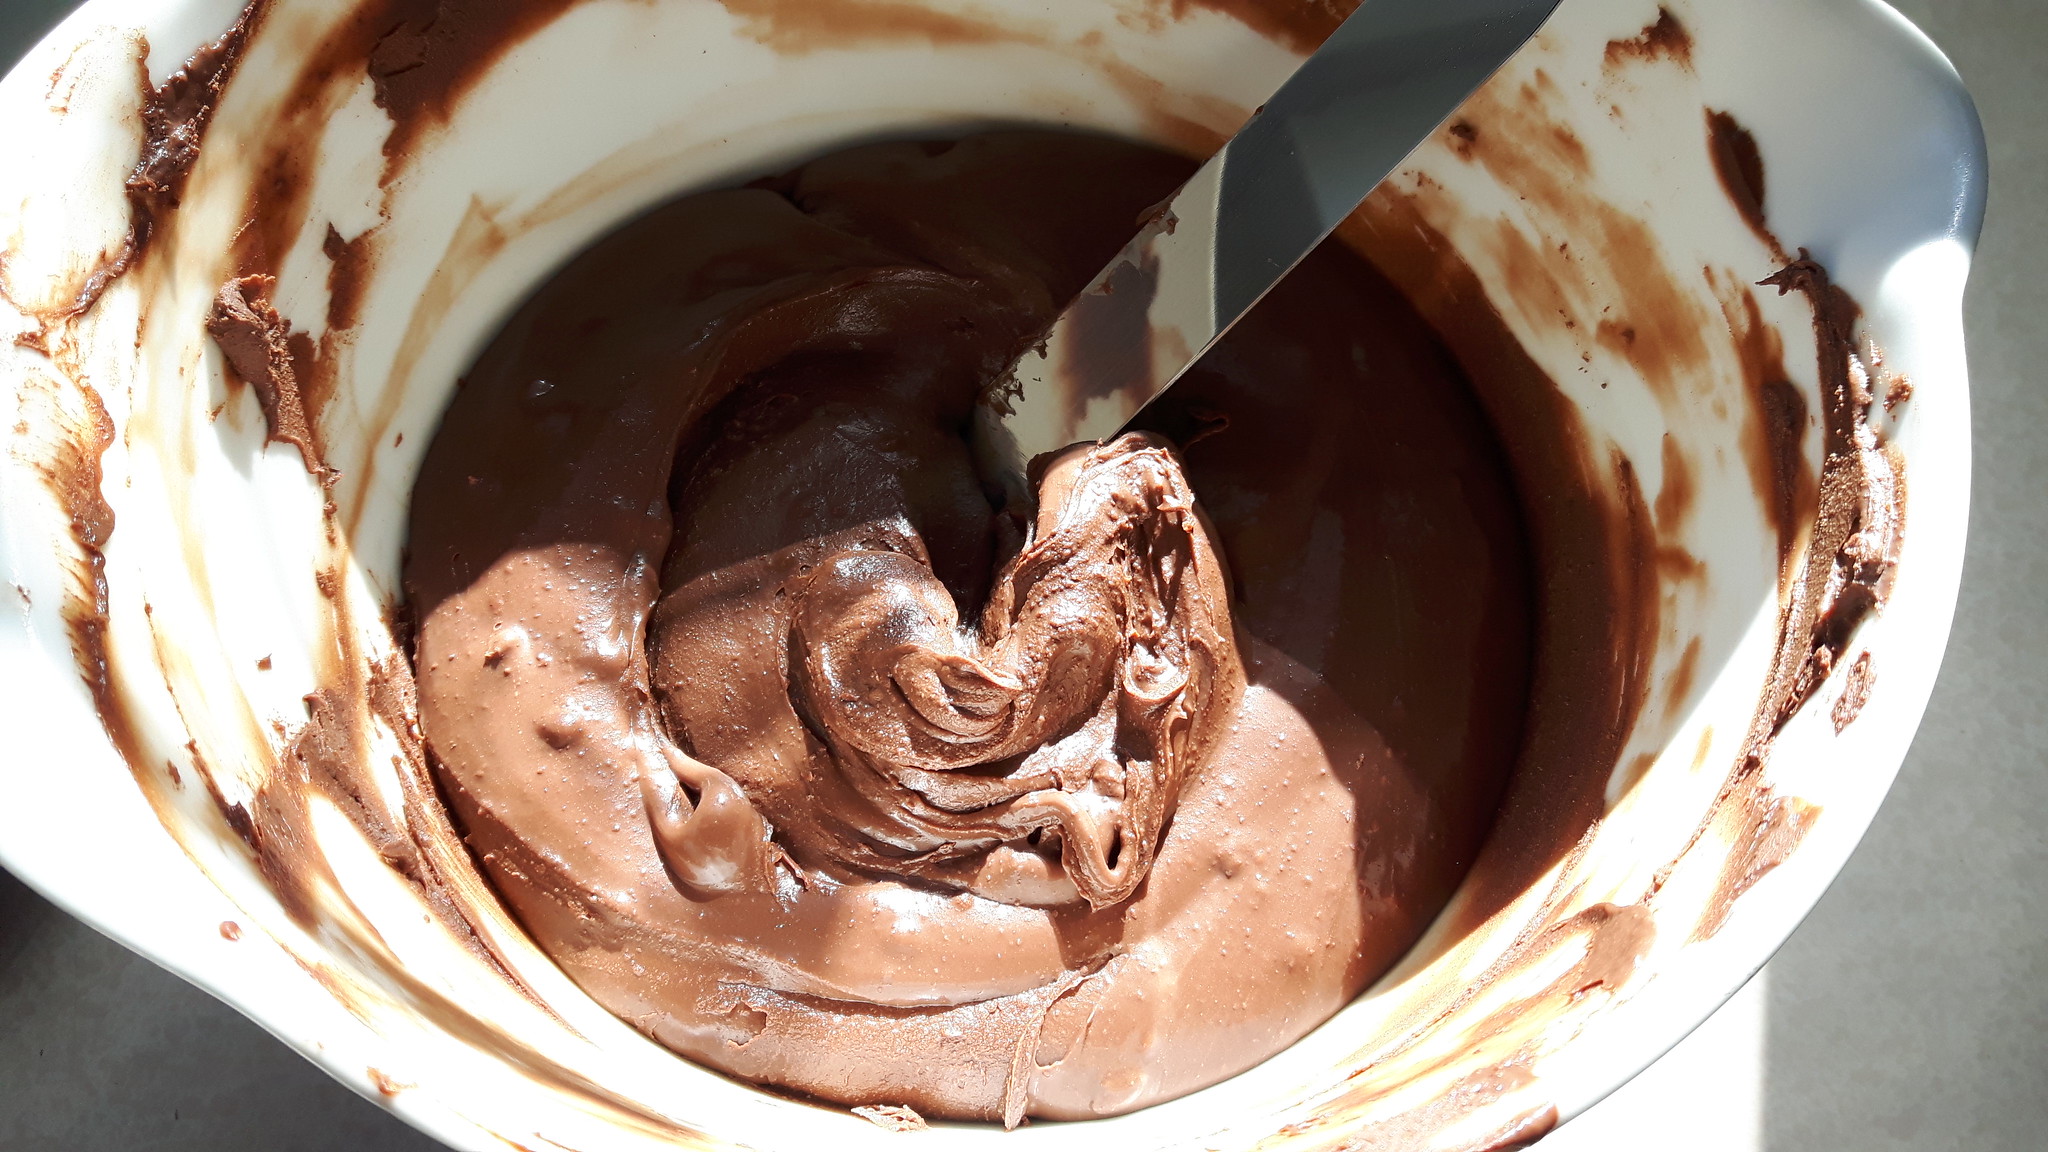
Let that cool until it reaches a spreadable consistency.
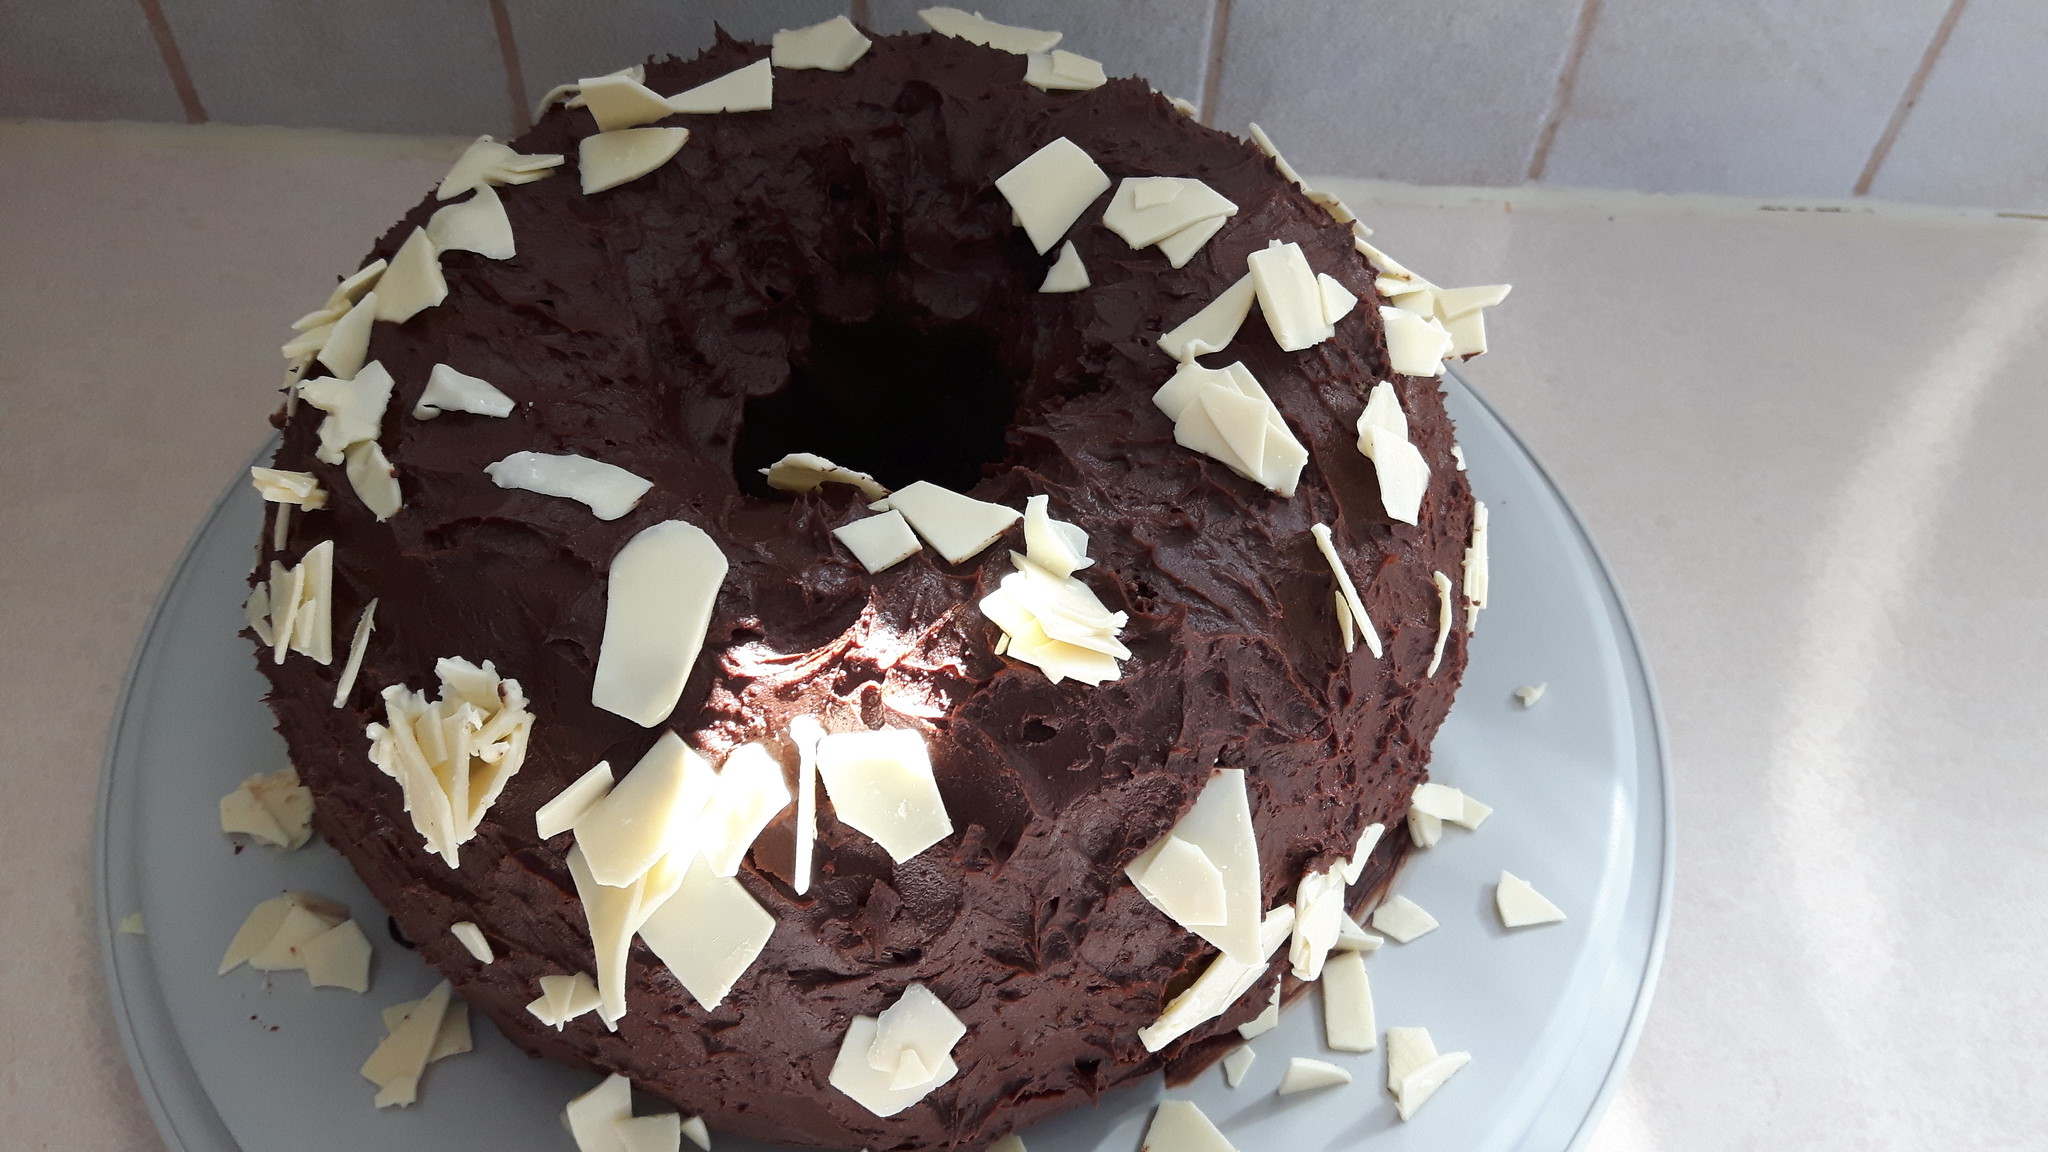
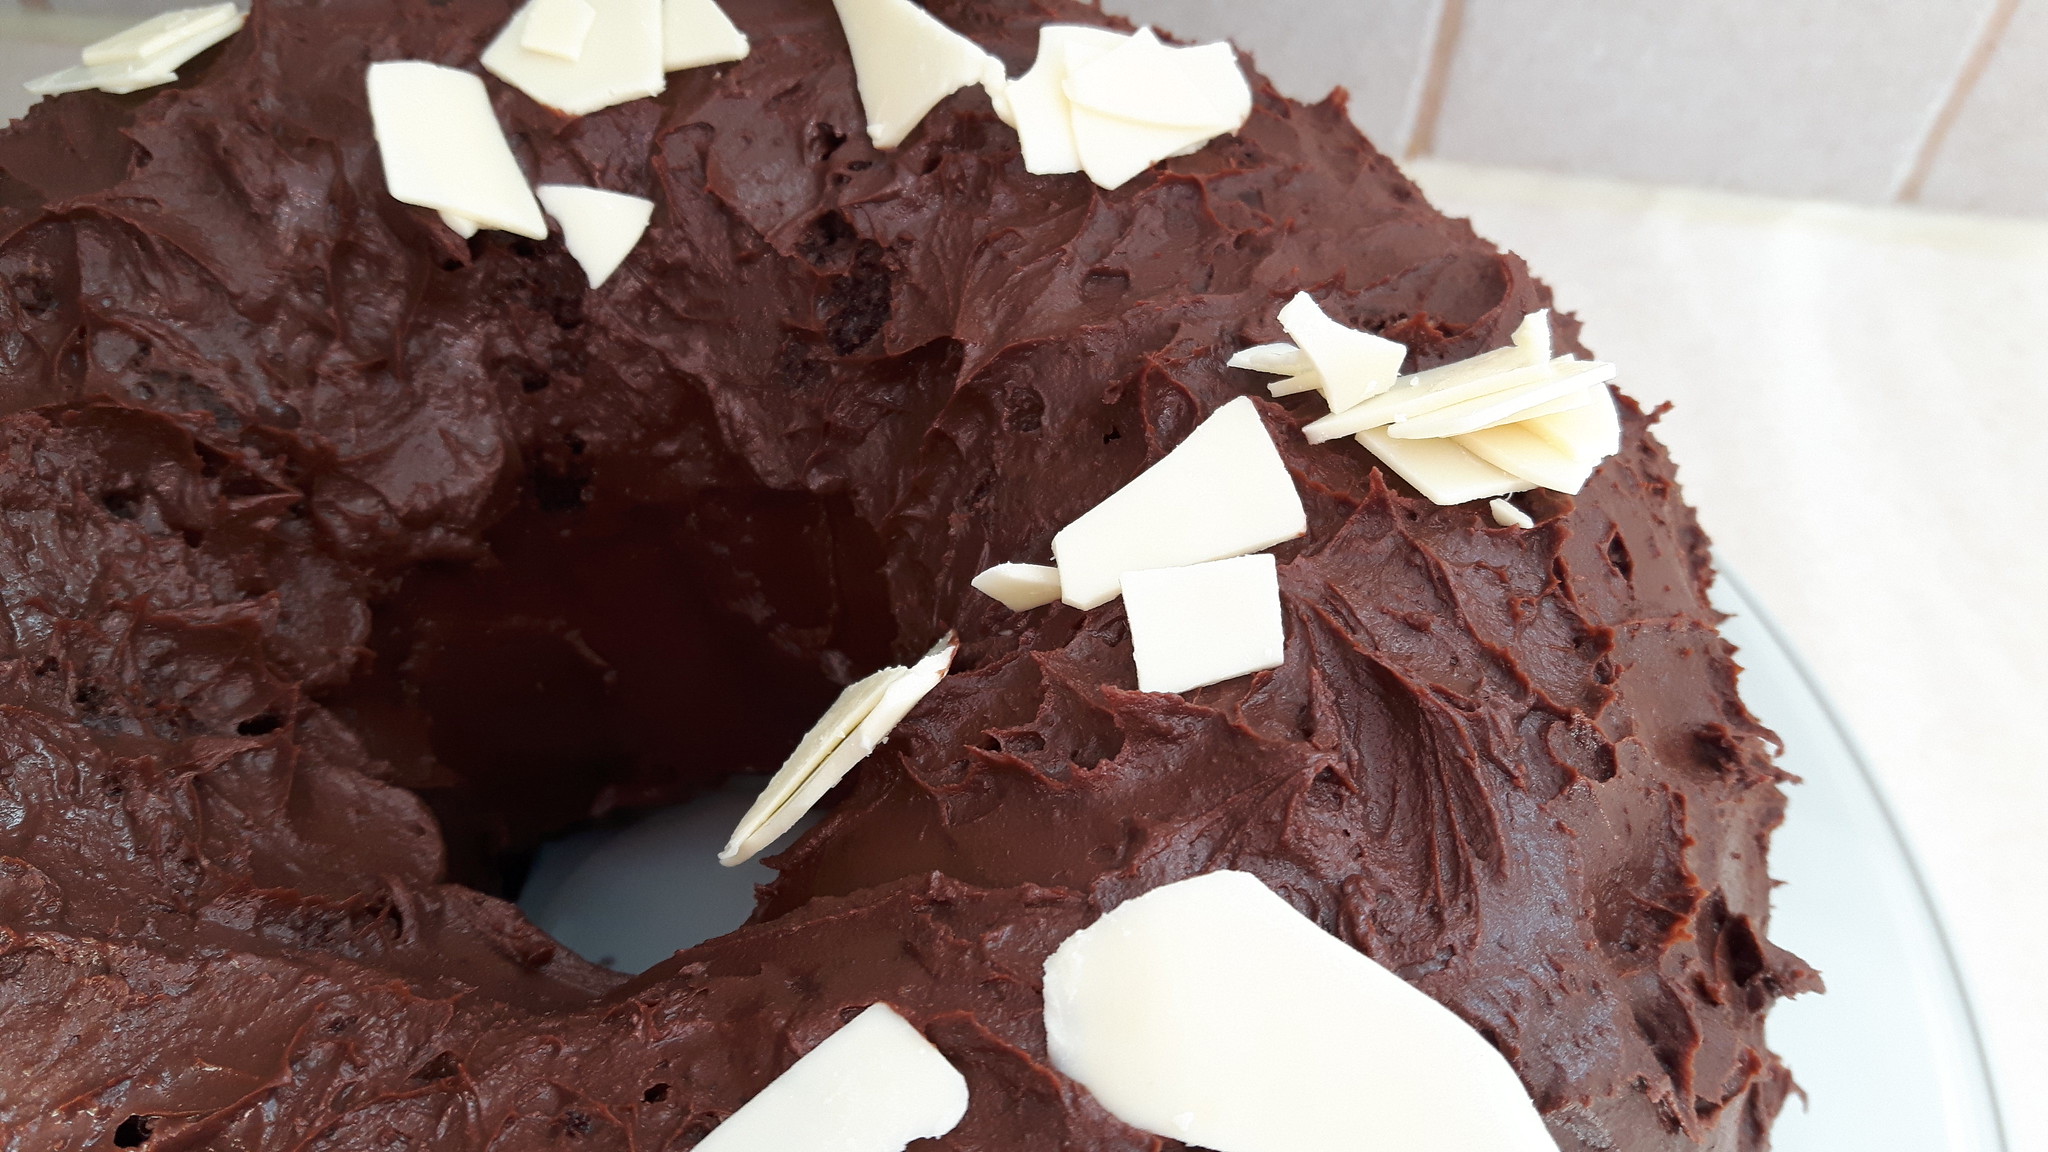
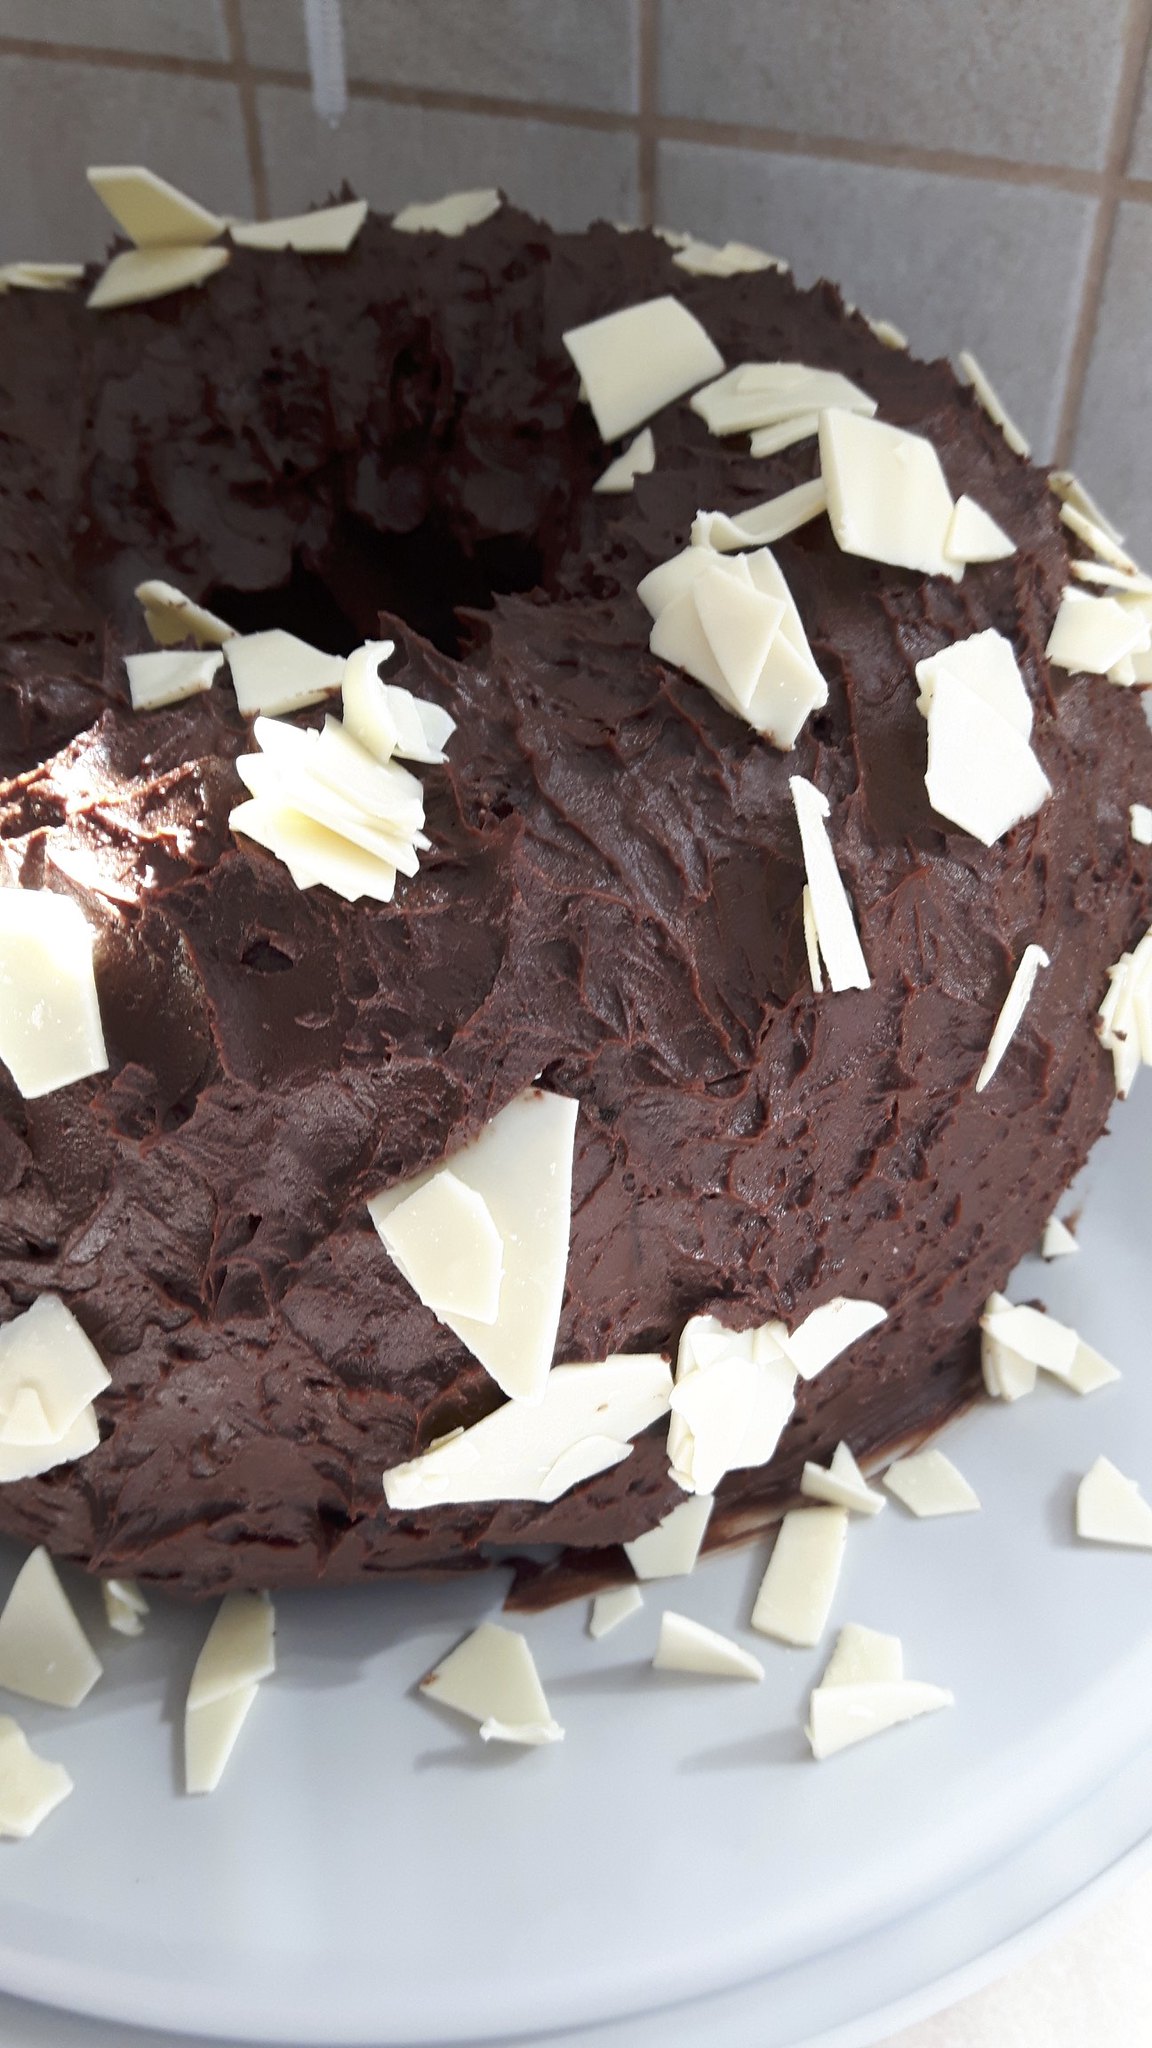
Then jam it all over your cake.
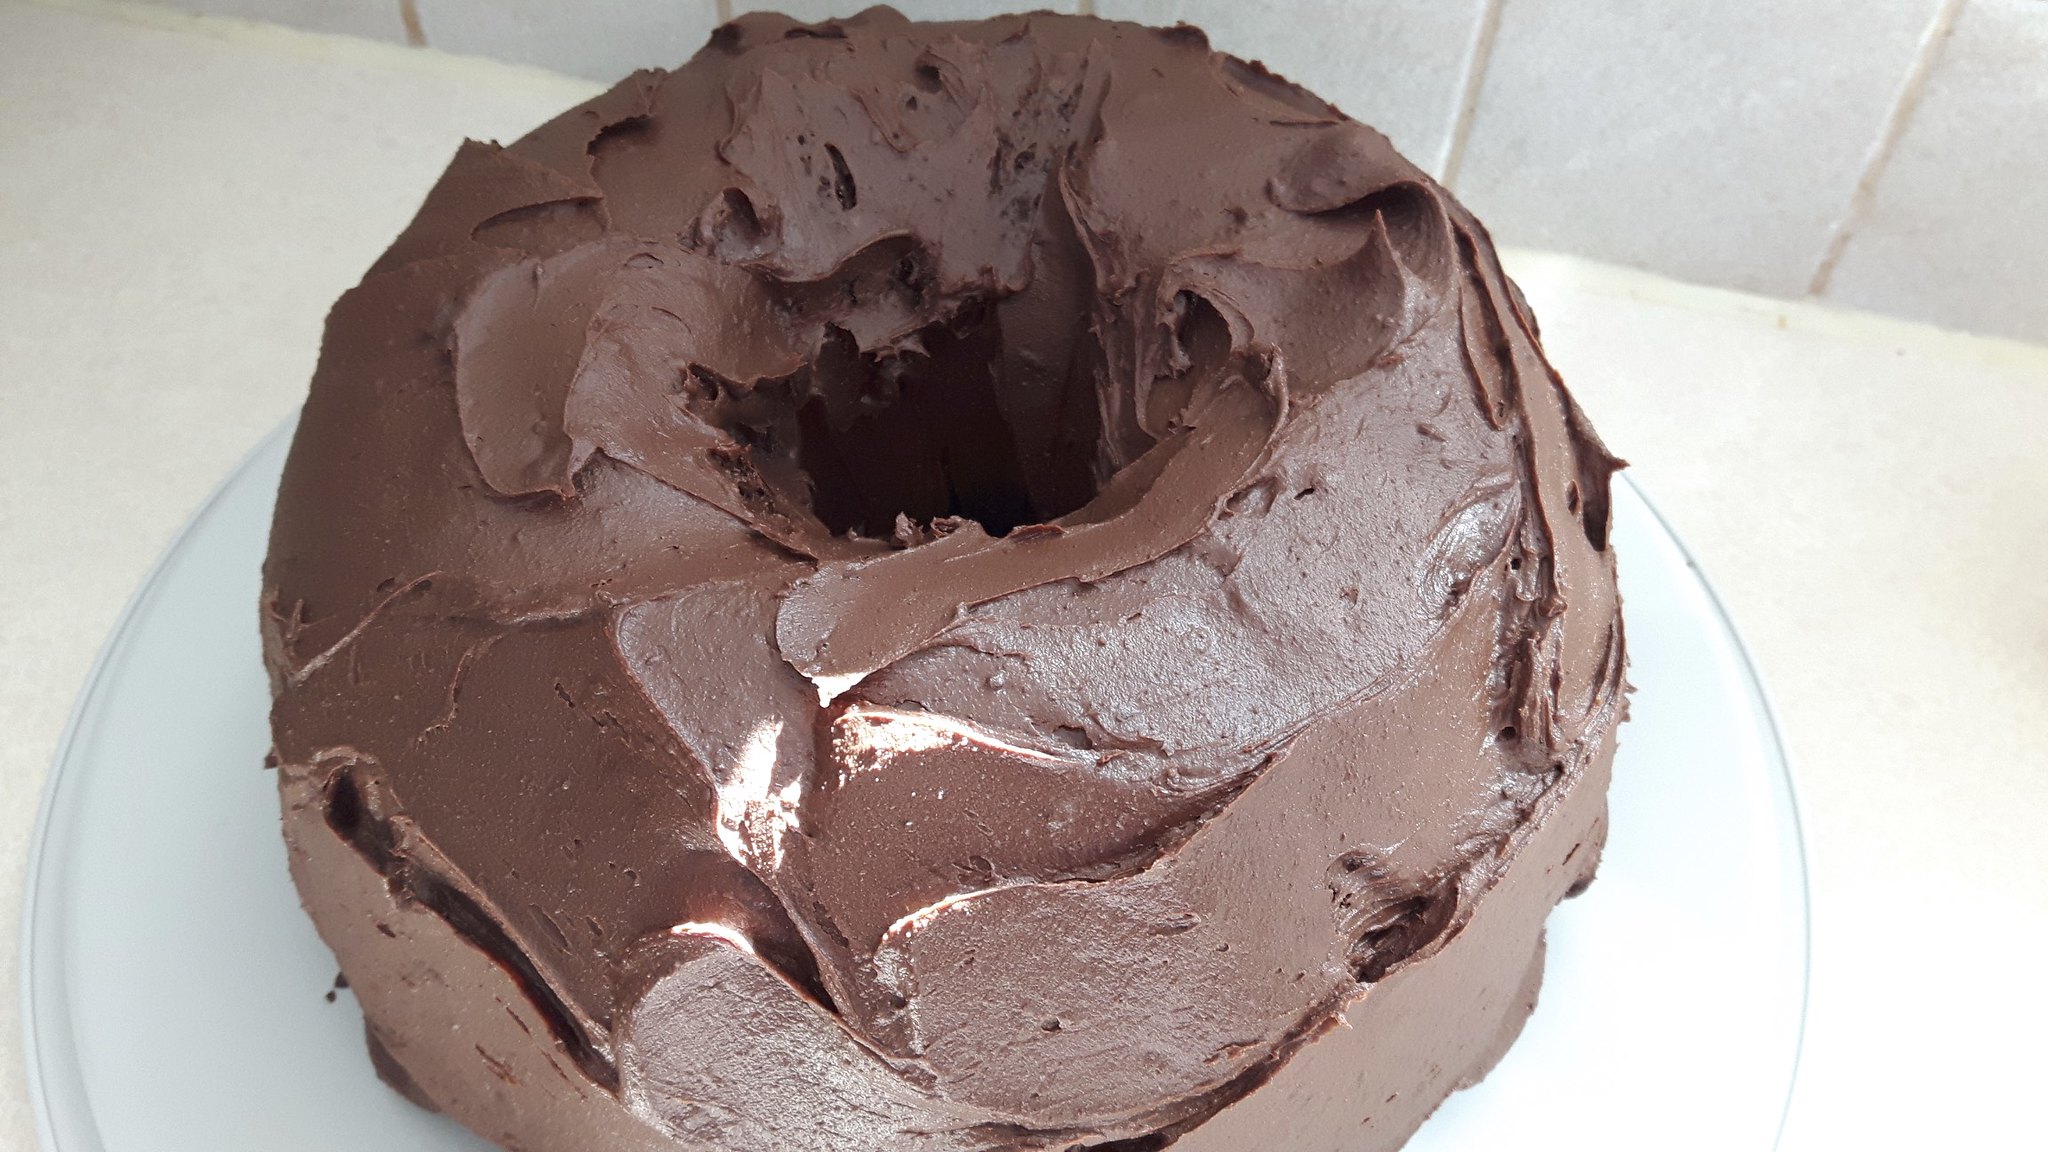
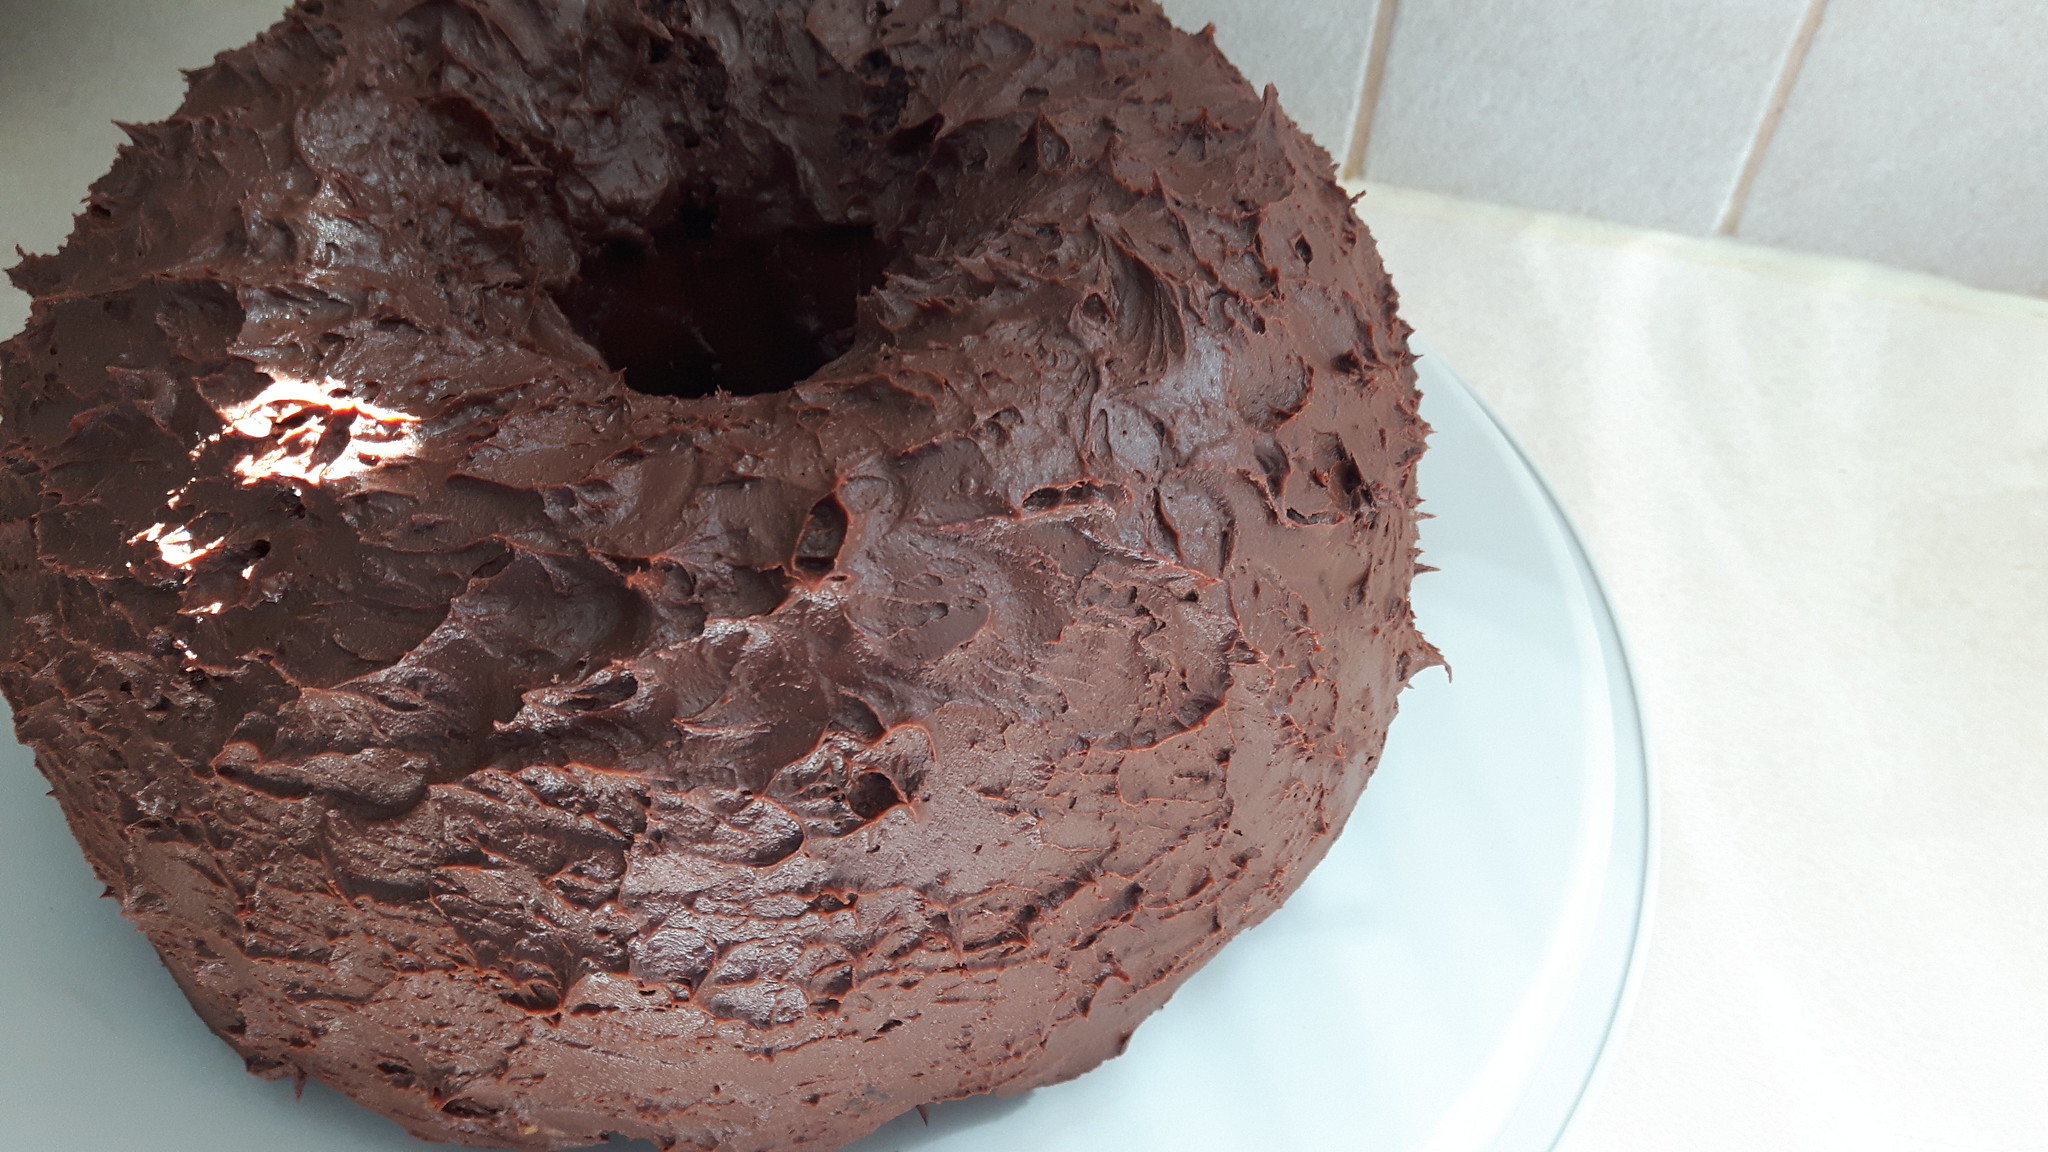
I decided seeing as I suck as icing things in an artistic fashion to kind of make it look like stucco by smacking my icing spatula against it and pulling it away.
Then I added some chips of white chocolate that I had on hand for contrast. I could have applied them better but again, not so good with the artistic part of cake-making. I’m more into the cake-eating.
Happy New Year! I hope you all had a great holiday. Ours was pretty quiet, which was good because all three of us got sick, one after the other – always a great way to spend one’s vacation. We have this week left to try to get as many things crossed off our to-do list as possible. We’re not holding our breath that they’ll all get done, but we’ll do our best.
In the meantime, here’s a quick little toffee recipe to help you combat those mid-winter blahs. I doubled the recipe, which I would not recommend, because the toffee sets so quickly it’s hard to get both batches flattened out on the pans fast enough.
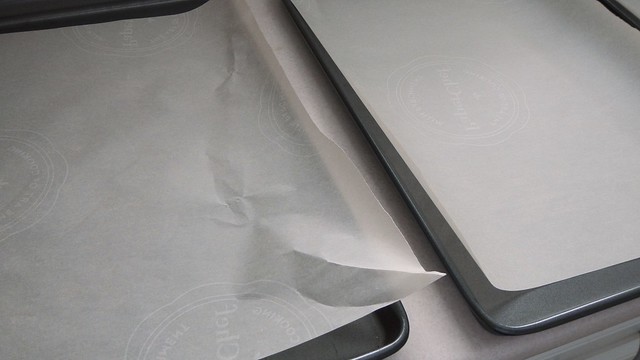
Line a baking sheet with parchment paper and put it aside for a bit.
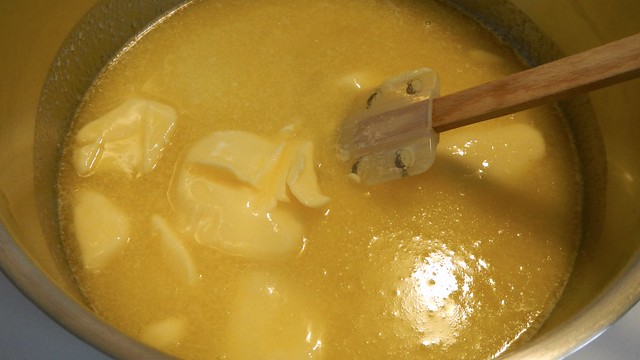
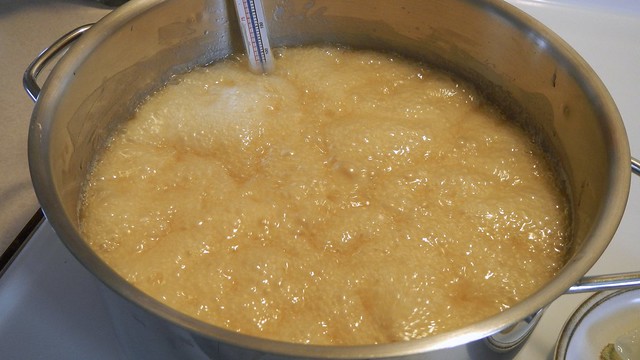
In a heavy saucepan, combine 1/2 cup butter, 1 1/4 cups granulated sugar, 1 tablespoon corn syrup, and 2 tablespoons water.
Attach a candy thermometer to the side and heat that over medium until it reads 300°F. Try to avoid stirring as much as possible, and if you do, don’t use a metal spoon – wood or silicone will prevent premature crystallization.
Next to the pot, place a little container of 1/4 teaspoon baking soda and another of 1/2 teaspoon vanilla. You’ll need to have those handy at short notice later on.
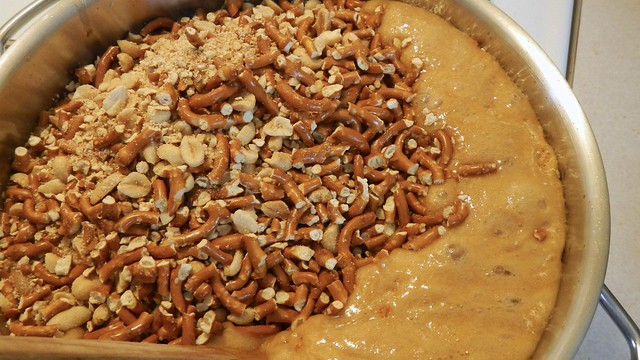
While you’re keeping an eye on the sugar, crush up about 1 1/2 cups pretzel twists.I also had some salted peanuts on hand so I crushed and dumped those in as well – probably about 3/4 cup salted peanuts.
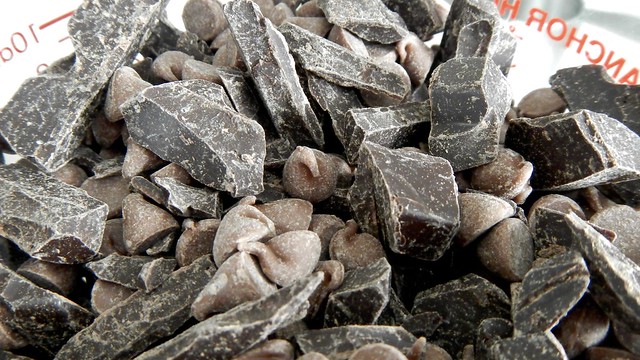
And gather up 1 cup chocolate chips. I mixed mine with some dark chocolate for flavour.
When your sugar has caramelized and gotten to the hard crack stage (that’s 300°F), remove it from the heat and quickly stir in the baking soda and vanilla. Try to resist screaming as it fizzes up and gets all terrifying. I promise that will pass.
EEEEEEEEEEEEEEEEEEEEEEEEEEEEEEEEEEEEE!
Toss in the pretzels and peanuts and stir the toffee quickly.
Then tip it out onto your parchment sheet and flatten it down as much as you can before it starts to set.
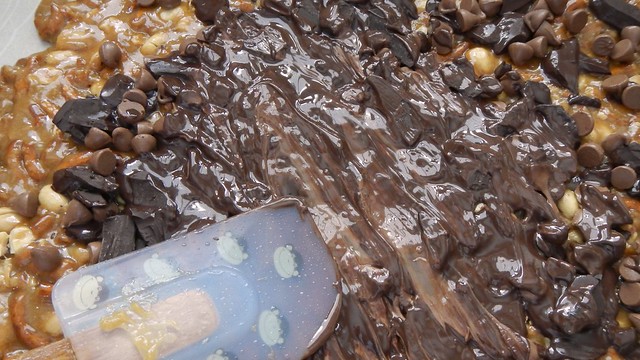
Sprinkle the chocolate evenly over the top of the toffee and let it stand for a few minutes while the chocolate melts.
Then smooth out the melted chocolate with a spatula.
Sprinkle the top of the chocolate with fleur de sel and let harden in the refrigerator for about an hour.
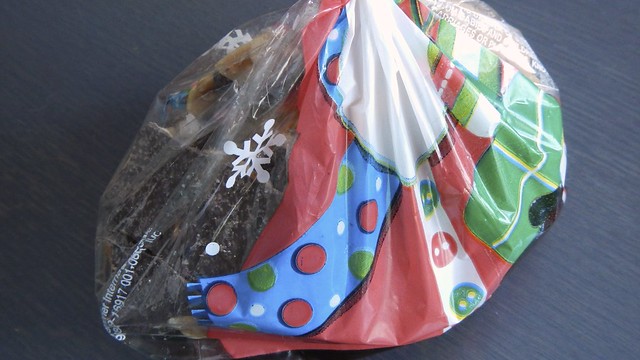
Once it’s hardened, break it up into chunks and eat it all by yourself! share it with your friends and family.
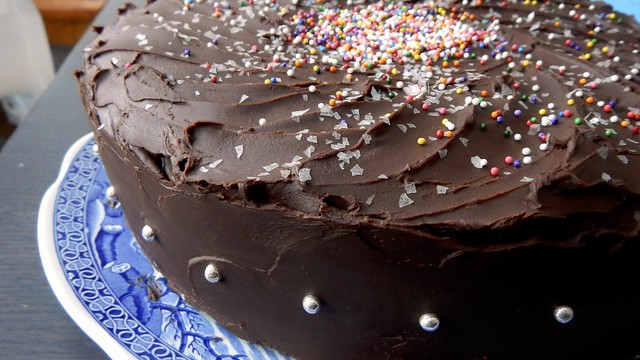
I made this (from Recipe Tin Eats) for Nana Nice’s birthday a couple weeks ago. Unfortunately I had the plague and couldn’t partake but I can assure you that it’s equally good the next day …
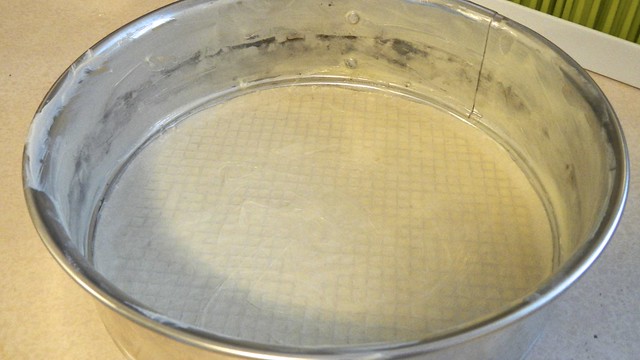
Start by preheating your oven to 350°F and butter a 9″ springform pan. Line the bottom with parchment and butter that too. You can never have enough butter.
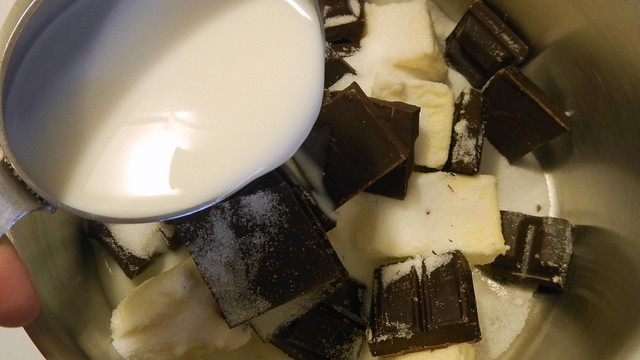
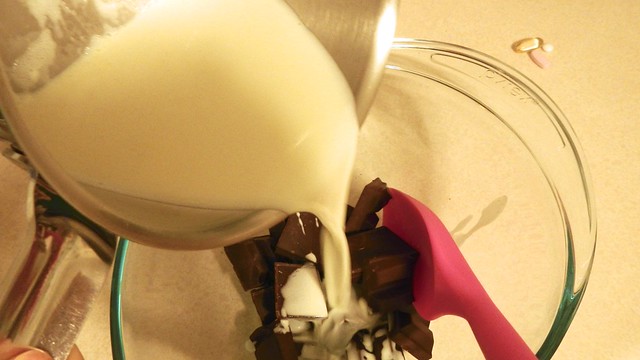
In a smallish pot on the stove, combine 8.5 ounces dark chocolate with 1 3/4 cup granulated sugar, 2 sticks unsalted butter, and 1/2 cup milk. Stir on medium low until the butter and chocolate have melted. Don’t let it come to a simmer.
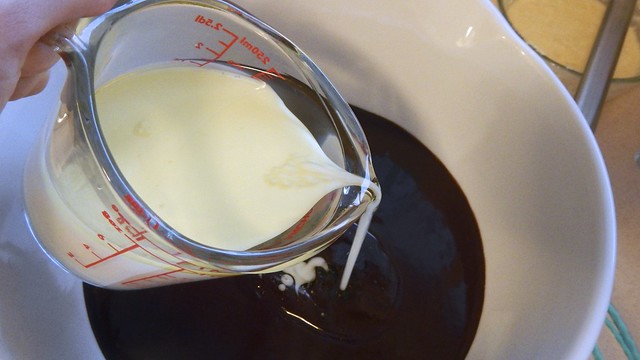
Tip in into a bowl and whisk in 1/4 cup vegetable oil and 3/4 cup milk.
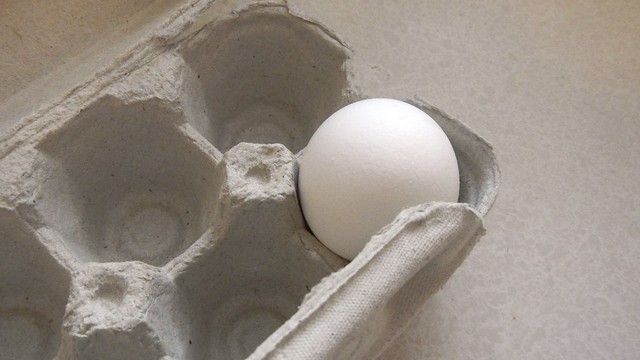
Then mix in 2 eggs – WAIT, I ONLY HAVE ONE EGG!
Not to worry. You can substitute an egg with 2 tablespoons flour, 1/2 teaspoon oil, 1/2 teaspoon baking powder, and 2 tablespoons milk, cream, butter, or yogurt.
Whisk in those “eggs.”
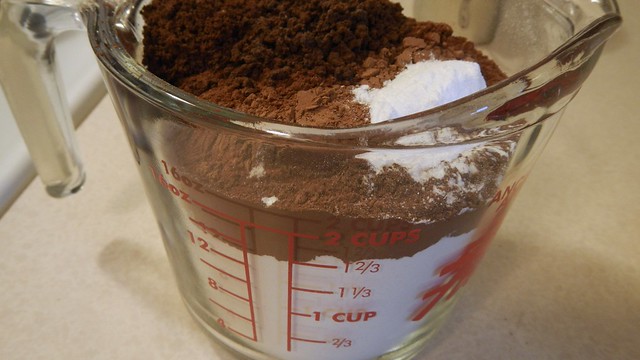
In a small bowl or measuring cup, whisk together 1/2 cup cocoa powder, 1 teaspoon baking powder, 1 3/4 cups plain flour, and 2 tablespoons instant coffee.
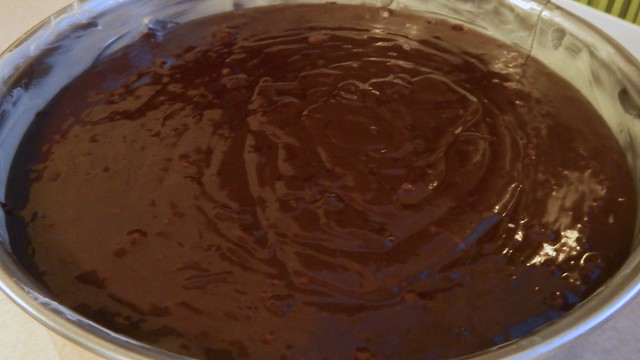
Sift the dry ingredients into the wet ingredients and whisk until smooth.
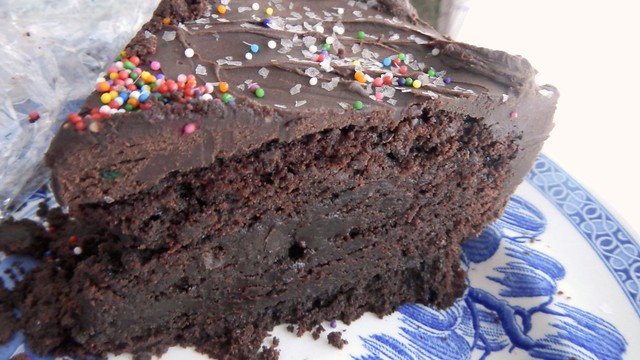
Pour the mixture into the cake pan and bake for 70 minutes, or until a skewer inserted into the centre comes out mostly clean (a little residue means your cake will be extra fudgey!).
Remove the sides of the pan and let it cool completely on a rack.
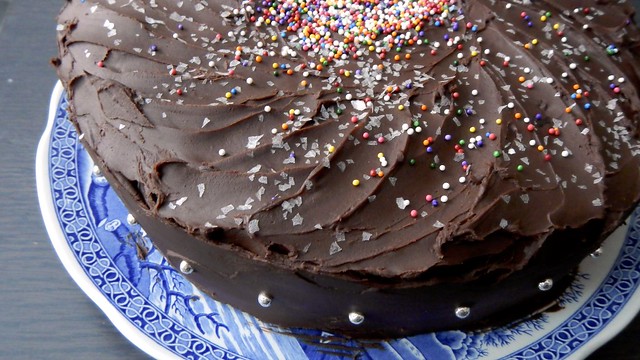
You can frost this with whatever you want but a nice ganache is never a bad thing. Heat 1 cup whipping cream on the stove until it’s about to start simmering, then pour it over 8 ounces dark chocolate of your choosing.
Stir until smooth and all the chocolate has melted, and then leave it to cool until it spreads like peanut butter.
Frost your cake, and have fun with whatever swirls and squiggles you’d like!
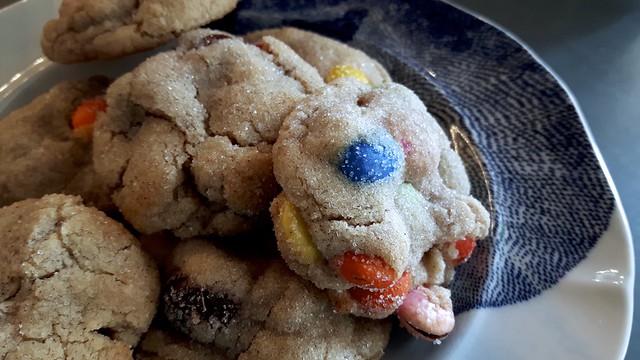
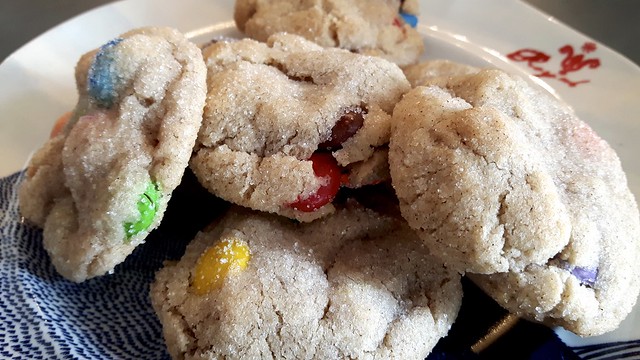
Do you have Hallowe’en candy left? We did. But then we had houseguests. But while we didhave leftover candy, I made these sweet somethings. I forgot to photograph the middle part but I’m trusting you to know what I’m talking about.
Start with some hardshelled chocolate candy. You want the stuff with shells otherwise the chocolate will just melt out of your cookie and ruin the structure. Here I have M&Ms, regular and peanut, Reese’s Pieces, and Smarties. For you Americans reading this, these are more like M&Ms – not the chalky discs we call Rockets.
So pretty!
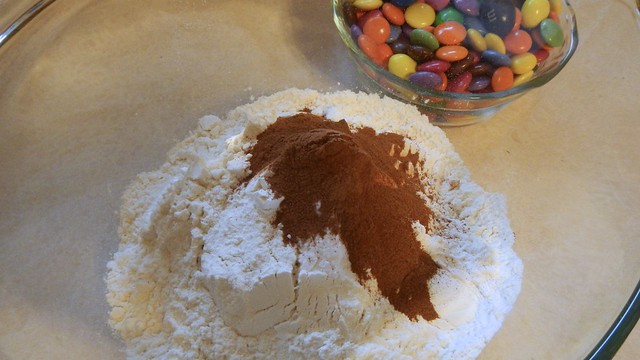
Gather up about 1 1/2 cups of candy. Try to avoid eating it all as you empty the little tiny packets.
Grab 2 1/2 cups flour, and whisk it together with 3/4 teaspoon baking soda, 1 teaspoon baking powder, and 1/2 teaspoon cinnamon. Set that aside.
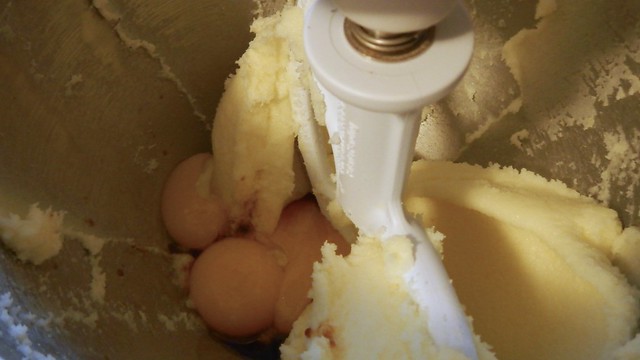
With a mixer, cream together 1 cup softened butter, 3/4 cup brown sugar and 1/2 cup granulated sugar (I only had white in the photo but brown makes it excellent).
Tip in 3 egg yolks and 2 teaspoons vanilla extract and mix away.
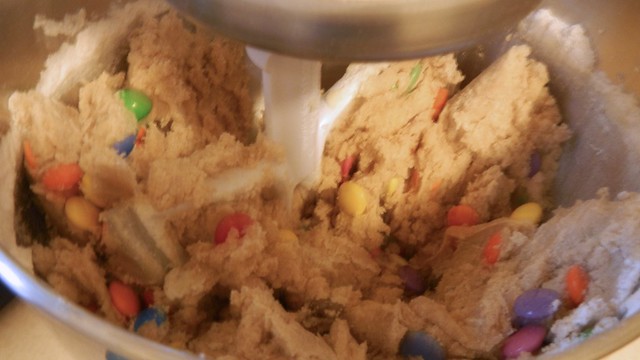
Add in your flour mixer and mix on low until just combined. You want this still to be a little crumbly.
Dump in all your happy candy and stir it in.
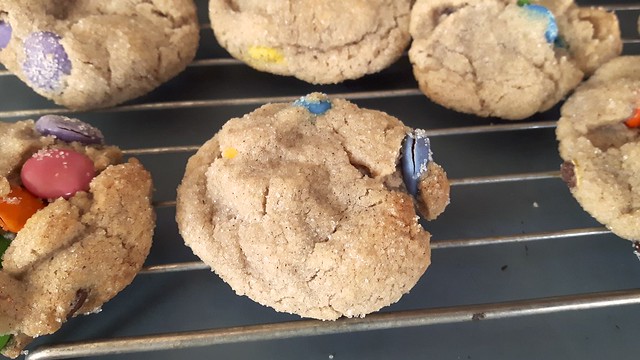
Preheat your oven to 350°F and line two baking sheets with parchment paper. Scoop a golf ball-sized lump of dough and form it into a ball. Roll the ball in granulated sugar and flatten slightly onto the baking sheet. Bake for about 16 minutes, rotating the baking sheets halfway through, until the tops of the cookies start to crack. Allow them to cool on the baking sheet a little bit before you move them to a wire rack to cool – that way they’ll stay together better.
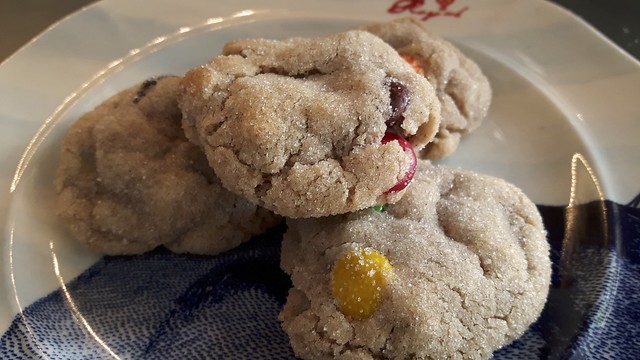
Then all you need to do is eat them – easy enough!
I’ve been watching a lot of Netflix since LongJohn was born – it helps to pass the time while being forced to stay perfectly stationary for long periods of time. I figured going into this that I’d try to stick with documentaries – that way I could educate myself and if I was interrupted (which I often am) then I wouldn’t miss too much plot if they played in the background while I did something else. And so I’ve been watching a ton of cooking documentaries, and I just finished plowing through The Mind of a Chef. In the first season, the focus is largely on David Chang, owner of Momofuku in New York. One of the segments features his pastry chef, who whips up a banana cream pie like it was nothing.
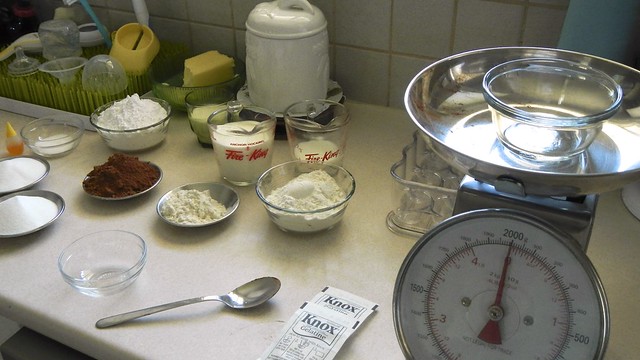
It looked so easy I figured I could do it even with LongJohn around. And then I had to think about that for a minute. This recipe involves making a custard, and uses four different kitchen appliances, some of them more than once. It really isn’t THAT easy, but it’s easy for me NOW to do. Talk to me five years ago and I would never have attempted this, or I would have addressed it as a challenge. It’s weird how much this blog has made me grow as someone who cooks things. But on to the pie, which is semi-easy if you’ve made things in the kitchen before. I set up a mis en place because I knew LongJohn could interrupt me at any time.
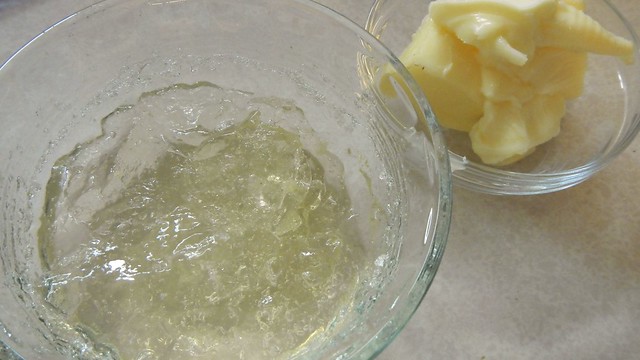
I also took my butter and, because my microwave is all the way in the basement, I set it outside on my back porch in the sun to melt. I’m that lazy.
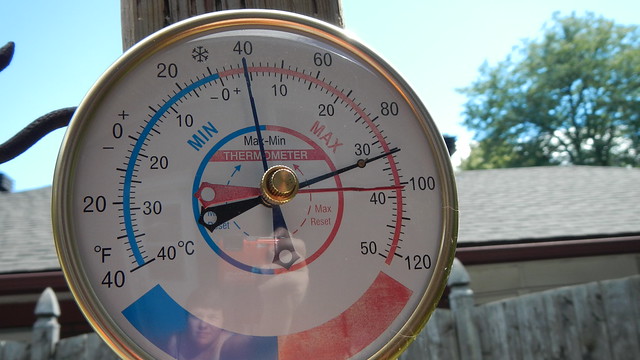
Plus it was like 33°C, which is more than warm enough to melt butter.
You like my squinty face?
And so it did.
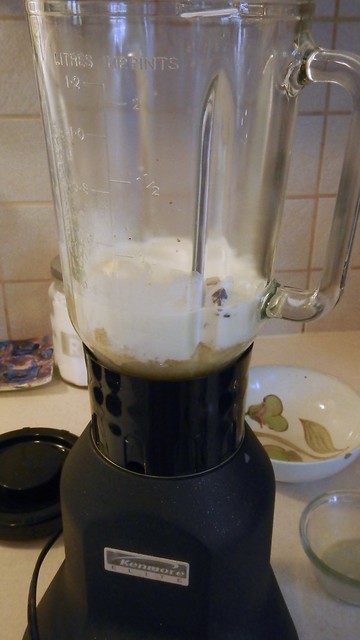
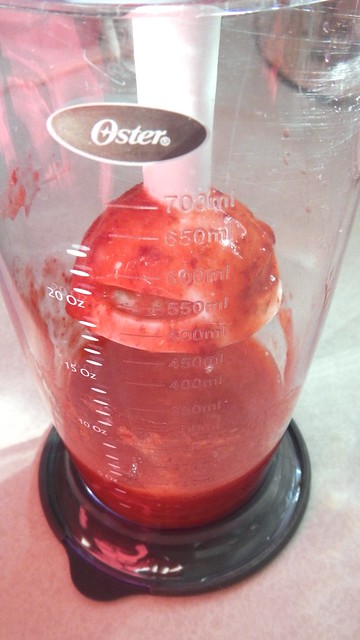
The recipe I used printed everything in weights (ounces and grams) so I’m going to use ounces here – my apologies. Get your kitchen scale ready. Start with 8 oz very ripe bananas (this is like two). These are the black ones that you chuck in your freezer. Pitch those into a blender together with 2 3/4 oz whipping cream, and 2 1/4 oz milk and blend the crap out of them until they’re lovely and smooth.
Next, tip in 3 1/2 oz sugar, 1 oz cornflour (I’ve come to realize that this is a Britishism for cornstarch, not masa harina, which I used – butchery #1), a pinch of salt, and 3 large egg yolks. Blend that again, scraping down the sides of the blender, until the colour is uniform.
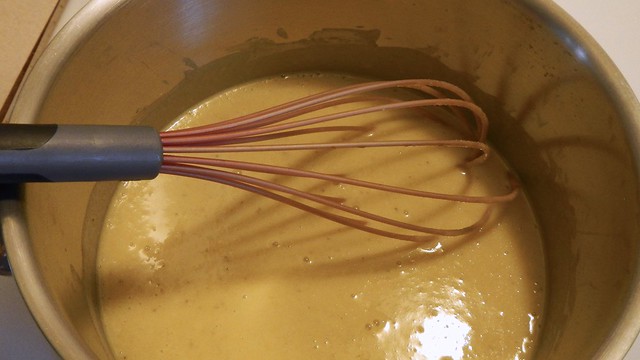
Pour that stuff into a medium saucepan and cook over medium-low heat, whisking often, until the mixture thickens. Clean your blender while this is going on.
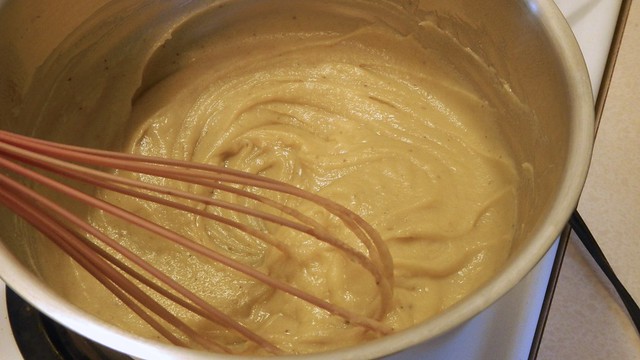
The recipe says to bring it to a boil but mine never did. Eventually it will be a very heavy paste that holds its shape. Pour the thick stuff back into the blender.
Grab 2 leaves gelatin or 1 pouch gelatin (I thought a leaf equaled a pouch and used two pouches – butchery #2) and follow the instructions to make it “bloom”. When it’s ready, chuck it in the blender along with 1 1/2 oz butter and blend until smooth (again).
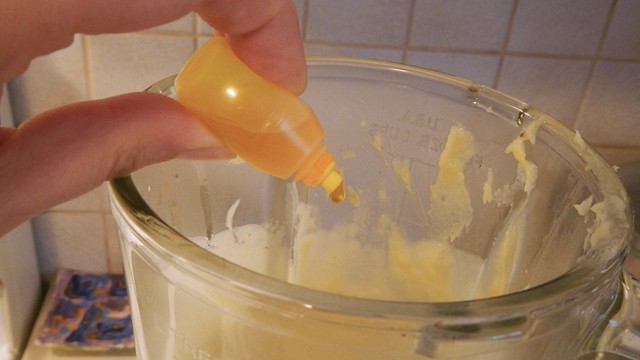
Next, drop in 1/2 teaspoon yellow food colouring (otherwise your pie will be brown not yellow) and blend again until the pie is artificially crazy yellow (it will get lighter later, I promise).
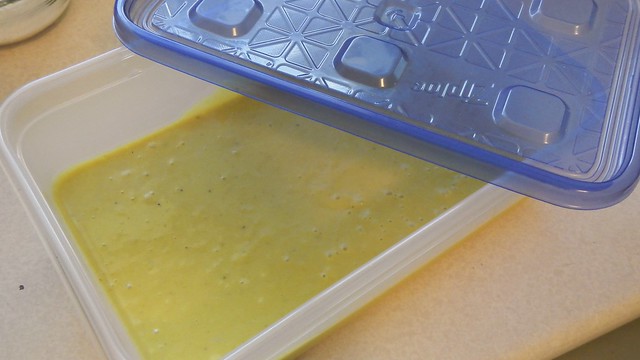
Pour the yellow goo into a container and chill it for 30-60 minutes.
While that’s happening, make the chocolate crumb for your crust (I actually did this first, because it made more sense to me). Preheat your oven to 300°F and stir together 3 1/2 oz plain flour, 1 teaspoon cornflour (again, cornstarch), 3 1/2 oz sugar, 2 oz cocoa powder, and 1 teaspoon salt.
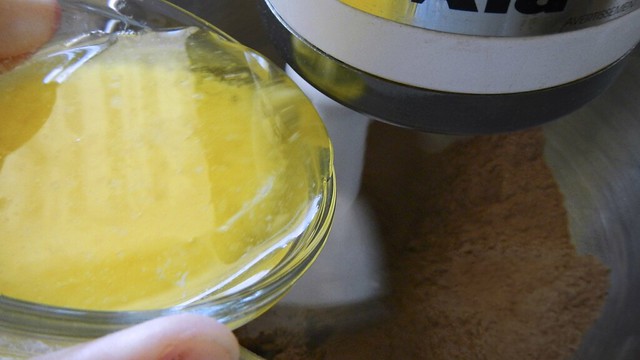
Tip in 3 oz melted butter (yay, the sun!) and beat until small clusters form.
Spread the clusters on a baking sheet and bake for 20 minutes. The clusters should be still moist but will dry out as they cool. In order for this to happen they have to be a bit bigger than what you see in the picture, because these will burn (so either cook them for less time or make them bigger – butchery #3). Apparently this makes more than you need for a 10″ pie so you will only use 3/4 of it but I didn’t want to waste it or store it so I used it all in my 9″ pie plate and it was totally fine.
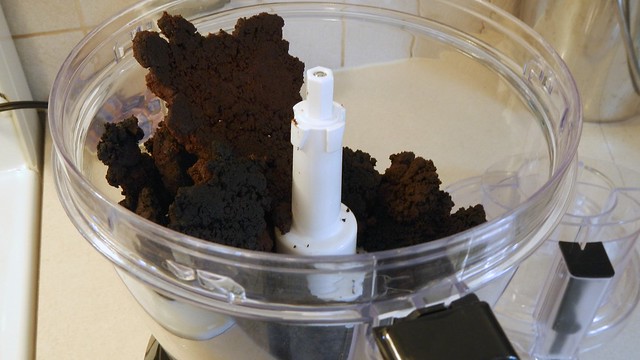
Once the clusters have cooled, chuck them into a food processor and pulse until they turn sandy and there are no chunks left.
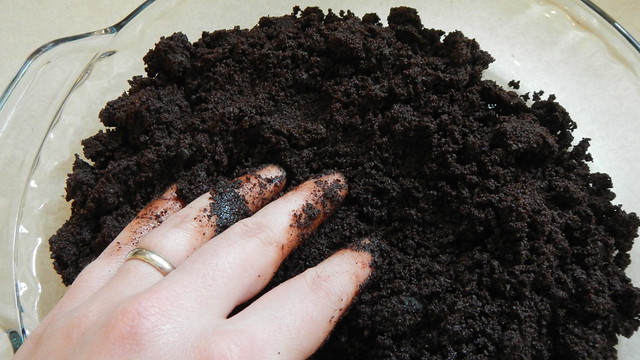
Tip these granules into a bowl and toss with 2 teaspoons sugar and 1 tablespoon melted butter.
Work that with your hands until the stuff is moist enough to knead into a ball (I did not do this because my poor carpal tunnel hands are killing me). Press that into the pan. I did it with just the crumbs and it was fine (butchery #4).
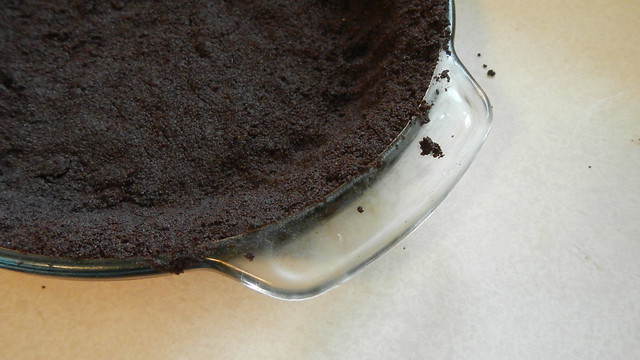
Don’t forget to press it firmly into all the corners of the pan – you don’t want it to be too thick there.
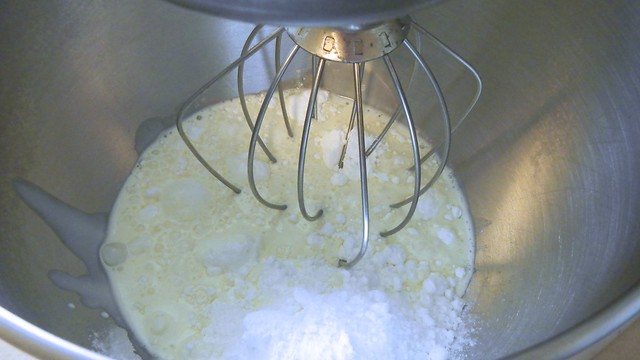
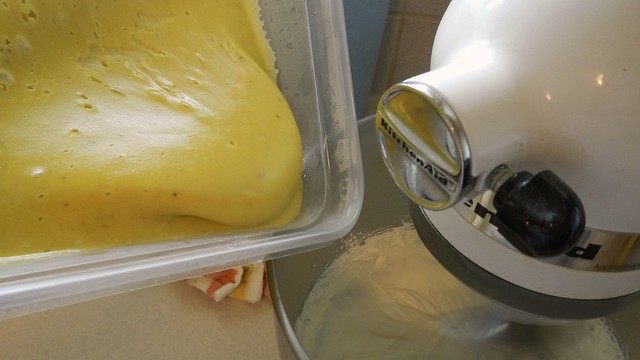
Now for the rest of the banana cream. Whisk 6 1/2 oz whipping cream and 5 3/4 oz icing sugar together until stiff peaks form (remember that it helps to chill your beater and the bowl beforehand).
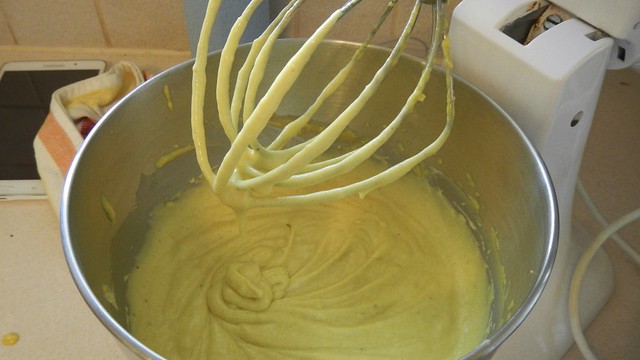
Tip in your cooled yellow goo and mix, mix, mix.
See? I told you it would get paler.
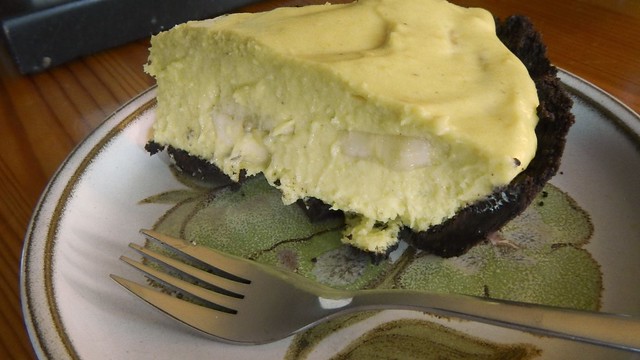
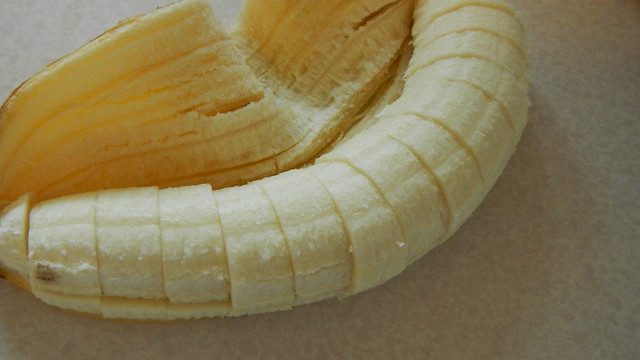
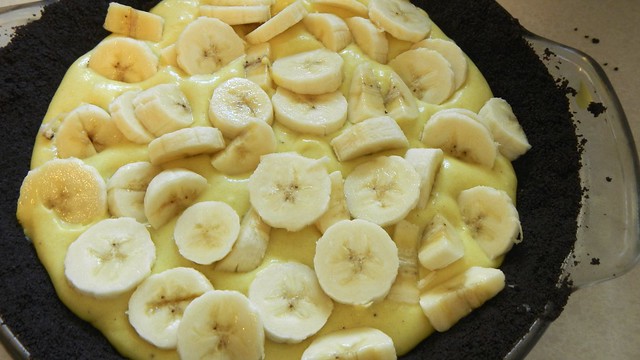
Tip half the goo into your pie shell. Cut up another, less ripe banana (I used two because they were kind of weenie) and spread that around on the surface. You can get fancy with the layout but nobody’s going to see it.
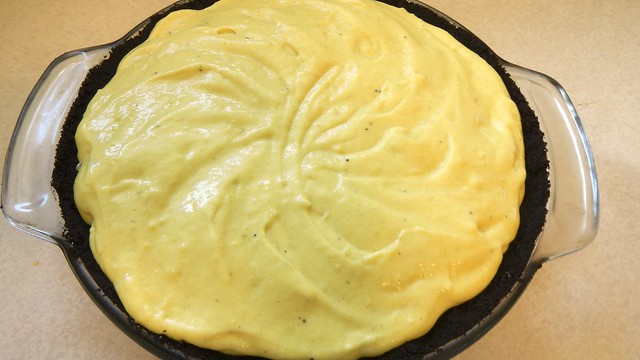
Add the rest of the goo and smooth it out. Make sure none of the banana pieces are sticking out because they will oxidize and turn brown.
Chill the pie for a little while then serve and eat within a day or two. Enjoy!
While I was waiting for the kid to show up I was getting pretty bored and pretty desperate, but I didn’t have a lot of energy. One of my former colleagues recommended cheesecake as a way to start labour and I figured, why not? I had nothing to do, and an easy cheesecake recipe would be doable given my lack of energy. This one from Sprinkle Some Sugar seemed to fit the bill. It involves using store-bought brownie mix, fudge sauce, AND COOL WHIP, so it’s the ultimate in cheater recipes for me. And given that the day I baked it the temperatures skyrocketed again for a roller coaster June, I was happy to be able to chuck this in the fridge instead of hanging over a hot oven.
The belly bump may have accidentally encountered some caramel during the making of this recipe.
The original recipe is a bit of a misnomer, as it states that there is no baking involved whatsoever with this recipe. That is a bold-faced lie – you gotta bake the brownie bottom. But it’s worth it.
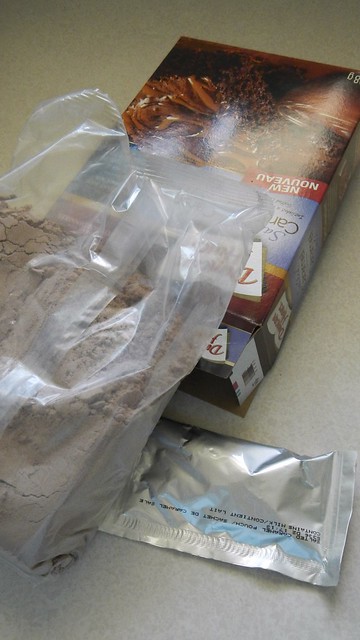
Find a round springform pan, about 8″ or 9″ (this one is 9″ I think), spray it with cooking spray, and whip up some brownie batter. You can use your favourite recipe but I used this boxed stuff (hey man, I was really pregnant at the time, gimme a break).
I figured the salted caramel would add more panache to the finished product.
Plus I love the ridiculous measurements of the wet ingredients. So simplistic!
While this is baking, work on your caramel sauce (you can buy caramel sauce, of course, but this one is easy and a good way for caramel newbs to get started).
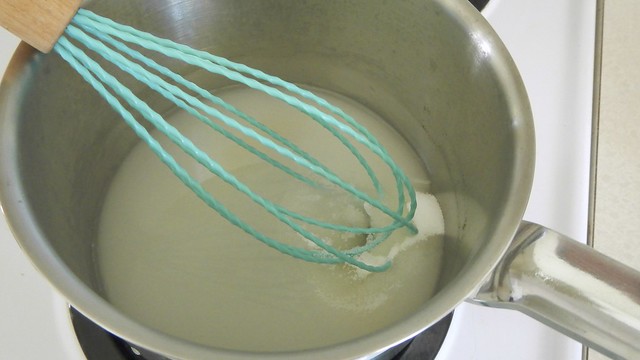
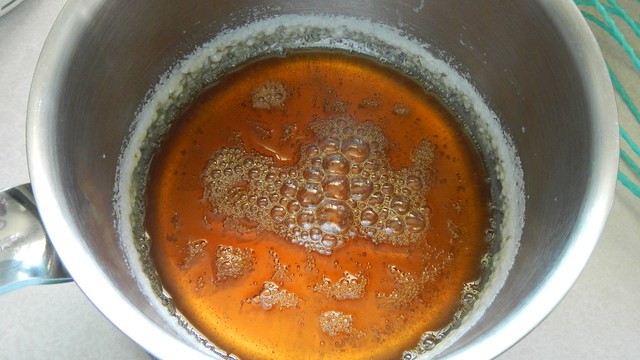
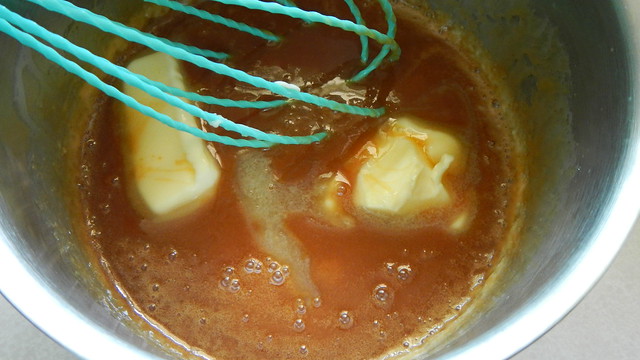
In a small pot over medium-high heat, whisk together 1 cup granulated sugar and 1/4 cup water. Whisk and swirl the pot until the sugar is all dissolved, then keep swirling the pot (but no stirring or whisking!) frequently until the liquid turns a nice dark amber colour.
When you get the colour you like, carefully pour in 3/4 cup heavy cream – watch out, because it will fizz up like crazy – and whisk that until smooth. Then tip in 3 tablespoons butter and 1 teaspoon vanilla and stir until those are all melted away. Set the finished caramel sauce aside to thicken up and cool completely.
Once the brownie bottom is ready and baked according to whatever instructions you have, remove the outer ring and let it cool completely as well and start working on your filling.
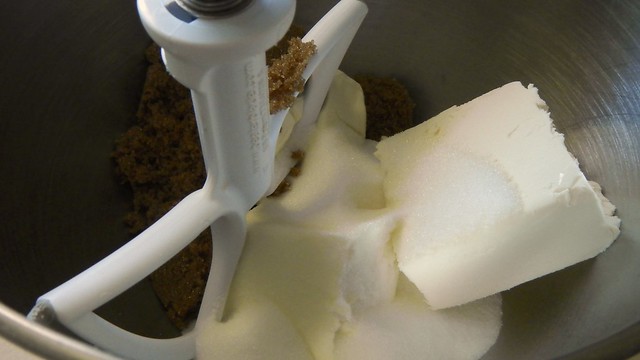
In the bowl of a mixer, beat together 16oz softened plain cream cheese, 1/2 cup granulated sugar, and 1/2 cup brown sugar until smooth and creamy. I mean, it’s gonna be creamy anyway because it’s cream cheese but you get what I mean about the texture, right? Man I need more sleep …
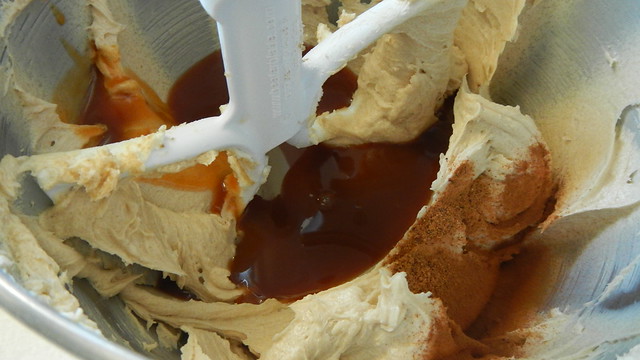
Stir in about 3/4 cup of that lovely caramel sauce you made (or squeeze it from the bottle you purchased you philistine) and add in as well 1/2 teaspoon cinnamon and a pinch of nutmeg.
Then I want you to do something totally foreign to me: grab 4oz Cool Whip and fold that in as well.
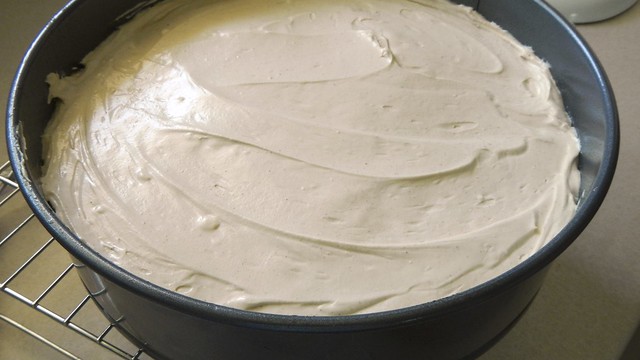
Put the outer ring of your springform pan back on and smush all that Cool-Whipped creaminess into the pan.
Give it some smoothing out so it *kind* of looks like you baked it, then chuck that in the fridge for 3-4 hours.
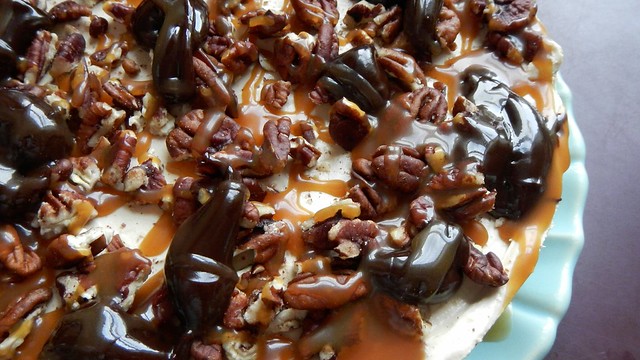
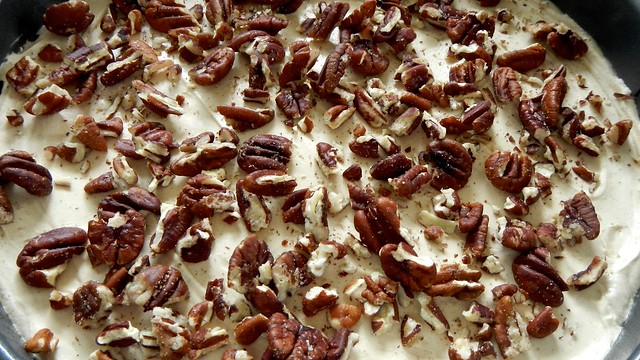
Before serving, crush a bunch of pecans and spread them over top.
Grab some fudge sauce (I bought it, don’t judge) and whatever’s left of your caramel.
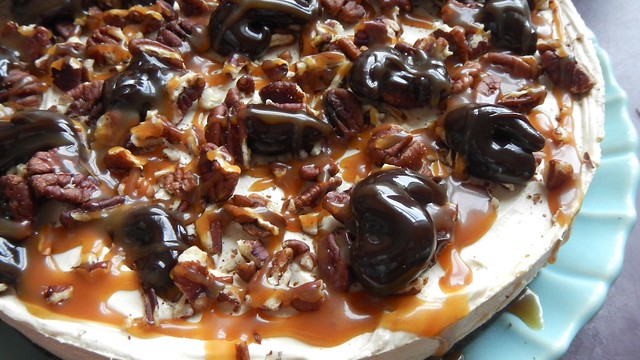
Pop off the outer ring and drizzle liberally with fudge and caramel. The fudge I bought didn’t drizzle, so I have fudge poops drizzled with caramel but you get the general intention here, at least. Keep the leftover cheesecake wrapped up in the fridge for up to a week. Enjoy!
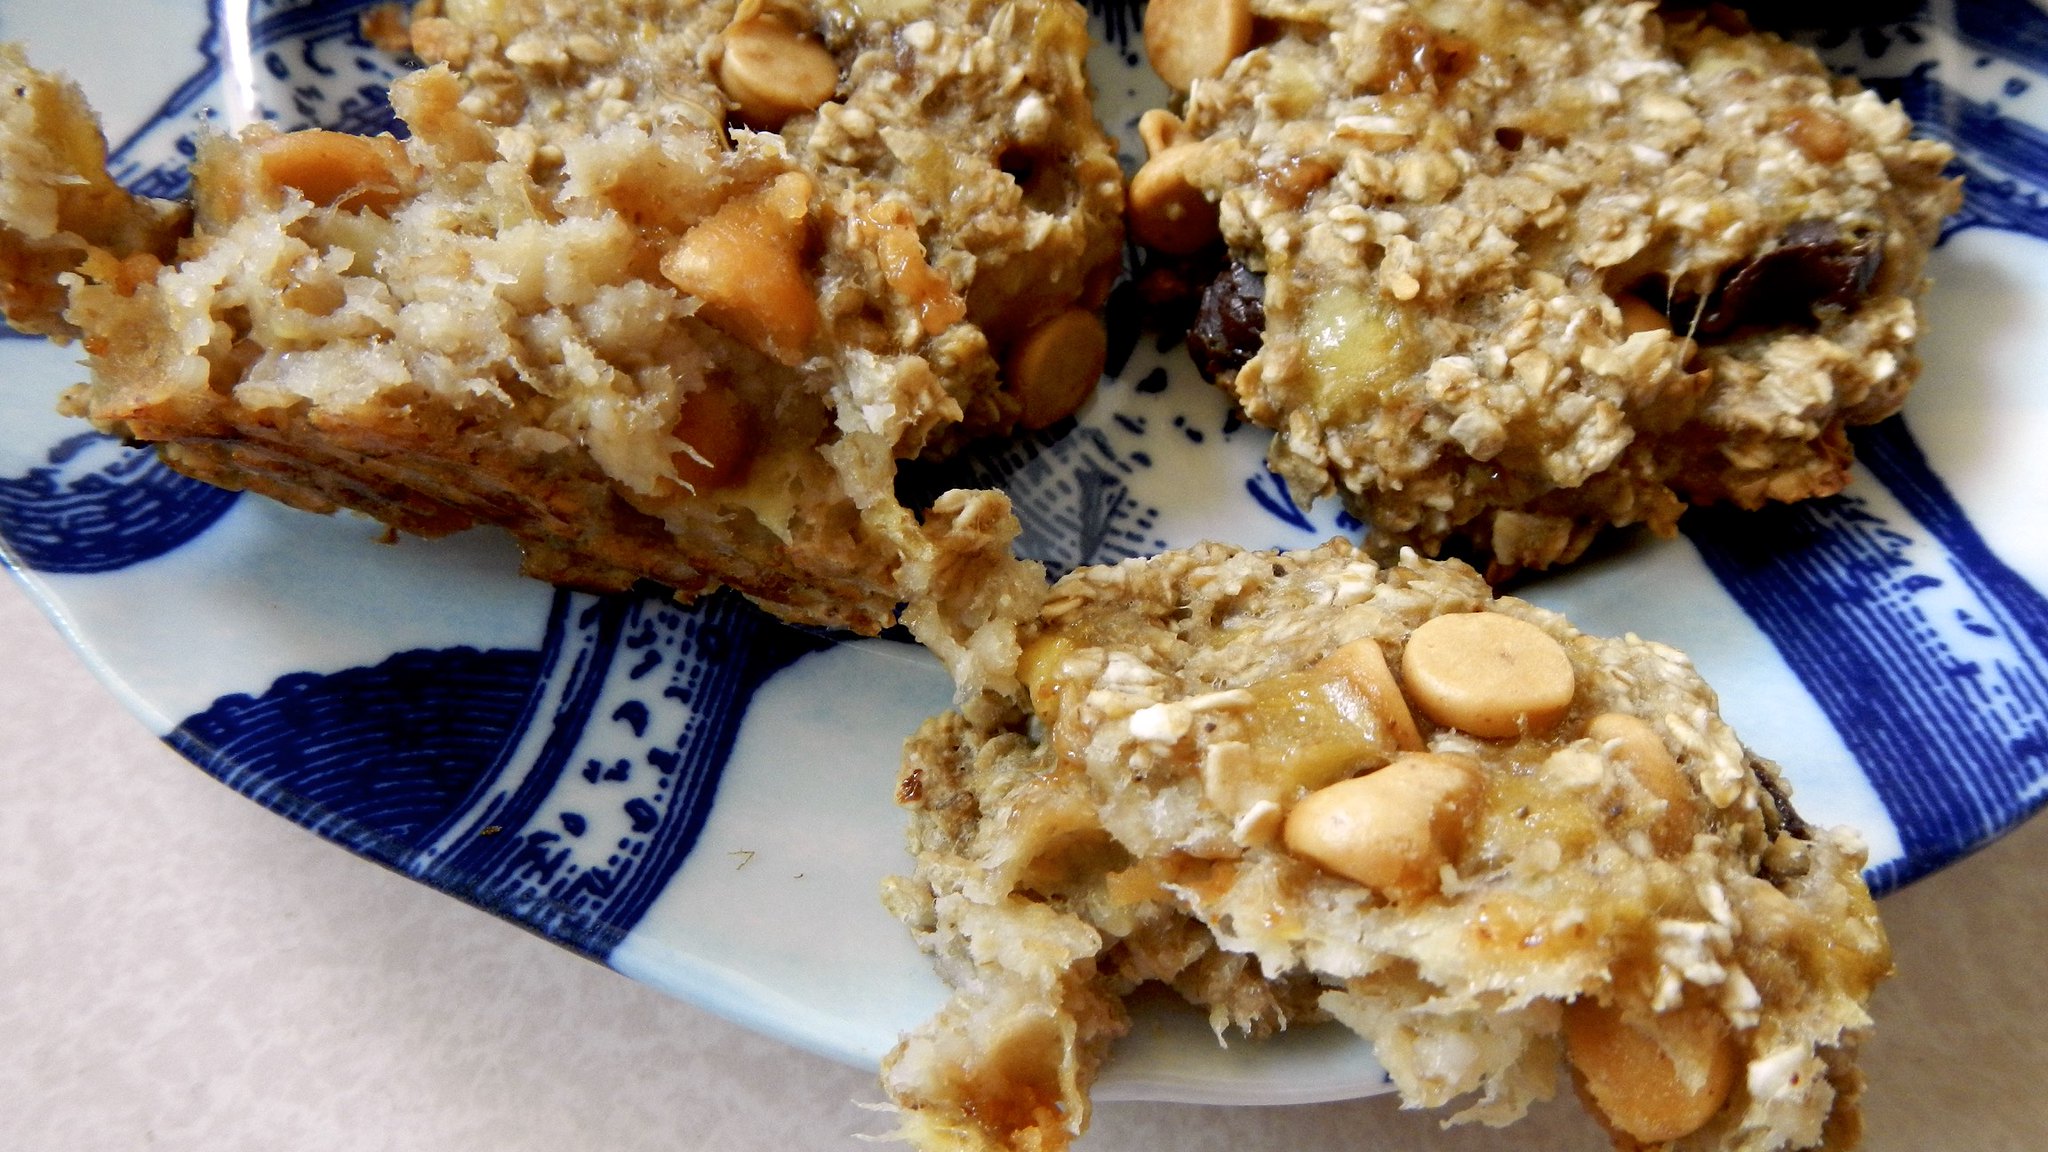
These popped up on my Facebook feed a few weeks ago and they looked so easy I figured there was no harm in trying them. And they’re fantastic! Switch out the oats for gluten-free oats and you can please those with dicky digestive systems. Replace the chocolate chips with dried fruit or nothing and it’s a great treat for wee folks who are learning how to eat solid foods with their hands. Shove some peanut butter in there and you have a handy dog treat. It’s really a versatile little cookie full of natural sweetness and texture.
Plus it’s basically only got three ingredients, so it was an instant hit with Cait of chicken-salsa-cheese fame. I used slightly more than three ingredients because I was out of chocolate chips so I made do …
I doubled this recipe because in a house with a large male and a very pregnant female these bite-sized morsels were simply not big enough. Start by preheating your oven to 350°F and lining a large baking sheet with parchment or spraying it with cooking spray.
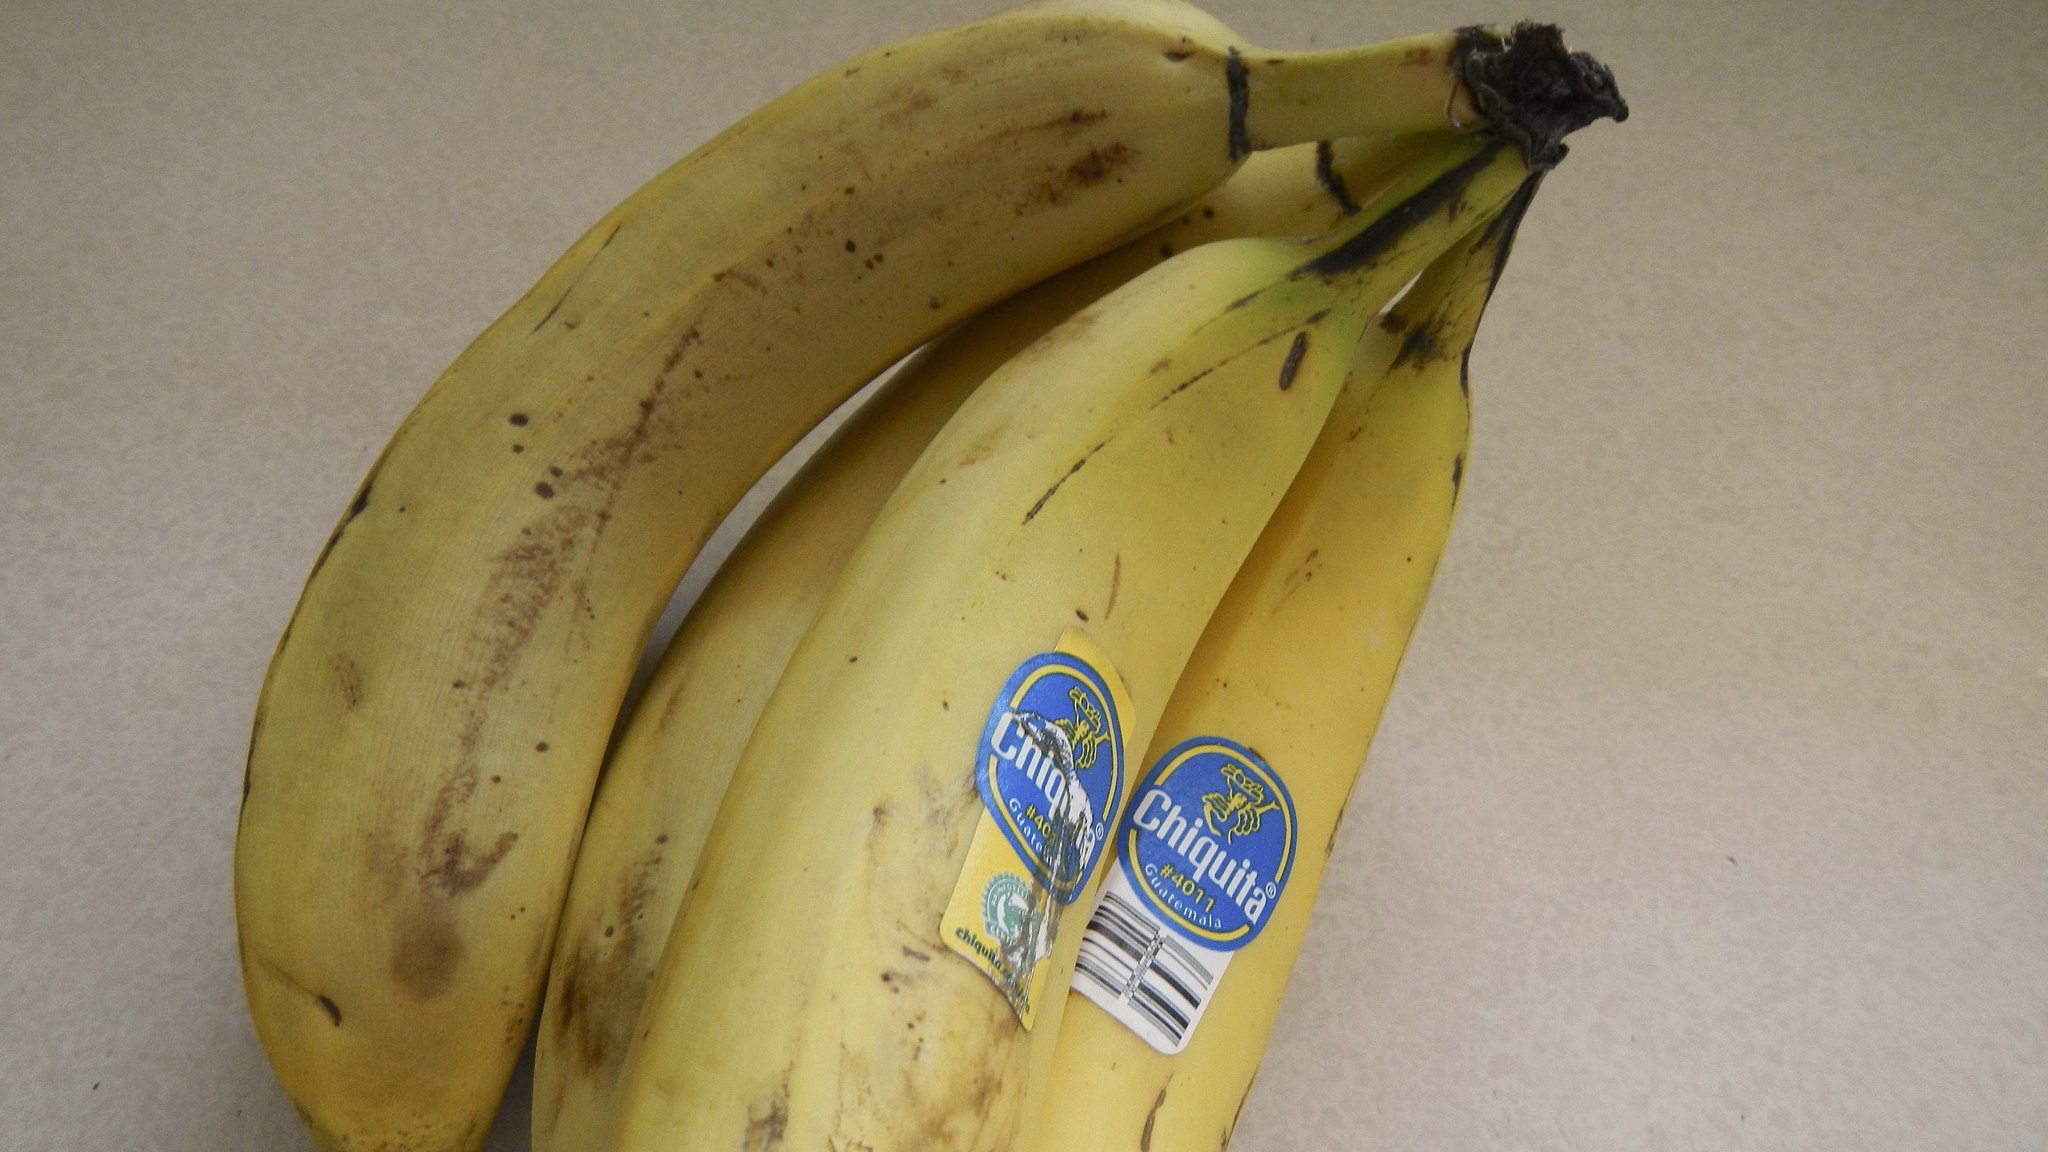
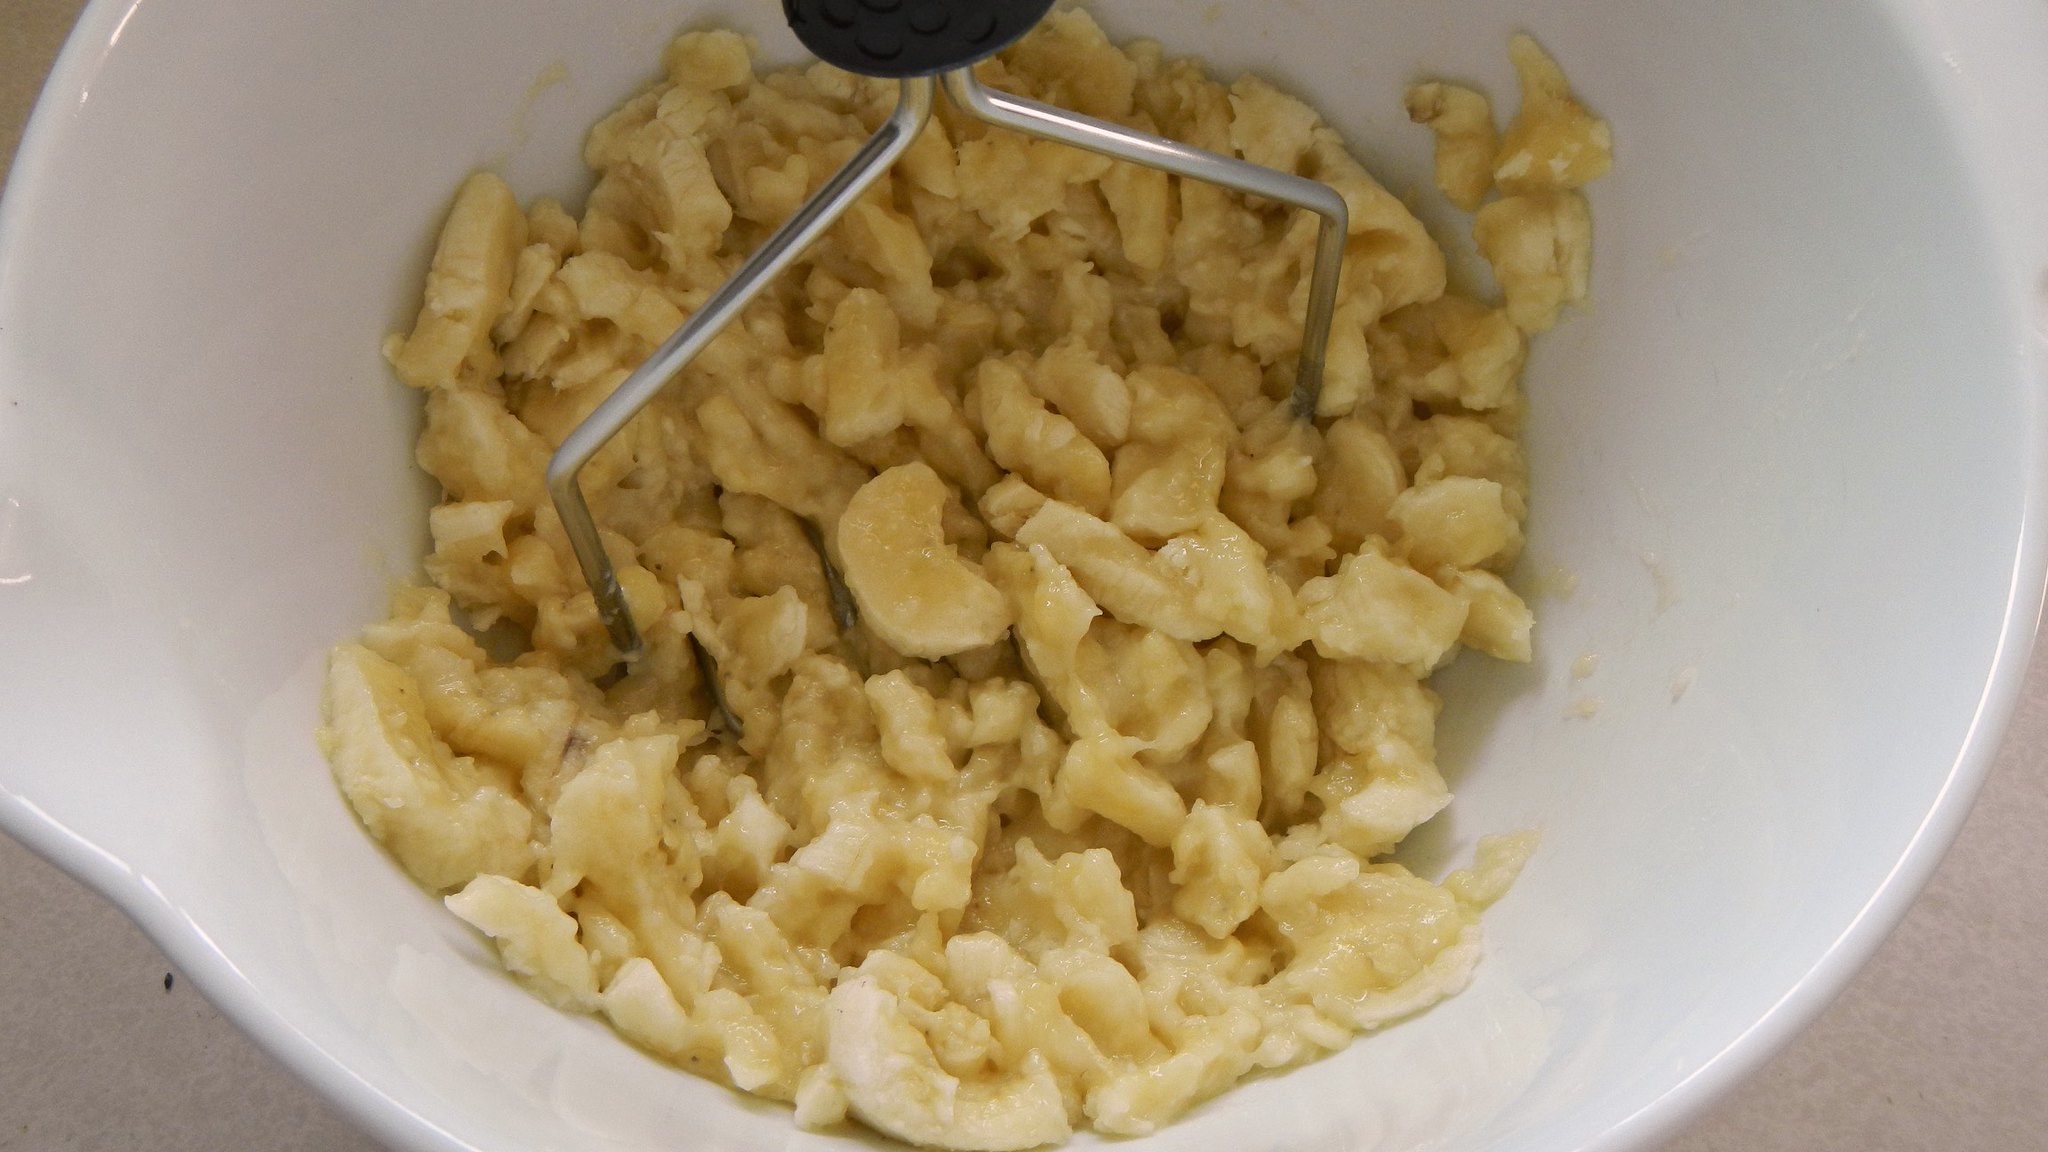
Grab yourself at least 2 large ripe bananas (this is also a good recipe for when the bananas are just starting to go, and you don’t want to chuck them in the freezer for YET ANOTHER banana bread batch).
Mash the crap out of those suckers. Not just a little bit of mashing, like you’d have for banana bread, where you want the chunks.
I’m talking full-on banana soup. Yes. There is no picture. It was too gross.
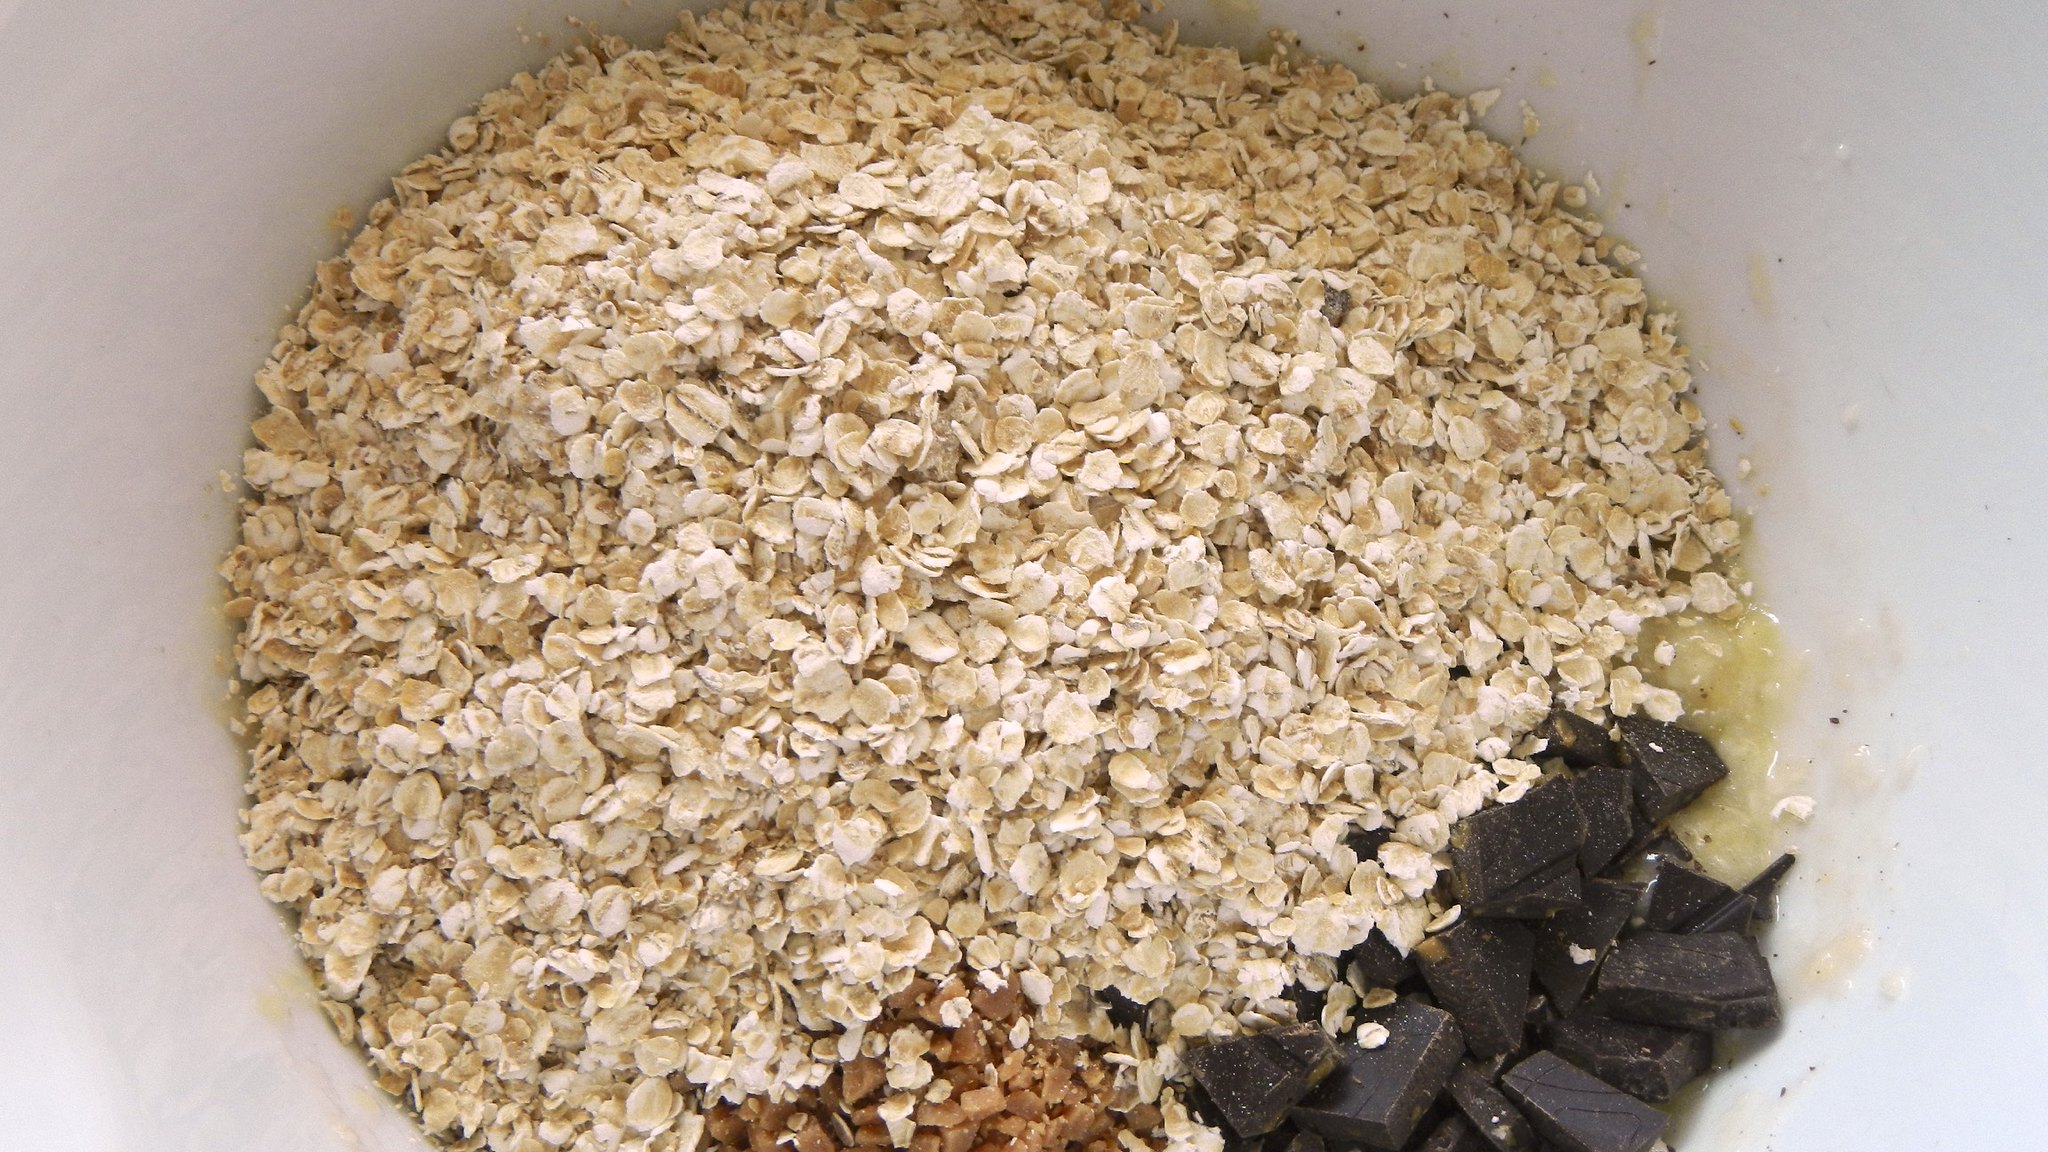
Add in 1/4 cup chocolate chips (or whatever else you have that you want to use: this is a few spoonfuls each of dark chocolate bar, broken up, Skor bits, and peanut butter chips).
Now tip in 1 cup oats (a little bit of shredded coconut and some ground flax would be nice here too, I think).
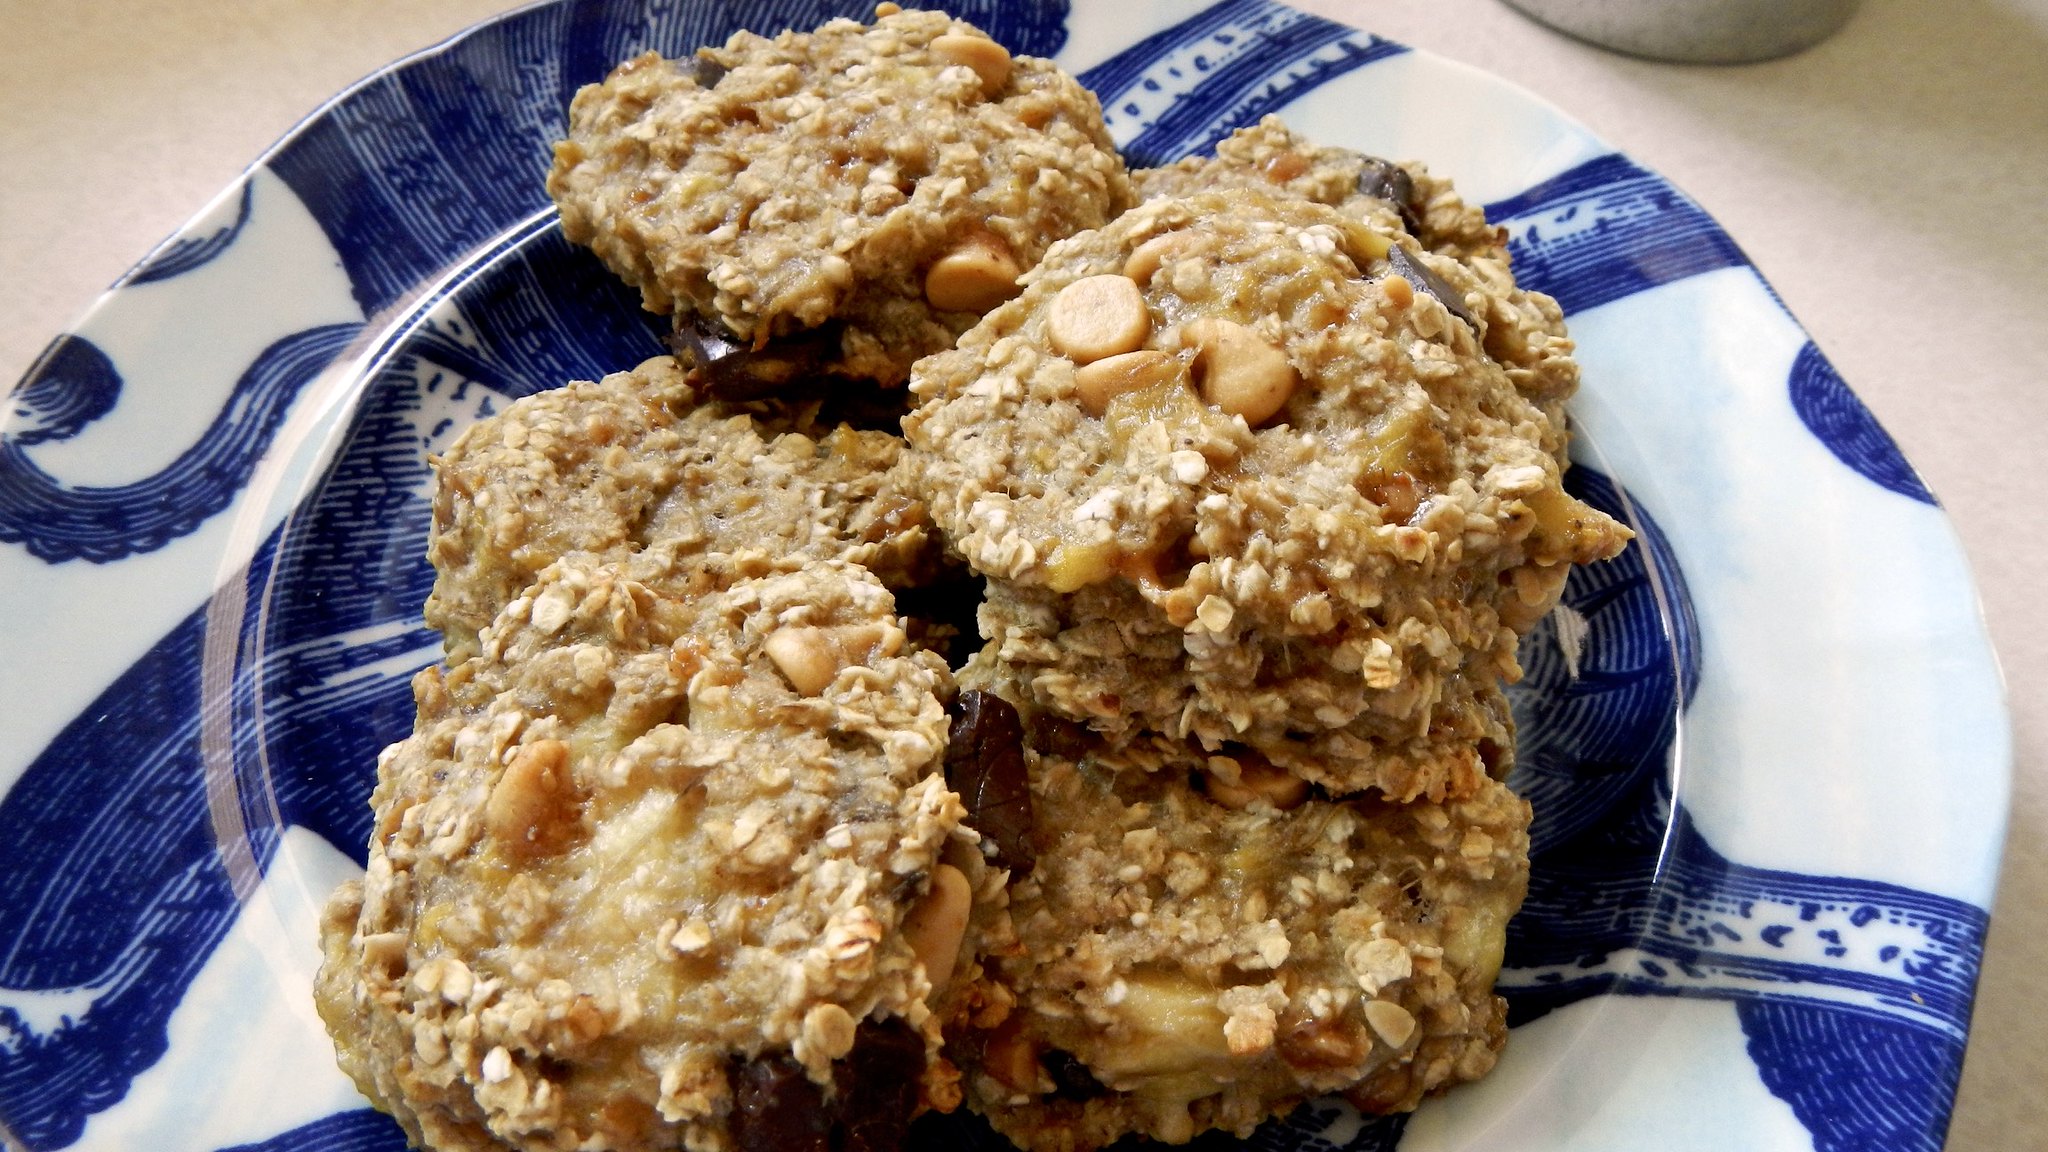
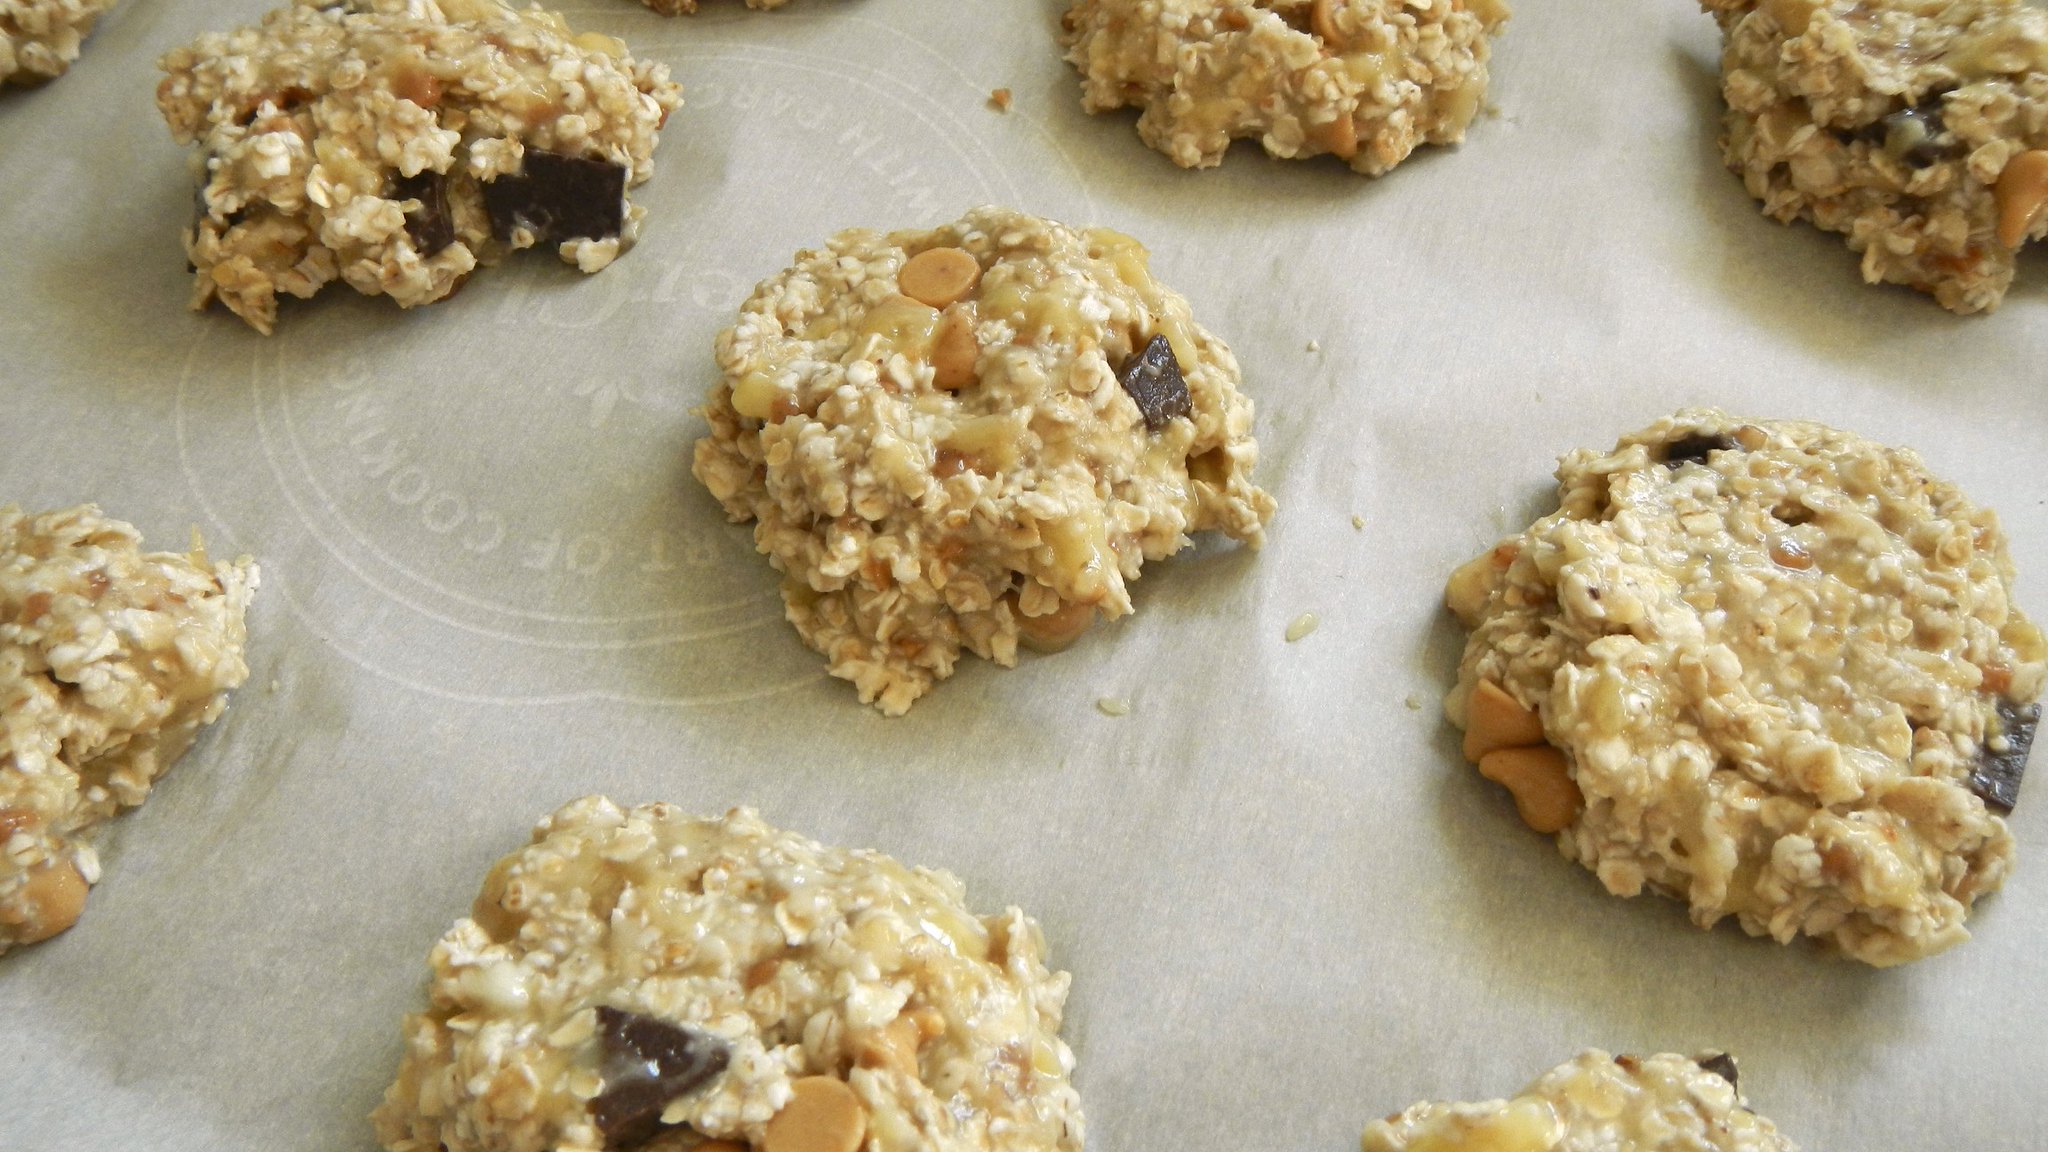
Stir-stir-stir! Plop flattened gobs of those things on your baking sheet and shove it in the oven for about 15 minutes.
These bigger ones took about 18), then let sit on the cookie sheet for about five minutes before eating.
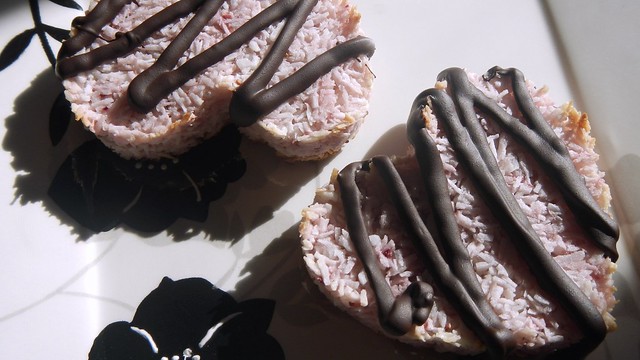
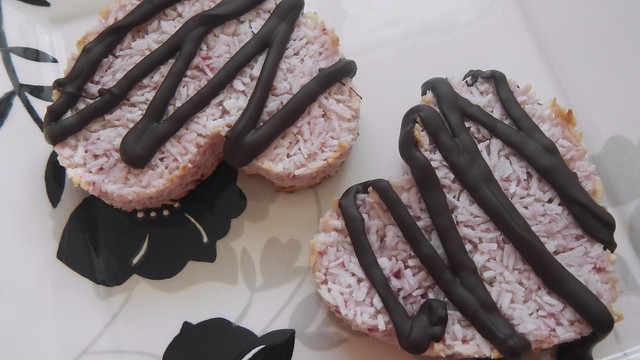
I made these yesterday, but you know I’m not one to plan ahead and, like, blog these in advance so you could maybe make them yourself on that special day. They’re still a cute thing to make though, even if it’s not Valentine’s Day.
My big brother Krystopf came over to help me paint what’s going to be the baby’s room (which hopefully I’ll get finished within the next week or so), and we fed him dinner for Valentine’s Day as his family is currently away on the other side of the country.
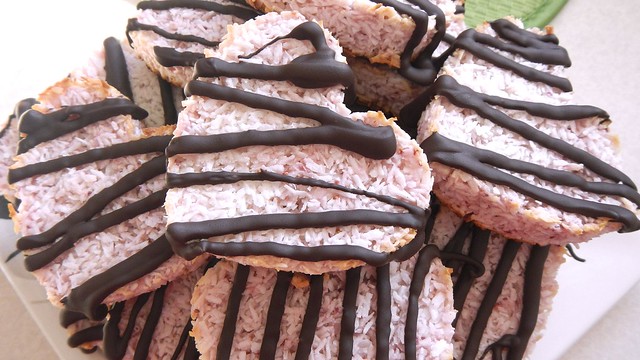
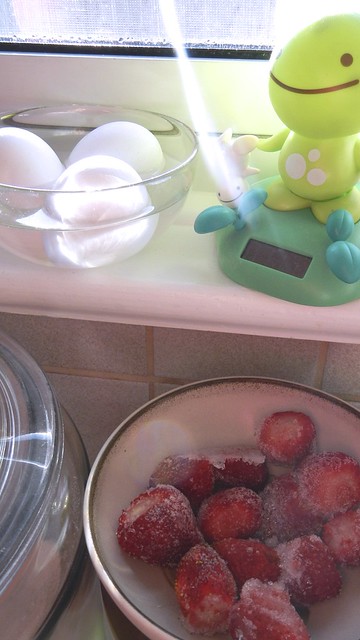
These are based on my original macaroon recipe, which is always a crowd-pleaser. Start by bringing some stuff to room temperature: here I have 3 large eggs sitting in a bowl of warm water, and about 12 frozen strawberries, defrosting in the morning sun.
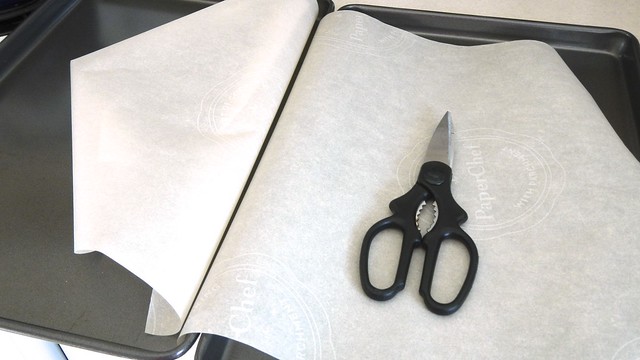
While you’re waiting, preheat your oven to 325°F and line two baking sheets with parchment paper.
Blend up the thawed strawberries into a glorious red purée.
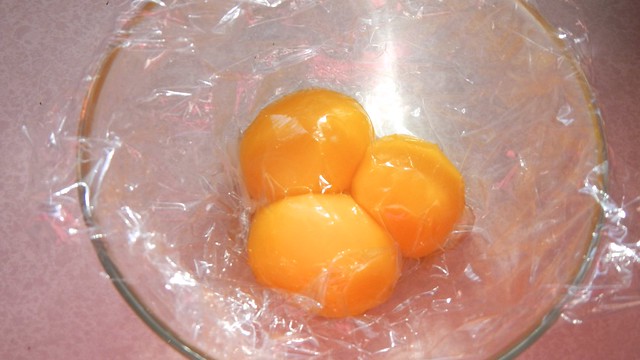
Separate the eggs, and save the yolks for something else (for me they’re going in a meatloaf later on).
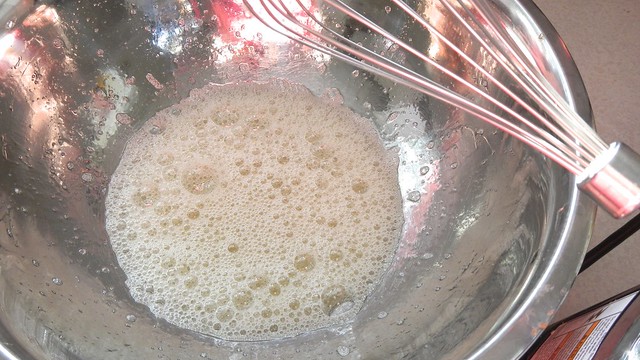
Tip the whites into a bowl together with a teaspoon or two coconut extract.
Give them a whirl until they’re foamy and then add in 1/2 cup granulated sugar. Whiz that up until it’s white and thick-looking.
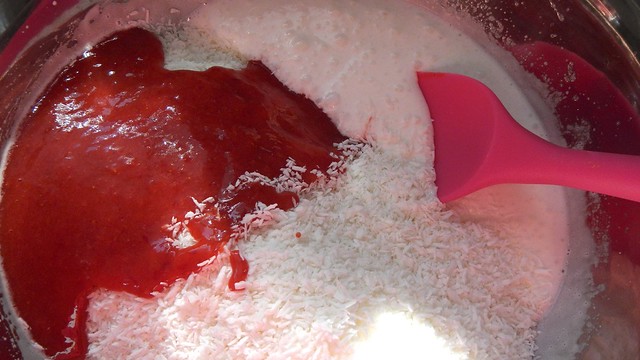
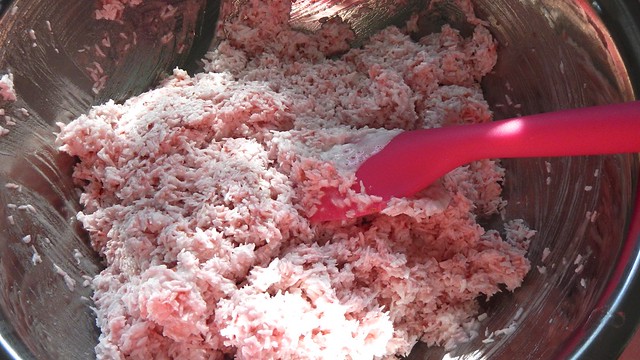
Tip in 5 cups shredded coconut (I used unsweetened, but you can use sweetened) and your strawberry goo.
Fold that together until fully combined.
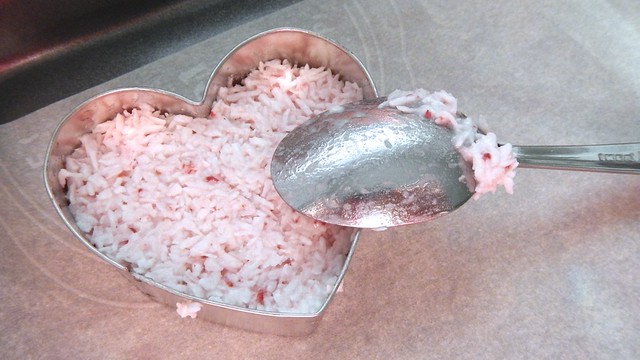
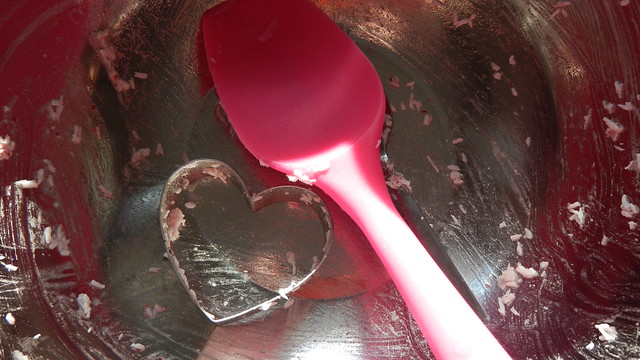
I decided to try to mould the cookies, which I’ve never done before, so I grabbed a heart-shaped cookie cutter and used a teaspoon to fill and pack the coconut down.
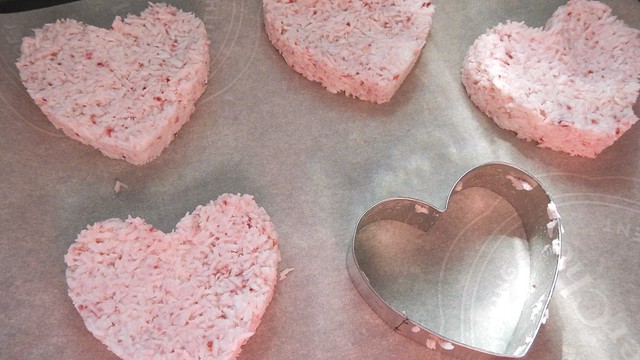
Some careful wiggling and pressing down with the spoon freed up each one quite nicely.
I kept going until I had 21 coconut cookies and an empty bowl.
Shove those cookies into the oven for about 15 minutes, rotating halfway through, until the bottoms are browned and the cookies are solid. Let cool completely.
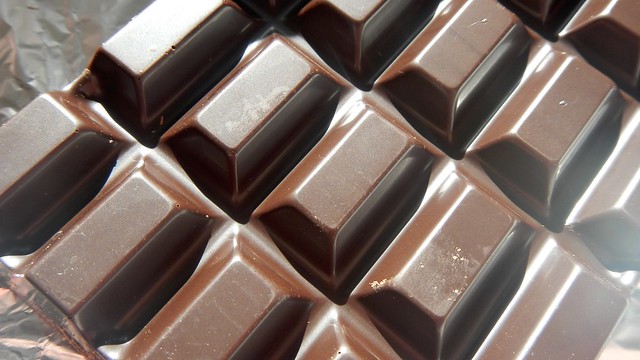
While they’re cooling, grab some dark chocolate and huck it into a double-boiler to melt. Let that cool as well.
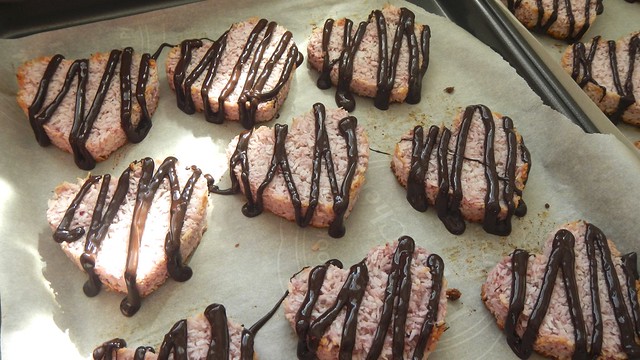
Then tip the cooled chocolate into a bag with the corner nipped off and squeeze it out on your cooled cookies. Let that set.
The problem with this blog is that people I work with READ it. And then they EXPECT me to bring them baked goods. And then when I DO, they demand MORE. So sometimes I have to make things AGAIN. So these I’ve made before, and they were awesome. And I brought some to work. And one of the ladies I work with send me a calendar invitation for her birthday (which was MONTHS away) with instructions for me to make these for her (again). And so that’s what I did. I tweaked the recipe a little bit to add some more flavour, and I think I like them better than the originals. Conveniently they’re also Papa John’s favourite and his birthday is coming up …
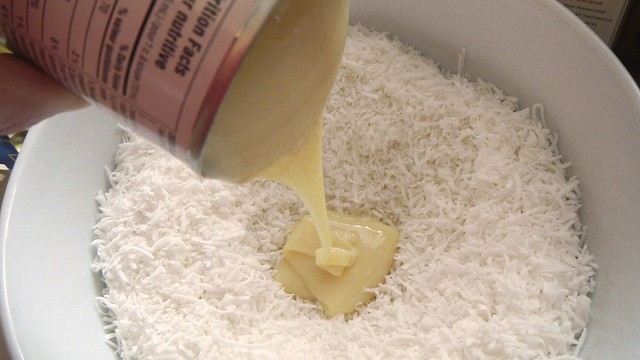
Line a 9″ x 13″ pan with waxed paper and spray it as well. Set that aside. In a large bowl, dump in 20oz shredded unsweetened coconut, and 14oz sweetened condensed milk. I like to stand there and stare while the milk ever-so-slowly comes out of the can.
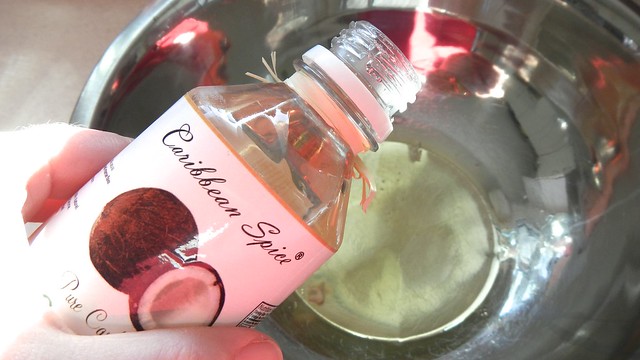
Now here’s where I changed things up a little bit. I have some genuine Caribbean coconut extract that I added in for more flavour (I tipped in about 2 teaspoons) and then I decided to add a hint of orange by pouring in about 2 tablespoons Cointreau. I recommend doing it just for the subtlety of the flavour over the straight sugar taste you got before with the original recipe.
I was actually amazed at how thick the coconut extract was – it was more of a syrup.
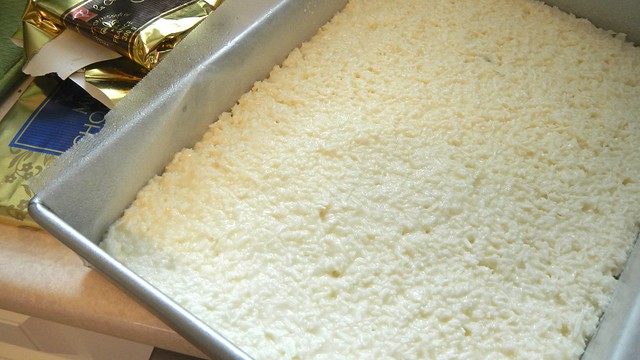
Anyway, stir that up, together with 2 cups icing sugar, until you have a lovely gooey coconutty paste.
Smooth that into your baking pan and level the top. Freeze that for a couple hours.
When you’re nearly ready to go, melt up about 24oz chocolate of your choice – I used half dark, half milk in this batch. It’s also useful to do the chocolate in a couple of batches, adding more unmelted stuff to the mix as you run out.
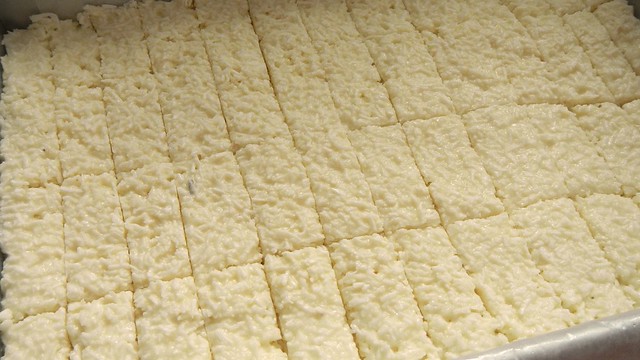
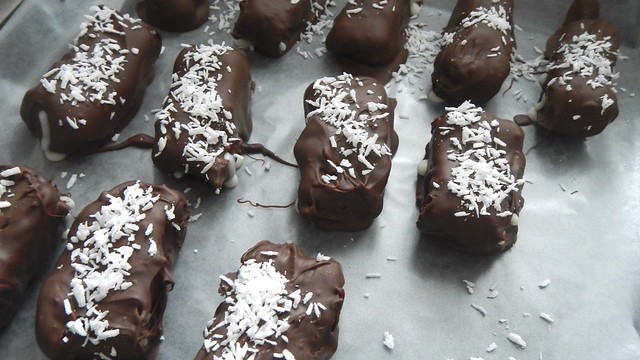
Let that cool a bit, and slice up your coconut goo into squares.
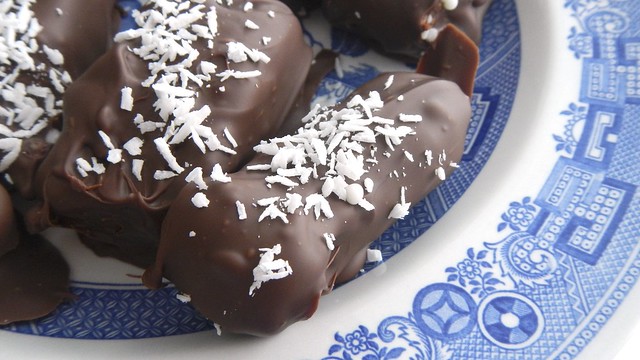
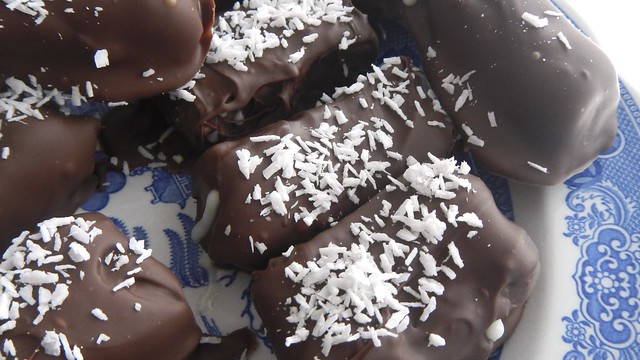
Then start dipping! Remember that the cooler your chocolate is, the faster it will set, so act accordingly. Sprinkle the tops of each bar with more bits of coconut before the chocolate sets – for decoration.
My chocolate was cooler (because it’s February and this is Canada) than last time so it set a little messier and less smooth than the previous version, but they’re still super tasty!