Slapdash Souvlaki

May was an INTENSE month here at the Ali Does It household. LongJohn went to daycare a month earlier than scheduled and I had a whole four weeks to get all the stuff done on the house I hadn’t had an opportunity to do when we moved in … because of the whole having-a-baby thing. Some of those projects are still in progress but I have SO MUCH to show you when they’re ready to be shown. If May was intense, then June is even more so. I went back to work full time AT A NEW JOB. And on my first day, I had HAND surgery. Today I’m having hand surgery on the OTHER hand. So things are a little nuts, to say the least. Luckily I have a bit of a backlog of posts for you guys. Let’s start with this one for the barbecue, now that we’re officially into grilling season.

Slapdash Souvlaki 26

The Pie is a huge fan of souvlaki. We’re fortunate that some of the best souvlaki in town is only a short drive away. But it’s actually pretty easy to make your own souvlaki at home, provided you have some time to prep. Here’s how you can do it.

Slapdash Souvlaki 1

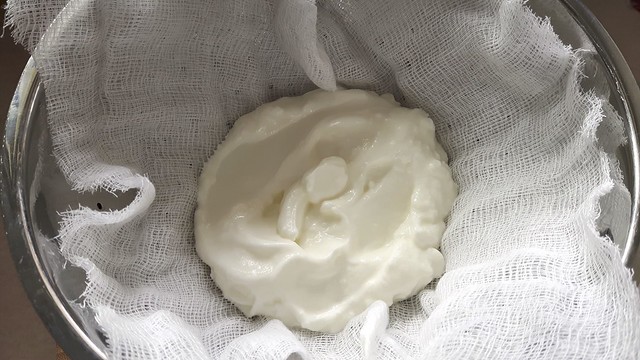
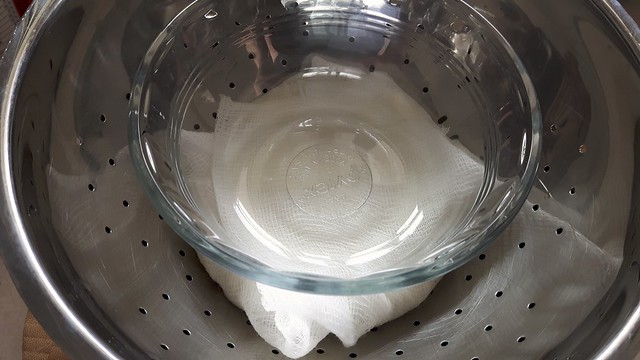
First, let’s start with that most essential of condiments: tzatziki. You can always buy this but it’s easy to make as well. I rarely measure my amounts because I find they vary depending on my mood but here’s an approximation for you. Start off by grabbing about 1/2 cup plain yogurt and plopping it in a few layers of cheesecloth in a colander. Wrap it well and put something with a bit of weight on top. Place the colander over a bowl and shove it in the fridge for a few hours. I use Balkan style yogurt for this, but if you have Greek yogurt you can skip this step.

Slapdash Souvlaki 2

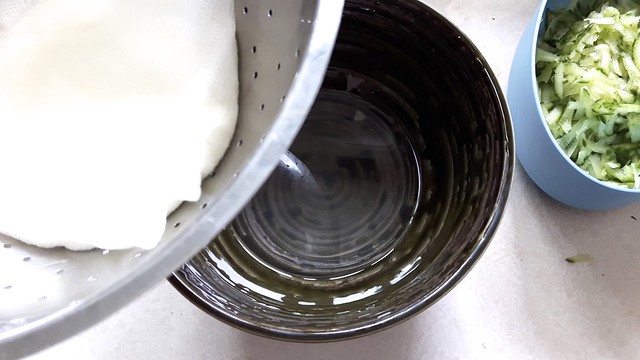
After your yogurt has been pressed and some of the water has drained out, you can unwrap it and give the cheesecloth a bit of a rinse. You’re going to need it in a second.

Slapdash Souvlaki 15

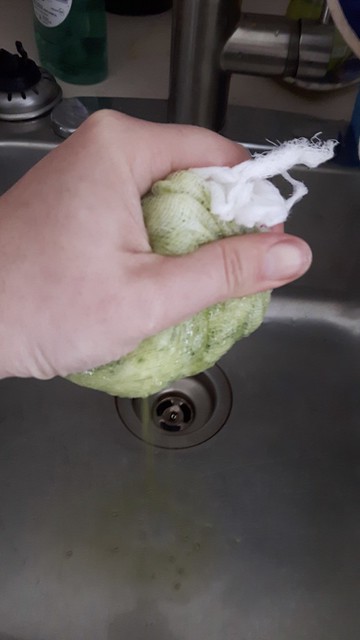
Grate up about half a cucumber. Plop the cucumber bits onto the cheesecloth, wrap it up, and give it a good squeeze over the sink and get rid of excess water.

Slapdash Souvlaki 17

Slapdash Souvlaki 18

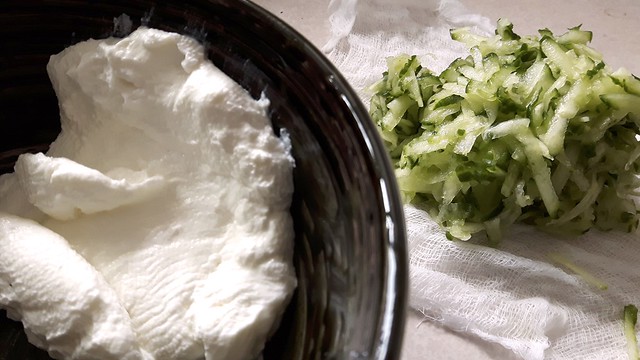
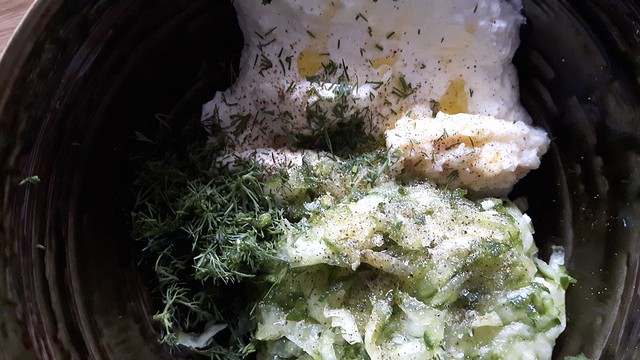
Now, tip that into a bowl together with the yogurt, some minced garlic, chopped fresh dill, salt, pepper, a few drops of lemon juice, and a drizzle of olive oil.

Slapdash Souvlaki 19

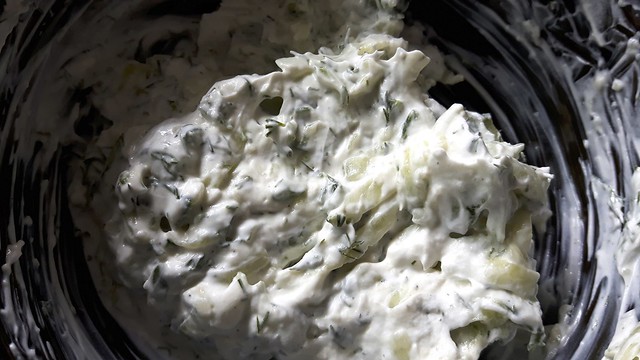
Stir, stir, stir! Shove that back in the fridge for a few hours (preferably overnight) to let the flavours mingle.

Slapdash Souvlaki 20

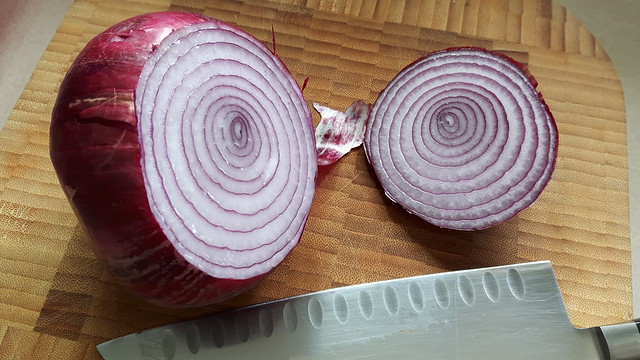
For the souvlaki we’re going to create a marinade. Start by finely chopping up a small red onion. I’m being smart here and using a large red onion because I’m making the recipe twice and chucking half of it in the freezer.

Slapdash Souvlaki 4

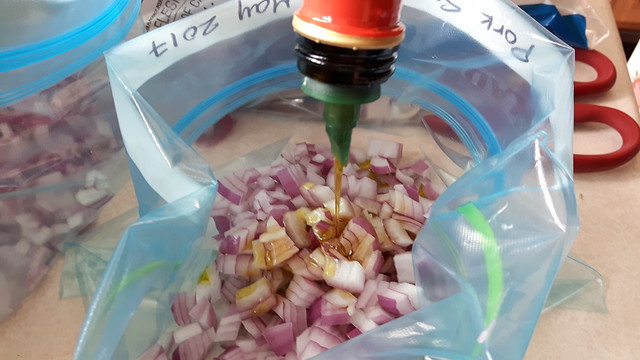
Throw the onion bits in a large Ziploc freezer bag and tip in about 1/2 cup olive oil,

Slapdash Souvlaki 5

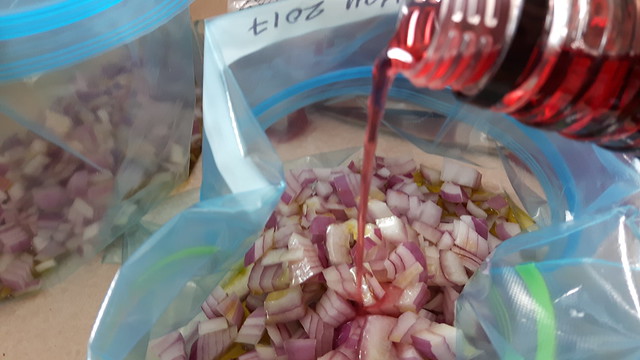
2 tablespoons red wine vinegar,

Slapdash Souvlaki 6

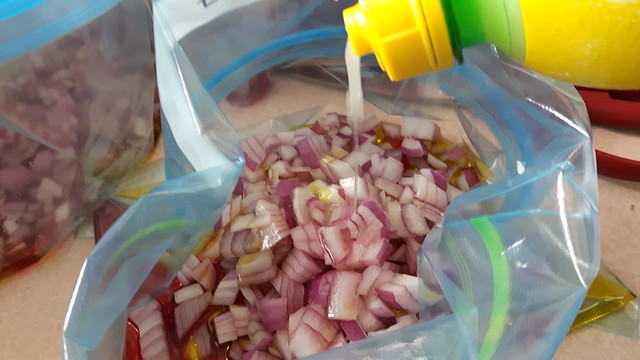
and 4 tablespoons lemon juice.

Slapdash Souvlaki 8

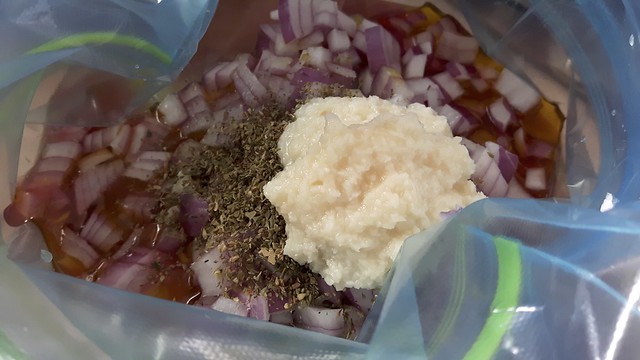
Next plop in about 2 cloves minced garlic, 2 teaspoons dried (or fresh) oregano, and of course salt and pepper to taste.

Slapdash Souvlaki 9

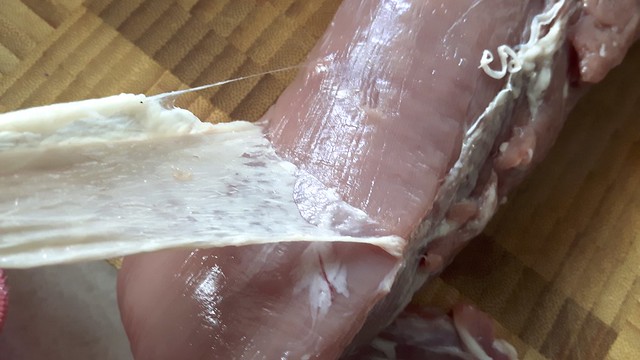
Wrangle yourself a decent-sized pork tenderloin (you can do this with chicken breast too). Don’t be tempted to use a pork shoulder or any other cut for this, as they’ll be too gristly when cubed. Trust me. I did it once when they were on sale and I regretted it. Pull the tough membrane off the tenderloin and trim any excess fat.

Slapdash Souvlaki 10

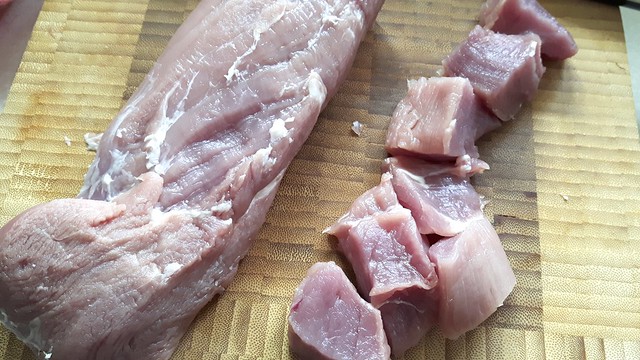
Cut it into cubes.

Slapdash Souvlaki 11

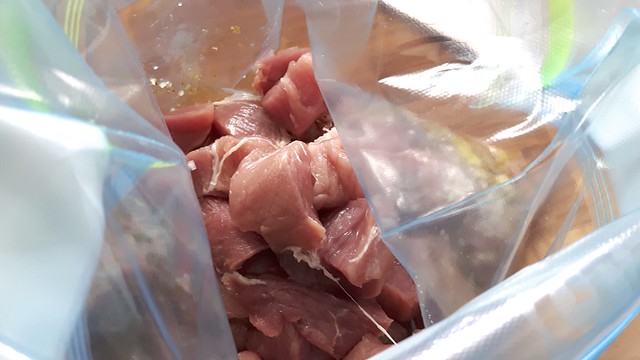
Chuck those cubes into your freezer bag.

Slapdash Souvlaki 12

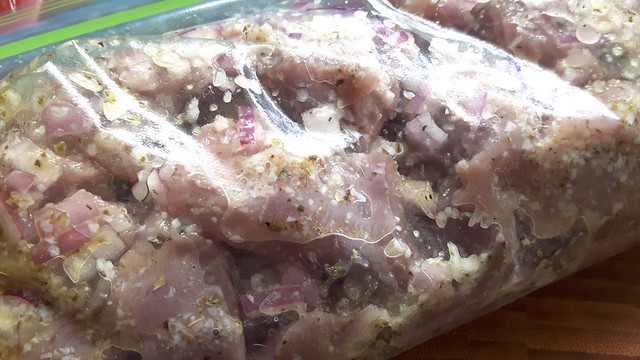
Seal the bag carefully, give it a good smushing together, and bung it in the fridge for several hours. While you’re waiting, grab some wooden skewers and plop them in a tray of water to soak for at least thirty minutes before you grill.

Slapdash Souvlaki 13

When you’re set to start, shove the cubes of marinated meat onto your skewers (I like to use two skewers per so that they’re easier to flip) and grill until cooked through and at an internal temperature of about 145°F.

Slapdash Souvlaki 23

Slapdash Souvlaki 24

Serve over rice with a hefty side of your fresh tzatziki and enjoy the summer!

Slapdash Souvlaki 25

Creole Okra with Chicken and Tomatoes

Okra Chicken Tomatoes 23

I don’t really know that much about southern food except that I like it a lot, and whenever I’m down south (I’m talking the southern US states here) I eat as much of it as I can. This dish started because I found okra at a good price at the grocery store and is more Creole-inspired than actually authentic (because again I don’t know much). It is adapted from something I found on The Kitchn. I doubled the amounts, prepared half this recipe in the pan and then chucked half of it in the freezer for later, like the clever person that I am†. Not that this recipe isn’t dead simple. I’m just lazy.

Okra Chicken Tomatoes 1

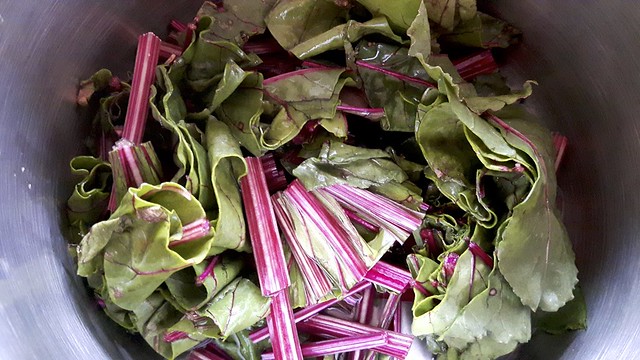
I accompanied this one-dish meal with another dish: steamed beet greens.

Okra Chicken Tomatoes 4

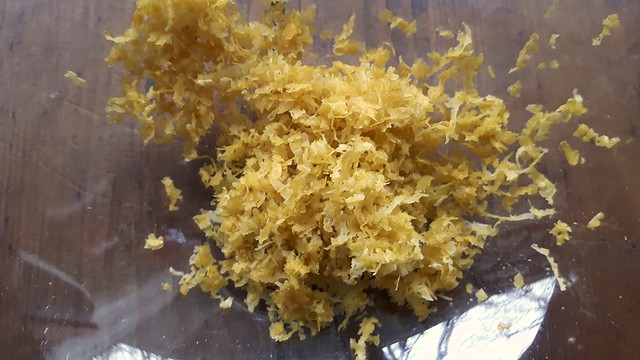
Preheat your oven to 400°F and line a baking sheet with parchment paper. Zest 1 lemon.

Okra Chicken Tomatoes 3

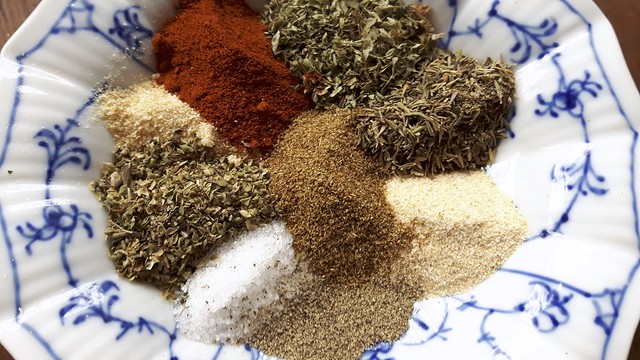
Gather your spices. Creole spice blends tend to run to mixtures of the following, so make one to suit your own taste (this one is about 1 teaspoon of each): onion powder, garlic powder, oregano, thyme, parsley, smoked paprika, salt, pepper, cayenne. The recipe I was looking at didn’t use creole spices; instead it called for a bit of cumin and coriander. So I just used everything. Set that aside for a few minutes.

Okra Chicken Tomatoes 2

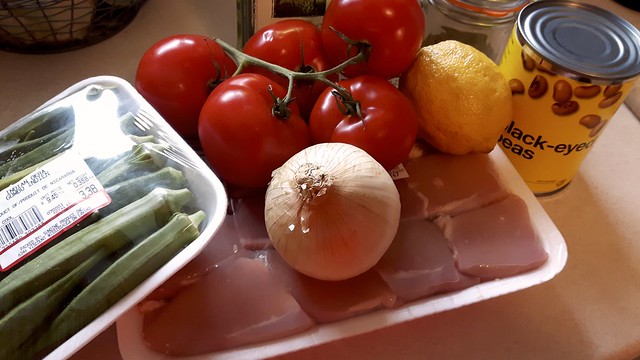
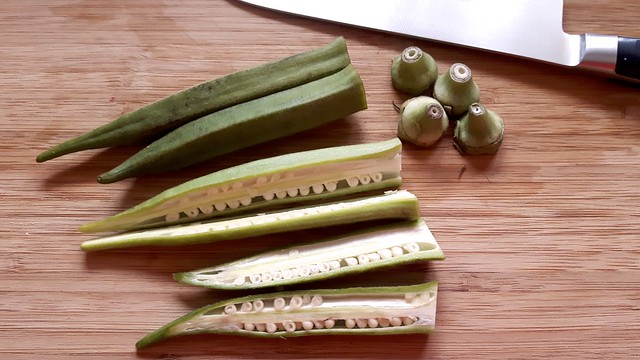
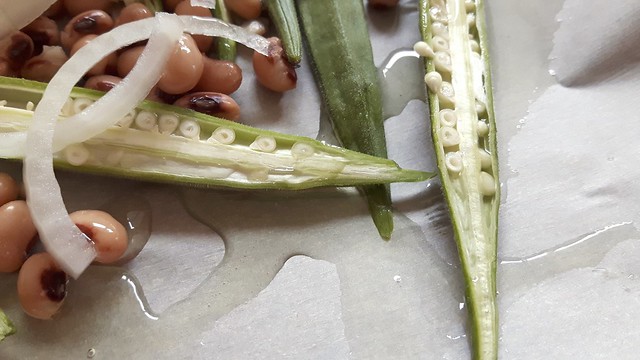
Start with your okra, about 1lb, and slice the tops off before cutting it in half lengthwise. Apparently people either love or hate okra, because it’s a bit slimy. I am ambivalent so far.

Okra Chicken Tomatoes 5

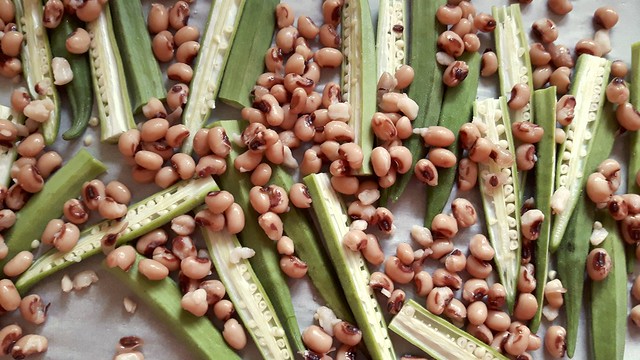
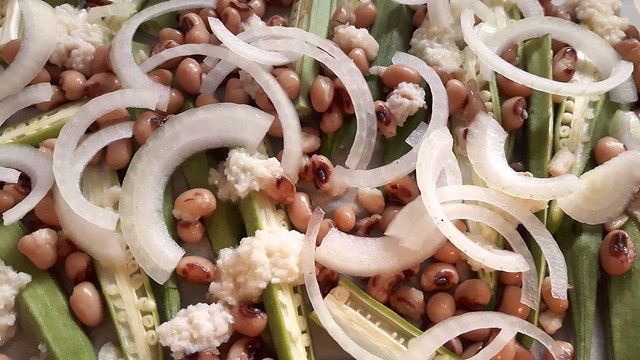
Lay that on your baking sheet and sprinkle with about 1 cup (canned/drained/rinsed) black-eyed peas.

Okra Chicken Tomatoes 7

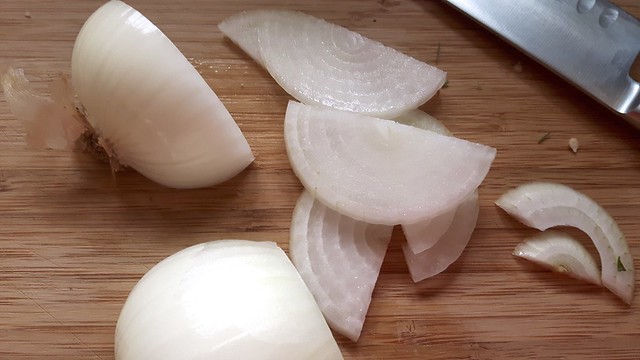
Next, slice up a small white onion.

Okra Chicken Tomatoes 8

Sprinkle that onto the pan, together with a few cloves crushed or minced garlic.

Okra Chicken Tomatoes 11

Give that a good drizzle with some nice olive oil.

Okra Chicken Tomatoes 12

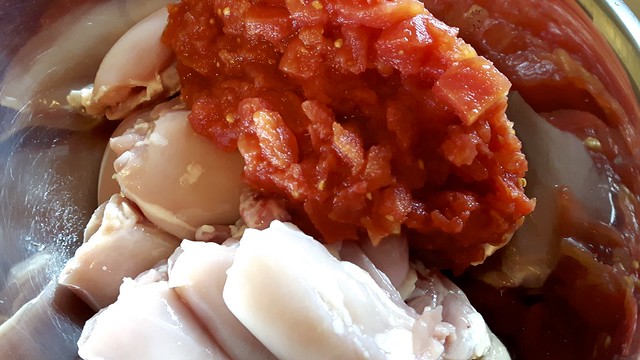
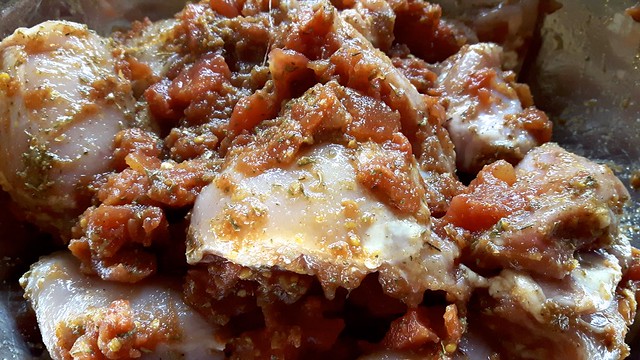
Now here’s where I kind of diverged from the recipe. This dish is a good meal all in itself as a vegetarian option, but I feed boys (boys who are not vegetarians) so I had to chuck some meat in here somehow. In a large bowl, I threw 8 boneless, skinless chicken thighs together with a 14oz can of diced tomatoes and your lemon zest.

Okra Chicken Tomatoes 14

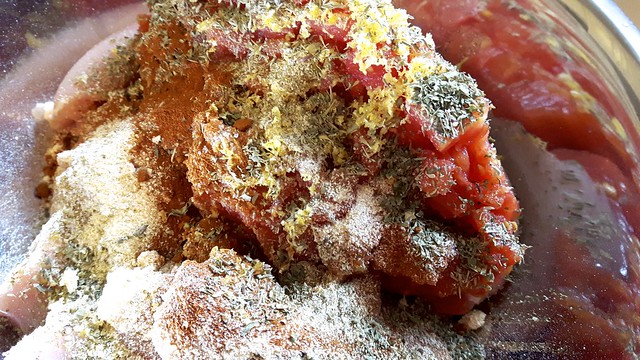
Then I chucked in all those lovely spices and gave it a good mixing.

Okra Chicken Tomatoes 16

Okra Chicken Tomatoes 17

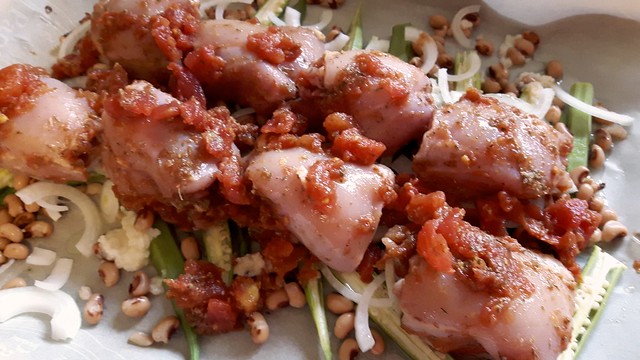
Spread the chicken and tomatoes evenly across the top of your peas and okra and shove it in the oven for about an hour. Give it a stir once or twice to make sure everything is browning evenly.

Okra Chicken Tomatoes 18

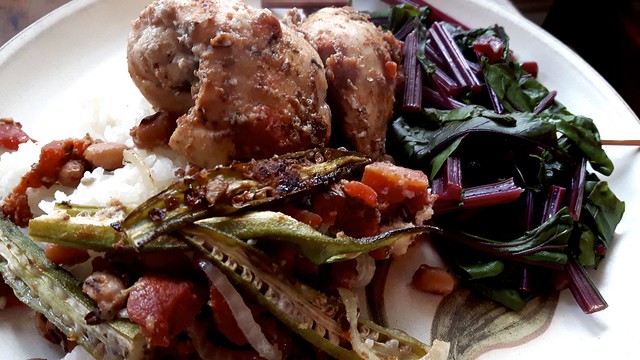
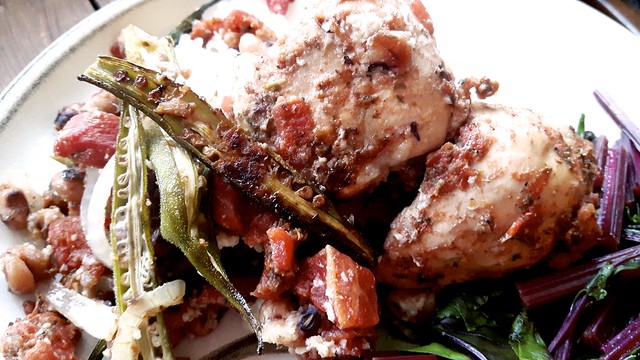
We served ours over rice with the beet greens and it was pretty good. The Pie thought the okra was a little slimy (#1 reason why many people dislike it) but I thought it was pretty good!

Okra Chicken Tomatoes 20

If you plan to freeze this recipe for later, I would recommend freezing it in two parts: in one bag goes the okra, peas, garlic, rice, and oil, and in the second bag goes the tomatoes, chicken, and spices. It just seems like a logical thing to do to tenderize the meat and prevent the peas and okra from getting too soggy.

Mmmore Meatloaf!

Happy Birthday to Papa John!

More Meatloaf 6

One of the weirder, yet endearing things about my husband is the fact that if he goes to a fancy restaurant and they have meatloaf on the menu, he will order it. Every. Single. Time. Like a total weirdo. I’m carving my way through a juicy perfectly cooked steak. And he’s eating meatloaf. So we make quite a bit of meatloaf at home, too. Here’s another version of my classic: feel free to double it as I did and freeze one (or both) for later!
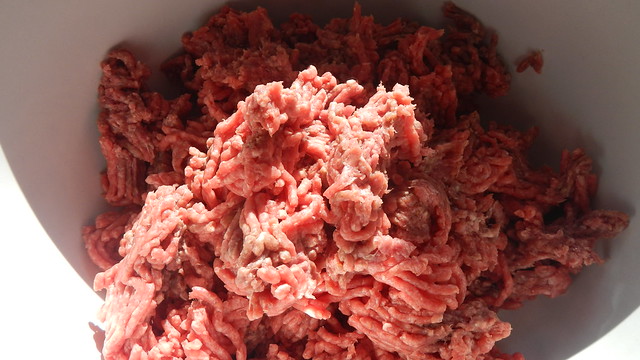
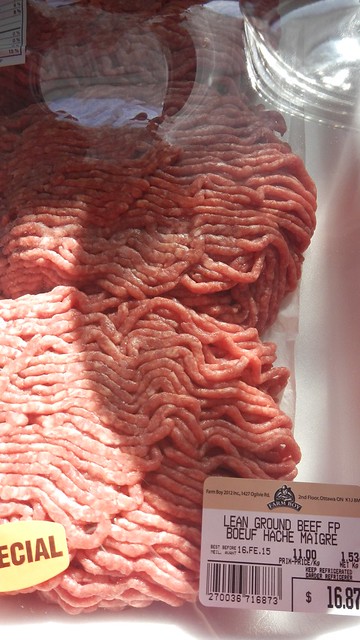
First ye grab yer meat. A lot of it. Enough for two loaves. I prefer the lean stuff – the extra lean is wayyyy more expensive and is harder to stick together.

More Meatloaf 5

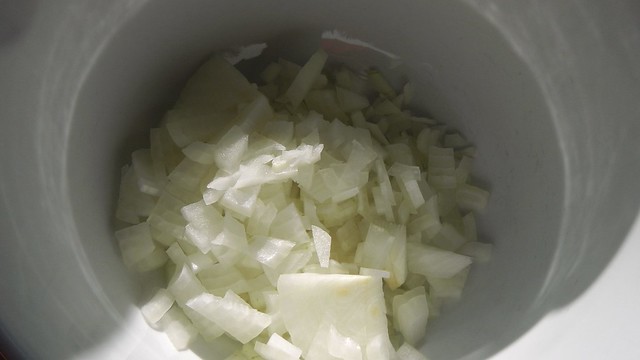
Then ye take yer onions.

More Meatloaf 1

And yer mushrooms.

More Meatloaf 2

And ye put them in a bowl.

More Meatloaf 3

With a lot of other stuff: panko bread crumbs, Newfoundland savoury, oregano, salt, pepper. The works, really.

More Meatloaf 4

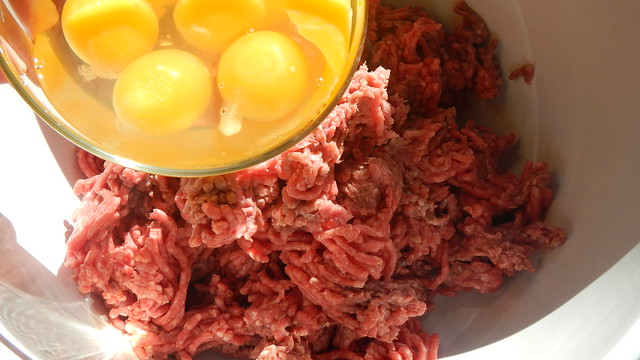
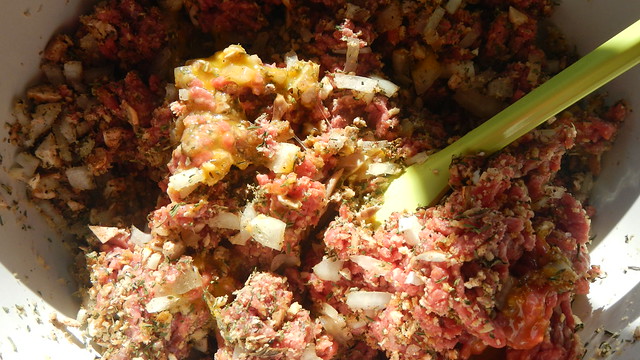
Then you chuck the meat in a bowl and add some eggs. Like, four or five.

More Meatloaf 7

Dump in the rest of the stuff too and give it a good stirring. Feel free to use your hands. Tip in some Worcestershire sauce as well for flavour.

More Meatloaf 8

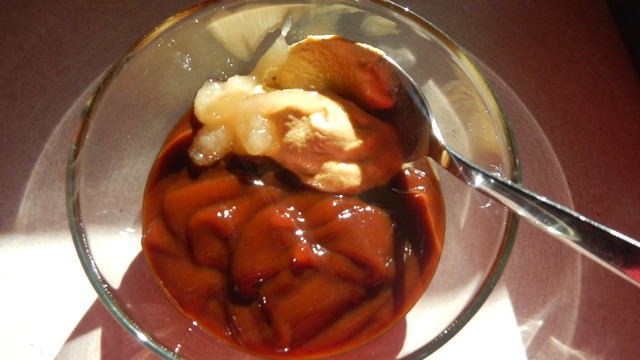
When you’re ready, whisk up a concoction that’s a mix of barbecue sauce, Dijon mustard, and honey.

More Meatloaf 10

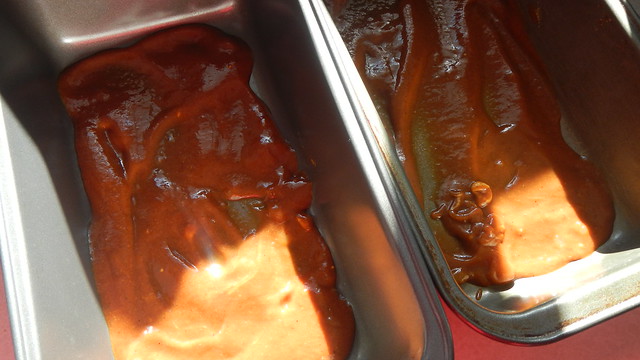
Spread that in the bottom of your two loaf pans.

More Meatloaf 11

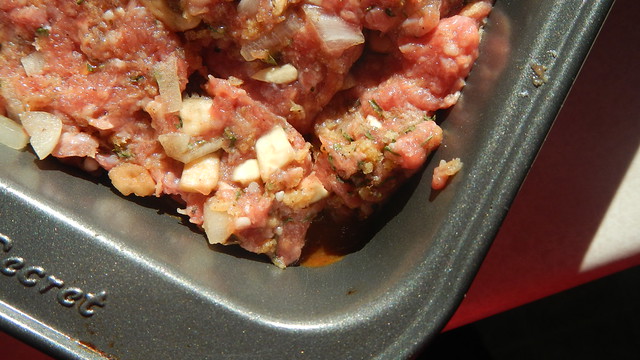
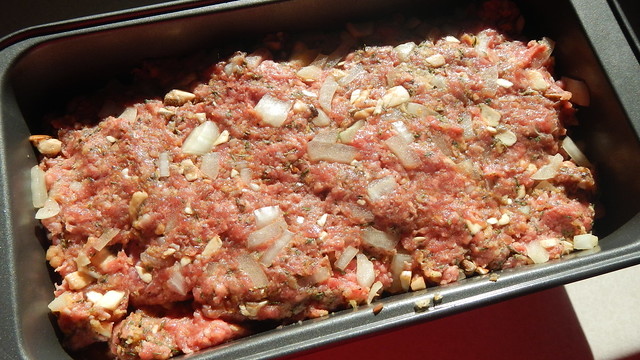
Cram the meat on top and smooth it down. See how that sauce comes up the sides? That’ll keep it from drying out.

More Meatloaf 12

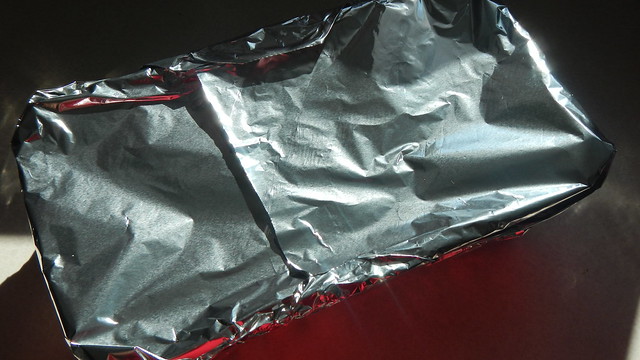
When you’re done, you can either cover it up and shove it in the freezer …

More Meatloaf 14

Or you can bake it at 350°F until it reaches an internal temperature of 160°F.

More Meatloaf 13

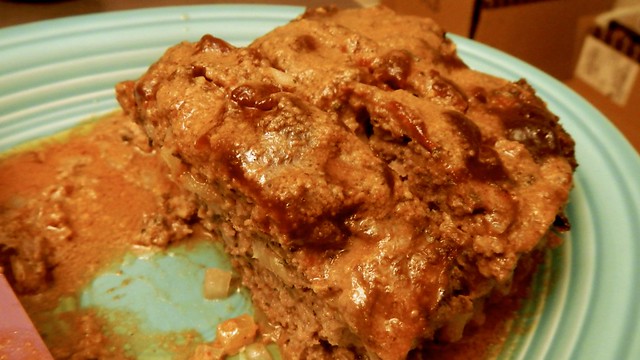
Then you eat it. Unfortunately cooked meatloaf does not photograph well. But you get the picture.

More Meatloaf 15

Herb Cheese Palmiers

Herb Cheese Palmiers 15

The second-to-last installment of all the stuff I made for my parents’ wedding anniversary party. The best piece of advice I can give you when planning a big shindig with lots of food is that time management is KEY. Anything that can be made ahead of time and frozen should be done wayyy in advance so that you have time on the day of to do the little things that absolutely cannot be done until that day. These little puff pastry dreams are one of those things that must be done on the day of, but they’re easy peasy and I promise you’ll enjoy them. I modified the original Martha Stewart recipe to be less salty and to make these a little thicker. I also totally forgot the egg wash at the end. I always forget the egg wash. But fortunately it’s not crucial.

Herb Cheese Palmiers 16

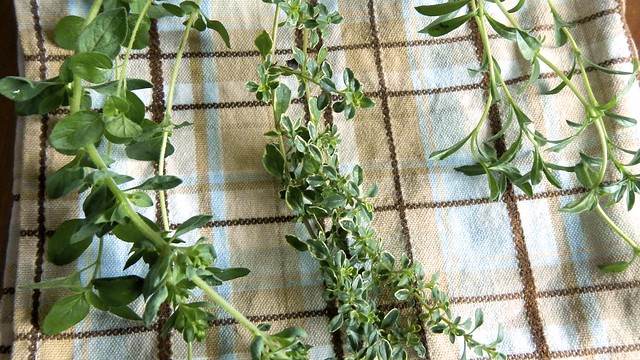
You’ll need some frozen puff pastry. I bought the stuff that comes pre-rolled into two square sheets because I am that lazy. Defrost that overnight in your fridge. Then go out into your garden and grab some fresh herbs, enough so you’ll have about 6 tablespoons of fresh herbs once they’re de-stemmed and chopped. I have here, from left to right, oregano, lemon thyme, and summer savoury.

Herb Cheese Palmiers 2

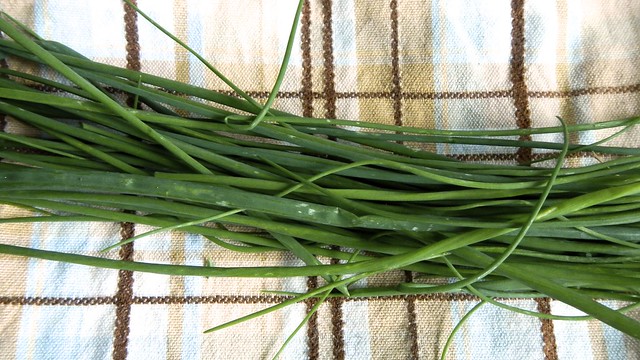
And these are chives.

Herb Cheese Palmiers 3

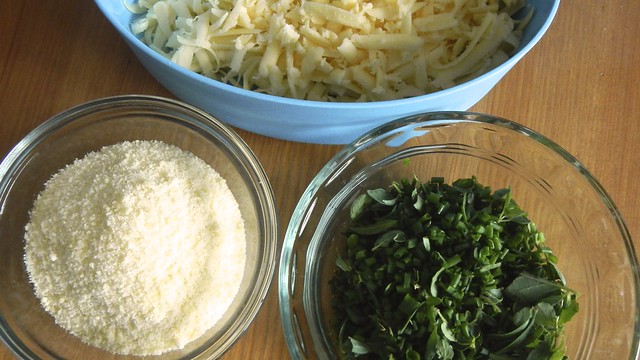
Chop those finely and set them in a little bowl. Gather as well about 6 tablespoons parmesan cheese, and grate up about 1/2 cup nice sharp cheddar.

Herb Cheese Palmiers 4

Now you can go ahead and preheat your oven to 375°F. Put your racks in the upper and lower thirds of the oven. Line two large baking sheets with parchment paper.

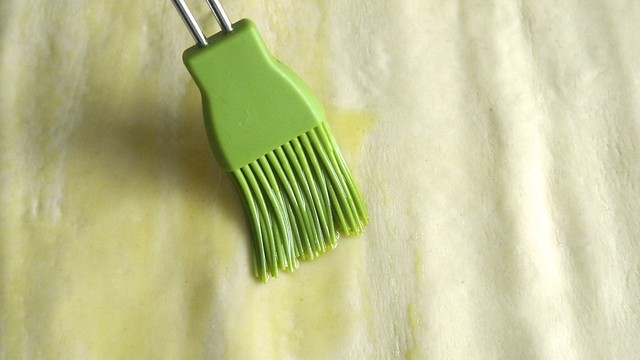
Lay out your puff pastry sheets and brush the surface of each with about 1 tablespoon olive oil.

Herb Cheese Palmiers 5

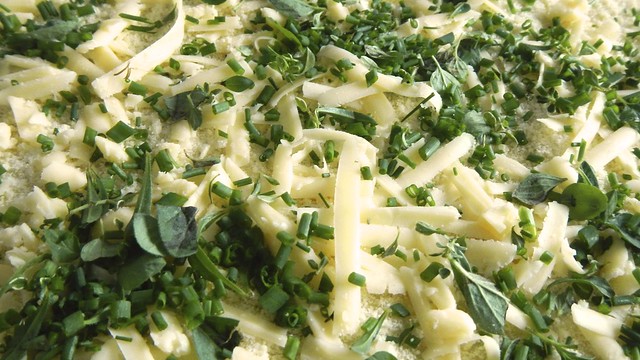
Sprinkle them evenly with the parmesan, the cheddar,

Herb Cheese Palmiers 6

and finally the herbs.

Herb Cheese Palmiers 7

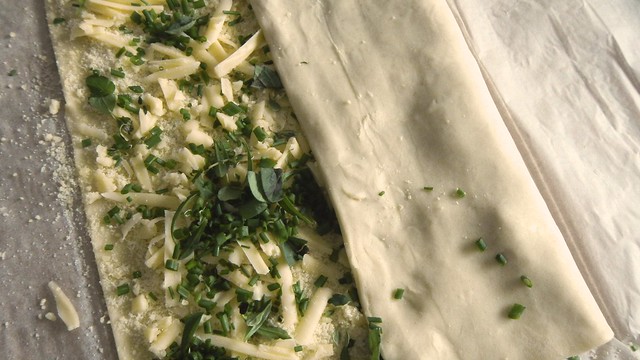
Fold one third of each pastry sheet over,

Herb Cheese Palmiers 9

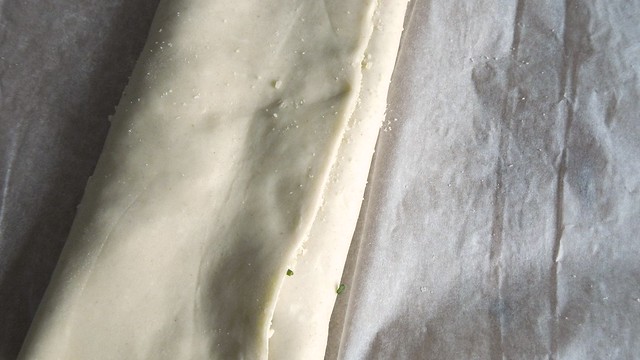
and then fold the other third over that, like you’re sending a letter. This would be goopy to send in the mail. You probably shouldn’t mail this.

Herb Cheese Palmiers 10

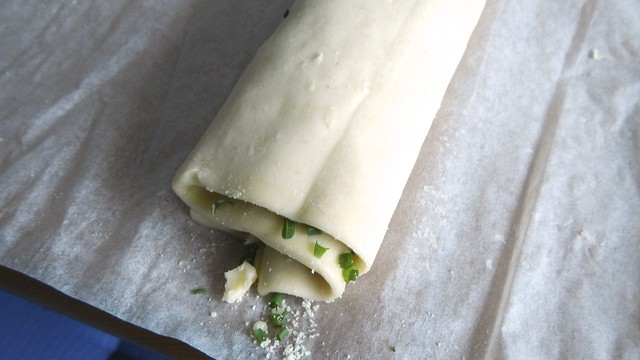
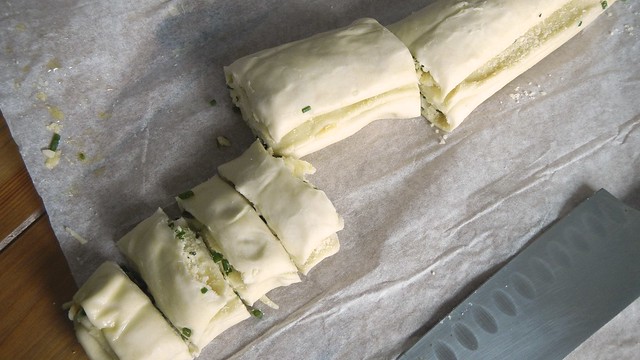
Then fold that in half so the two folded edges are touching each other. Jam that in the freezer for about 10 minutes until it’s had a chance to firm up a bit.

Herb Cheese Palmiers 11

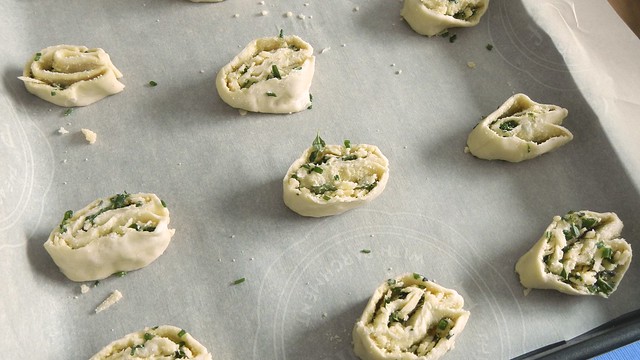
I suppose if you let these get really firm you could slice them thinner, but the best I could do was about 3/4″ slices and even that was pushing it. Place the slices on their flat sides on the baking sheets.

Herb Cheese Palmiers 12

Herb Cheese Palmiers 13

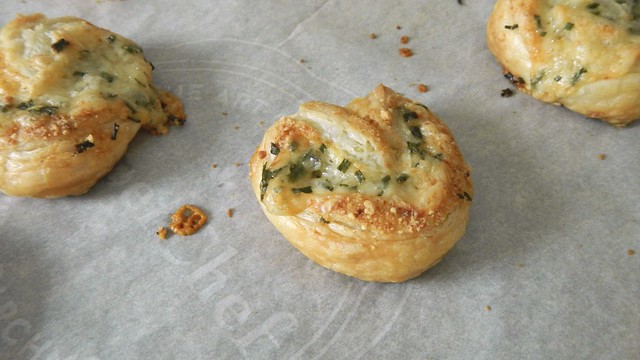
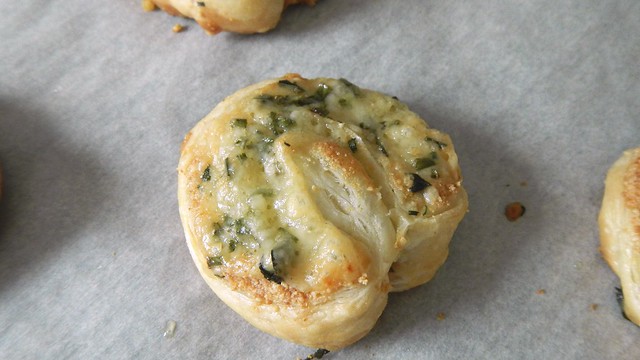
Bake for about 20 minutes, rotating your baking sheets halfway through, until the pastry is fully puffed and a nice golden brown. Let cool slightly and then serve!

Herb Cheese Palmiers 14

Greek Baked Eggs

Baked Eggs 14My brother and I take turns hosting a family brunch every second Sunday, and because both of our families are on tight schedules on Sundays (us with getting Gren exercised and tired prior to the brunch, and them with getting the General up and ready to go in time), it makes sense to prepare dishes that can be made ahead of time, or that can be cooked all at once, and also dishes that don’t require constant presence in the kitchen when we should be paying attention to the interactions between corgi and toddler. This one from Salted and Styled requires some focus and prior preparation but it’s very quick so you’re not in the kitchen for very long. The original recipe worked for 5 servings, but I upped mine to 8 so the measurements are approximate. Go with what looks good to you. Baked Eggs 2

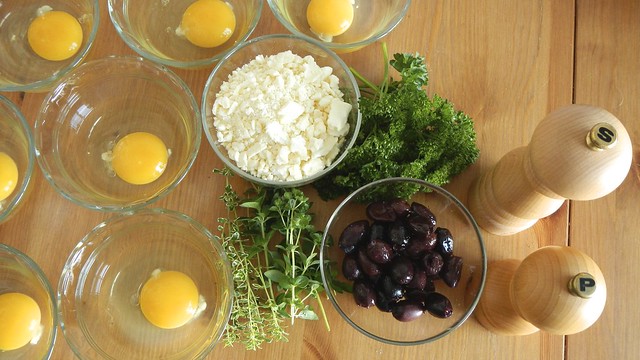
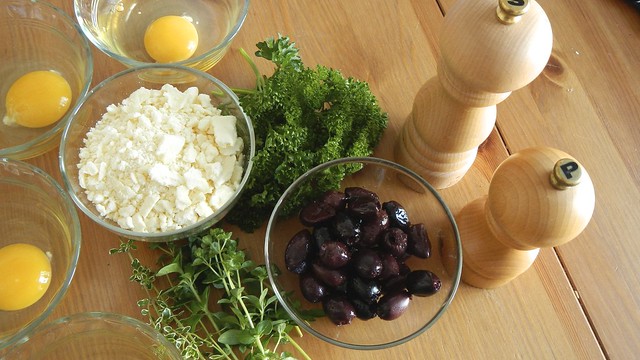
Start by cracking however many eggs you want into individual bowls. You’ll need to pour these quickly later so that’s why you’re doing this. Grab as well some fresh herbs from the garden: parsley, thyme, and oregano. I bet some sage would be tasty as well, and if you wanted to alter the flavour a little then you could maybe do a sage-savoury-chives combo or something like that. Chop up the herbs and set them aside for a minute. Grab a few handfuls of feta cheese and crumble that up as well.

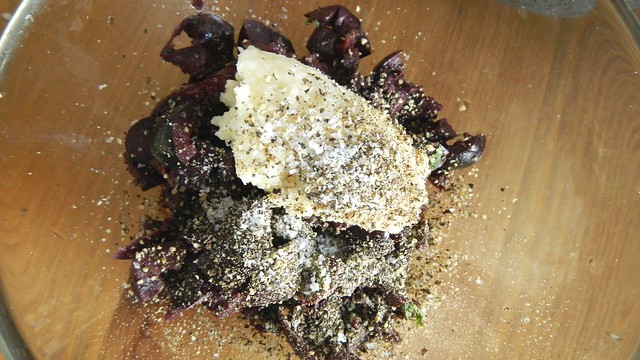
Baked Eggs 4Grab as well a handful of Kalamata olives, and chop those up (after removing the pits). Mix that with a little bit of minced garlic and some salt and pepper. Go easy on the salt though, as the olives and the feta are both pretty salty in their own right.Baked Eggs 5

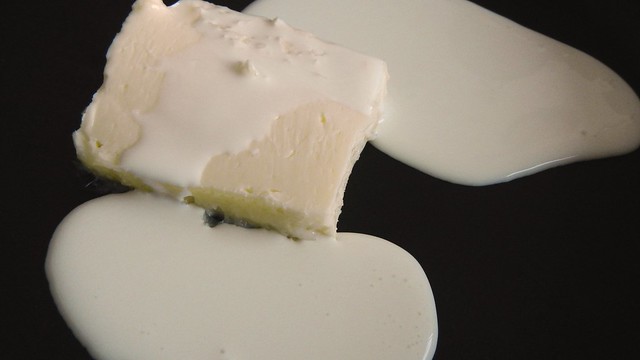
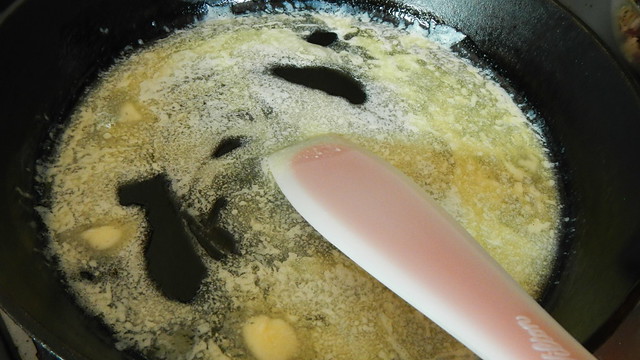
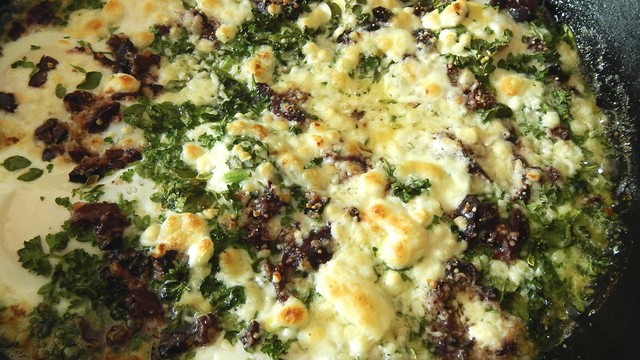
Now preheat your broiler and grab a large cast-iron skillet or wide, shallow baking dish. Dollop some butter in there as well as a few drops of heavy cream.

Baked Eggs 6Heat the butter and cream either under the broiler or on the stovetop until bubbly. Baked Eggs 7

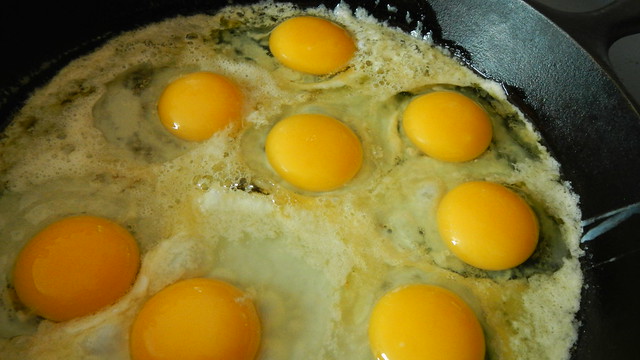
Then working very quickly, slide in all your eggs.

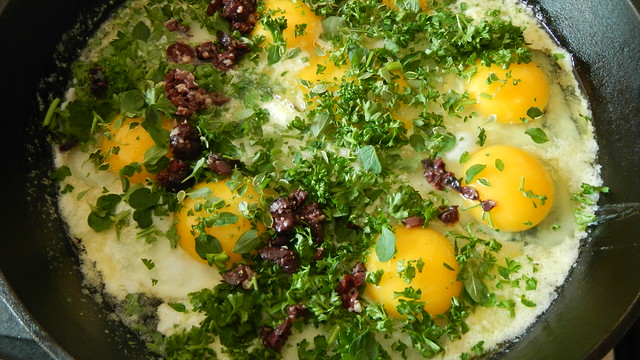
Baked Eggs 8Sprinkle with your herbs and olives. Baked Eggs 9

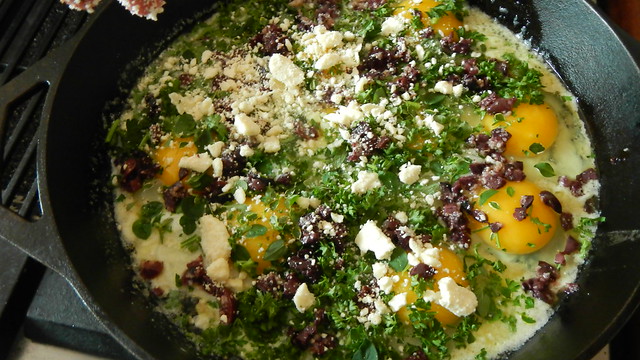
Top with feta.

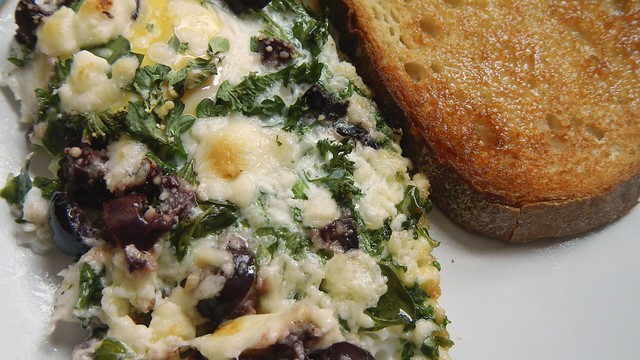
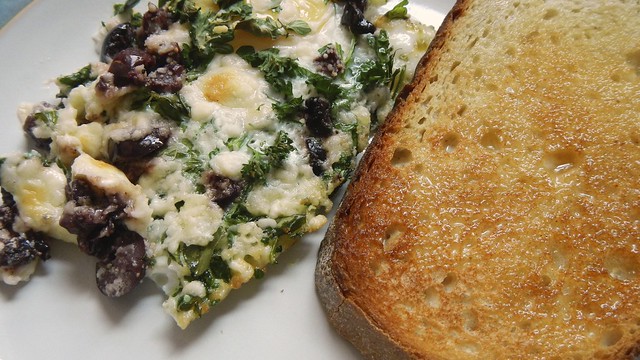
Baked Eggs 10Shove that under the broiler until the eggs are cooked to your satisfaction (runny or hard, it’s up to you) – probably less than 5 minutes. Baked Eggs 13

Serve straight from the pan with some buttered toast as a plate or for sopping up your yolks. Mmm!

Baked Eggs 15

When in doubt, make soup!

Beef and Cabbage Stew 15

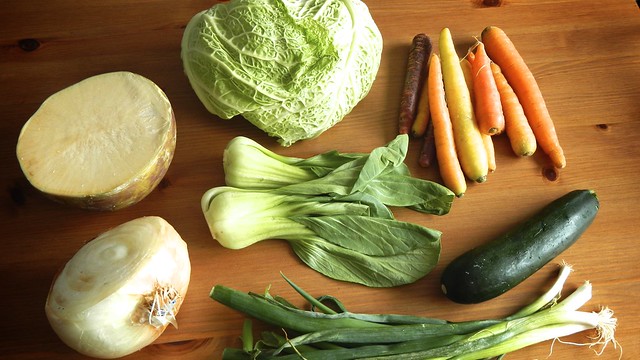
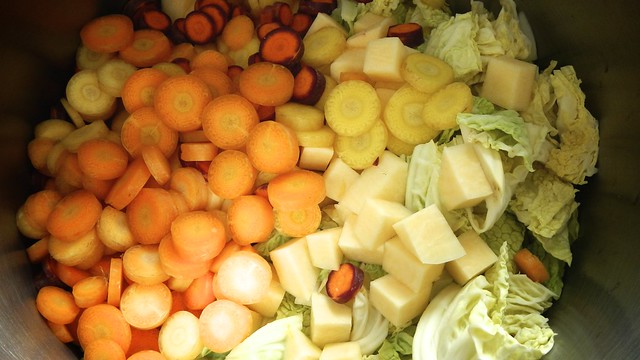
My parents are down in Florida and I’m looking after the house while they’re gone. This entailed cleaning out the fridge after they left, and so I arrived home with this oddment of groceries: 1 small zucchini, 4 wilted green onions, 2 baby bok choi, 9 multicoloured carrots, half a large sweet onion, half a large rutabaga, and half a large Savoy cabbage.

Beef and Cabbage Stew 1

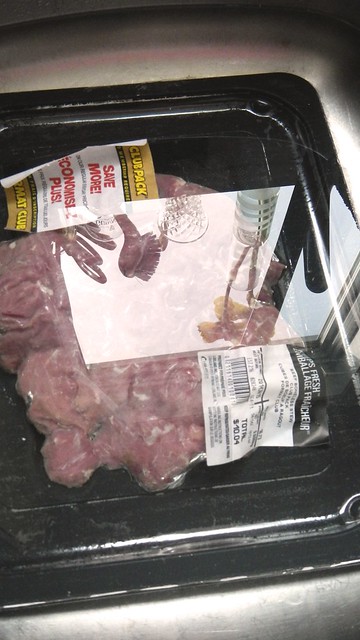
Welp, that looks like a soup to me. Fortunately I had some stewing beef in the freezer which I chucked in the sink to defrost. Then I got to chopping.

Beef and Cabbage Stew 3

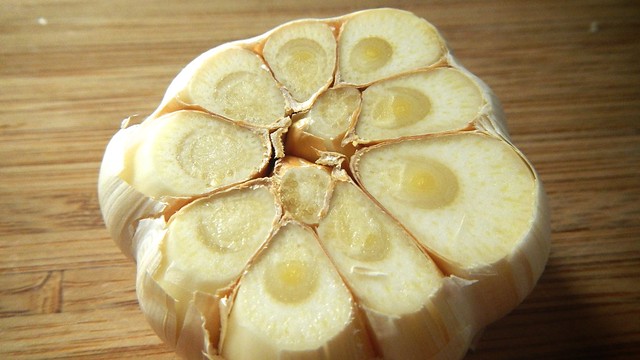
I also chopped up 1 head of garlic, and sautéed it with the onions in a large stockpot with a drop of olive oil until they were soft and sweet.

Beef and Cabbage Stew 4

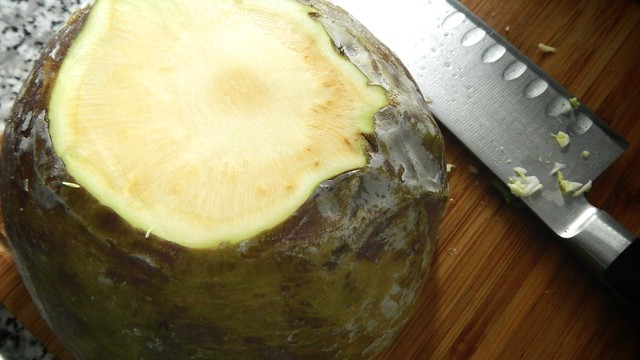
Remember when cutting up rutabagas to be very careful. Slice off the top and bottom first so you have a flat surface to work on before you go after the skin, as it will be tough, especially if it’s been waxed.

Beef and Cabbage Stew 5

I added all the other chopped veg to the pot. I only scrubbed the carrots, didn’t peel them. All that vitamin-y goodness is in the skin and these are such tender carrots it seemed like a waste to remove the skin.

Beef and Cabbage Stew 6

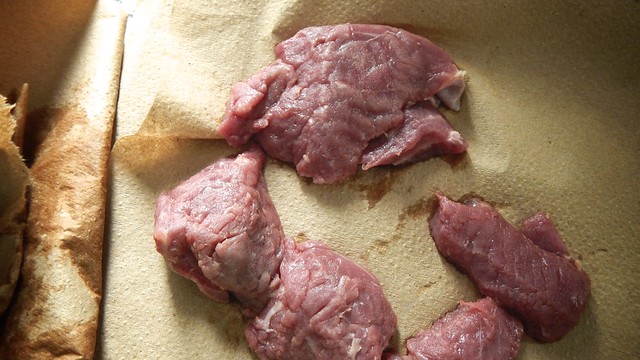
Make sure to dry your beef before you brown it. It will make browning way quicker.

Beef and Cabbage Stew 7

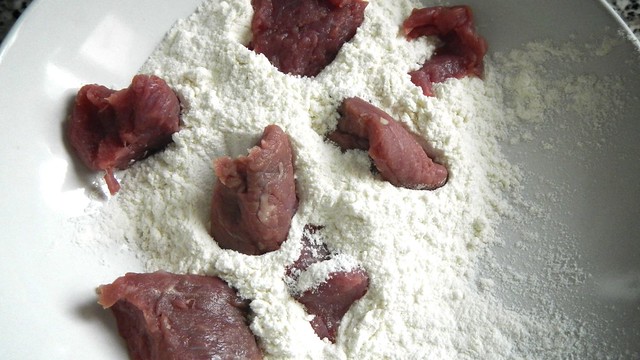
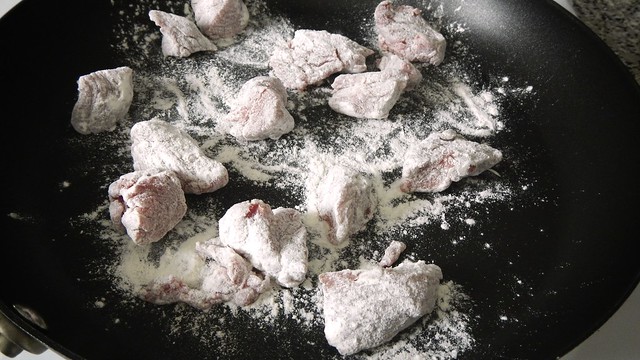
I also like to dredge it in flour for a nice crust, and the flour will help thicken the stew as it cooks. You can use rice flour for a gluten-free option.

Beef and Cabbage Stew 8

Brown the meat until it has a nice seared edge all the way around.

Beef and Cabbage Stew 9

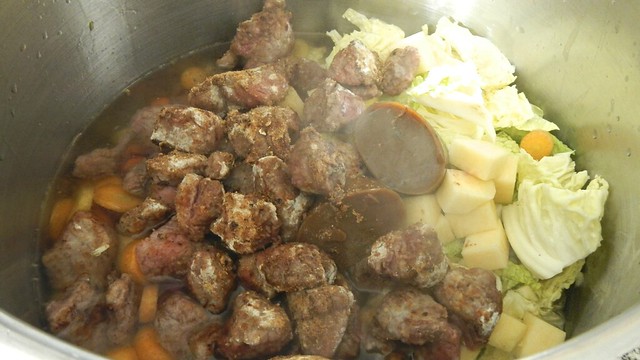
Then you can chuck that in the pot, too. I added about 8 cups water and two mini cups of concentrated beef bouillon, but go with whatever floats your boat.

Beef and Cabbage Stew 10

Give it a stir and set it to simmer for about 30-45 minutes, until the rutabagas are soft when you smush them with a spoon.

Beef and Cabbage Stew 11

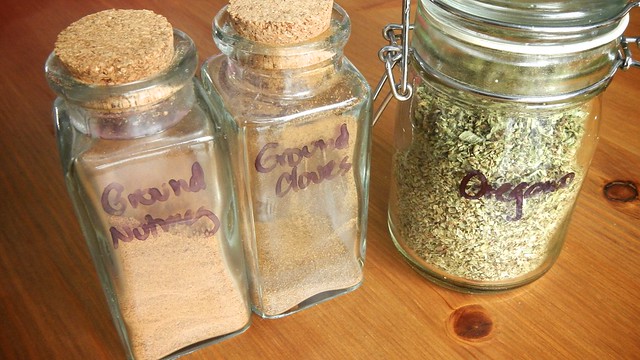
I added in a pinch of ground nutmeg and cloves, as well as a few teaspoons of dried oregano. Add salt and pepper as well, if you like.

Beef and Cabbage Stew 12

To combat the bitterness of the cabbage I also added in a few tablespoons each of maple syrup and rice vinegar (it sounds weird, I know, but it works). You can also use cider vinegar.

Beef and Cabbage Stew 13

My scrumptious savoury stew!

Beef and Cabbage Stew 14

I shoved it into large freezer bags that I froze flat for easy storage. I can’t wait to haul one of these babies out in the dead of winter for some comfort food!

Beef and Cabbage Stew 17

Sick People Tea

Sick People Tea 1

Atlas taught me a version of this simple tea and I make it every time I come down with a cold. I find that it really helps. The name is not very appealing, but it’s descriptive: tea for sick people. And this past week the Pie and I were very sick people indeed.

Sick People Tea 8

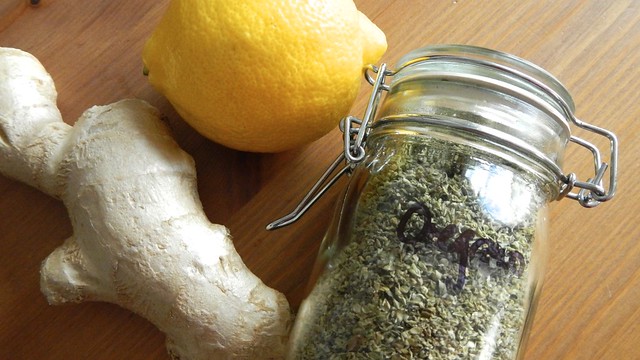
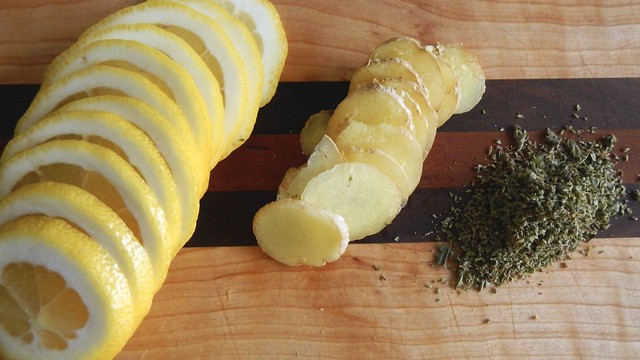
Take a lemon and slice it thinly, discarding the ends. You’ll probably only want to use half the slices, so put the others away until you need them for the next pot of tea. Slice up a small knob of ginger. Grab a couple teaspoons of fresh or dried oregano as well.

Sick People Tea 2

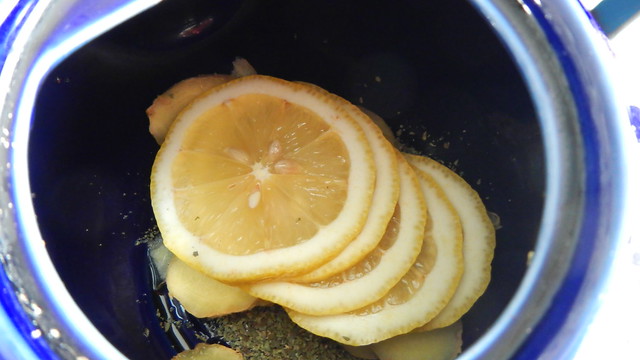
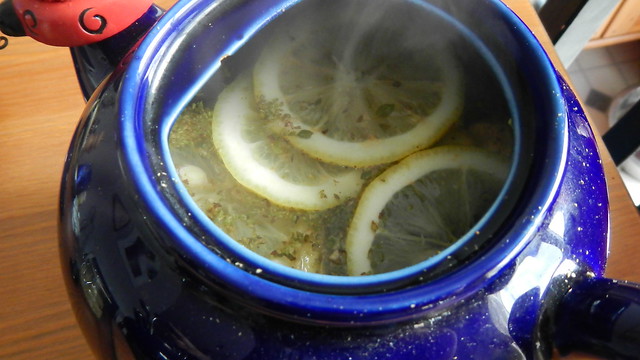
Dump all those in your teapot. If you’re me, you’ll spill oregano all over the teapot and be lucky that most of it ends up inside. Use the end of a spoon or a muddler to squish up the lemon and ginger a bit.

Sick People Tea 3

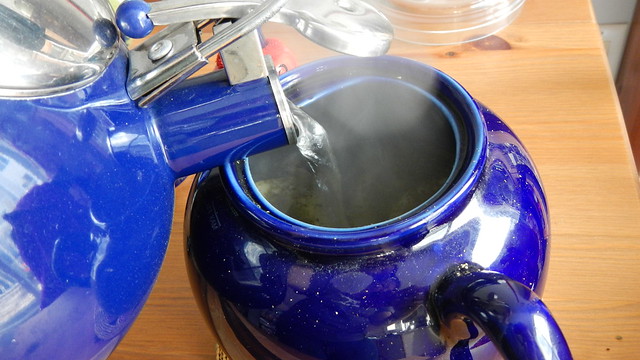
Boil some water and pour it over top.

Sick People Tea 4

Let it steep for a few minutes. While it’s doing that, you should probably clean up the oregano you spilled everywhere.

Sick People Tea 5

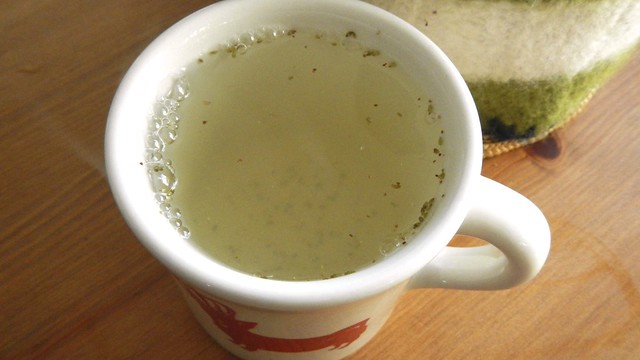
Pour and sip (yes, I still have my touque-tastic tea cozy). You can add honey if it’s too much for you to handle, but that’s up to you. Feel better!
Sick People Tea 7

Made-up Macaroni Salad

Made-Up Macaroni Salad 11

Pasta salads are ideal for summer parties.  You can make them ahead of time and you don’t have to worry about heating up the house.  This one came together on the fly, as most of them tend to do.  I stuck with a reddish theme and it worked out.

Made-Up Macaroni Salad 2

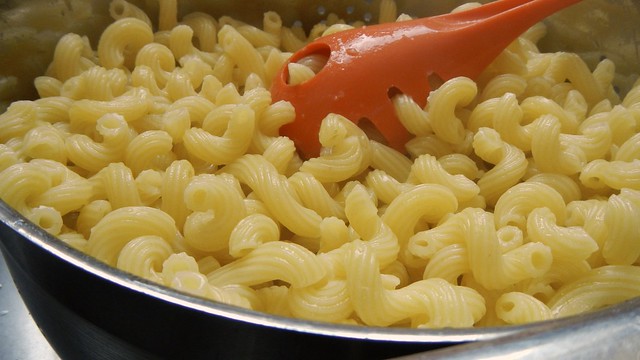
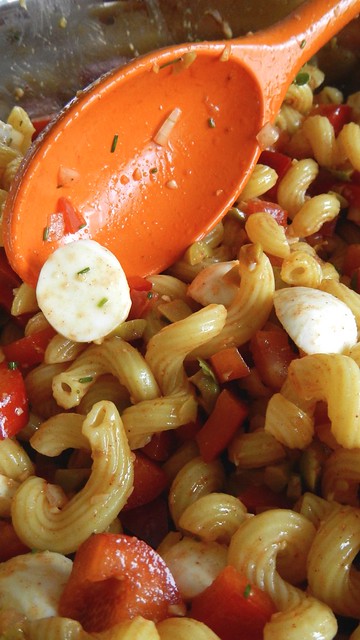
Start with a bowl of cooked pasta.  I used cavatappi, or Scoobi-do pasta.

Made-Up Macaroni Salad 1

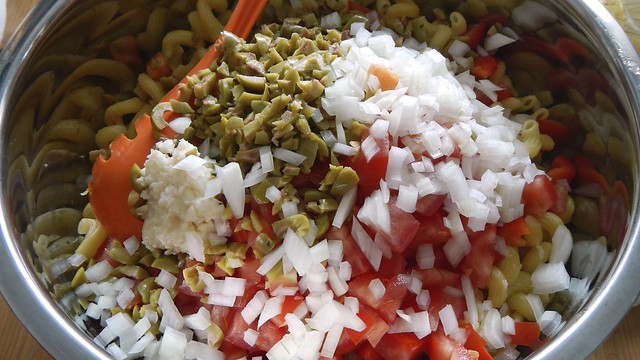
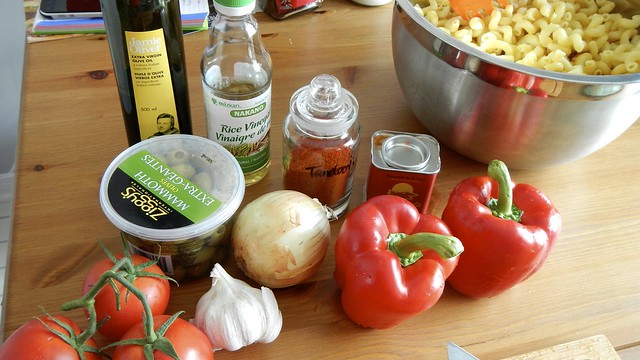
Chucked in a diced onion, tomatoes, garlic, red peppers, and green olives.

Made-Up Macaroni Salad 3

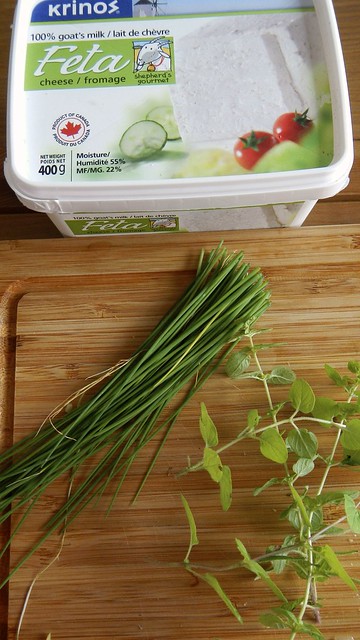
Then some fresh oregano, chives, and some cubed feta.

Made-Up Macaroni Salad 4

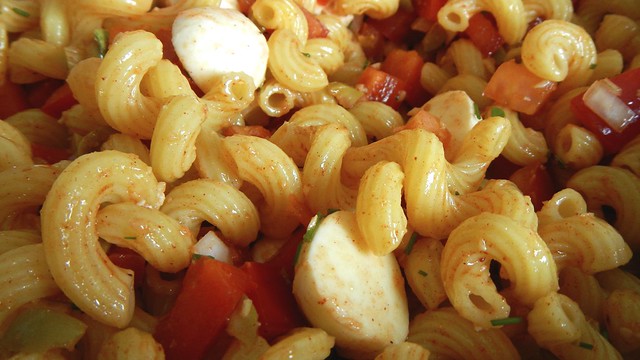
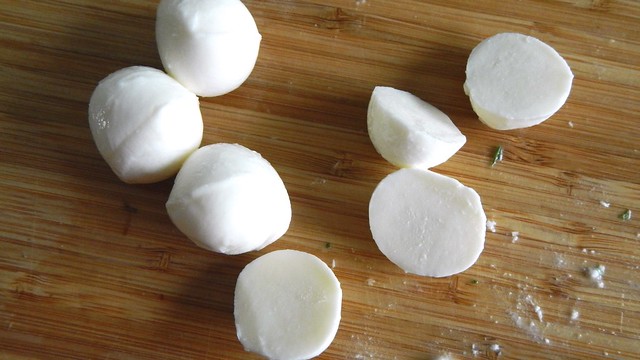
Then I decided to throw in a few bocconcini as well.  I also tossed in some tandoori spice and some Hungarian paprika for kick.

Made-Up Macaroni Salad 5

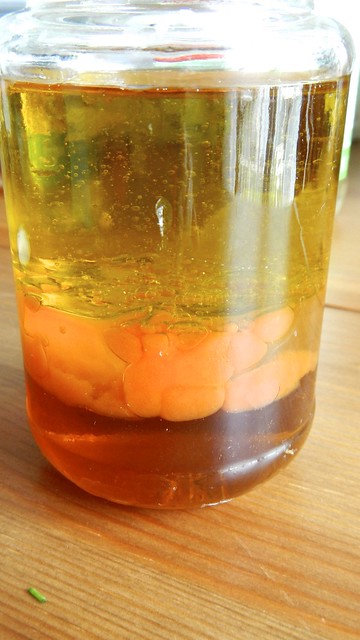
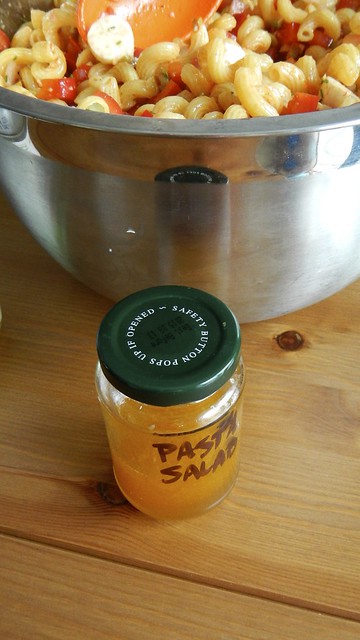
When you make a pasta salad, make a lot of dressing to go with it, because the pasta will absorb so much extra liquid.  The base of this one was olive oil, maple syrup, Tabasco, and rice vinegar.

Made-Up Macaroni Salad 6

As I said, make a lot.

Made-Up Macaroni Salad 7

Put half in now and then the other half right before you serve it.

Made-Up Macaroni Salad 8

TADA.

Made-Up Macaroni Salad 9

There was enough left over that I added some pasta sauce to it, topped it with cheese, and baked it into a casserole afterwards.  Waste not!
Made-Up Macaroni Salad 10

Pork Ragu with Fettucine


Gren on a Saturday 5-3

Oh winter.

While Gren may adore this particular season (at least until his little feet get cold), I do not. Some days I just want to wrap myself up in as many blankets as I own (which is quite a few) and count down the days until spring. But I can’t, and this is why people invented comfort food.

This particular recipe comes from a recent issue of Real Simple magazine, and it does the trick. The Pie and I have a resolution to use our slow cooker more (because it’s AWESOME), and it was really nice to come home the other day to a house that smelled like awesome had been slow-cooking in it for hours and hours. And the preparation takes no time at all. I did ours the afternoon before, which was a weekend, and put it in the fridge overnight. Then before I left for work the next morning I popped the crock on the pot and turned it on and blamo kablam it was done.

Pork Ragu with Fettucine 4

So let’s get around to that preparation, shall we?

Start by scrubbing and chopping up a large carrot. I ended up using two because I wasn’t sure if mine qualified as large or not. Do the same with a medium onion and 2 cloves of garlic (I may have used the whole head, but I really like garlic and this head was pretty old).

Pork Ragu with Fettucine 1

For spices, you’re going to need about 1 teaspoon dried thyme, 1 teaspoon dried oregano, and about 3/4 teaspoon kosher salt and 1/4 teaspoon ground black pepper. But feel free to add more or less if you choose.

Pork Ragu with Fettucine 2

You also need a large (14oz) can of diced tomatoes and a small can of tomato paste. The recipe calls for just 2 tablespoons of the paste, but that’s like a third of the can and I would just have to figure out what to do with the rest of it so I used the whole can.

Pork Ragu with Fettucine 3

Chuck all your vegetables and spices and canned goods in a 4-6 quart slow cooker (for scale, this one is 6 quarts).

Pork Ragu with Fettucine 6

And you need a hunk of pork shoulder or pork butt (haha, butt), about 1 1/2 lb.

Pork Ragu with Fettucine 7

Trim off the larger hunks of fat and cut the shoulder/butt in half.

Pork Ragu with Fettucine 9

Pop that in the slow cooker as well and give everything a stir to coat it in tomato juice (the acids in the tomatoes will help to tenderize that sucker).

Pork Ragu with Fettucine 12

Cover it and let it cook on high for 5 to 6 hours or low for 7 to 8 hours, until the pork is super dooper tender.

Pork Ragu with Fettucine 13

About twenty minutes before you want to eat, cook up a package of fettuccine according to the package instructions (normally fettuccine takes about 12 minutes to cook to al dente).

Pork Ragu with Fettucine 17

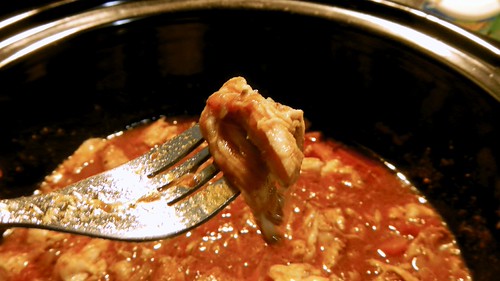
While that’s on the go, take two forks and shred all that lovely slow-cooked pork in the slow cooker.

Pork Ragu with Fettucine 15

Pork Ragu with Fettucine 16

Drain your pasta and plop it into the slow cooker on top of the pork stuff and give it a thorough stir.

Pork Ragu with Fettucine 19

Serve, spraying bits of tomato juice everywhere (at least, that’s what I did). Grate some parmesan on top and eat your way into ragù heaven.

Pork Ragu with Fettucine 21

The recipe says it serves four but the Pie and I think that serving size is immense, so we would say that it more accurately serves 6-8, and it’s especially good the next day when all the juices have been sucked into the fettuccine. When I brought it to work everyone became jealous of my delicious leftover lunch.

Pork Medallions in Tomatoes

Pork in Tomatoes 25

This recipe mostly started because I received this can opener from Ando and Teedz for Christmas.

Pork in Tomatoes 1

Pork in Tomatoes 2

They told me that they wanted photographic proof when I figured out how to use it.

Pork in Tomatoes 3

So here you go. The instructions are a little vague, saying simply that you put it on a can and rotate it slowly.

Pork in Tomatoes 4

And if you think that there was something lost in translation, the French version says pretty much the same thing, but with more poetry. Literally, it tells you to sprinkle some poetry on it.  The accompanying diagram implies that you do something like this:

Pork in Tomatoes 5

Which of course doesn’t work. There’s just not enough leverage.

Pork in Tomatoes 6

However, if you use it like an old army (or camping) can opener, it works quite well.

Pork in Tomatoes 8

And now that I’ve gotten that 14oz can of tomatoes open, I should figure out what to do with it, eh?

Pork in Tomatoes 10
I’m so excited with the possibilities that my hands are shaking.

I also have a lovely pork tenderloin here, from which I have removed the silvery skin and excess fat.

Pork in Tomatoes 9

So I sliced it into medallions, which I seasoned with salt and pepper.

Pork in Tomatoes 11

And chopped up an onion and some (rather overgrown) garlic.

Pork in Tomatoes 12

Then I heated a bit of olive oil in a cast iron skillet and browned the medallions, setting them aside when they were fully cooked.

Pork in Tomatoes 13

Then I chucked in the onion and garlic and gave that a stir.

Pork in Tomatoes 14

Lovely and soft now. I also squeezed in some lemongrass, oregano, and basil. Sounds like an odd combination but I like the lemongrass with the tomatoes.

Pork in Tomatoes 15

Then I added the tomatoes and brought it to a simmer. Smells so good!
Pork in Tomatoes 17

For a bit of starch, I added a generous sprinkle or two of this teeny star pasta, stellette. It takes pretty much no time to cook, about 7 minutes. If you want to skip this part, you can serve the dish on a bed of rice instead.

Pork in Tomatoes 18

When the pasta was ready I chucked in the medallions to reheat.

Pork in Tomatoes 19

And that is that. A hearty, hot, and quick meal for a cold, dark, winter’s night!  How’s that for poetry?

Pork in Tomatoes 23