Wingin’ It Wednesday: Tomato Mint Salad

Tomato Mint Salad 10

LongJohn’sĀ Nana, Mrs. Nice, has been coming into town to spend some time with him once a week so that I can do things that necessitate the use of both hands (in fact, she’s here right now so that I can use both hands to type this post – yay for Mrs. Nice, and grandparents everywhere!).

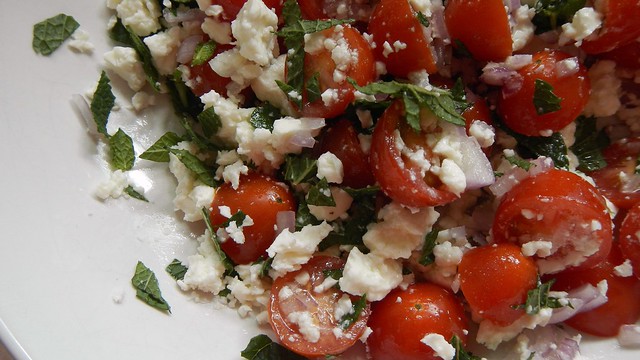
When she was here last I whipped up this salad of things that were in my fridge: normally when I make a tomato salad with feta I use balsamic vinegar and fresh basil but I didn’t have either of those so I went with a little twist, and I hope you like it.

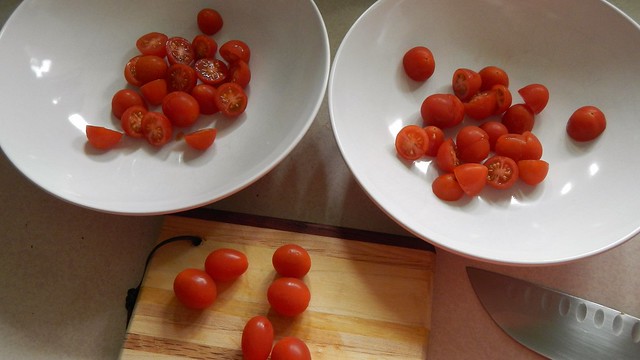
Start with some tomatoes, naturally. I’m using grape tomatoes here but you can use whatever you have.

Tomato Mint Salad 1

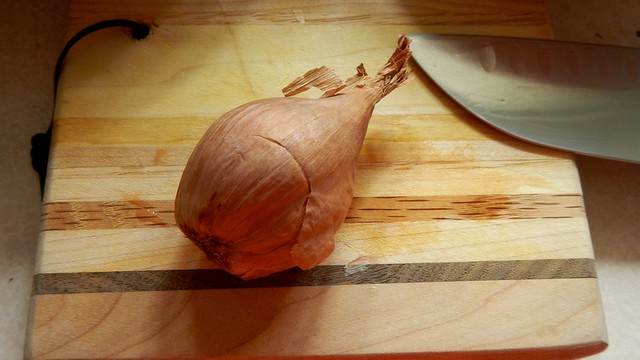
Then, finely chop up an onion. This is a shallot. A red onion would also be nice.

Tomato Mint Salad 2

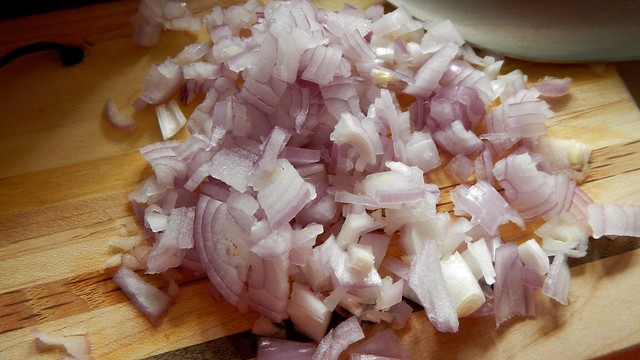
Nice and small. We want the IDEA of onion rather than holy-wow-there’s-a-lotta-onion-in-this.

Tomato Mint Salad 3

Grab some mint. I grew this monstrosity from three stalks I got out of a box at the grocery store.

Tomato Mint Salad 4

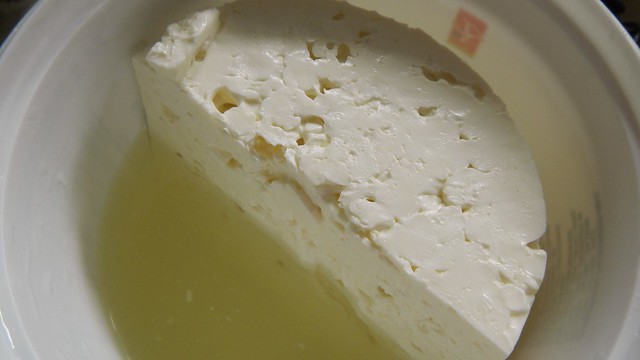
Crumble up some nice firm feta cheese.

Tomato Mint Salad 5

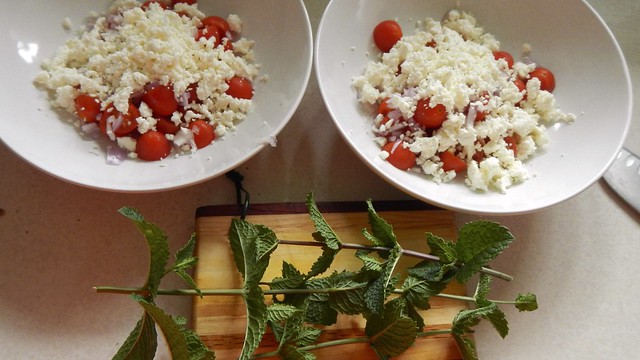
Assemble!

Tomato Mint Salad 6

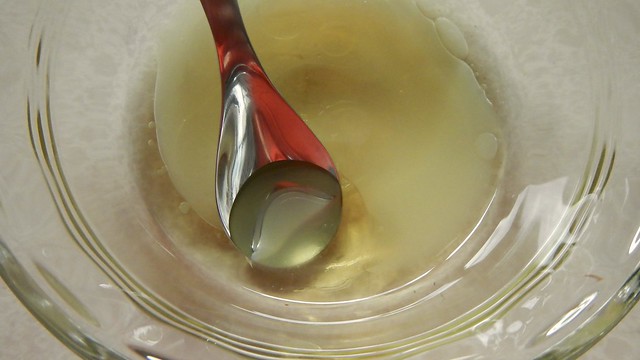
I made a dressing out of grapeseed oil, honey, and a bit of lemon juice, and drizzled it over the whole shebang.

Tomato Mint Salad 7

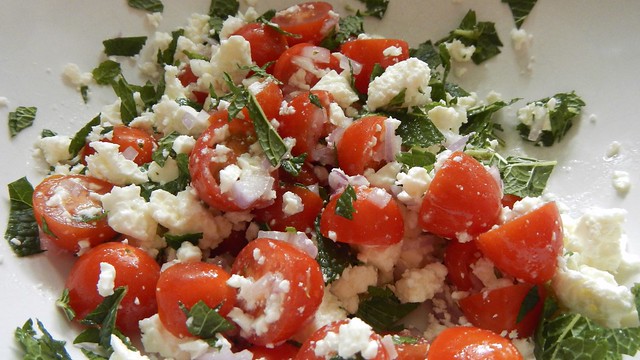
It was lovely!

Tomato Mint Salad 8

Fast-Tip Friday: The Salad Roll

20150420_174604

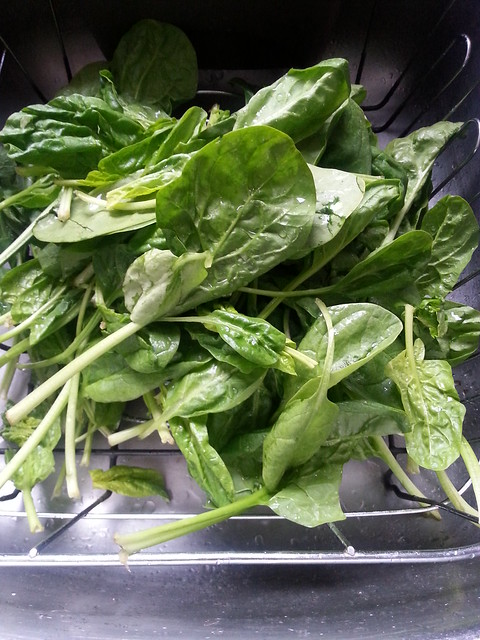
If you haven’t seen this little trick before then I’m super pleased to be able to be the one to show it to you. One of our issues when we make salads or deal with fresh greens is that we always have way too many and they get all gross after just a few days. So one of the tricks we picked up in Newfoundland (the land of rotten vegetables) is this: the salad roll.

So you take your greens, spinach, lettuce, whatever, and you give it a good wash and a bit of a shake (so that there’s still some water on the leaves).

20150420_174458

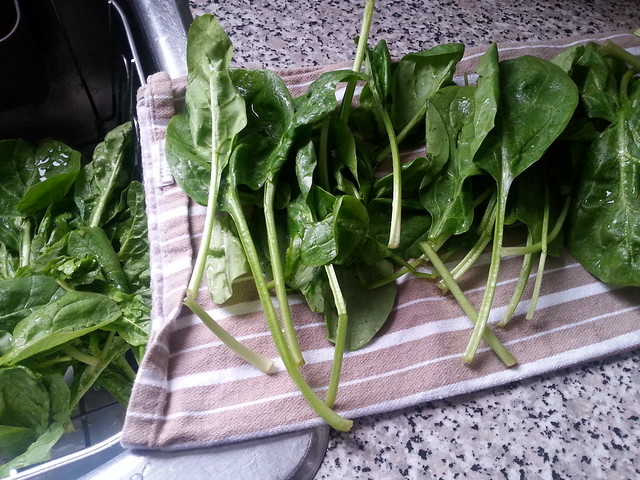
Then you lay it out in a thin layer along the length of a clean dish towel.

20150420_174534

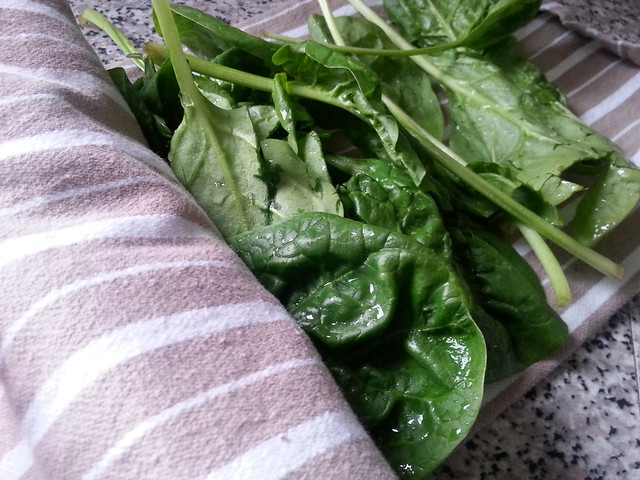
And you roll it up. Not too tightly. But tight enough that the leaves aren’t slidingĀ around in there.

20150420_174551

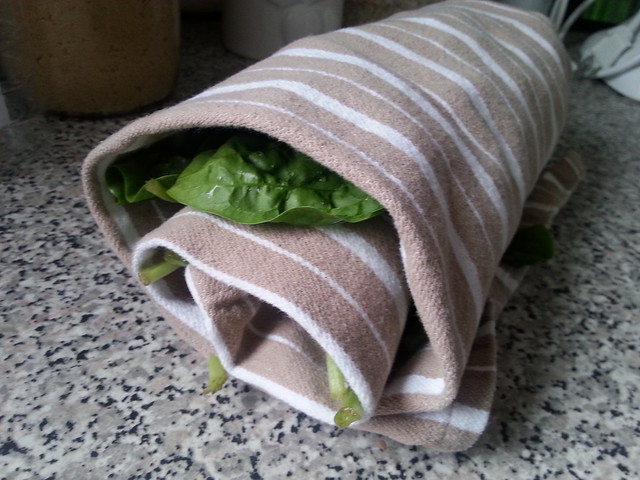
Then you can toss this in the fridge and your greens will last so much longer!

20150420_174602

Watermelon and Feta Salad

Watermelon Salad 15

Mrs. Nice made this delightful dish for us when we were over for lunch last week and it really hit the spot during that blasted heat wave. She learned it from a man at the grocery store who had been setting out samples and she was immediately hooked. Ā After tasting it, so was I, and so I made it for a further lunch (on my family’s side) the following weekend.

A note in advance: keep all your ingredients chilled and separate until just before serving or everything will go mushy.

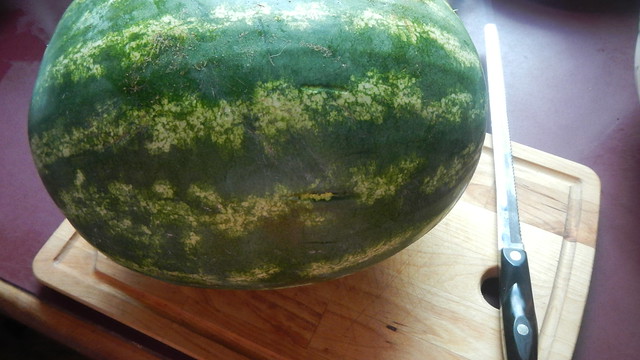
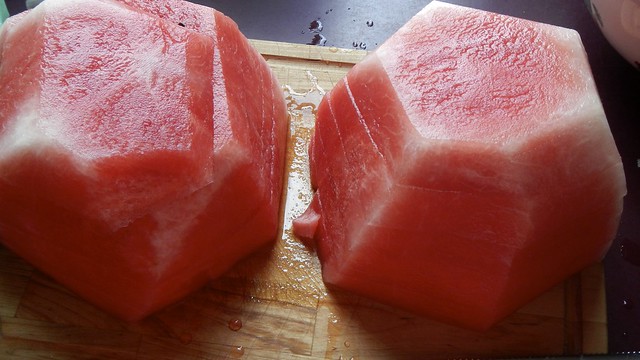
Start with a decently-sized seedless watermelon (or mostly seedless, as was the case here).

Watermelon Salad 1

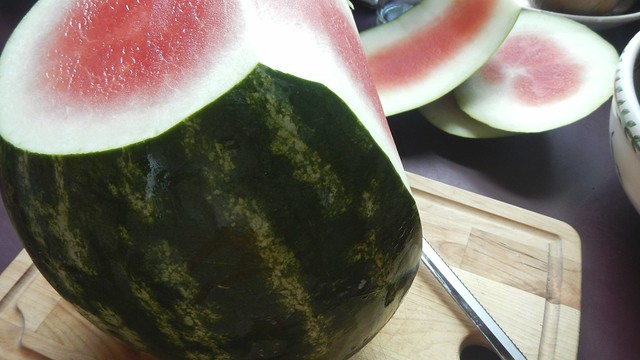
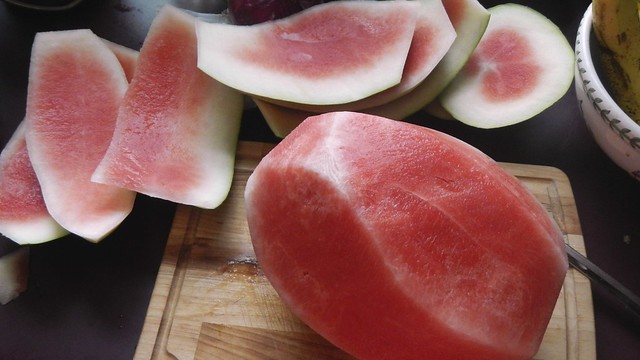
Crack that puppy open by cutting off the ends and paring off the rest of the rind.

Watermelon Salad 2

Watermelon Salad 3

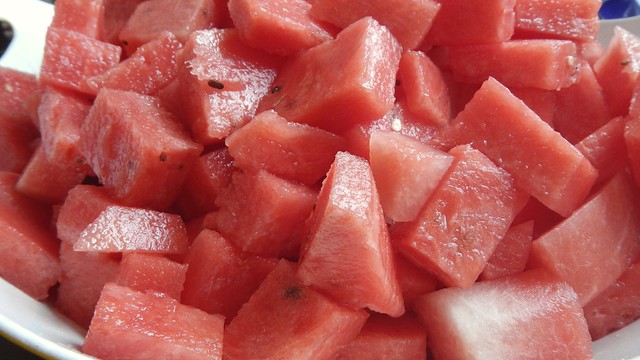
Cut it into slices and then chop those up into cubes and chuck them in a large bowl.

Watermelon Salad 4

Watermelon Salad 5

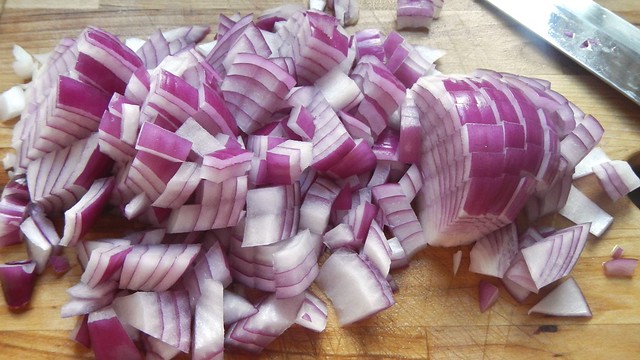
Chop up as well a large red onion. Ā That can be pitched into the bowl as well. Ā You might want to start tossing the ingredients together with your hands so you don’t destroy the watermelon.

Watermelon Salad 6

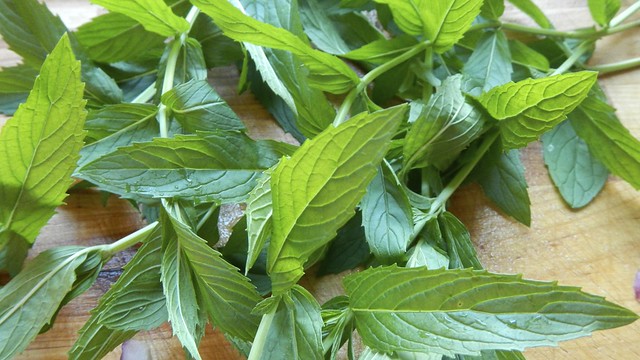
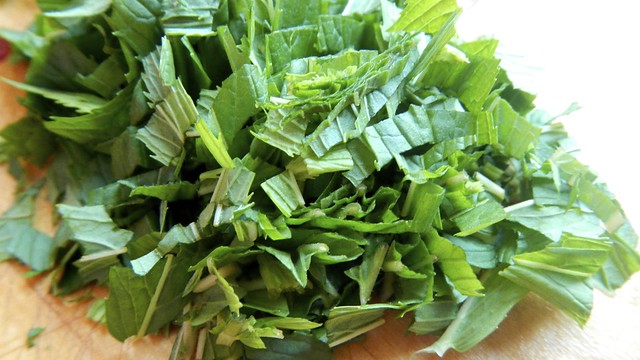
Grab yourself a bunch of fresh mint.

Watermelon Salad 7

Pull off the leaves and chop those up finely as well.

Watermelon Salad 9

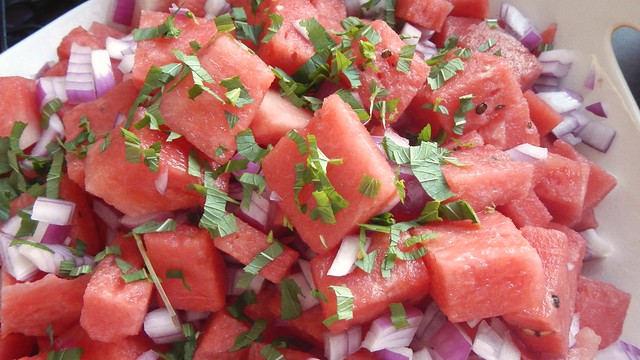
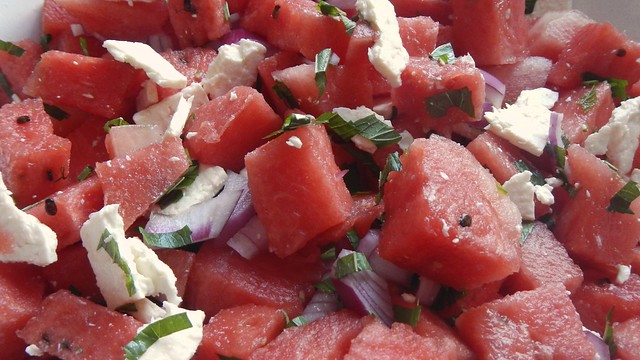
Sprinkle those over your watermelon.

Watermelon Salad 8

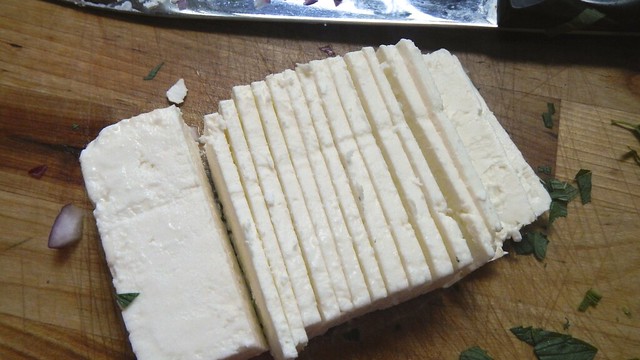
Finally, haul over a good-sized hunk of firm feta cheese and cut that up as finely or as coarsely as you like.

Watermelon Salad 10

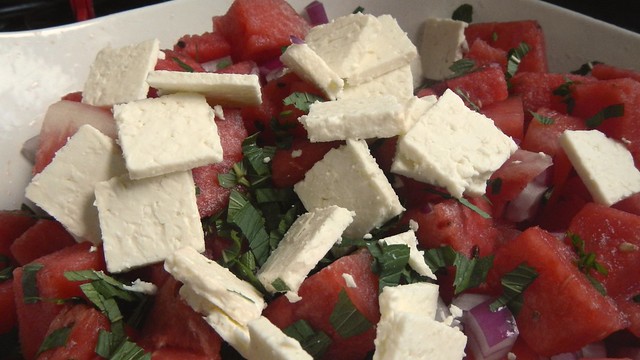
Dump that in the salad as well and toss to mix it all up.

Watermelon Salad 11

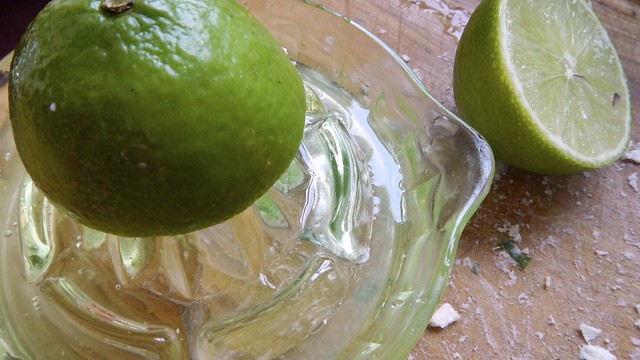
Juice a lime and pour the juice into a bowl.

Watermelon Salad 12

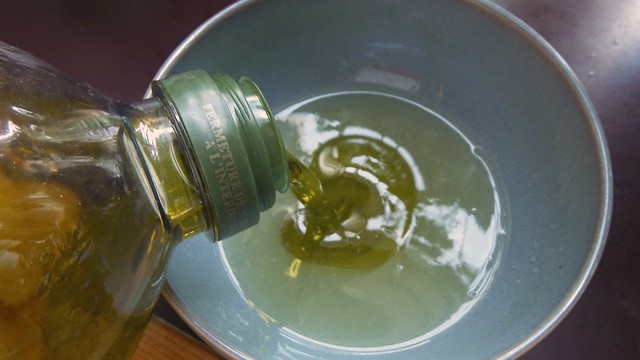
Add in about 1 tablespoon (a glop) olive oil and whisk to emulsify.

Watermelon Salad 13

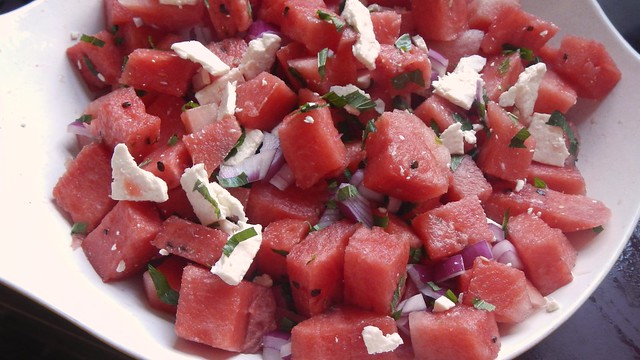
Drizzle that over your salad and eat it all up!
Watermelon Salad 14

Rice Pilaf with Tomatoes

Pilaf with Tomatoes 14

I’ve been on a pilaf kick recently, ever since I had one at the Savoy last week and I can’t even deal with how good it was. Ā They’re really easy to make, too, just a few extra steps more than plain Jane rice. Ā Why not? This version serves 6 comfortably, with leftovers.

Pilaf with Tomatoes 1

I had half a 28oz can of diced tomatoes in the fridge as well as some shallots left over from probably Christmas so I figured I’d do something to use them up and take advantage of my overstock of Trader Joe’s Wild Rice Medley.

Pilaf with Tomatoes 3

I chopped up a handful of mushrooms and shallotsĀ and set those aside.

Pilaf with Tomatoes 2

Then I dumped a hunk of butter and some olive oil into a skillet and let that melt on medium-high heat.

Pilaf with Tomatoes 4

When it was all melted and foamy I tipped in 2 cups wild rice medley (you can use whichever rice you wish, of course). Ā I had a bit of black rice hanging around as well so I chucked that in too.

Pilaf with Tomatoes 5

Stir that around until it gets all coated with butter. Ā You’re basically toasting it here, so you want it to get a bit brown and smoky.

Pilaf with Tomatoes 7

Now you can add in your vegetables and stir them around a bit.

Pilaf with Tomatoes 8

I left the tomatoes until last because I wanted the onions and mushrooms to soften a bit.

Pilaf with Tomatoes 9

Now you add your stock. Ā Any stock you like. Ā Just make sure that it works according to your rice’s cooking directions. Ā This rice requires 2 1/2 cups liquid for every cup of rice. Ā I had 4 cups broth in my little carton here, plus a cup of liquid in the tomatoes.

Pilaf with Tomatoes 10

Give that a stir, then cover it and let it simmer for the allotted time given in the cooking directions (with mine it was 40 minutes). Ā I stirred mine occasionally, but only because I’m paranoid about burning rice. Ā I’m really good at burning rice.

Pilaf with Tomatoes 11

When it’s cooked take the lid off and remove it from the heat and let it sit for about ten minutes.

Pilaf with Tomatoes 12

We served ours next to a bed of greens and topped with a pan-seared half chicken breast. Ā It was lovely!

Pilaf with Tomatoes 16

Chicken Orzo Salad

Chicken Orzo Salad 10

The Pie’s parents, Mrs. Nice and Papa John, are in town on a visit for the Pie’s graduation (B.Sc. Honours in Geography and Computer Science, booyah), so I get a good number of opportunities to cook new things that I think might appeal to them. Ā This one I made with Mrs. Nice in mind, and reminds me somewhat of that amazing orzo salad we had at Ferryland a few years ago.

Chicken Orzo Salad 5

Chicken Orzo Salad 2

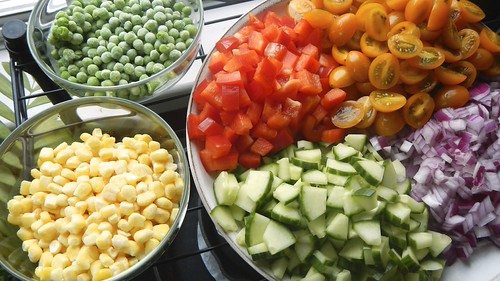
Prep your vegetables. Ā Dice up half a large red onion, 1 red pepper, and half a large cucumber (I cut out the seeds). Ā I also halved 250g grape tomatoes and defrosted 1 cup each frozen corn and frozen peas.

Chicken Orzo Salad 3

Prep your dressing. Ā In a small jar (or other container with a lid), dump 1 tablespoon minced garlic, 2 teaspoons dried savoury (or basil, or oregano, or whatever you want), 2 tablespoons lemon juice, 2 tablespoons honey, 3 tablespoons rice vinegar, and 3 tablespoons vegetable oil.

Chicken Orzo Salad 7

Close the lid tightly and give that a shake. Ā Let it sit for a while.

Chicken Orzo Salad 8

Fill a large saucepan with about 4L of water and salt it generously. Ā Put it on to boil. Ā When it’s boiling, remove the lid, turn the heat down a bit, and pour in 450g orzo pasta.

Chicken Orzo Salad 6

While that’s on the go, cut up about 3 boneless skinless chicken breasts into small cubes and Ā pitch those in a frying pan or skillet with a bit of vegetable oil.

Chicken Orzo Salad 9

SautĆ© those until fully cooked and browned on the outside. Ā Remove from the heat.

Chicken Orzo Salad 14

Drain your orzo and plop it in a big bowl. This bowl was not big enough.

Chicken Orzo Salad 20

My peas and corn were still a little frozen so I added them to the still-hot chicken pan to let them thaw properly.

Chicken Orzo Salad 17

Then I chucked in the rest of the vegetables and stirred that around.

Chicken Orzo Salad 18

Then you just add your veg to your pasta. Ā Give that a good stir.

Chicken Orzo Salad 21

Give your dressing another shake and toss that with all the rest of your salad (don’t worry about the amount — it will be absorbed into the pasta) and serve warm or cold.

Chicken Orzo Salad 22

A Little Lettuce Trick

Lettuce Trick 5

I’m sure you all knew this, but I didn’t. Ā I missed out the day that they taught life hacks in class. So I thought this one was nifty.

For some reason the Pie and I don’t really eat a lot of lettuce. Ā We need one or two leaves of it every once in a while, but if we buy a whole head, no matter how many different ways we try to preserve it, it goes bad. Ā I mean, this is Newfoundland, after all.

But I learned, from the internet, that you can re-plant your lettuce stubs and grow new leaves. Ā Novel.

So I have a lettuce stub here, which I’ve left to sit in a bowl of water on my windowsill for a week.

Lettuce Trick 1

You can see that already a new baby leaf is growing out of the stub.

Lettuce Trick 2

And on the bottom it’s all swollen and weird. Ā I suspect these will become roots.

Lettuce Trick 3

So now you plant it. Stick it nicely in potting soil with good drainage. And set it somewhere sunny.

Lettuce Trick 4

And wait for your lettuce to grow. Ā Again. And it will!

Russian Potato Salad

Russian Potato Salad 20

One day, way back in December, it was brisk and sunny in St. John’s, and then by the afternoon it looked like this:

Russian Potato Salad 1

Fortunately, a few days after that, we had a rare sunny day, where the light poured into my kitchen even into the afternoon (which, considering my windows face north and east, is amazing).

Russian Potato Salad 22

But BAM. Ā It was that alluvasudden-it’s-winter phenomenon that seems to happen to many Canadian cities. Ā I was preparing for a pre-holiday potluck and KĀŖ had just informed me (online from tropical Kansas) that KĀŗ had gotten a job in Russia and that they were moving back there in February, and taking Il Principe and the Incredibly Little Hulk with them (not like they would have left them behind, of course).

Russian Potato Salad 4

Having recently read Sasha’s recipe for Russian Potato Salad (or Olivier Salad) over at Global Table Adventure, I thought that it would be fitting for me to make this easy and cheerful salad for our holiday potluck (and I definitely left a substantial chunk of it with KĀŗ when we left for Ottawa). Ā So this one’s for you, the Russians-who-formerly-lived-downstairs. Ā ŠŸŃ€Š¾Ń‰Š°Š¹Ń‚Šµ Šø уŠ“Š°Ń‡Šø.Ā  Have a safe trip!

First, we boil.

Plop 4 large eggs into a pot of water, bring that to boil, then turn the heat off and let that sit with the lid on for about 20 minutes. Ā In another pot, boil up 3 large carrots and 2lbs potatoes. Ā Boil them until they’re just tender, not mushy. Ā Rinse them with cold water to cool them down and then peel them. Ā It may sound tricky, but it’s actually easier.

Then, we chop. Gren helped/cleaned the floor.

Russian Potato Salad 10

Chop up those eggs quite fine.

Russian Potato Salad 9

As well as 3-4 large dill pickles. Ā Make those into tiny cubes.

Russian Potato Salad 7

In fact, cube everything, your potatoes, your carrots, as well as 1lb cooked ham. Ā You’ll also want about 2 cups peas (I used frozen), but you don’t need to chop those. Ā That would end badly. Ā I also chopped up those green onions I’d been saving.

Russian Potato Salad 14

Mix all that cheery goodness together and season with salt and pepper.

Russian Potato Salad 16

I also decided that potato salad isn’t potato salad without some paprika. Ā This is a sweet smoked variety from Spain.

Russian Potato Salad 17

Then you slather on the mayonnaise, about 1 cup to 1 1/2 cups, depending on your preference. Ā Only dress the salad you plan to eat, as it will get soggy after a while.

Russian Potato Salad 18

Tasty!

Poached Pears

Poached Pears

This is another recipe I borrowed from Caroline over at The Wanna be Country Girl, who in turn got it from David Leibovitz, one of my favourite chefs. Ā I may have borrowed a few of his recipes myself on a few occasions.

Poached Pears

Fall is the time for apples and pears, and delicate pears lend themselves well to a gentle poaching. So cut up 4 firm, ripe pears. Ā These are Bartletts, I think — I got them at Costco. Ā They could be Anjou. There was a big pile and they were all messed around, and I’m not that good at fruit identification. Quarter, core, and peel the pear pieces and plop them in a large saucepan.

Poached Pears

Slide in 1 sliced lemon, 2 teaspoons vanilla extract, and 1 1/3 cups granulated sugar. Pour 1 quart (1 litre) water over the fruit.

Poached Pears

Cut a square of parchment paper, fold it into quarters, and cut a hole from the centre.

Poached Pears

So when it’s unfolded you have a hole in the middle. Ā This will let the steam out.

Poached Pears

Tuck the parchment paper into the saucepan and bring the fruit to a simmer for 25 minutes.

Poached Pears

Then I removed the fruit to cool slightly and turned up the heat on the remaining liquid to reduce it to a syrup.

Poached Pears

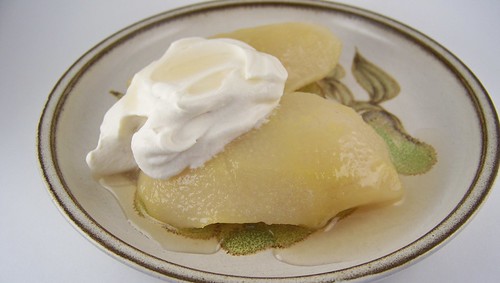
As we had clafoutis for dessert that night, we let the pears cool and had them for breakfast the next day, with their own syrup and a daub of whipped cream.

Poached Pears

Amazing on top of pancakes! Ā Try the pears in sandwiches and salads, too.

Poached Pears

The Chicken Salad Sandwich to Convert the Non-Believers

When the Pie and I first started dating, we both had a lot more money than we do now (read: we have NO money now, and then we HAD money).Ā  So we used to go on these elaborate dates, which were so much fun.

On this one in particular, it was my turn to plan.Ā  We started out picking raspberries from a local farm (where I got bitten by a dog and I still have the scar, seven years later, but that’s another story), followed by a picnic lunch in a village park, a game of mini-golf (where I soundly beat the pants off the Pie), a nap, and then a late dinner at a fancy restaurant downtown.Ā  A good time was had by all.

But this story is about the picnic.Ā  As I said, we had only been dating a few months, and I wasn’t yet fully versed on the Pie’s various food likes and dislikes (he insists he’s not a picky eater, but the rest of us look at each other and shake our heads).

To impress my new man, I had prepared a sumptuous picnic feast, featuring as a main course my signature chicken salad sandwiches with moist, tender chicken, crisp celery, and just a hint of spice.

It turns out that the Pie didn’t like chicken salad.Ā  Note that I said “didn’t.”Ā  He gallantly took a bite of the sandwich, to be polite (after all, I had made him two sandwiches in anticipation of his appetite).Ā  Instantly, he was converted.Ā  Now he gets chicken salad all the time when he buys sandwiches.

So here is that recipe for you.Ā  Go forth and proselytize!

We had 2 boneless, skinless chicken breasts that we’d poached the day before. Ā The trick with chicken salad is to minceĀ your chicken. Ā Most chicken salads have these huge chunks of chicken in them, which, while tasty, tend to fall out of your sandwich all over the place.

So MINCE those suckers.

Also mince up a few stalks of celery.

I like the bottom of celery bits. Ā It’s like a green flower.

Mix the celery into the chicken.

Now add about a teaspoon of paprika, and 2 teaspoons chili powder. Ā You can add more if you like the taste.

Glop on about 2/3 cup mayonnaise (don’t skimp here, people, and use real mayo).

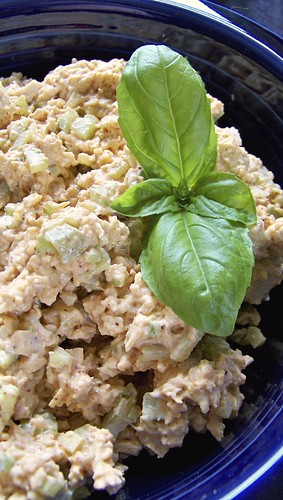
Mix that stuff up. Ā Garnish with a festive sprig of basil and you have yourself some salad.

Which you can then put into sammiches. Ā Which you can then eat.

Have you ever converted anyone to a food?

Japanesey Dinner with Doodle

Hooray!Ā  It’s our 200th post!

I am fortunate to have three best friends (and yes, the superlative applies to all of them).Ā  You’ve already met Cait and Chel, and now I would like to introduce you to Doodle (she’s not that fond of the nickname but she used to call me Poo so she’ll just have to suffer).

When she was home from Chicago for Christmas, she got her mother, who is Japanese, to teach her how to make gyoza, a crispy-fried dumpling, basically the Japanese version of a pot sticker.Ā  With her new-found knowledge she came over to cook dinner for my parents and the Pie and myself.Ā  And we were all so very glad she did.

For a very short person and a very tall person, Doodle and the Pie make a good cooking team.

To accompany the gyoza, Doodle decided on a simple green salad and miso soup, with rice on the side.

For the soup:

I’m sure you remember my earlier attempt at miso soup with an Atlantic flavour.Ā  I can assure you that this is the real deal.

Start a pot of water boiling, with as much liquid as you will need to feed all your hungry mouths.
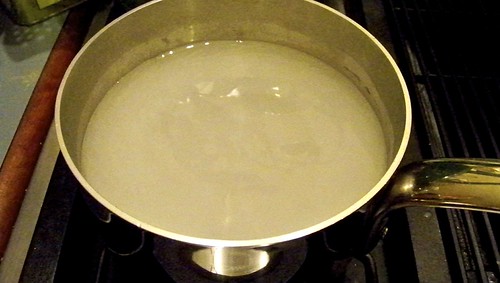
Grab yourself some miso.Ā  This particular miso was made BY HAND by Doodle’s mother, so it was extra good.

Add the miso bit by bit to the boiling water, until you have achieved the desired consistency and taste.Ā 

An important ingredient is dashi, a sort of fish powder.Ā  Sorry my picture here is blurry.Ā  Add a couple of shakes of that.

And some seaweed.Ā Ā  It’s amazing, considering what’s in this particular soup, that the Pie drank his all up in a jiffy.

Cube some tofu and add that in as well.

Doodle informs me that you can keep whatever tofu you don’t use right away in your refrigerator, as long as it’s submerged in clean water, which you will need to replace every day.Ā  The more you know.

Keep adding things until it tastes good to you.

When you are ready to serve, pour your soup into bowls that will fit easily into your hand (miso soup is a good drinking soup) and garnish with chopped green onion.

For the salad:

On Doodle’s instructions I gathered equal amounts of broccoli, asparagus, and green beans, and chopped them into pieces manageable by chopstick.

Gently steam your vegetables in a pot of simmering water.

Drain and rinse the vegetables in cold water.

Dress with a mixture of soy sauce (Doodle’s mom prefers the sushi soy sauce for its sweetness), rice vinegar, sesame oil, and garlic powder, to taste.

For the dumplings:

This is Doodle chopping up Asian chives.Ā  I’m sure any kind of chive is good.

She then added them to about half a red onion, chopped finely, in a bowl.

Add to that about a cup each of ground pork and lean ground beef.

Maybe a spoonful each of minced garlic and minced ginger.

Doodle then chopped up some green cabbage. Then she mulched the cabbage in a food processor.

Adding the cabbage to the meat and onions, she mixed it well with her hands.

Now comes the fun part.

On your workspace, place the bowl with the meat mixture and a spoon for scooping it up, a plate for the finished dumplings, and a small bowl of warm water.

For these dumplings you need the round dumpling wrappers.Ā  Doodle tells me that the square ones don’t work as well, and, also, that the dumplings can be frozen and used later, though they are slightly more sticky when thawed.
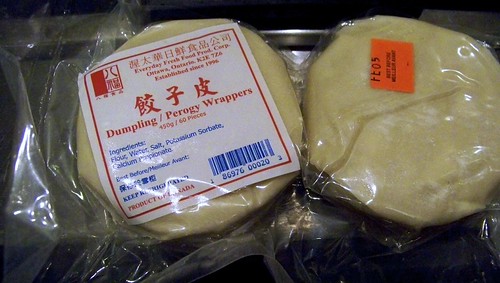
Place a wrapper in the palm of your hand.Ā Ā 

Take a spoonful of meat mixture and place it in the centre of the wrapper.

Dip a finger from your other hand in the water and use it to draw a line around the edge of half the wrapper.

At the edge of the wrapper, where the wet line meets the dry wrapper, pinch the two sides together, just at the edge.Ā  Then pull the rest of the wet side of the wrapper over slightly and pinch it onto the dry side, making a pleat.Ā 

Continue until you reach the end, so that one side of your dumpling edge is smooth and the other is pleated.Ā  This will make sure that the dumplings stay upright when they are cooked.Ā  Make sure to seal the edges well, using more water if you have to, in order to ensure a good seal.

Keep doing this until you either run out of dumpling wrappers or filling material.Ā  You can see that expert Doodle has created a plate of perfect dumplings.

This is the plate that the Pie and I made.Ā  Not quite so perfect.Ā  Of course after they were cooked you couldn’t tell the work of us newbs from that of the professional so it’s all good.

Now take a large non-stick frying pan with a lid that fits.Ā  A wok won’t work because you need the bottom to be flat.

Put a few teaspoons of oil in the pan and heat it to medium-high.Ā  Place your gyoza into the pan so they are all sitting upright and let them sizzle for a few minutes.

Fill a cup with water and add a teaspoon or two of flour.Ā  Mix it well.

Pour the flour water into the bottom of the pan and cover the pan with the lid.

Let the dumplings cook like that until all the water is gone and the flour has formed a sort of crispy net on the bottom of the pan.Ā 

Use chopsticks or a spatula to loosen the dumplings from the pan.

Place a plate on top of the dumplings.

Flip the pan so all the dumplings end up on the plate. Some may still end up in the pan.Ā  Some may end up on your floor.Ā  It’s anyone’s guess.

See how they’re all lovely and crispy brown?

Mix up some soy sauce and rice vinegar.

Pour it into a dipping bowl for your dumplings and serve everything with some rice.

Enjoy it thoroughly.

There was nothing left of this lovely repast, as you can see.Ā  I can’t wait to do it again!