Yet Another Spider-Man Cake

The Pie’s crowning achievement in life (in his mind) is having gotten the General addicted to Spider-Man (or “Pydermun” as the General says). So when Atlas asked me to make a cake for the General’s second birthday party, we all knew what the theme would be. I made a cake for the Pie a year back with an arachnid theme so I was pretty confident I could replicate my awesomeness. The resulting decoration, due to some recalcitrant icing, was a little underwhelming but boy the cake was good – it disappeared within about twenty minutes!

Spider-Man Strawberry Cake

The cake itself is pretty easy. I adapted a simple yellow cake out of the Joy of Cooking and decided to tip in a bunch of strawberries, too.

Spider-Man Strawberry Cake 1

So I washed and cut up about a pint of the little red gems, and made sure that they were in decently small pieces.

Spider-Man Strawberry Cake 3

Then I buttered and lined a 9″ x 13″ baking pan with parchment paper. This cake is very moist and fragile so you need some help tipping it out of the pan and the paper helps. You can preheat your oven to 350°F as well while you’re at it.

Spider-Man Strawberry Cake 4

If you don’t have any buttermilk on hand, then whip up this quick substitute: add 1 tablespoon lemon or lime juice to a 1 cup measuring cup and fill the rest with milk. Stir and leave for 5 minutes. Set that aside for now.

In a bowl, sift together 2 1/3 cups flour with 1 1/2 teaspoons baking powder and 1/2 teaspoon baking soda. Set that aside and grab your mixer.

Spider-Man Strawberry Cake 2

In the bowl of your mixer, dump 3/4 cup softened butter and whip that into a pale fluffy frenzy for like three minutes.

Spider-Man Strawberry Cake 5

Now tip in 1 1/3 cup sugar and beat again until you have a fluffy amazing pile of salty sweet buttery goodness.

Spider-Man Strawberry Cake 6

Now add in 3 large eggs, one at a time, as well as 2 teaspoons vanilla extract, and beat until fully combined and smooth.

Spider-Man Strawberry Cake 7

Grab your flour mixture and your 1 cup buttermilk (or substitute) and alternate adding them to the mix, stirring each time. Start with the flour, so you have three additions of flour and two of buttermilk, and go until it’s all smooth and batter-y.

Spider-Man Strawberry Cake 8

Dump in your 1 pint chopped strawberries and stir those in well.

Spider-Man Strawberry Cake 9

Spider-Man Strawberry Cake 10

Smooth the batter into the pan and bake for about 45 minutes, until a toothpick inserted in the centre comes out clean. Set that on a rack in the pan to cool completely.

Spider-Man Strawberry Cake 11

Spider-Man Strawberry Cake 12

Make yourself some icing – your choice, but I prefer the standby cream cheese recipe of 1 cup butter:1 package cream cheese:3-4 cups icing sugar. I tipped in some almond extract to boost the strawberry flavour, and then dyed it appropriately with gel paste food colouring.

Spider-Man Strawberry Cake 13

Spider-Man Strawberry Cake 14

Spider-Man Strawberry Cake 15

I actually ran out of red colour so the background ended up a wee bit pink.

Spider-Man Strawberry Cake 16

And the black stuff got super wobby when I was piping it so it didn’t look so hot. However I did manage to get the floppy cake onto the lid of a tupperware container before decorating so it was a simple matter to simply jam the bottom on top for easy transport!

Spider-Man Strawberry Cake 17

Ivy Vanilla Wedding Cake

On Saturday my best friend Chel got married.

My wedding present to the lovely couple was their wedding cake, which they wanted to be vanilla flavoured, white on the outside, and have ivy trailing over it.

I practiced ahead of time.  I got the recipe down with the Pie’s birthday cake last summer.  Then I worked on my fondant technique with my own birthday cake, and adapted the fondant flavourings with the moose cake.  I even made my own vanilla for the occasion.Was I ready for this?  I had never made a wedding cake before.  Chel  wanted it simple, but a wedding cake is still a definite challenge.

First I had to figure out how much cake I needed.  I had an 8″ springform pan, an 11″ springform pan, and then a gigantic 16″ aluminum pan (which I think my father now covets).  So I did some mental math and decided to quadruple the recipe that I had for the Pie’s birthday cake and go from there.

That’s a lot of cake.

Four kilograms of icing sugar, 2 of white chocolate.  Two litres of whipping cream.  One and a half pounds of butter and the same in shortening.  Two kilos of cream cheese.  Sixteen eggs.  Two bags of flour.  Lots of mixing.

I gave myself three days to make this cake: the first day to do the actual baking and prepare the decorations; the second day to ice the cakes, and the third day to put the cake together.  So that means you get to have three days of posts, because otherwise you’d be reading the world’s longest essay on cake.  I gotta break it up a little.  Shall we begin?

DAY ONE:

Preheat your oven to 350°F.

Butter your pans generously and dust them with flour, knocking out the excess.Of course, the whole selling point of a springform pan is it makes removing cake from it so ridiculously easy.  Unfortunately, you’d be hard pressed to find a springform pan bigger than 12″ in diameter.  So for the 16″ pan, which wasn’t springform, I had to cut out a circle in parchment paper for it and then butter and flour that as well.Separate 12 eggs and bring the whites to room temperature.  Save the yolks for making custard.

Then you want to do some sifting.  A lot of sifting.  More sifting than you actually want to do, to tell the truth.  I started out with a regular sifter.Then I got bored and my hand got tired so I switched to a fine mesh sieve instead.  In any case, sift together 13 cups flour (I used cake and pastry flour because it’s fortified with a bit of cornstarch, which helps you maintain volume in your cake) with 4 tablespoons baking powder and 4 teaspoons baking soda.  The sifting process helps to eliminate lumps and also serves to add a bit of air into your flour, making it lighter and fluffier.  Volume is key.Now set that aside.  In a larger bowl, beat together 2 cups softened butter with 2 cups vegetable shortening until fluffy and creamy.And I’m talking creamy.Add in 7 cups granulated sugar and 1/2 cup pure vanilla extract.

Make sure you’ve also got all those precious vanilla seeds in there too.Beat that up until it’s fluffy, and make sure to scrape down the sides of the bowl.  Now crack in 4 whole eggs and mix that up as well.Okay so this next bit you mix in your flour mixture, as well as 6 cups ice water.  But WAIT.You gotta do it a bit at a time.  You want to add the flour in three separate increments, and the ice water in two.  So you start with the flour, then add water, then flour, then water, and then the rest of your flour.  And that’s how that is done.Once you’ve done all your adding, scrape down the sides of the bowl and just keep mixing for a further minute or so.  Isn’t that lovely and smooth?Now, in yet another bowl, you want to whip up those nice warm egg whites.  Add in 1 teaspoon cream of tartar to firm things up a little and beat the whites until they are at the soft peak stage, shapely but not dry.Plop those whipped whites into your batter bowl.Gently, ever so gently, fold those whites into the batter.  This is what will give you the majority of your fluffy cake.Now distribute the batter between your three pans and smooth the tops.Now we bake.  Unfortunately the day I did this, Ottawa was in the midst of a heatwave.  So this is what I look like when it’s hot and I’m leaning over an oven: hair in pins, shorts, dishtowel tied around my waist, and a jaunty wet scarf on my neck to keep me cool.  Super sexy, I know.

Self-portrait of the baker in a heat wave.

In terms of baking times, I baked the first two tiers for about 50 minutes, until a toothpick inserted in the centre came out clean.   I used a convection oven, so it might take a little longer in a regular oven.  The bottom tier took about 60 minutes to bake, but just keep checking on them to make sure they don’t burn.  The 16″ tier BARELY fit in the oven.When the cakes are all golden-brown and lovely, put them on racks to cool completely.  When they are completely cool, remove them from the pans, wrap them tightly in plastic wrap, and put them in the fridge overnight.  It is much easier to decorate a cold cake than a warm one, trust me.While the cakes are doing their thing, you can make the fondant and frosting, as well as the gum paste for the ivy leaves.

For the fondant, I creamed together 1 cup softened butter, 1 cup vegetable shortening, 2 cups lily white corn syrup, and 6 teaspoons almond extract.When it was all creamy I was ready to add in the icing sugar.By the time I had the texture right, I had added almost 3 kilograms of the stuff (I’m Canadian, so forgive me for switching back and forth between Imperial and Metric.  It’s just what we do).  I had also neglected to take my rings off before I kneaded the stuff.  Shame on me.  Then wrap the fondant tightly in waxed paper and chuck it in the refrigerator overnight.For the frosting, start off by melting 4lb white chocolate, chopped.  I know, it’s a lot.  But it’s necessary.While your chocolate is becoming liquid, cream together 6, 250g packages of cream cheese.Really mix it well to get out all the lumps.Pour in 2 1/4 cups each whipping cream and icing sugar.  Add in 3 teaspoons vanilla extract as well.Whip that extra good until it’s super smooth and creamy.

By now your chocolate should be all melty.Pour that white goodness into your other white goodness and whip it up to create more white goodness.Now put plastic wrap on the surface of the icing and chuck that in the refrigerator overnight.

For the gum paste, I didn’t want to tempt fate (I know my own limitations, folks) so I purchased gum paste mix from a cake decoration store.The instructions on the package are to mix 16oz of the mixture with 1/4 cup water.Then you stir like crazy, eventually using your hands to knead it all in.Then wrap it tightly in a bag and leave it at room temperature for 15 minutes.Now you can dye it.  I used two different shades of Wilton icing colour: moss green and juniper green.It’s a good idea to use gloves when you do this, unless you want green hands.  Apply the colour with a toothpick.   Just remember that a little goes a long way.Then, with gloves on your pretty little hands, knead the gum paste until the colour is thoroughly mixed in.Okay, so now put a bit of spray oil on your rolling pin and roll that sucker out flat.We’re cutting out ivy leaves here, so I thought, what better template than a real ivy leaf?

Cait came over to help me with the cutting out.

First we squished real (washed) ivy into the flattened gum paste.

You can see how the veins show up nicely.

Now we took a sharp pointy knife and cut them all out.

Laid them on waxed paper to dry overnight.

Aaaand … that’s all you get for today.  I don’t know about you, but I’m pooped.  More Friday!

Chocolate Moose Cake

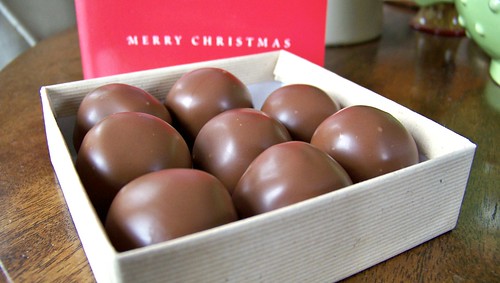
My siblings-in-law Rusty and Mags are arriving today for a couple of weeks.  It’s Rusty’s first time on a plane, so something tells me he’ll need some chocolate when he gets here.  And possibly booze.

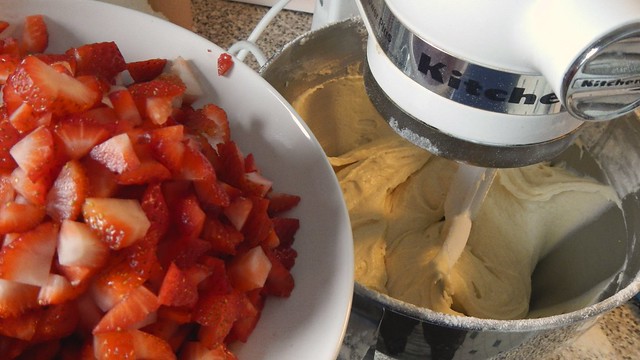
I borrowed the actual cake recipe from here, but everything else I made up on my own.  Make sure you’ve got some time when you make this cake, or at least a list of other things to do.  There’s a lot of waiting around for things to cool.

First, you need a springform pan.  Mine here is 10 inches.  Anywhere around that size should be fine.  You see how it has a little lip on the bottom?

Well, flip that so the lip is facing down and lock it in place.

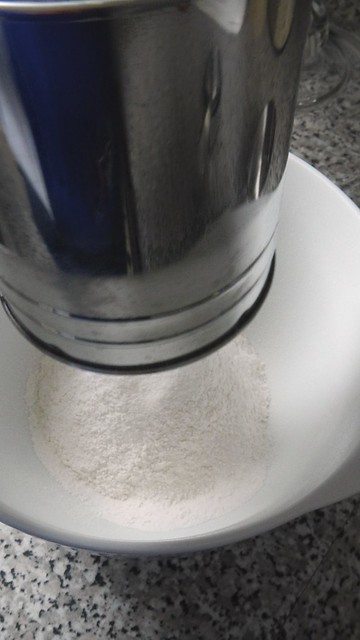
Now butter it like there’s no tomorrow, making sure to fill in all those wee squares, and then dust it with flour.  Knock out the excess and set that sucker aside.

Preheat your oven to 325°F.

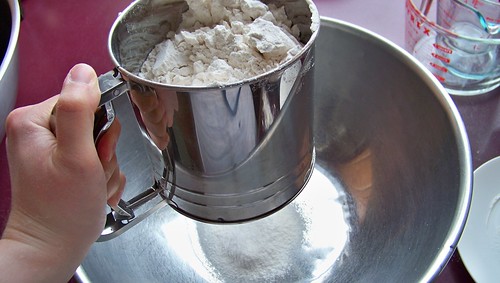
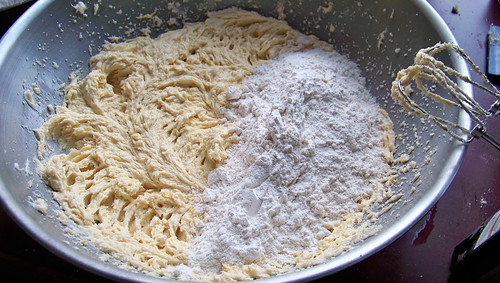
In a large bowl, sift in and whisk together 1 3/4 cups all-purpose flour, 1/3 cup unsweetened cocoa, 1 3/4 teaspoons baking powder, and 1/2 teaspoon baking soda.

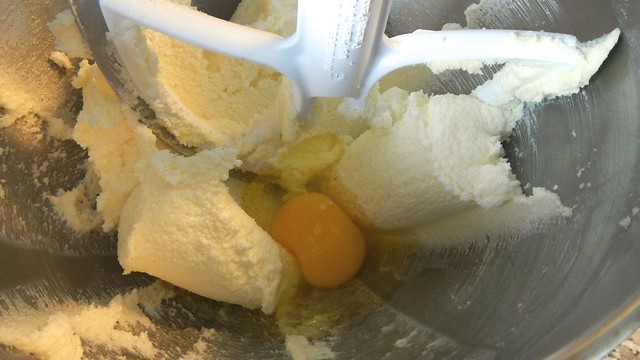
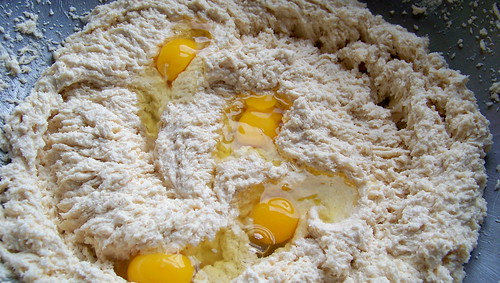
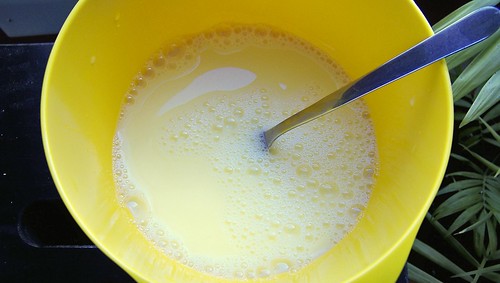
In a small bowl, whisk together 1 cup water and 3 large eggs.

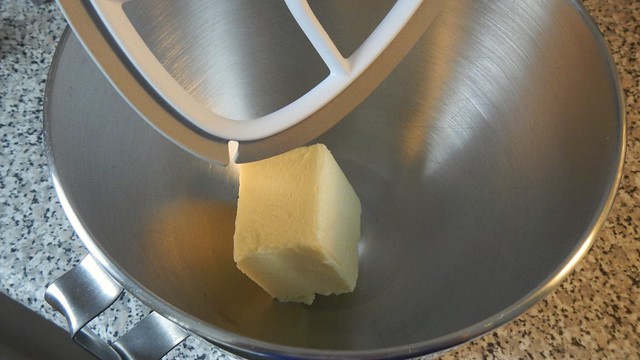
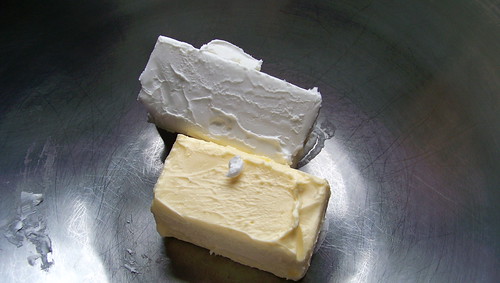
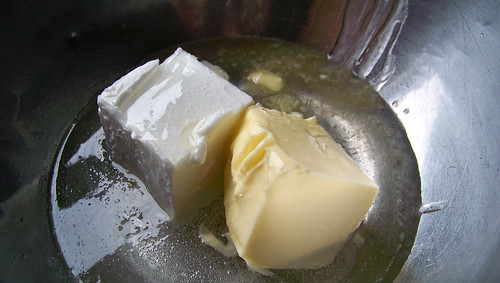
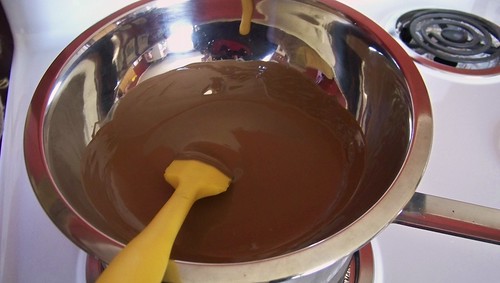
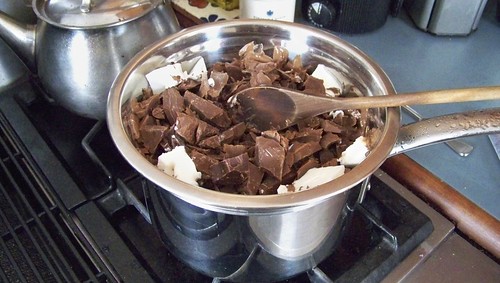
Chop up about 8oz bittersweet or dark chocolate (or milk, if you prefer, it’s your cake — who am I to tell you what to do?).  Melt that in a double boiler with 3/4 cup butter.

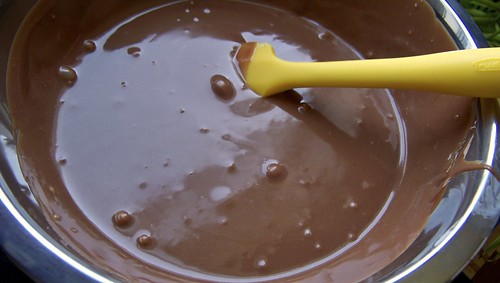
Remove that from the heat and whisk in the egg mixture until it’s smooth and feels like pudding.

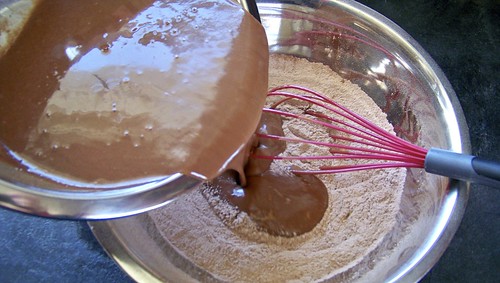
Then whisk all that chocolate goodness into the flour mixture and get out all the lumps.

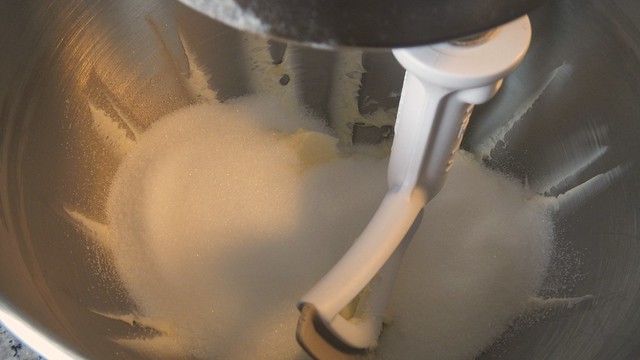
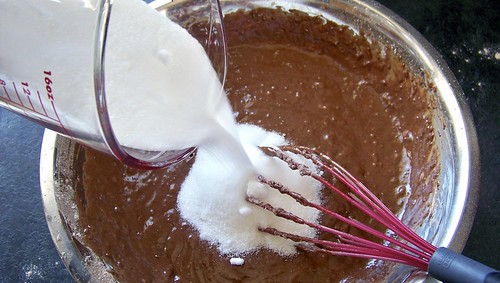
Add in 1 1/2 cups granulated sugar and keep on whisking.  Make sure to rest your whisking hand often, as this is a very whisk-heavy recipe.  How many more times can I say “whisk”?

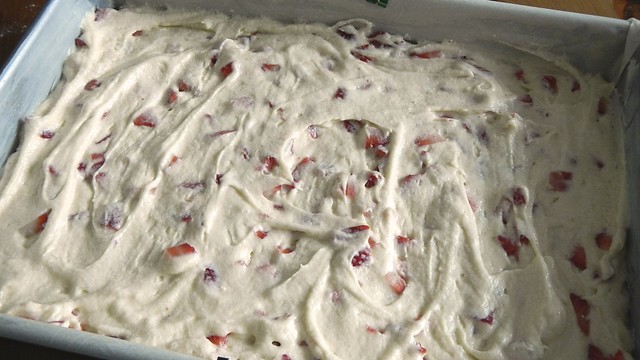
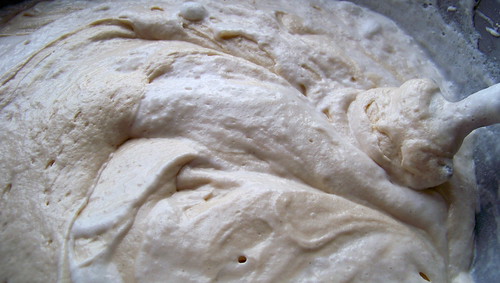
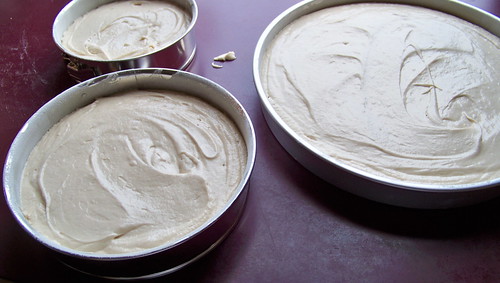
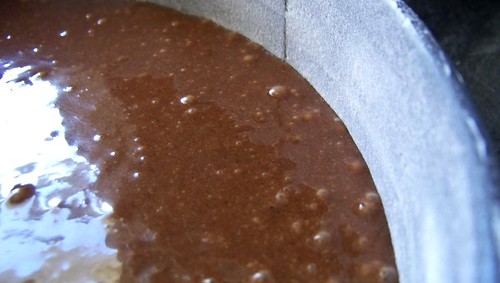
Pour that glop into your prepared springform pan.

Make sure to rap the pan on the counter to get out all those pesky air bubbles.

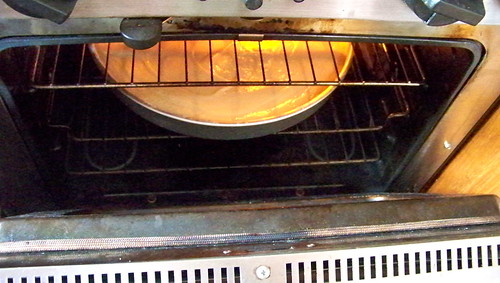
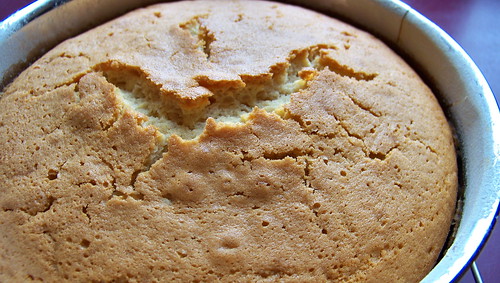
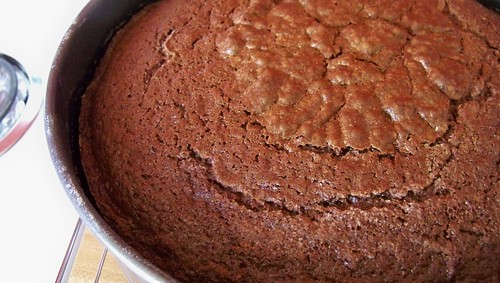
Bake for 75 to 90 minutes, until the cake is starting to pull away from the side of the pan and a wooden stick inserted in the centre comes out clean.

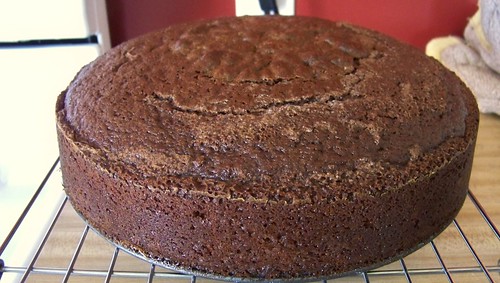
Cool the cake in the pan for 20 minutes, then remove the ring and let the cake cool completely, about an hour.  Once the cake is cool you can carefully remove it from the bottom of the pan.

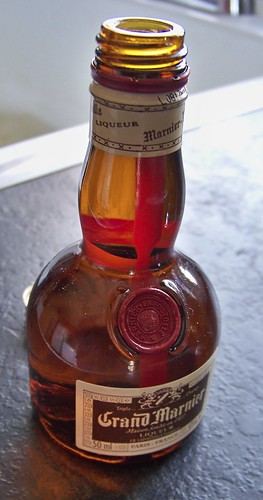
At this point, I brushed the cake with the contents of a wee bottle (50mL) of Grand Marnier, an orange-flavoured liqueur, to keep the cake moist while it awaits the arrival of its consumers.

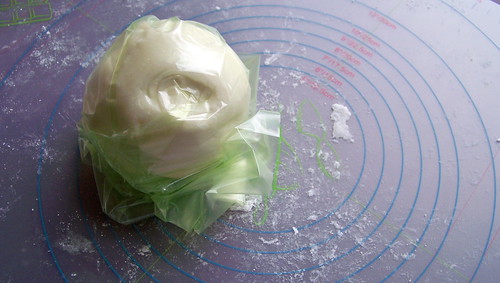
While your cake is cooking and cooling, you can work on your fondant covering.

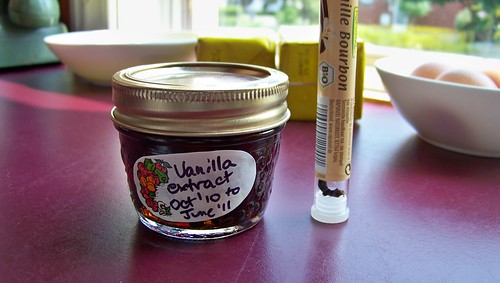
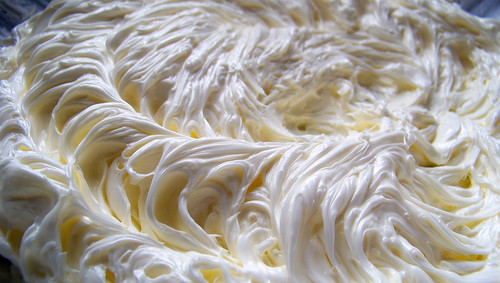
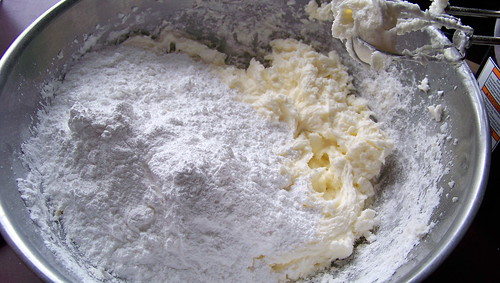
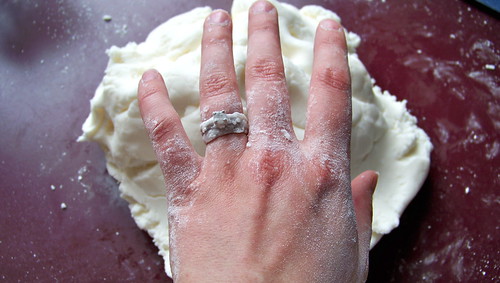
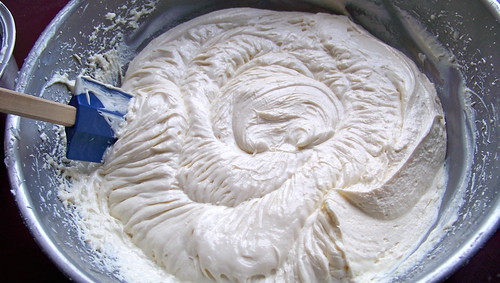
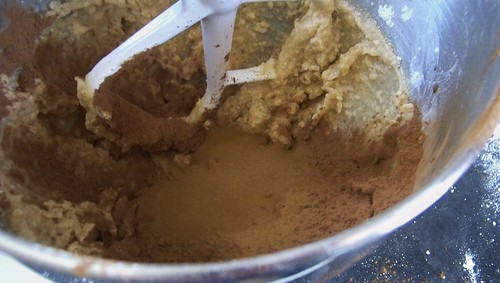
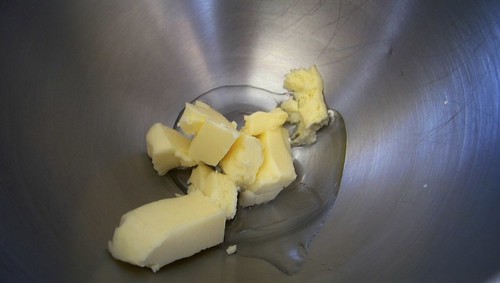
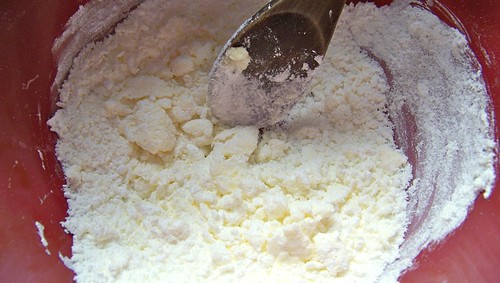
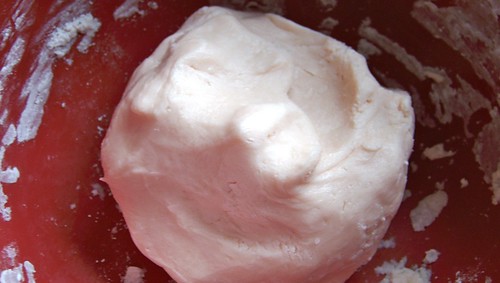
We’re going to do a cocoa-mocha fondant today.  So, in the bowl of your mixer, plop in 3/4 cup butter, softened, 3/4 cup corn syrup, and 2 teaspoons vanilla extract.  Mix that until creamy, then add in 3/4 cup unsweetened cocoa, 3 tablespoons instant espresso powder, and, slowly, so you don’t start an icing sugar mushroom cloud, about 5 cups icing sugar.

You may need to adjust the level of icing sugar until you get the appropriate doughy texture.  You can always knead in more icing sugar with your hands.  Set that aside.  Possibly in the fridge to firm up a little.

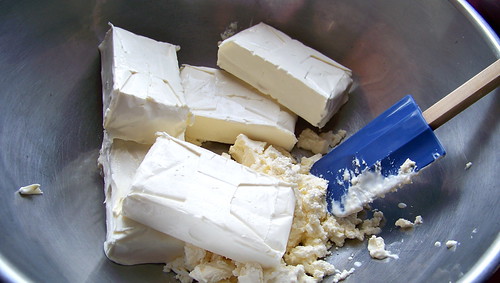
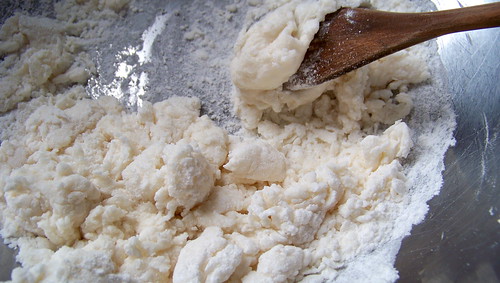
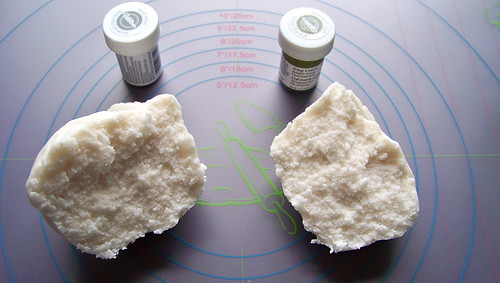
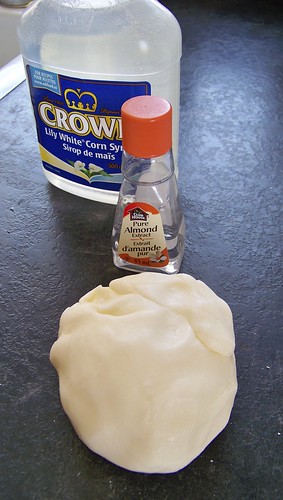
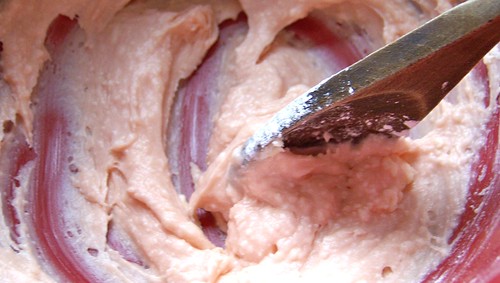
Now we’re going to make the decorating fondant.  In a clean bowl, mix together 1/4 cup softened butter, 1/4 cup lily white corn syrup (because otherwise it won’t turn out as light as you want it to), and 1 teaspoon almond extract.

Mix that until it’s creamy, then add in about 2 cups icing sugar and mix until doughy.  Set that aside.  Again, you can put it in the fridge.  Or next to an open window to catch the cold Newfoundland breeze.  Of course if you live anywhere else at this time of year you probably have your air conditioning on so you could always use that.

Normally, you would create a buttercream icing to go under your fondant, a nice solid glue to hold everything together.  But since when do I obey the rules?  We’re going to go with a ganâche, and that’s all there is to it.

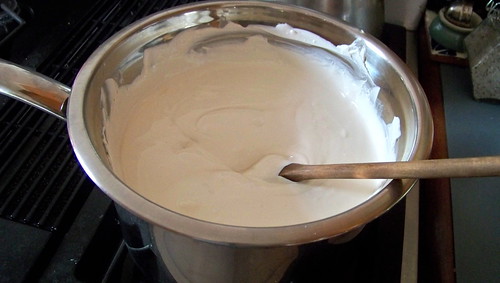
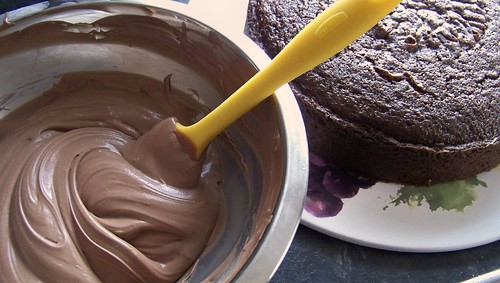
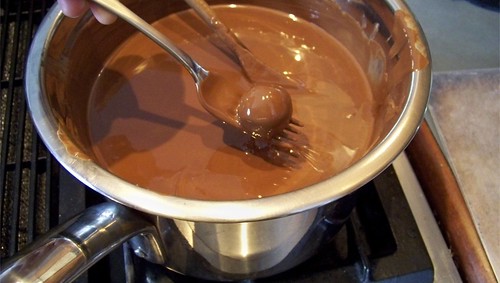
Chop up another 8oz chocolate (your choice, of course), and melt that in a double boiler.

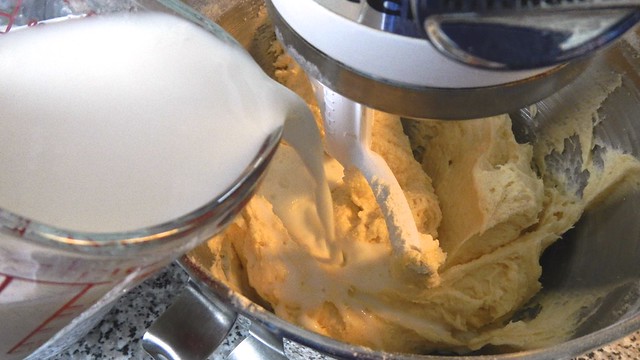
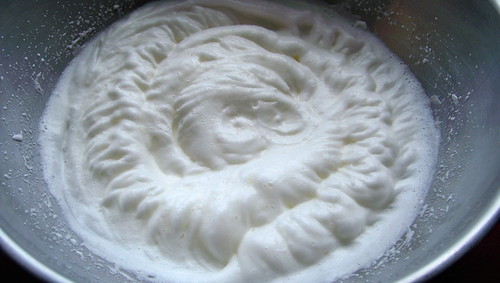
When it’s completely melted, whisk in 2 cups whipping cream until smooth.  Chuck that in the fridge to let it cool completely and thicken.  Stir it around every once in a while.

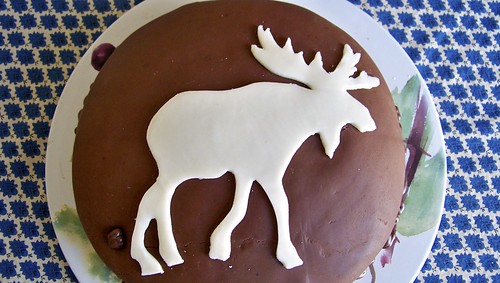
As this cake is a welcome-to-Newfoundland dessert for my siblings-in-law, I thought I would put a moose on the cake.  The moose, in case you didn’t know, was introduced as a hunting species to Newfoundland at the end of the 19th century and, having no natural predators other than man (because introducing species to island ecosystems is a bad idea), has proliferated and is now one of the province’s biggest pests, wreaking havoc on people’s gardens within the city and accounting for high numbers of traffic fatalities for those unfortunate (or stupid) enough to drive across the island at night.  The moose is an extremely dangerous animal, for all its vegetarian-ness, but Newfoundlanders have adopted the moose as a cute symbol of what makes Newfoundlanders a bit different than everyone else.

What I’m saying is that it’s entirely appropriate to put a moose on your cake when you live in Newfoundland.

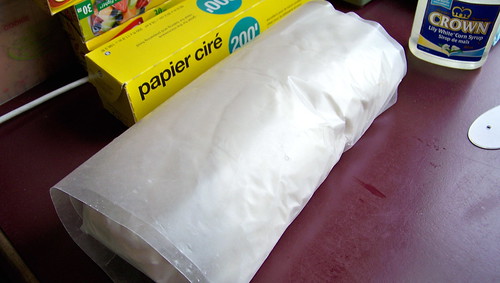
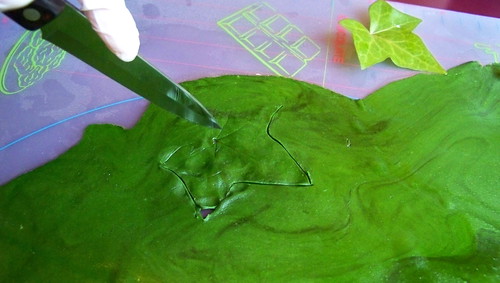
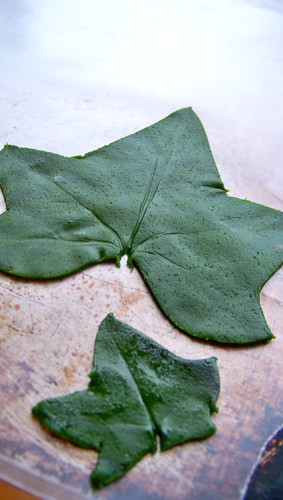
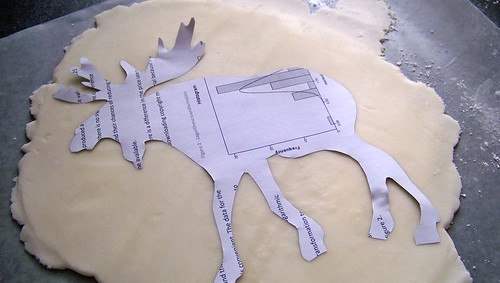
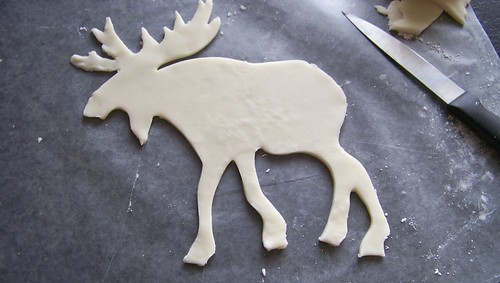
I printed out a stencil of a moose from the internet and cut it out.  I rolled out the white fondant onto a piece of waxed paper and laid my stencil on top.

I traced the outline of the stencil with a thin, sharp knife.

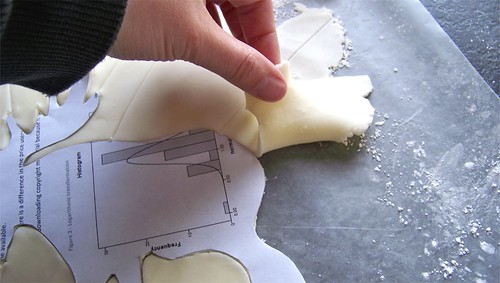
Then I peeled away the excess fondant.

And thar be me moose.  I set that aside to dry a little.

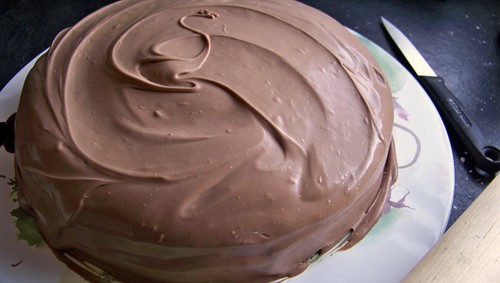
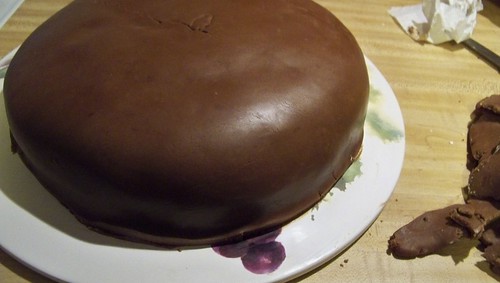
When your ganâche is cooled and thickened, you can slather it on your cake.

Like that.  Holy crap does that ever look good.  Chill that in the fridge to let the ganâche set a bit more while you roll out your coffee fondant.

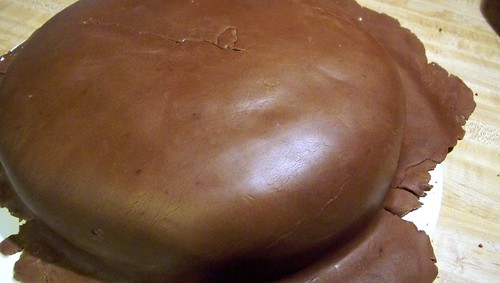
The Pie and I used a rolling pin to ease the fondant onto the cake.  Because the ganâche is soft and squidgy it didn’t provide a very good base for the fondant and so you can see we have some cracks.  But we’re okay with that.  Plus the moose will cover up the worst of it.  For more information on dealing with fondant, check out my Raspberry Trifle Cake experiment.

Trim the excess fondant from the bottom and smooth the sides.

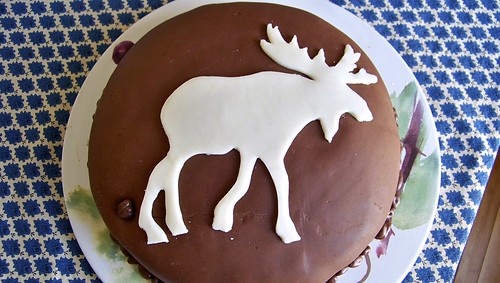
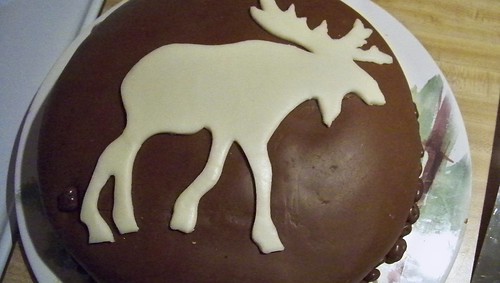
Lay that moose on down on top of the cake and smooth it down as well.

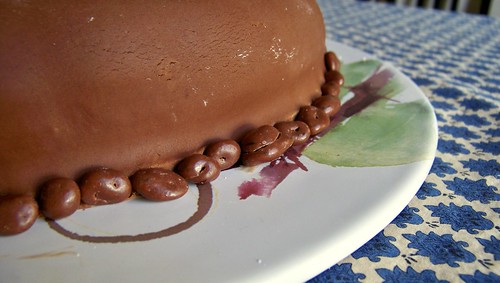
We used Cadbury’s chocolate covered raisins (like Glossette’s) as “moose poop” around the edges of the cake at the bottom.  And of course one big one, just behind the moose in question.

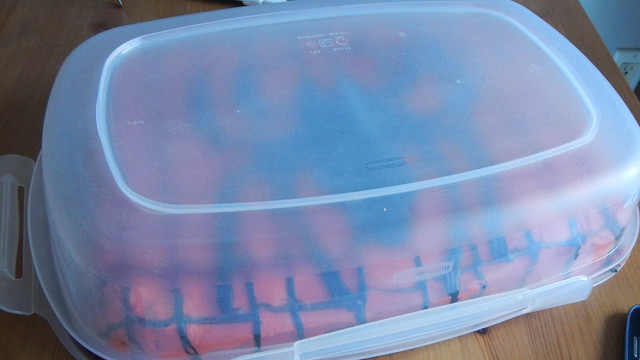
Keep this cake in the fridge to firm up the fondant and to keep the ganâche from spoiling.  Once you have cut into it make sure to keep it covered with plastic wrap, and eat it within a few days.

Chocolate Cherry Cordials

These wee confections are the favourite treat of both my brother Ando and my father-in-law Papa John so finding a recipe on the internet was a small step towards making a really cool home-made Christmas present for the both of them.  Thanks to Veronica at Recipe Rhapsody for the idea.

These are pretty easy but they are quite time-consuming and you have to be vigilant about your chocolate coating.  You can make your cordials more alcoholic by soaking your cherries overnight in kirsch or amaretto or other liqueur but I prefer my chocolates to be teetotallers.

You will need about 2 10oz jars maraschino cherries in syrup (about 30-40 cherries), which you will need to drain (make sure to reserve some of the cherry syrup while you’re at it, a couple tablespoons’ worth just to be on the safe side).  Plop the drained cherries on a paper towel and pat them dry.

In a bowl, cream together 1/4 cup softened butter and 1 cup icing sugar.

Add in 1 tablespoon reserved cherry syrup, 1/2 teaspoon vanilla extract, and 1/2 teaspoon almond extract.  Stir it until you get a slimy pink goo.

Stir in a further 1 1/4 cups icing sugar.  You will end up with a nice pale pink dough.  If the dough sticks to your fingers too much you can add more icing sugar.  You need it to stick to itself but not to you.

Lay out a sheet of waxed paper and take a pinch (about 1-2 teaspoons) of your pink dough (fondant) in your hand.  Roll it into a ball and then clap your hands together to make a flattened patty.  Plop a cherry in the centre and pinch the dough all around the cherry.

Roll the cherry and fondant between your palms to create a nice sphere and set on the waxed paper.  Repeat with the rest of the fondant and cherries.  I found I had to make extra fondant to do all my cherries, but that’s fine.  Chill your fondant cherries in the freezer (overnight is good) while you melt your chocolate.

Melt 12oz chopped chocolate (dark or milk, it’s your preference) with 2 tablespoons shortening in a double boiler.  The shortening is there to make the melted chocolate smoother and shinier.  Who knew?

Using a fork, dip the cherry balls into the chocolate and set on waxed paper.

You can see here how the fork marks leave some of the fondant exposed.

Dip a spoon in the melted chocolate and use it to repair the holes.  The cherries have to be completely sealed in chocolate or bad things happen.

When the chocolate has hardened, remove from the waxed paper.  You will find that you have to re-seal the bottoms that were touching the waxed paper as well.  Make sure you get all the gaps!

You can store the chocolates in the refrigerator until they are set, but you will want to store them elsewhere so that they can liquefy like they are supposed to (this takes about two weeks).  Once they are ready, feel free to enjoy!

I think next time I would dip the cherries and put them on a wire rack (to avoid that unfortunate puddle at the bottom) and then, when dry, I would just dip them in their entirety again.  I would probably also be less vigilant in patting my cherries dry, as I think they would liquefy better if they had some liquid in them to begin with.

Making Mincemeat (Outta You)

Mincemeat is to the winter holidays what chocolate and beer are to the Stanley Cup Playoffs (I’m serious.  Cadbury Mini Eggs and a microbrew during the finals is to die for).  Originally a combination of dried fruits, spirits, fat, and meat, over the centuries the meat part has all but disappeared from the recipe, and now it’s more of a dessert type of thing.  It does still employ three of the age-old methods of preserving, however: fat, sugar, and alcohol. 

I have adapted Allora Andiamo’s recipe from Jamie Oliver‘s website and it is incredible.  I quadrupled some things, and other things I just chucked in the amount I had, so it’s not particularly faithful to Ms. Andiamo’s original recipe but I give her full credit.

In a very large bowl I chucked the following, by weight:

275g raisins

55g dried blueberries

475g dried cranberries

575g candied orange peel

250g blanched almond slivers

400g finely chopped marzipan

474g (1lb) shredded butter (put the butter in the freezer, then grate it, or break it into chunks and run it through the food processor until you have fine crumbs)

1kg apples, finely chopped (I left the skins on and used a variety of different kinds, whatever I had lying around)

juice and rind of 5 large oranges

juice and rind of 2 large lemons

1kg soft brown sugar

3 teaspoons almond extract

8 tablespoons rum or brandy (I used both, of course)

2 tablespoons ground cinnamon

4 teaspoons ground nutmeg

6 teaspoons ground ginger

4 teaspoons ground coriander

1 teaspoon ground cloves

1 teaspoon allspice

Give that a good stir, cover it, and leave it somewhere to marinate for about 24 hours.

The next day, distribute the mincemeat into casserole dishes (or, if you are clever like me and used a metal bowl, don’t bother), cover with aluminum foil, and bake at 225°F for 3 1/2 hours.

I stirred mine halfway through, just to be thorough.  And also because I don’t trust anything on its own in an oven for three and a half hours.

Remove from the oven and allow to cool a bit.  The liquid will thicken as it cools so make sure to stir it occasionally in order for the syrup to coat all the fruit. 

Before it completely cools, pour into sterilized jars and seal — can according to your canner’s instructions, or check out our tips to canning here.

Store in a cool dark place for about 3 weeks before using.