New Things

I am officially on maternity leave now. I’m trying to do the things that people are telling me to do – like rest – so I’m down to a post a week for the next little while. Hopefully when I can do things again like tie my own shoes (and that would be shoes that actually fit me), I can start doing more with my time as a gainfully unemployed person.

New Things 7
Stopping to smell the flowers occasionally would be nice.

Anyway, first day of mat leave was spent getting a new fuse box. Remember I mentioned that the old one had like five GLASS fuses and had been corroded with water damage? Now look at this shiny mother.

New Things 4

OoooooOOOOOooooooo. Now I can get cheaper house insurance.

New Things 5

This was actually a big job because they had to move the lines as they came off the hydro pole.

New Things 2

And they had to move the pole that was running the lines into the house. And I got a new metre. For you Ottawa folk, this was done by Ashley Davies of Lightning Contracting and I would totally recommend his work.

New Things 1

Day two of mat leave was getting a new staircase. Remember this deathtrap that Gren wouldn’t go down?

DSCN9076

Look at these gorgeous things. You can see the angle of the old stairs along the wall. WHEEEEE!

New Things 3

The old stairs were removed and taken away, and the new stairs installed in under 3 hours, for $700. Scott Berwick Stairs, if you’re interested.

Weird Things the Previous Owners Did: Part One

So you’ve already seen a lot of the weird stuff that the previous owners did to the house that we’re slowly discovering. Like that super retro wallpaper in the Pie’s office that’s been painted over a bunch of times.

Home to Bel-Air First Night 54

And the peculiar closet paint.

Home to Bel-Air First Night 20

And those I can just chalk up to peculiar taste and peculiar renovation styles. It’s an old house. That’s fine. These things are to be expected.

This one, though, has me scratching my head. At some point in the last ten years, they re-did the kitchen. They probably replaced all the cabinets with the thought of selling in mind, so, while they’re nice enough to look at, they’re not very well-made or well-put-together. And that’s fine. I get that. At some point I’m going to gut the whole thing anyway and make it more to my liking.

Weird Things Part One 6

But when they added all the hardware to the cupboards and drawers, they left off the handle for ONE single drawer.

Weird Things Part One 1

For a whole week I did not think there was actually a drawer there. Because it had no handle. The Pie discovered it. So now he keeps weird things in it.

Weird Things Part One 2

But that’s not all! For all the other cabinets and drawers they installed these very simple handles which I quite like. But they’re all loose. So at first I thought maybe they’d just been badly installed or had come loose in the intervening years and the sellers were just so keen to get out of there that they didn’t bother to tighten them up.

So I tried to tighten them.

Weird Things Part One 3

And discovered that EVERY SINGLE SCREW they used to install the hardware was 1/8″ too long. Every. Single. One. So I can’t tighten them any further than they already are.

Weird Things Part One 4

That means that they bought a box of screws after eyeballing the thickness of the cabinetry and discovered on the first one that they were too long. But rather than returning the box of screws and getting another set that are slightly shorter, they simply said, “ah, screw it!” (literally) and proceeded to attach them to every single cabinet and door.

Weird Things Part One 5

So now I have to go and buy a box of screws that is 1/8″ shorter than these ones. And replace every single one of them.

Ah, the joys of home ownership!

Welcome to our chaos

I wish I had a better post for you guys today, but we’re totally exhausted at our new place. We kind of moved all the furniture over in a rush on Saturday so we’re still trying to figure out what is going where. We know we’re missing some essential pieces now but we’re willing to live without until we figure out what we really want.

DSCN9059

The kitchen is still a hot mess. I mostly just shoved things in random cupboards all weekend while directing people where to put things. The Pie and I figure we’ll wait a couple weeks until we’re less tired and actually give some thought as to where we want things to go.

DSCN9065

Because I was mostly directing from the kitchen, our dear moving crew, when told things were to go in the basement, basically shoved absolutely everything into my office. So it’s a little impassable at the moment, and my computer is currently set up at the dining room table.

DSCN9074

Things that we didn’t immediately have a place for are in the future baby’s room.

DSCN9067

The guest room is half-assembled because I don’t want to put it together until I’ve painted it (it’s going to be green!).

DSCN9072

But the living room *kind* of is useful at the moment (i.e. there’s a couch, a coffee table, and the TV is hooked up to the internet).

DSCN9064

Gren is settling in fine, I think. We gave him some fancy drugs our vet gave us on moving day and those helped his anxiety a whole bunch (as did a Kong full of frozen peanut butter). He’s still prone to sulking in weird spots.

DSCN9066

And he and I are having trouble with these super steep back stairs. We’re going to see if we can’t lessen the slope by adding an extra one at the bottom at some point soon.

DSCN9076

But the Pie has started to figure out where things are going to go in the room the previous owners called “The Cave” (it was on an envelope filled with paint chips).

DSCN9075

And I can already see myself sitting in my favourite chair with my feet up in front of this fireplace. I’m looking forward to it!

DSCN9078

TODAY THE INTERNET ARRIVES

DSCN9047

… at the new house of course. And being the technical people we are, we follow where the internet goes, which means that as of this weekend we will officially be living in our new house!

DSCN9038

Here are some updates of what we’ve done in the interim: mostly we have filled it with boxes over the past week. For those ever-so-helpful-and-advice-filled folks out there: *I* did not do any heavy lifting but I did some scrubbing of most of the rooms to get rid of the previous owners’ cat (the Pie is allergic) and I patched all the weird holes they put in their walls. And took down the blinds. I hate blinds. Actually, Mrs. Nice took down the blinds for me because she’s lovely.

DSCN9048

And we painted a bit! We knew that once we moved our king-sized bed into the master bedroom we’d have significantly less space to move around so we made sure to paint it beforehand.

DSCN9040

The previous owners had been a little careless in their previous paint jobs and we ended up having to repaint the ceiling and the trim in addition to the walls so it took us longer than expected. The other bedrooms won’t be occupied for a while so we can do them at our leisure.

20160120_203752

Once we get all the furniture in we can start to put some of the myriad boxes away. Hopefully I can get some decent pictures during daylight for you this weekend and show you what our plans are!

Rack Refurb

Rack Refurb 2

I have this toiletries rack hanging from the shower in our current bathroom. It was a decent price and it does the job. It is, however, very rusty at the moment.

Rack Refurb 3

No worries: a little CLR bath overnight will cure that.

Rack Refurb 1

First I pulled off all the little pieces that didn’t need to be de-rusted, including the suction cups, and immersed it in my laundry sink with water and CLR and left it for several hours.

Rack Refurb 4

The next morning, a wee bit of scrubbing with steel wool got all the rust off!

Rack Refurb 5

Then I quickly spray painted it with Rustoleum in glossy white to prevent further rust incursions. I do not recommend doing this in your garage when it’s -20°C outside: the paint does not behave properly. But it did the trick and here it is, reassembled and now inhabiting my NEW bathroom!

Rack Refurb 7

It’s OURS!

To quote @mu_your_mind, “MOFO YOU OWN A HOUSE.” #alidoesit

A photo posted by Alison Bell (@alidoesit.herself) on Jan 14, 2016 at 2:45pm PST

We own a house! Closing went ahead as scheduled, barring some minor panic when the lawyer on the other side didn’t get back to us until late in the afternoon the day before. In fact we closed early. We were all set to pick up our keys at 3:30 yesterday afternoon. I used to work for a lawyer who did real estate and I can tell you that THAT is early.

However.

We got to the lawyer and the receptionist handed us an envelope. On the envelope it read [Pie’s first name] Toppenham and Heather [My last name]. And it contained a cheque. No keys. They had accidentally given our keys to someone else who had a similar set of names! The poor receptionist’s head practically exploded. After they tracked the guy down who had taken our keys the receptionist drove them to the Tower to us, so we didn’t get into the new place until around 6:30, so these pictures are all taken at night. But I hope you can get a good idea of what it’s like – and all the work that needs to be done!

Home to Bel-Air First Night 3

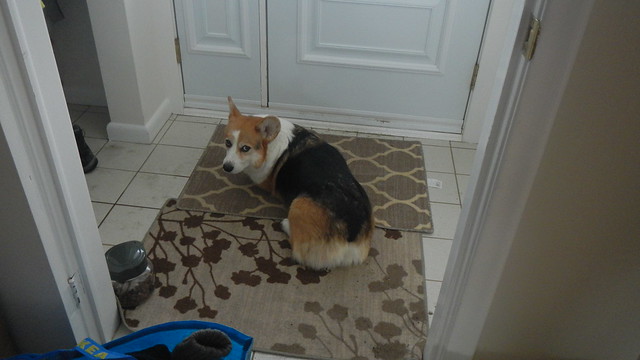
Finally, an entranceway with a door that can be shut to prevent canine and toddler escapees. And for the first time ever we don’t have to climb a huge flight of stairs after coming through the front door.

Home to Bel-Air First Night 4

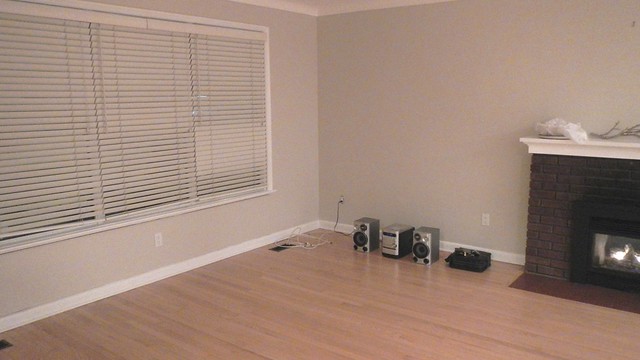
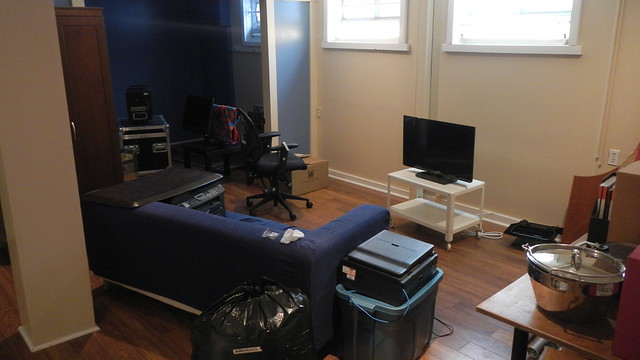
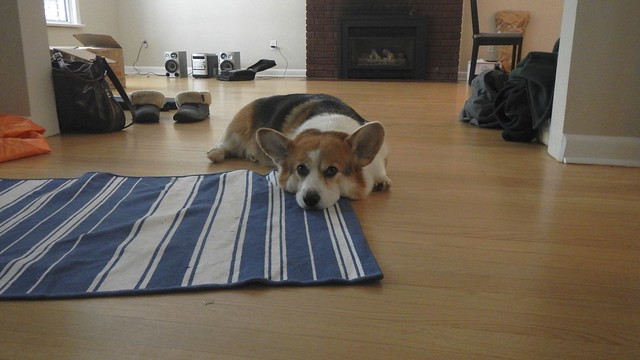
Living/Dining room facing the front.

Home to Bel-Air First Night 5

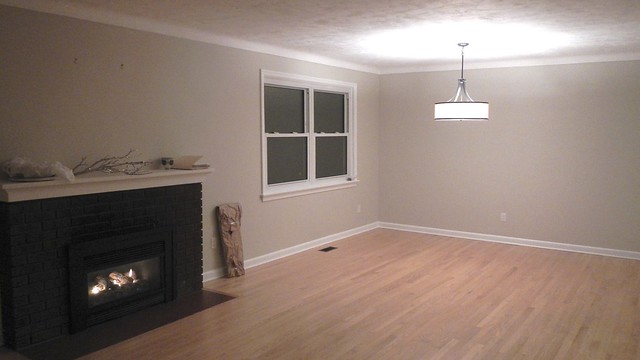
Living/Dining facing the back.

Home to Bel-Air First Night 7

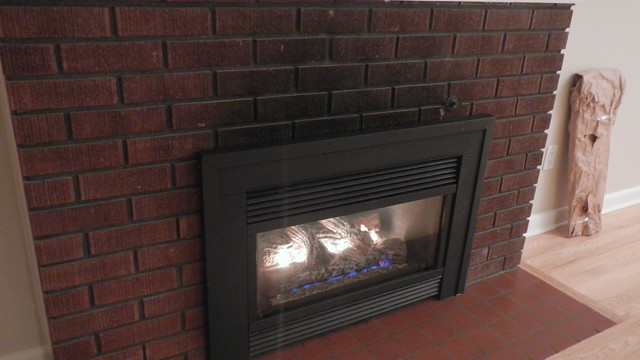
Yes, that’s a gas fireplace. The first thing I did when I walked in the door was crouch down, learn how to ignite the pilot light, and turn that sucker on. This is on the list of things to update but it’s not a priority at present.

Home to Bel-Air First Night 6

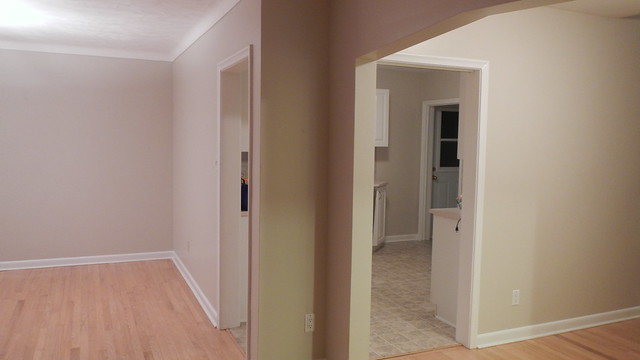
Dining room on left, entranceway on the right, looking into the kitchen.

Home to Bel-Air First Night 12

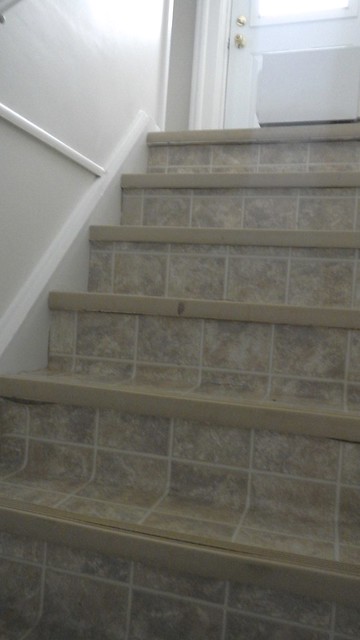
From the living room through the entranceway to the stairs that go up. So many less to climb with a baby on the way!

Home to Bel-Air First Night 24

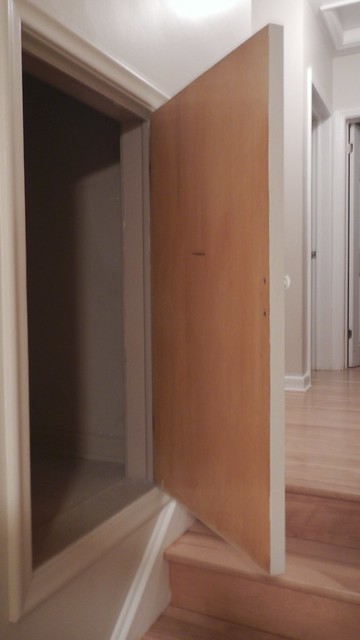
There’s a large cubbyhole on the stairway. Not sure what we are going to hide in here.

Home to Bel-Air First Night 13

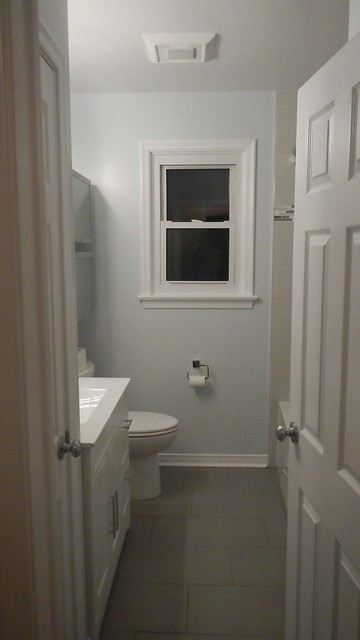
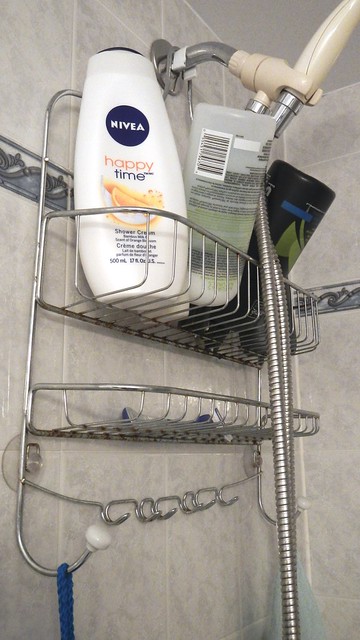
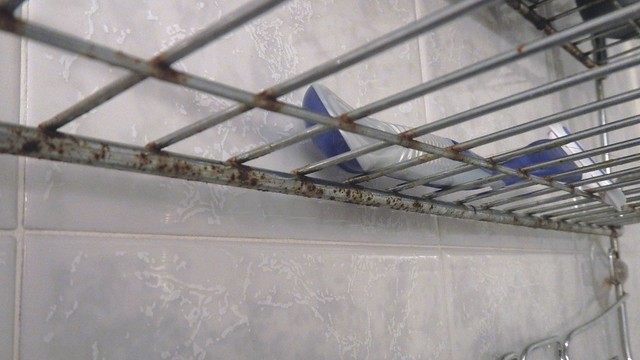
The bathroom is to the left at the top of the stairs. It’s been recently redone and is quite nice.

Home to Bel-Air First Night 14

Home to Bel-Air First Night 15

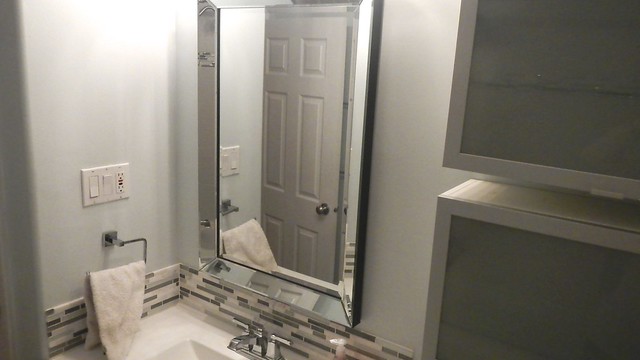
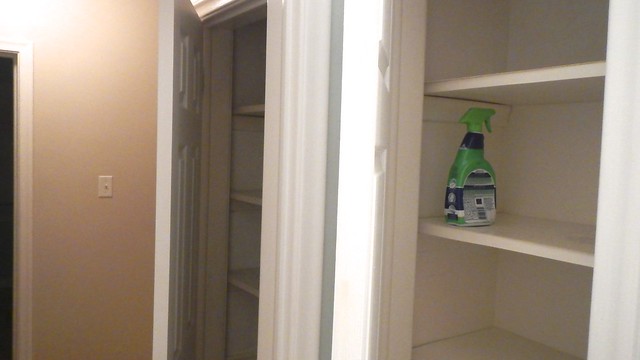
Plus there’s a storage closet inside the bathroom and then the linen closet is immediately outside the door.

Home to Bel-Air First Night 16

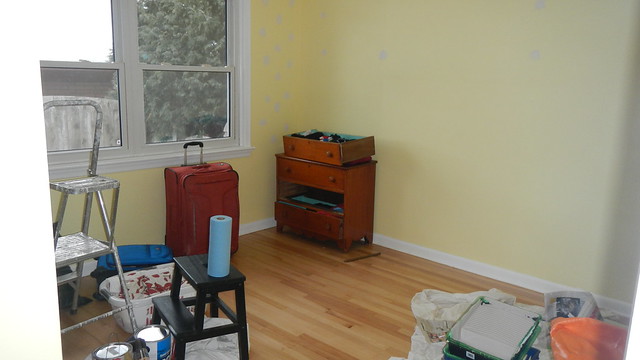
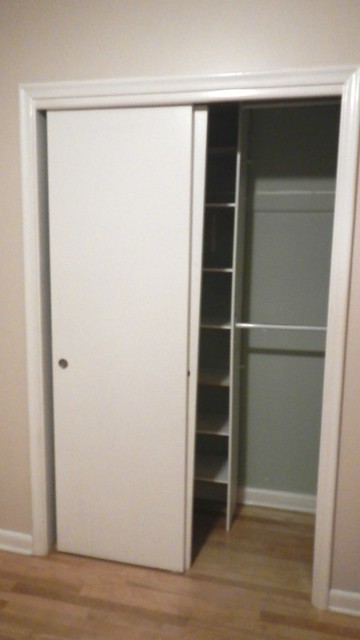
This is the guest bedroom, which faces front and is closest to the bathroom.

Home to Bel-Air First Night 17

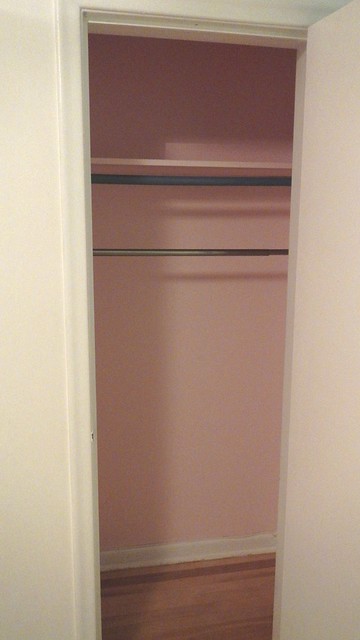
It has a pink closet.

Home to Bel-Air First Night 18

And a somewhat dodgy paint job.

Home to Bel-Air First Night 19

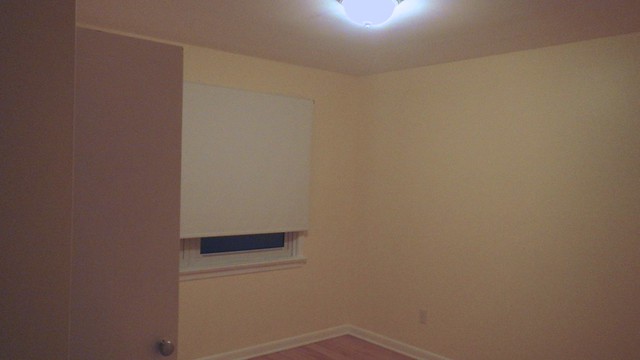
This will be the baby’s room, because it’s smallest and close to the master bedroom.

Home to Bel-Air First Night 20

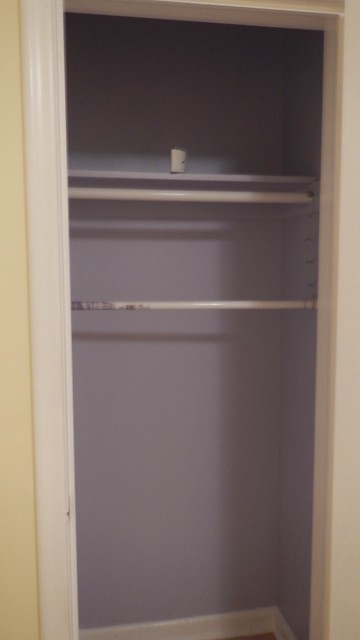
It has a purple closet.

Home to Bel-Air First Night 21

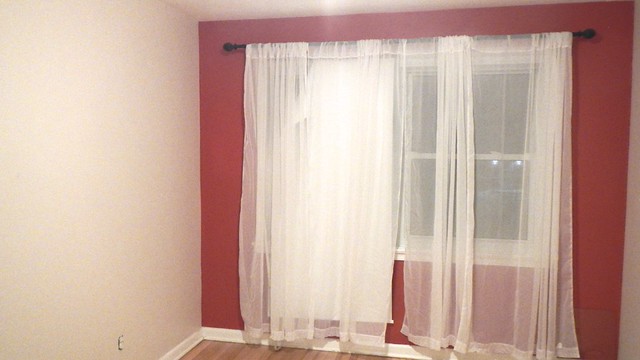
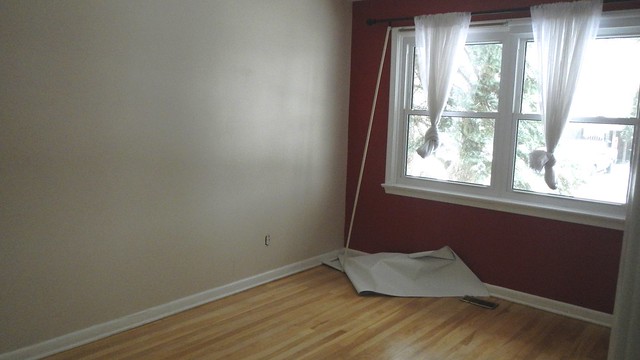
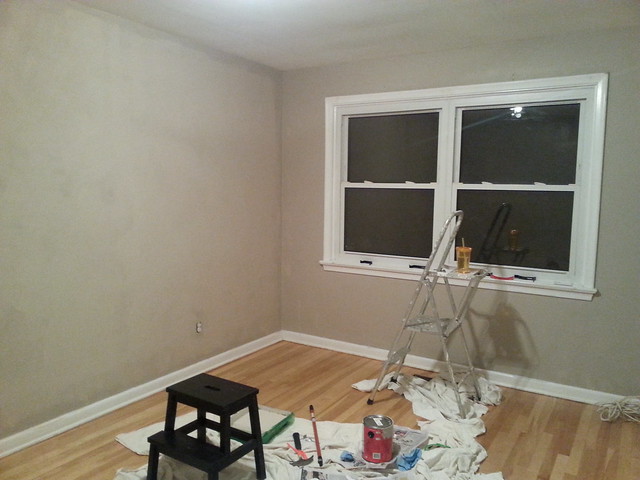
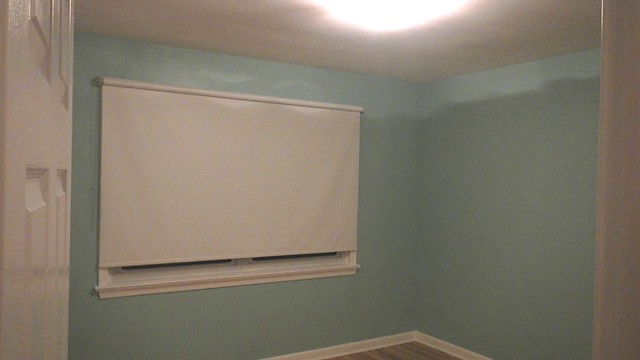
The master is long and narrow with a giant red wall and some severely broken blinds.

Home to Bel-Air First Night 22

It has a green closet.

Home to Bel-Air First Night 23

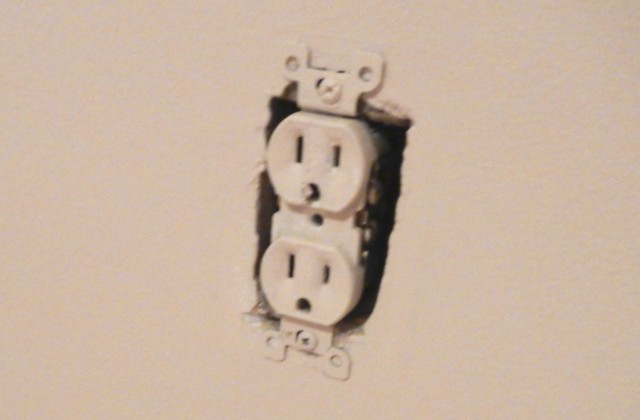
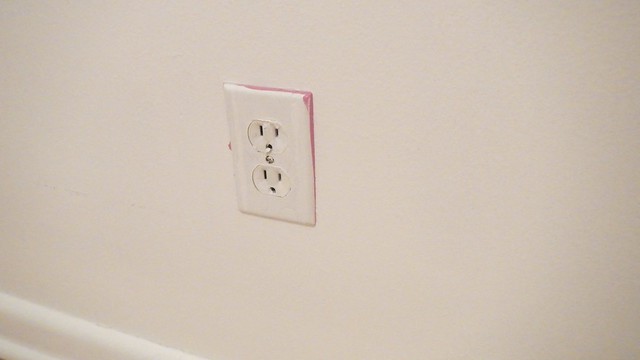
And no outlet covers. I suspect the Pie and I are going to show up at the ReStore some day soon and buy out their whole stock.

Home to Bel-Air First Night 8

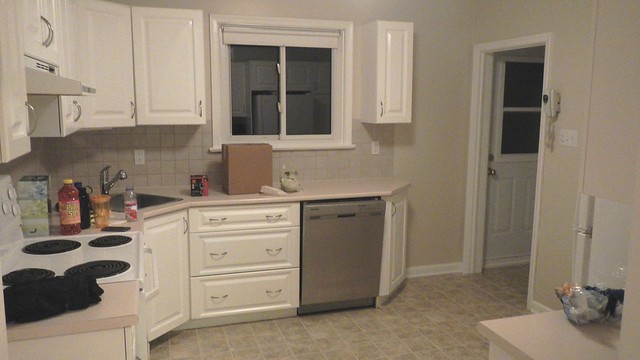
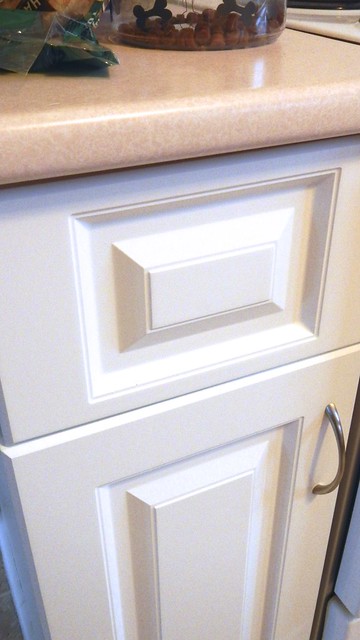
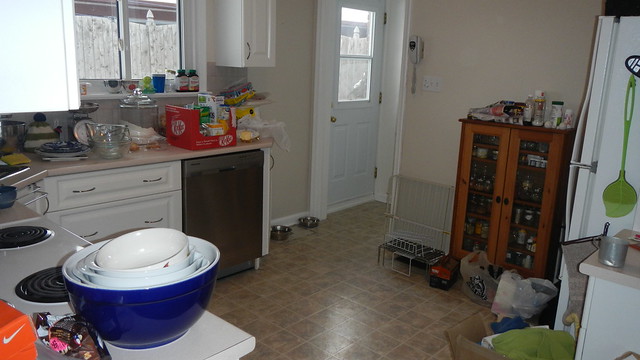
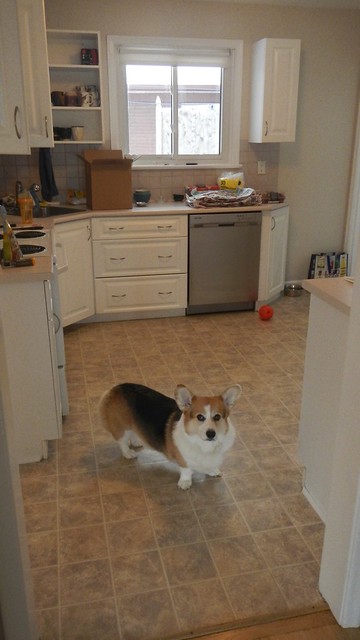
Back downstairs. The kitchen, which faces the backyard.

Home to Bel-Air First Night 9

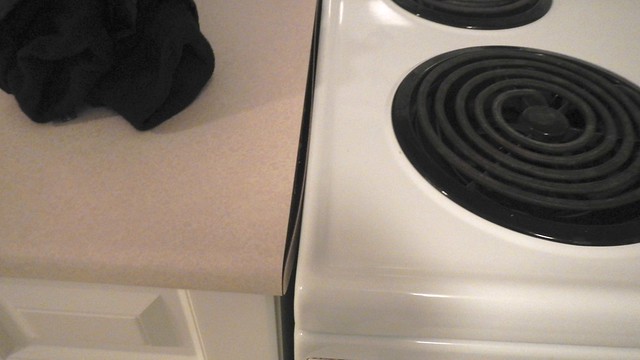
The countertops need a re-do, but we have an interim plan that is cheap that will hold us until we have some more money to do something drastic.

Home to Bel-Air First Night 10

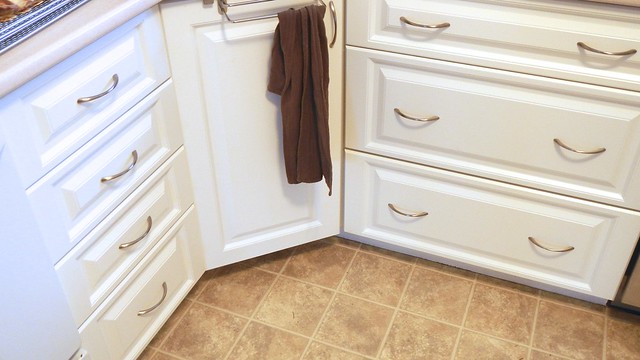
More of the kitchen. We might actually have enough cupboards this time to keep our food IN the kitchen instead of in a cupboard in the basement.

Home to Bel-Air First Night 25

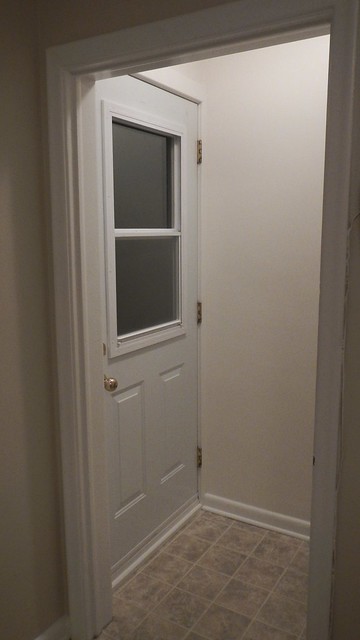
Back door off the kitchen. I no longer have to take Gren down two flights of stairs to shove him into the back yard.

Home to Bel-Air First Night 26

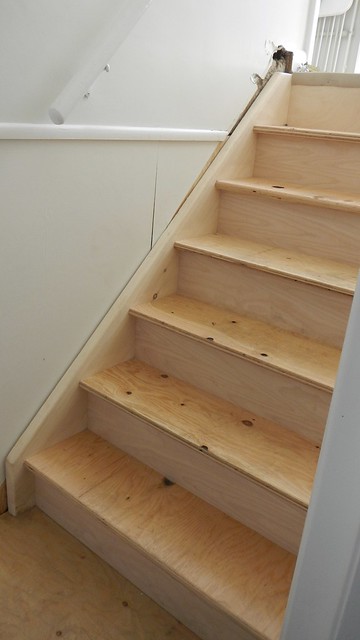
Stairs to the basement. They’re actually quite steep and the more pregnant I get the less I may be heading into the basement.

Home to Bel-Air First Night 27

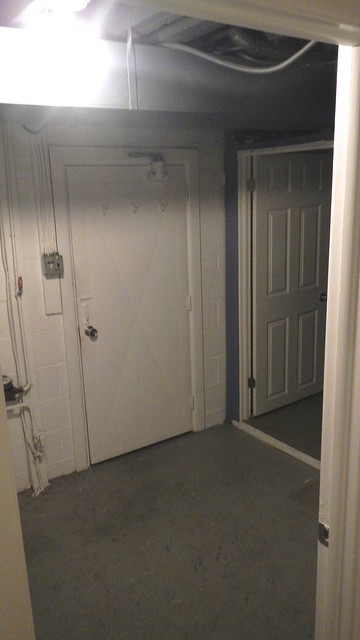
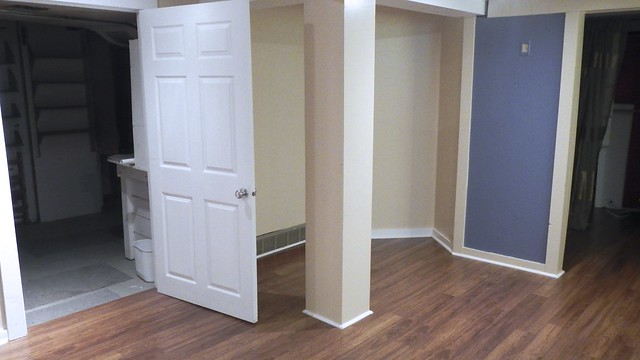
The “main” basement level. That’s the door to the garage, and then the door to the right is the room that will be my office/craft room.

Home to Bel-Air First Night 28

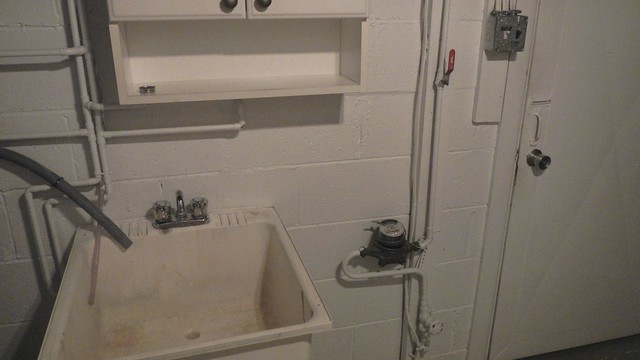
Laundry sink is next to garage door, handy for making messes.

Home to Bel-Air First Night 30

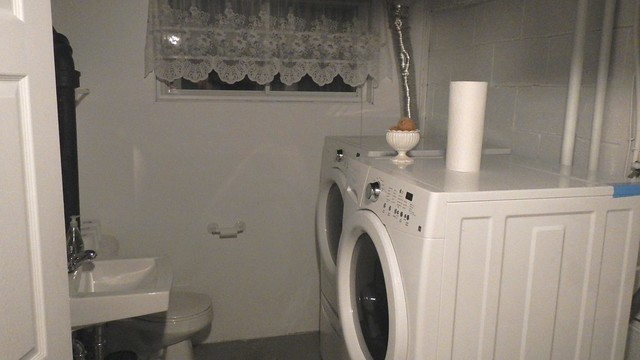
And directly next to that, with no wall or door or anything in between, is our hallway/laundry room/second bathroom! This is why our house was so cheap. Clearly this is a priority fix for us. My dad apparently has a plan for it cooking up in his head already. For now while he’s in Florida we’re just going to rig a curtain so that people who gotta go can go.

Home to Bel-Air First Night 31

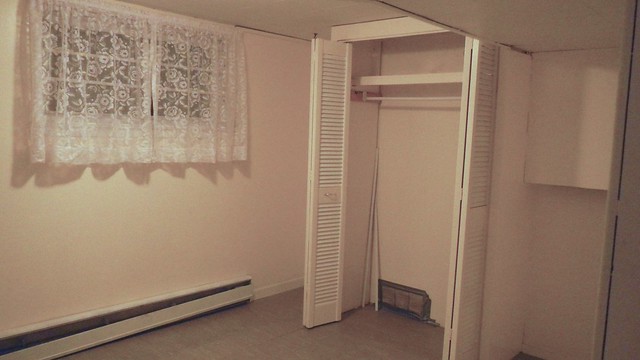
This is my little office. It has a closet which is oddly placed. The ceiling has been dropped and the floor raised so the Pie actually has issues standing up in it. It makes him grumpy but I keep telling him he can simply stay out.

Home to Bel-Air First Night 33

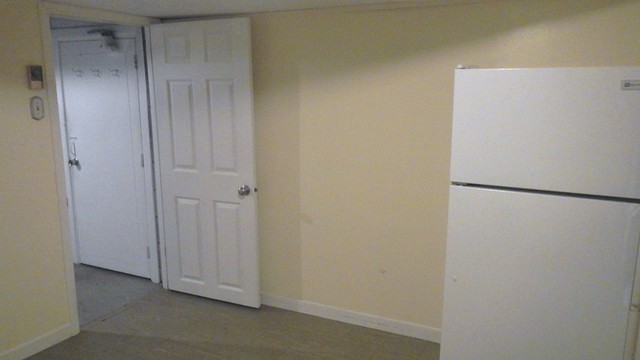
It also contains a fridge, which will be handy for many shenanigans. Note the cut off part of the door because the ceiling is so low.

Home to Bel-Air First Night 32

Re-doing the office is one of our moderate priorities, because it’s the most dated part of the house, but it will be a serious undertaking because yep, those are asbestos tiles. Woo.

Home to Bel-Air First Night 37

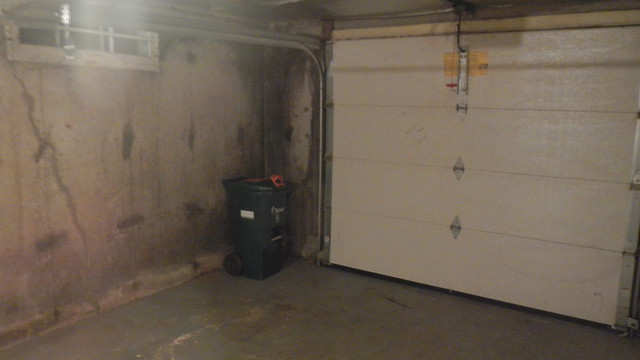
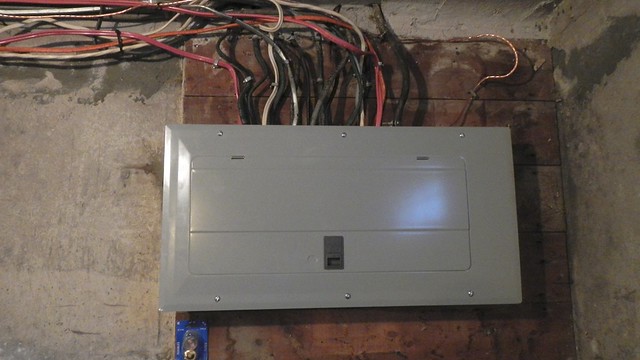
Here’s the garage. It’s long and narrow and smells of cigarette smoke. It also contains a corroded, ancient fuse box (with glass fuses) that is in danger of shorting out at any moment (and which also does not meet a modern-day house’s need for extra outlets). So it’s our highest priority fix at the moment. If you know a reasonably priced, certified and reliable electrician who services the west end of Ottawa, please let me know!

Home to Bel-Air First Night 38

Anyway, from the weird part of the basement there’s another door leading down into the second basement. Which has been re-done recently.

Home to Bel-Air First Night 49

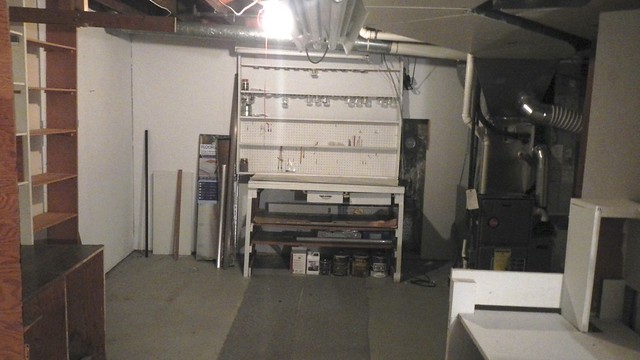
To the left is workshop/storage, and to the right is the Pie’s new office nook.

Home to Bel-Air First Night 50

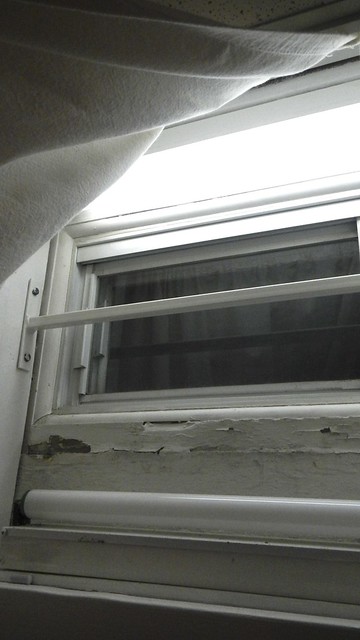
In the main space, the previous owners put fluorescent bulbs on the windows to give the impression that daylight was pouring in. It’s not a very good illusion.

Home to Bel-Air First Night 51

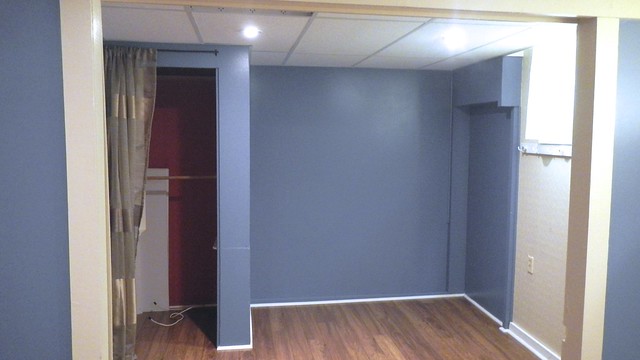
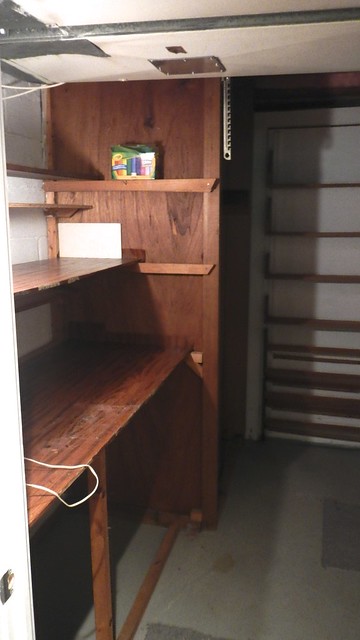
The nook is actually way bigger than we originally thought.

Home to Bel-Air First Night 54

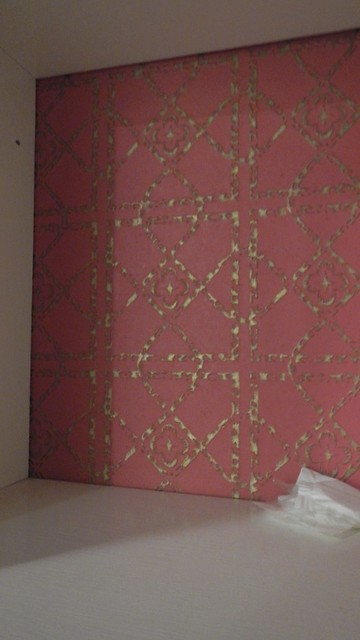
And has this super-rad textured original wallpaper.

Home to Bel-Air First Night 55

Which they’ve painted over in some places.

Home to Bel-Air First Night 43

The workshop/storage area has four unique workbenches, each clearly for a different purpose. I suspect we will end up tearing out three of them to make room for other things.

Home to Bel-Air First Night 46

Home to Bel-Air First Night 44

Home to Bel-Air First Night 40

Home to Bel-Air First Night 45

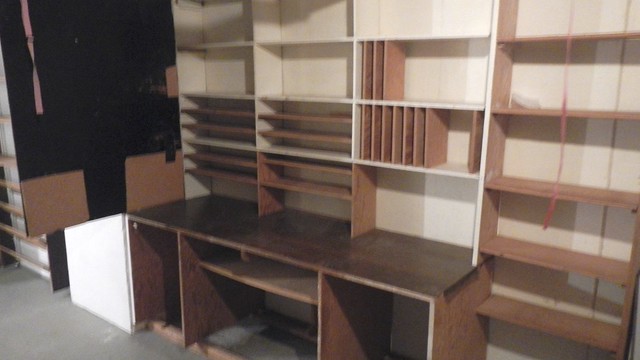
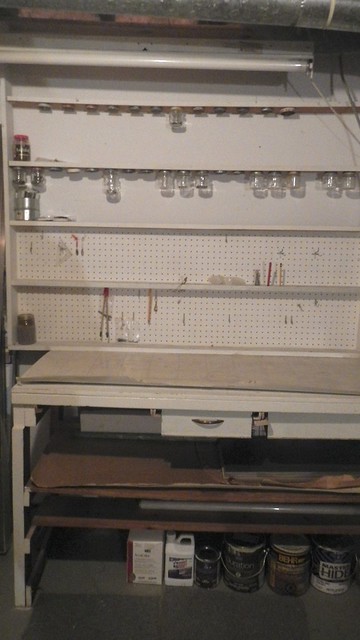
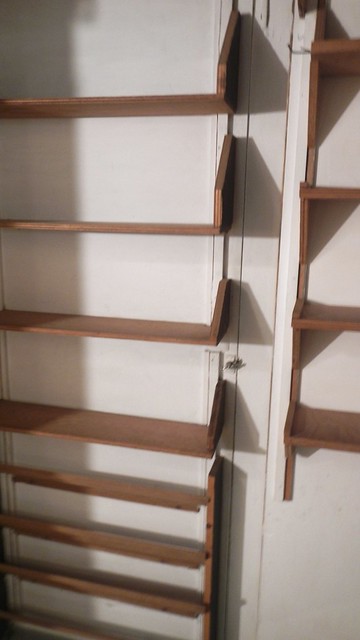
The sheer amount of custom shelving is both admirable and totally overwhelming.

Home to Bel-Air First Night 41

Under some shelves you’ll find the door to the cold storage room.

Home to Bel-Air First Night 42

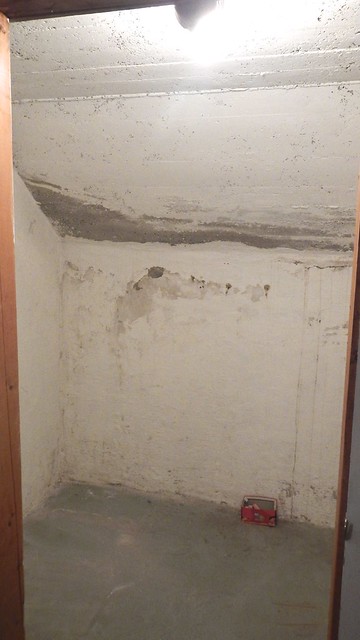
A.K.A. the murder room. I suspect that our children and their friends will lock each other in here from time to time.

So as you can see, there’s a lot of potential here for the Pie and I to learn how to do things on our own – with a little help from our friends and family of course and their expertise. I think we’re going to enjoy turning this house into something we can raise a family in. Stay tuned for all our shenanigans!

We’re Moving! AGAIN!

It’s finally happened. The Pie and I have joined the impoverished proud ranks of people who are horribly in debt forever first-time homeowners. And we couldn’t be more terrified happier.

DSCN8693

We close on the 14th of January, so we’re on a tight timeline to pack up the Tower and get ourselves over to the new place. So in the meantime, please excuse the mess you see in the background at Ali Does It, and possibly more cheater posts than normal in the next few weeks. I promise you that we will be back to regularly scheduled programming – and more! – by the end of January. We bought a house that is almost 60 years old and came with a good many of its own quirks – which we will, in true Ali Does It style, make our own.  And we will make sure to fill you in on all the craziness while we’re at it. Crazy corgi included, of course.

DSCN8694

Plus the house has way more space for making stuff and doing things (it. has. a. WORKSHOP. and. COLD STORAGE. I am so excited), a bigger, brighter kitchen, more light in general, and NO MORE BLUE CARPET. So things are only going to get better from here on out, on the blog and otherwise. Stay tuned!

DSCN8695

A Bit of Frou-Frou

014

I have an empty space on the bookshelf in my office and because it’s a dark bookshelf in a dark corner I wanted to add a little bit of whimsy that would light up the area – literally.

011

I had all these plastic gems I picked up from the dollar store a few years back, and a conveniently-sized plastic jar into which they could go.

016

When I poured them in I shoved in a set of battery-powered LEDs as well, for – well, for the purposes of lighting things up.

017

Then I re-created a version of my paper peonies that I made a few years ago.

013

And I stuck them in on top.

018

So now I have glowing peonies. In my office.  And I’m okay with that.

019

022

Fold ‘Em to the Wall

Fold 'em to the Wall 16

I’m redecorating my office at work so it less resembles a prison cell and more resembles a place where I spend the majority of my non-traveling time. I’ll show you the big before-and-after when I’m completely done but until then I’ll keep you updated on the cheap and easy things I’ve done in order to make the room a little bit more ME.

Fold 'em to the Wall 7

Here’s the first one. For this you need some origami paper, some tape (I used double-sided tape), some foam board (or poster board), a bone folder (optional), a pencil, and a ruler. I used some large scale origami with plain colours, but this would easily work on a smaller scale with the tiny pieces of patterned paper on a smaller board.

Fold 'em to the Wall 2

I started by matching up two sides of the sheet of origami and gently pinching the outside edge of the fold, just so I could see where the centre was.

Fold 'em to the Wall 3

Then I did that in the other direction.

Fold 'em to the Wall 4

Using those markers as guidelines, I folded each corner of the paper into the centre of the page. It doesn’t have to be perfect; I think it looks a little better when it’s all irregular.

Fold 'em to the Wall 5

I did that with every colour I had, one each, for 20 squares total. You can obviously do as many as you like.

Fold 'em to the Wall 8

Then I did some figuring to sort out how I wanted them to look and where I wanted them to be.

Fold 'em to the Wall 9

I had to do some math to figure out how they were going to fit on the foam board I had.

Fold 'em to the Wall 10

In actual fact they were going to fit across two boards. So the pieces that fit across this divide between the two I was going to leave off until I’d mounted the boards on the wall. That seemed easiest.

Fold 'em to the Wall 11

I decided it looked best if I had them in touching columns with a bit of space in between. I measured carefully to make sure they were evenly spaced and made pencil marks to show me where to stick things.

Fold 'em to the Wall 12

Then it was just a matter of applying some tape. And some dog hair. But that goes without saying.

Fold 'em to the Wall 14

Here it is, on my ugly green office wall (not to be confused with my ugly white office wall and my two ugly red office walls).

Fold 'em to the Wall 15

It’s already become a conversation piece. My team leader calls them “Grumpy Envelopes” and enjoys putting her tiny elf-like fists in the folds.

Fold 'em to the Wall 18

One Lamp, Two Lamp, Old Lamp, New Lamp!

My final quarantine project was one I’d been meaning to get done since we moved into the house over a year ago. When we moved in together we bought a matching set of IKEA lamps: two table lamps and a larger floor lamp with crumpled paper shades. They were literally the WORST shades as the things that held the shades up so they looked crumpled fell out and were lost so you just had this wrinkly, torn, dusty, discoloured piece of paper sitting here and we really started to hate them. But they were cheap and they worked so we moved them across the country and back.

New Lampshades 1

BUT NO MORE.

New Lampshades 2

My plan was to use the wire frame of the shades to create a new surface for a slightly more durable fabric shade. So I carefully measured the dimensions of the existing lamps.

New Lampshades 3

Then I took enormous pleasure in ripping the paper off.

New Lampshades 4

I soaked the wires in warm soapy water for a bit to get the excess glue and paper off.

New Lampshades 5

Then I measured and cut the fabric Cait and I had bought from Joann like forever ago.

New Lampshades 6

I don’t own any fabric markers so I use washable Crayolas instead. I measured an inch of overlap from the edges to wrap around the frames.

New Lampshades 7

Then I used pins to fix everything into place.

New Lampshades 9

One side done.

New Lampshades 10

Both sides done.

New Lampshades 11

I left the side seams open for now just because it was easier to manipulate them with it open.

New Lampshades 12

The best way to get this permanently affixed was to set it up so it hung properly, and the best way to do THAT was to put it back on the lamp.

New Lampshades 13

Now I pinned the side seams.

New Lampshades 14

Then I used Mod Podge for fabric and just glued all my flaps closed.

New Lampshades 15

It didn’t take long. I made sure to take the pins out while the glue was still wet.

New Lampshades 16

Once it was dry I sprayed the whole thing with Stiffen Stuff, which is sort of a spray starch for making things like bows and ornaments rigid. Another option would have been to wash the fabric with liquid starch and iron them flat before pinning. It might have had a more uniform look to the finished product but it would have been more difficult to manipulate.

New Lampshades 17

I let the starch dry in the sun.

New Lampshades 18

The finished product, off.

New Lampshades 19

And on.

New Lampshades 20

I did the big one too. I’m quite pleased!

New Lampshades 22