There’s the idea that you shouldn’t put your kid in a big puffy snowsuit in their carseat because the snowsuit doesn’t allow you to do up the straps as tight as they need to be and that could be unsafe if you were to get into an accident. Accordingly, they sell these things called “car ponchos” for small children, and they’re all fancy with faux fur trim and buttons and snaps and zippers and whatnot and they cost like SEVENTY BUCKS. Seriously? Eff that. Also, this is CANADA, and here it’s always colder than it is in other places. So most of those fancy car ponchos are wayyy not warm enough to combat that howling wind when it’s minus twenty.
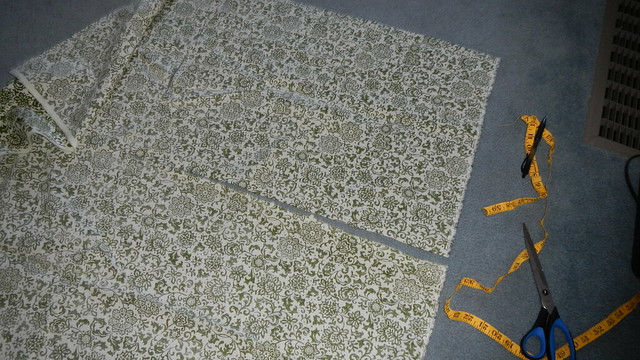
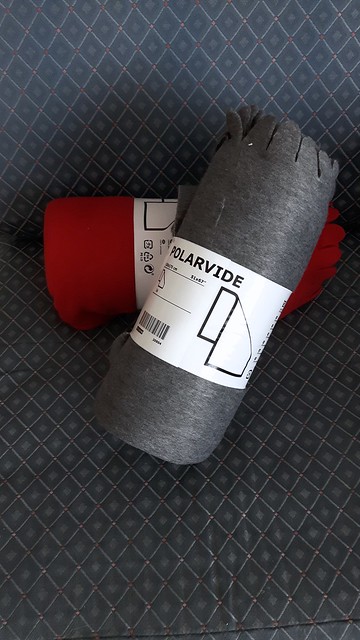
I figured, seeing as I’m doing all this sewing these days, why not make my own? At the fabric store near us, fleece is pretty expensive, usually about $7 a metre, but at IKEA, you can pick up a POLARVIDE fleece blanket for $5.99, and they’re almost 2 metres. They come in a variety of colours depending on the store and the season, and sometimes they go on sale and they’re even cheaper. I picked up two, for layering.
FOR THE LAZY: Just use one blanket. Sewing two together is less than easy.
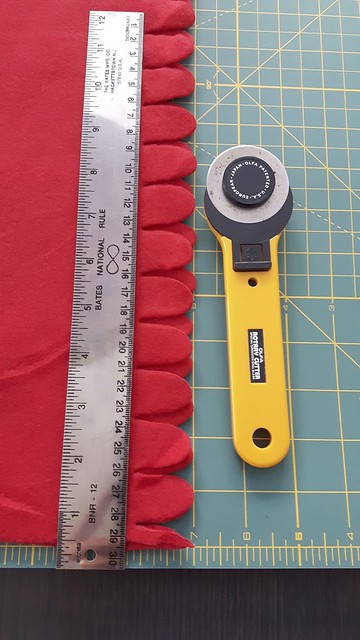
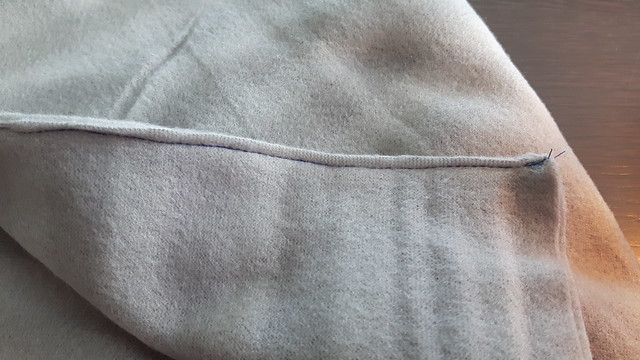
One side of the fleece has little round flibbety things that stick out, so I cut them off using my rotary cutter.
FOR THE LAZY: Leave ’em on.
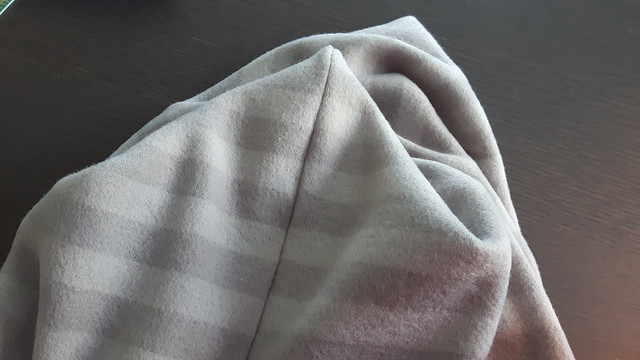
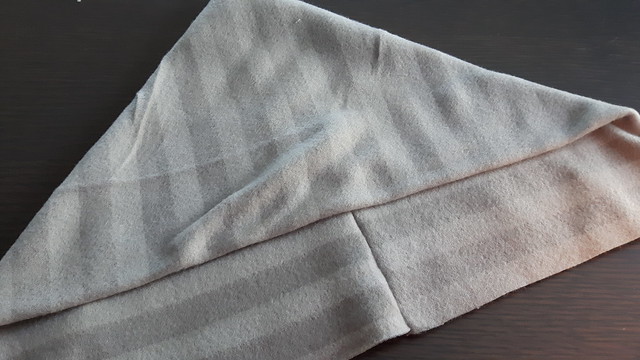
Then I went through a million permutations of how to layer the blankets together so that the raw edges were inside the blanket. But it was much too complicated for me so I just folded each in half on the short edge and flipped them so the folded edge of one blanket was against the open edge of the other.
FOR THE KEENERS: Sandwich the open edges inside so that the folded edges show on both sides.
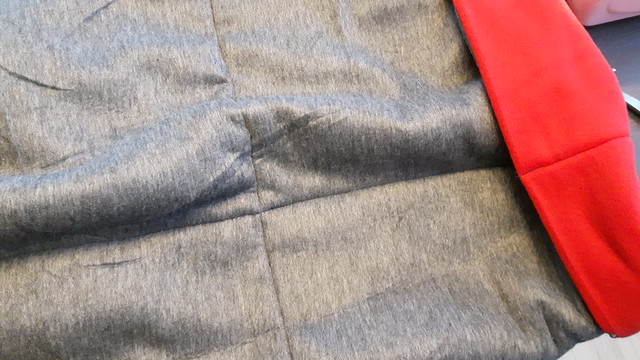
Then I started sewing the blanket together, starting with a straight line right down the middle, followed by another that bisected it perpendicularly.
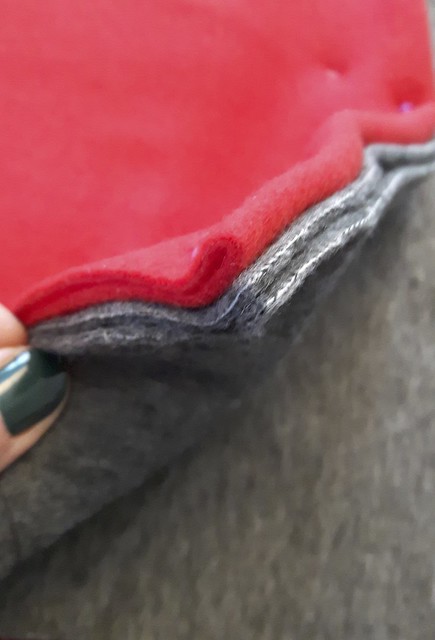
I kept going, dividing each un-sewed section in half and sewing through it, then I sewed around the edge. I did this to keep the different layers from bunching around each other. Four layers of fleece is hella bulky and it was really tricky with my little pink machine.
FOR THE KEENERS: Maybe try a bias binding on the outside edge, or sew your lines radiating out from the centre at angles.
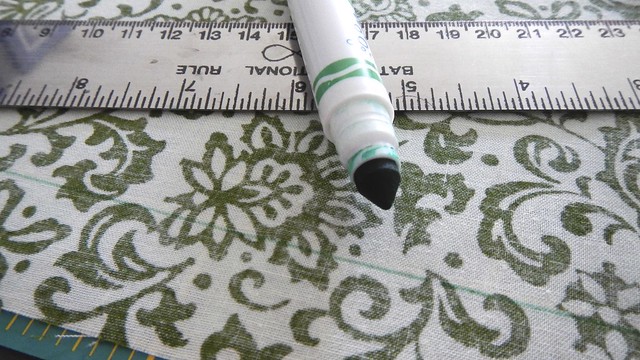
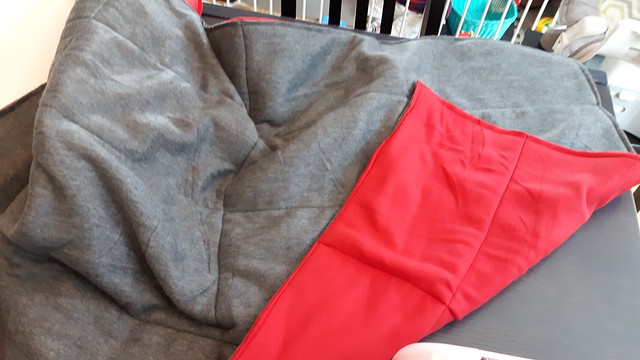
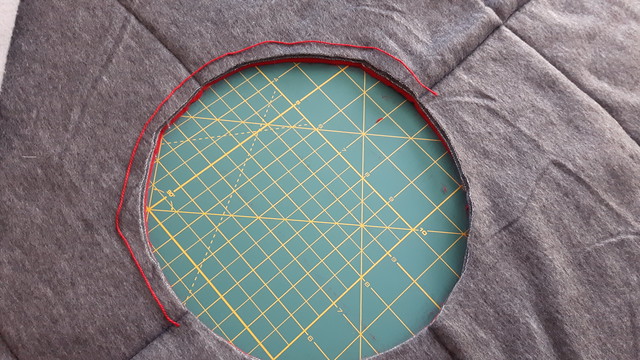
So now I have this big bulky blanket with four layers of thin fleece all quilted together. I need a head hole in the middle.
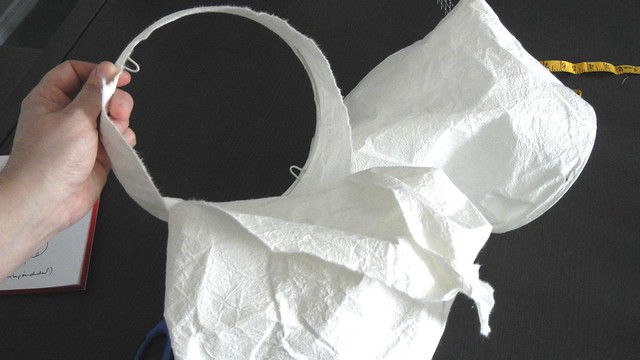
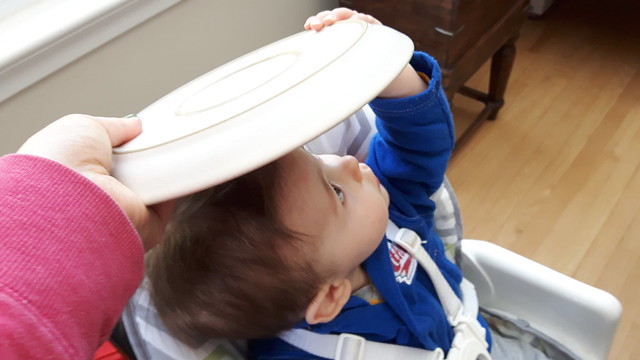
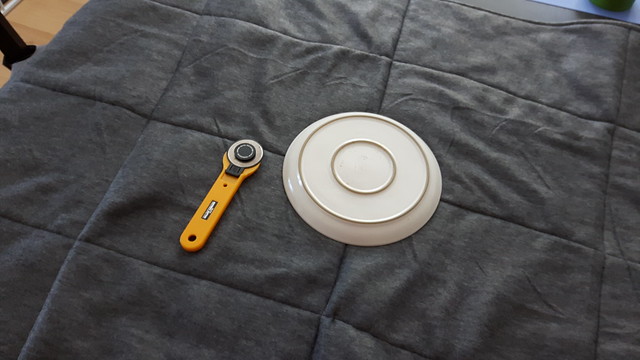
Here I am doing a very scientific measurement of LongJohn’s head diameter using a salad plate. It’s a little big, but babies heads grow alarmingly so I know it’s better to go too big here than too small. If you’ve ever tried to shove something too small over an angry baby’s head then you know what I mean.

Then I used the salad plate as a guide for cutting out the centre hole.
I waited until everything was sewn together before cutting out the hole because I knew I wouldn’t necessarily be able to line up all four holes properly if they weren’t already permanently stitched in place.
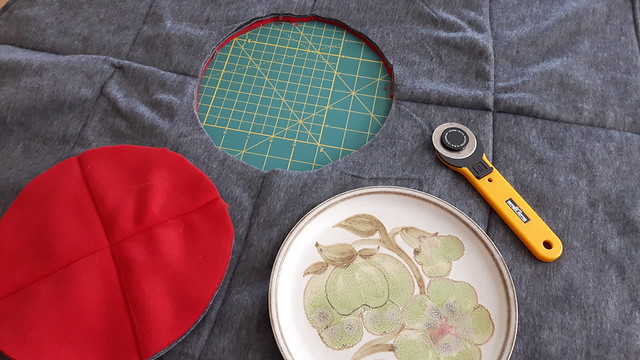
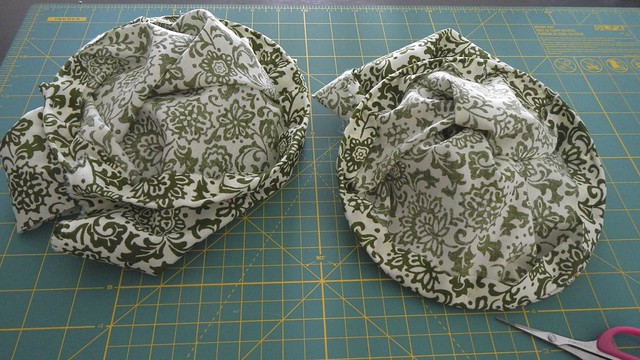
I’m trying to figure out what to do with the circle I have left. Any ideas?
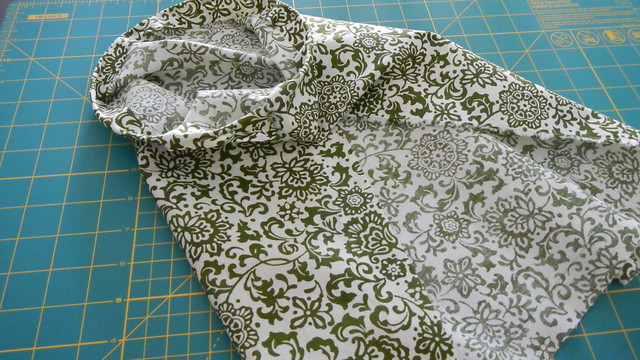
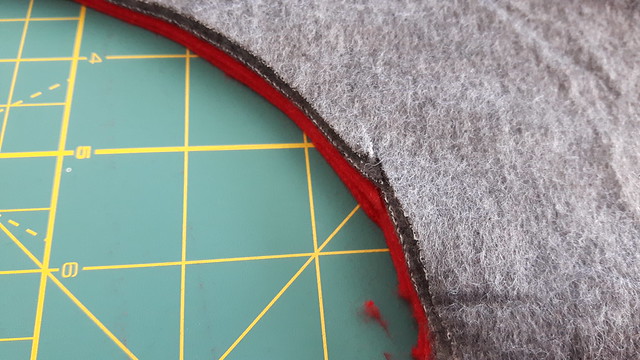
The resulting hole was a bit jagged (cutting through four layers of fleece at once with a circular blade is also less than easy). But it was easily tidied up with a pair of scissors.
Then I had to consider the hood. I was considering not doing a hood but babies don’t wear scarves and I didn’t want LongJohn’s neck all exposed to the elements, especially seeing as the head hole was so big.
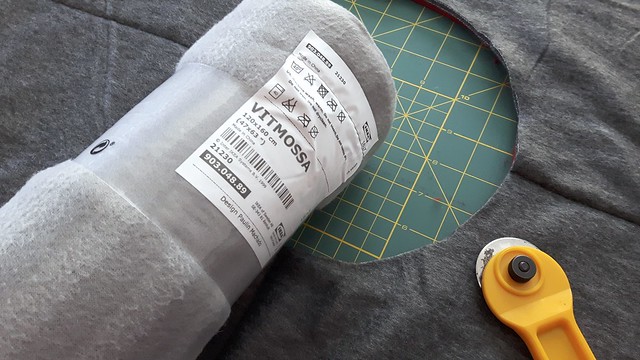
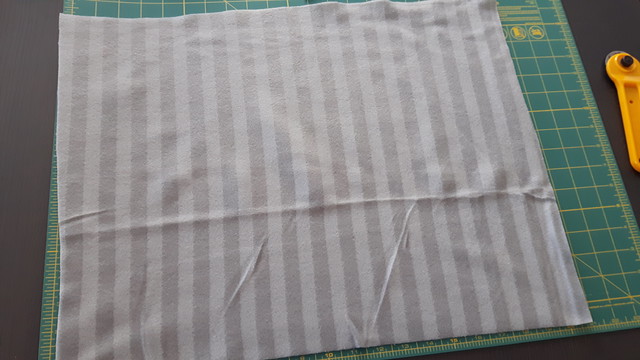
The VITMOSSA blanket, also from IKEA, is only $2.99. It’s a thinner fleece with a bit of stretch, and I figured that if I doubled it, I’d get a decent flexible hood.
I measured a distance of slightly over half the way around the circle and I cut a length of the blanket accordingly.
The idea here is that if I fold the piece over itself, the seams line up and the hood forms naturally.

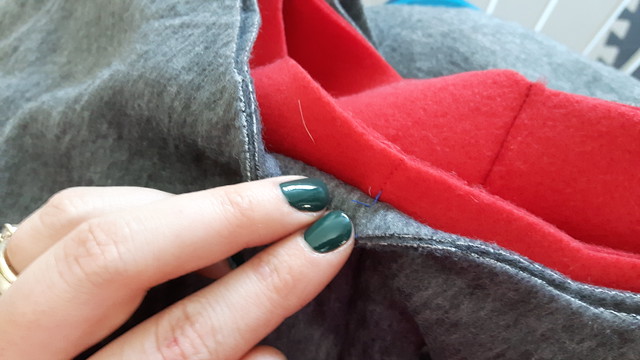
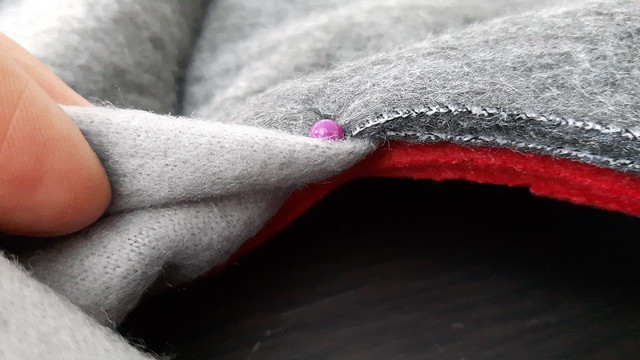
Because I want this thing to be reversible, I opened up a few of the centre seams in the poncho so I could sew the hood into the space in the middle.
Then I folded the rectangle that I cut out in half across the short side again. Inside-out.
And sewed up the two open sides perpendicular to the fold.
Turn it right-side out and then line up the two seams.
Tada, a hood! It has a pointy top so I would not recommend making this out of white fleece, if you know what I mean. Just to be politically correct.
FOR THE KEENER: Sew down the pointy top.
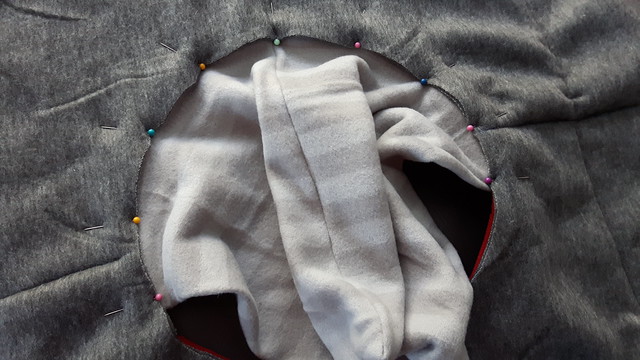
Then I pinned it into the head hole of the poncho.
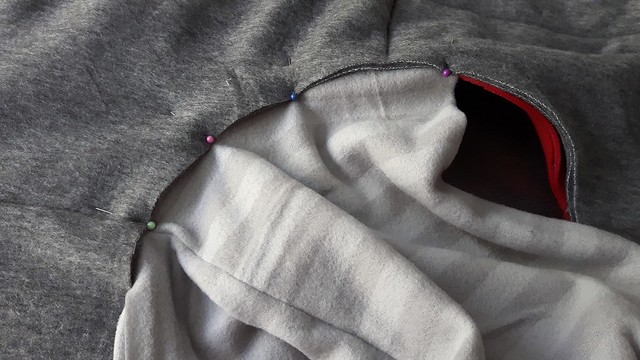
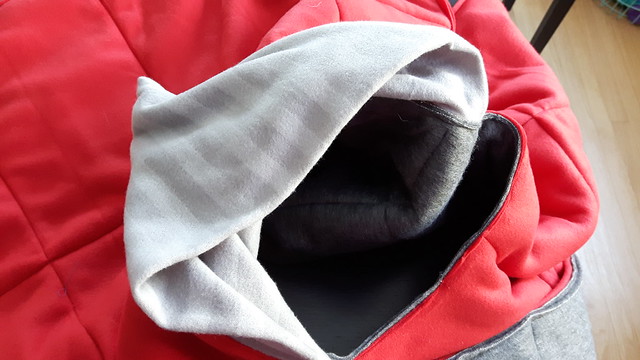
You can see here that it fits between the two colours of fleece.
Pin, pin, pin.
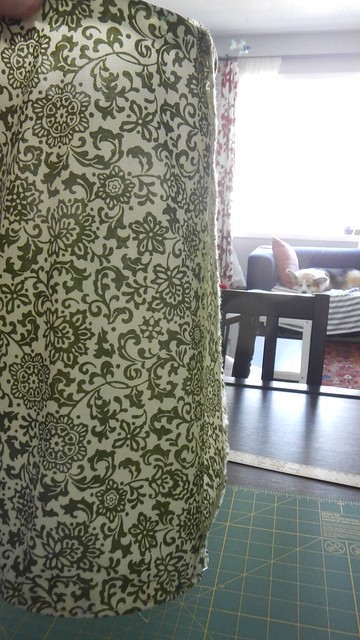
The hard part here was now sewing the hood into the poncho (that’s six layers of fleece, if you’re counting). I had to shove so much bulky blanket through the little arm of the sewing machine. And then rotate it as I went around in a circle. Slow and steady was the best course of action here.
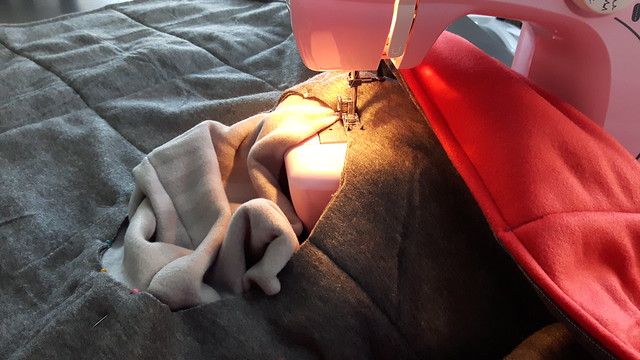
Once finished, you can see how it works on the gray side …
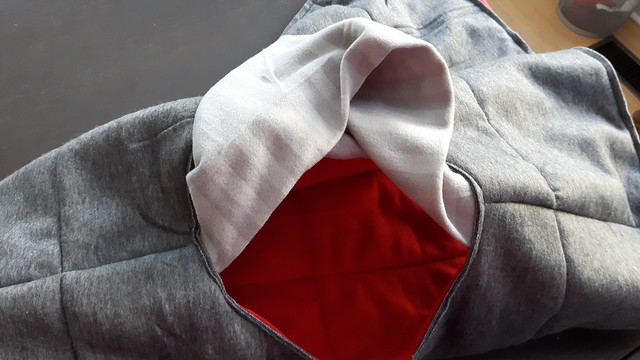
… and on the red side. I actually had to go around on the red side again because I’d missed a layer in my excitement.
FOR THE LESS LAZY THAN ME: Be more careful and get all the layers sewed at the same time.
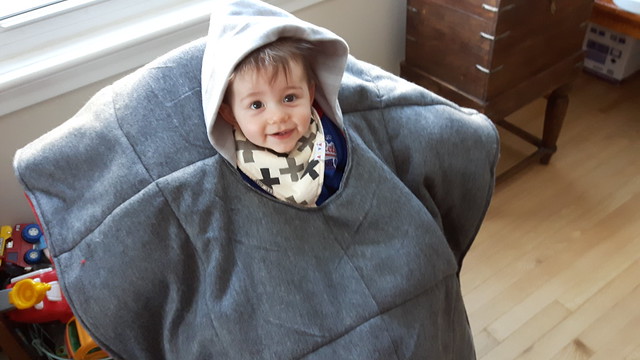
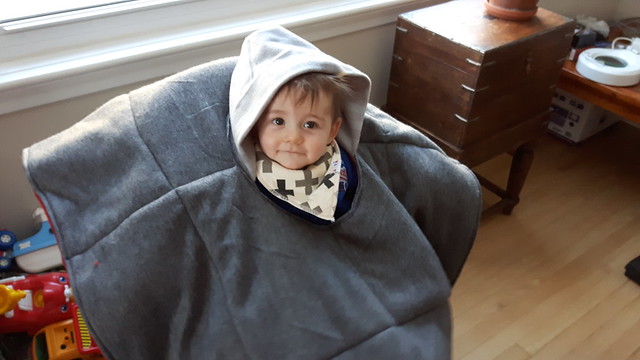
And now the test on my model.
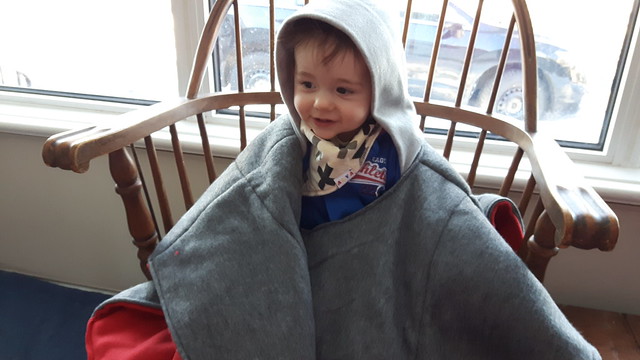
As you can see it’s roomy in the neck at the moment but I can always pin or clip that closed for now. He’ll fill out soon enough. He’d wear the poncho like this when I was carrying him or he was walking around. Which hopefully is far distant in my future.

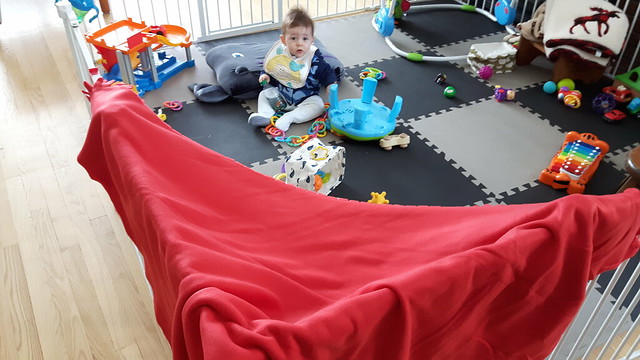
Then here he is in his high chair, which is standing in for the carseat (because it’s freaking cold outside today and I’m not going outside just to take a picture for you guys). The back of the poncho flips over the back of the car seat and the front part can be twitched aside while you do up the straps snugly against your little one. Then you just tuck it back down again and your kidlet is warm and snug!

I’m making another one for a friend with a much bigger baby (makes a great gift!) and I’m confident my head hole size (22cm diameter) will be entirely appropriate. I also have enough left of the VITMOSSA blanket to make a thinner, warmer-weather poncho too!