It’s baby season again. I know at least five expectant mothers, and it inspired me to try a different type of fabric printing. As much as I love the effect of screen printing, it’s not a feasible method for one-off productions – you really need to be working in bulk for it to be worth it. But thanks to our Silhouette Cameo cutter, I’m able to create a detailed design for much smaller projects.
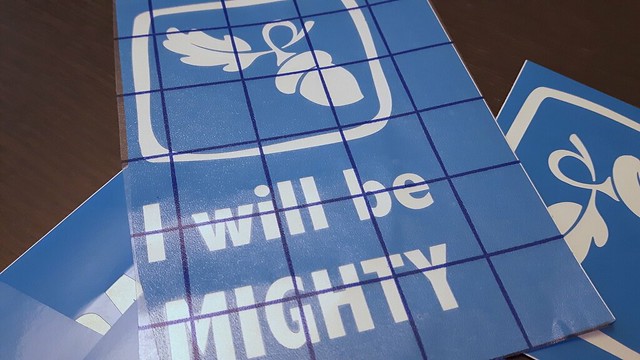
First, I began with the cutter and some adhesive vinyl, and I cut out my designs.
I am using the vinyl as a stencil, so the design itself becomes the negative space.

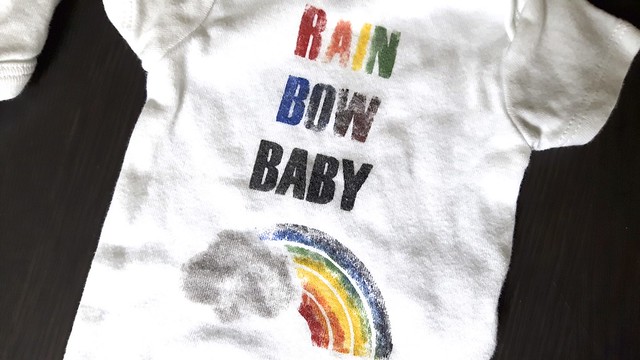
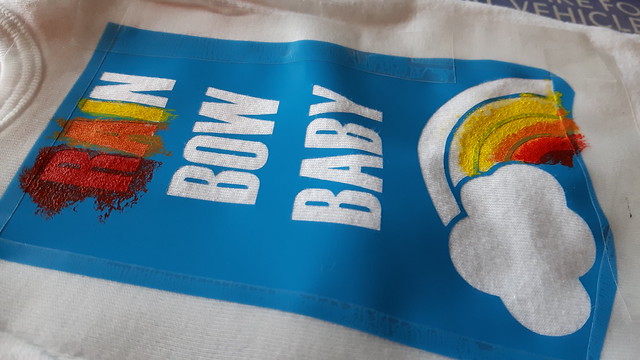
I repurposed a few letters from a rainbow baby design to decorate the raptor pen.
Next, I used transfer paper to cover the design, and a squeegee to make sure it was firmly attached.
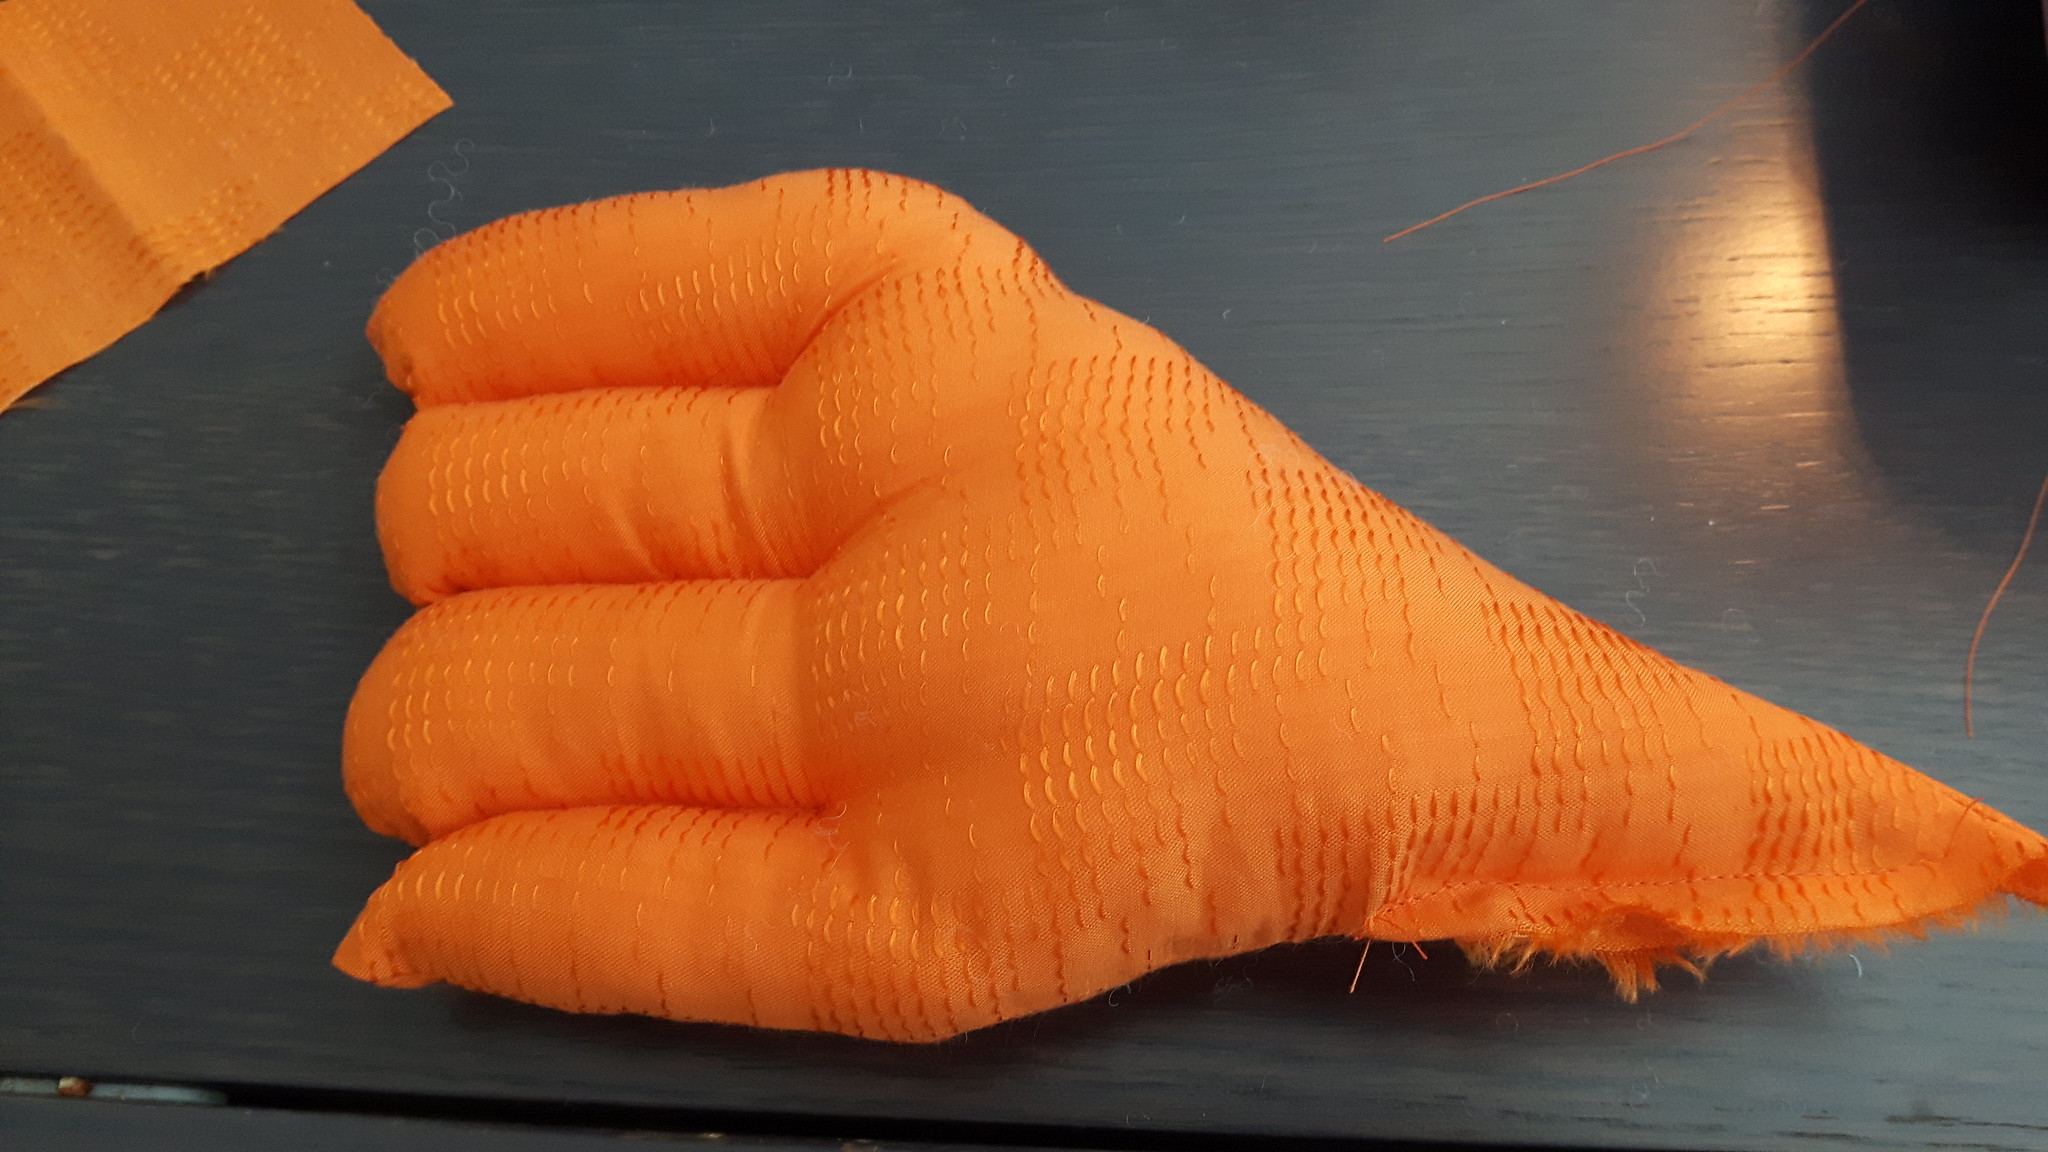
Now I could remove the backing to the vinyl and stick it onto the pre-washed onesie. I used a fondant smoother as a squeegee here.
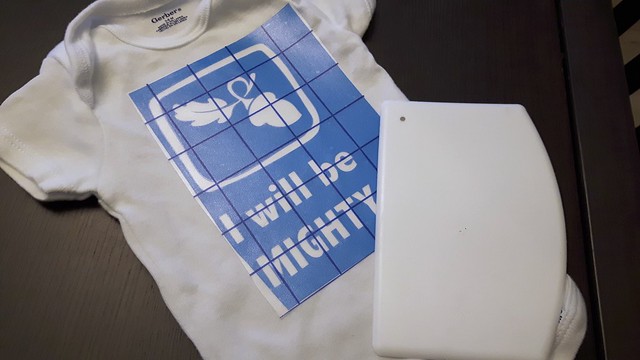
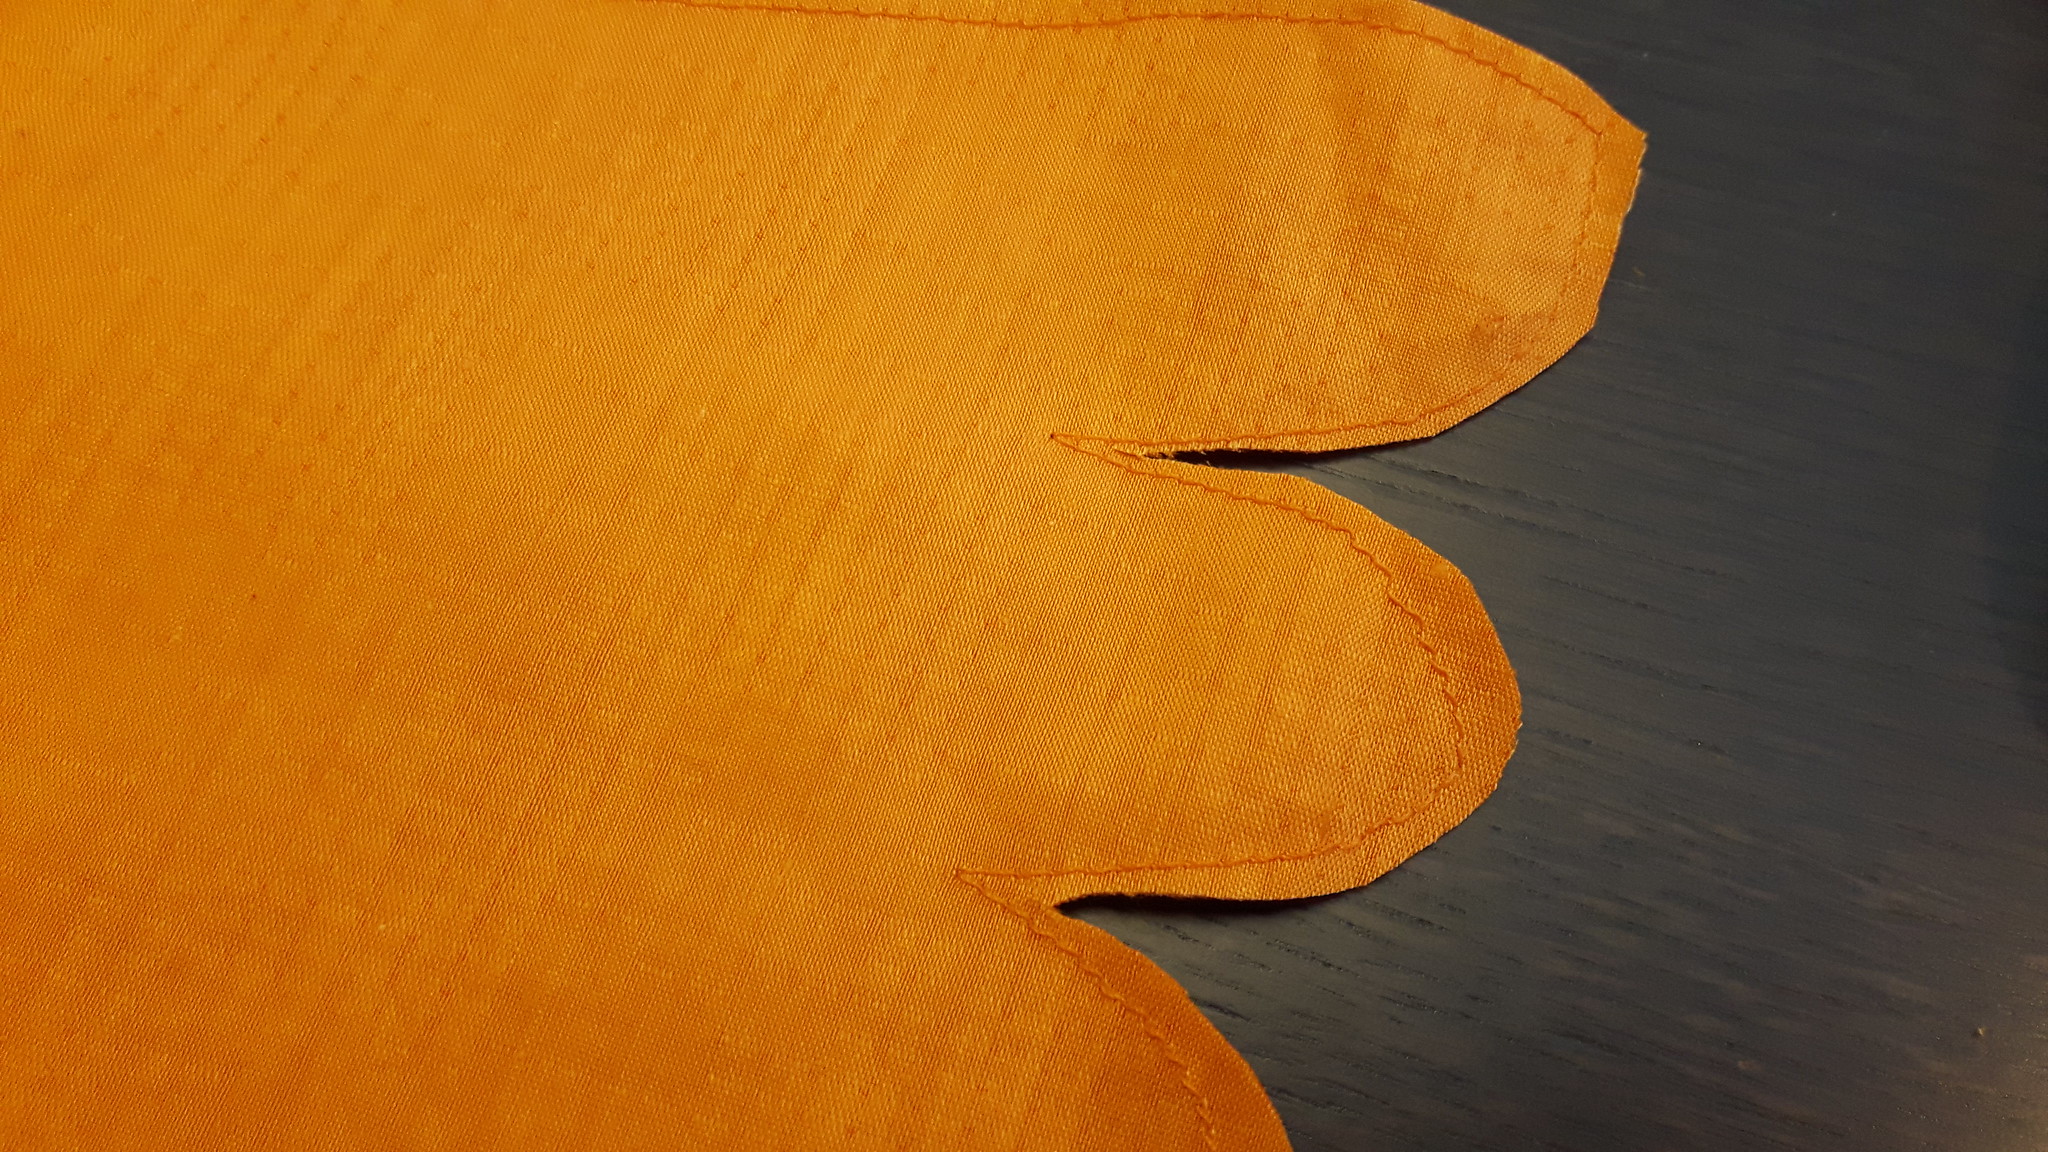
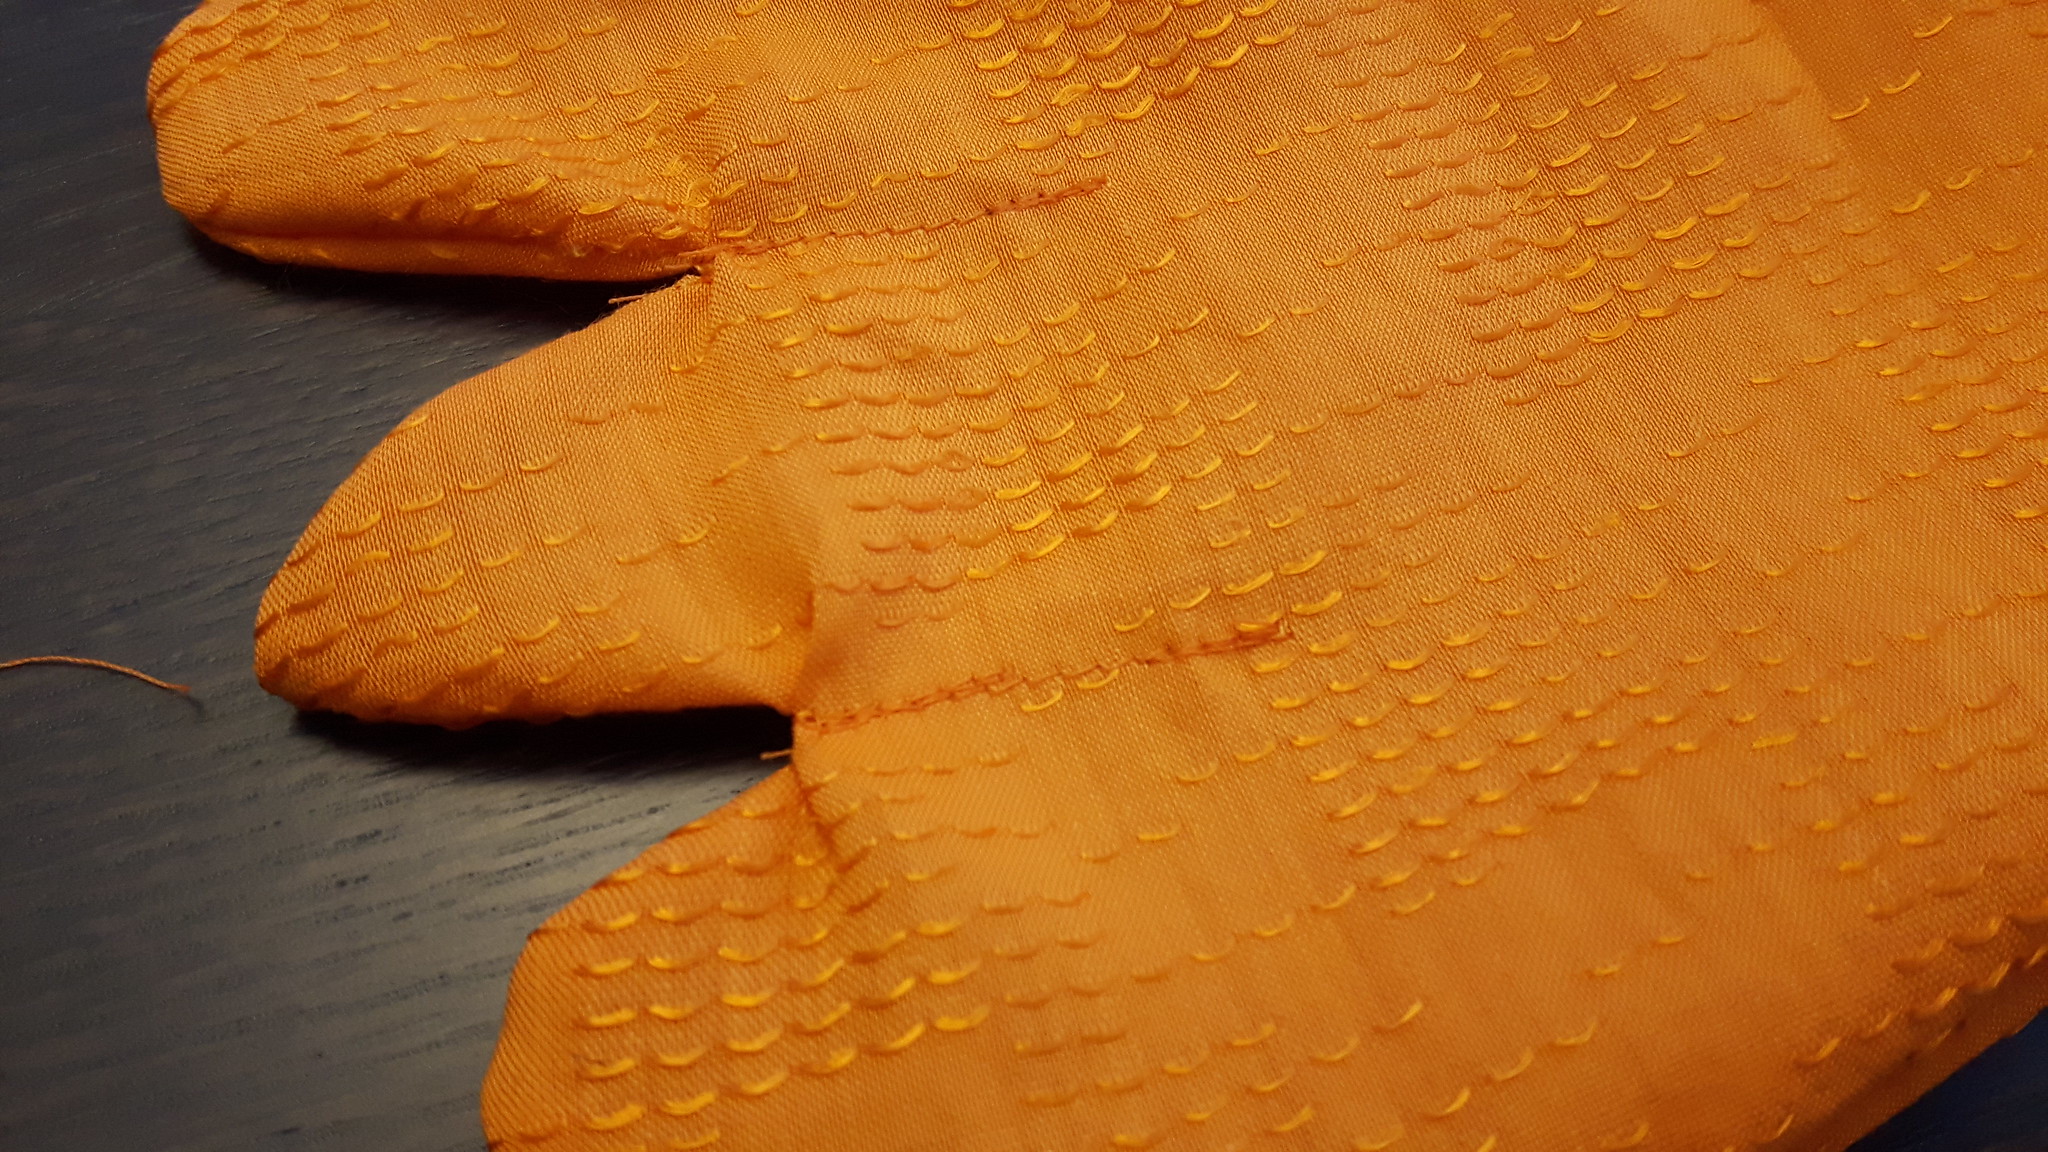
I very carefully peeled off the transfer paper and made sure all the vinyl was stuck down well. Because my designs were close together on the vinyl so as not to waste space, some of the designs came pretty close to the edge. I added some hockey tape as a protective border to ensure that I didn’t colour outside of the lines too much.

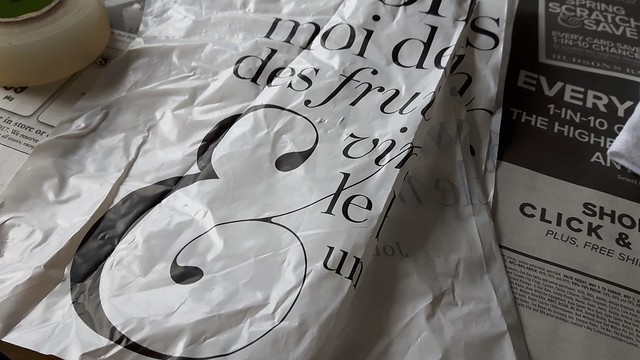
Remember of course that fabric is porous, so if you’re pushing ink onto it, you have to protect the back side of the shirt. I cut little rectangles out of a plastic bag and shoved one inside each onesie.
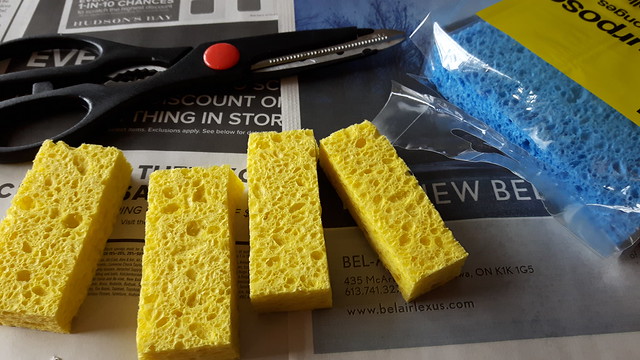
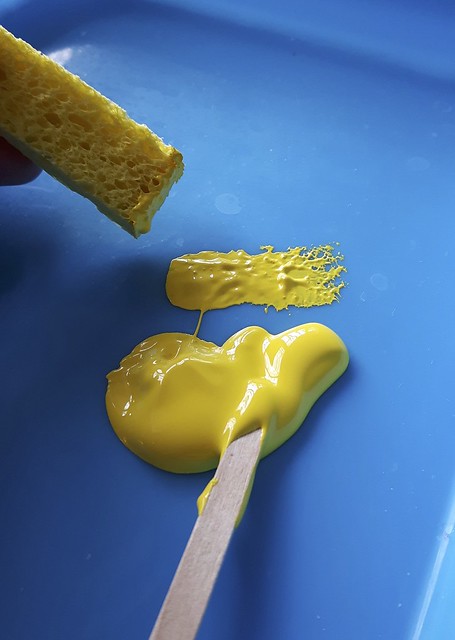
Now for the application! I am using regular cellulose kitchen sponges, which are very soft and have large holes in them. This will produce something of a vintage, faded effect on the onesie, because you’re not producing as much pressure as you would while screen printing. If you wanted something a little sharper, use a finer sponge, like a cosmetic sponge. They also make sponges specifically to apply paint and ink so you could use one of those as well.
I’m using my Speedball fabric screen printing ink, because that’s what I had on hand, but you could use any form of fabric ink or paint and you’d probably have a similar result.
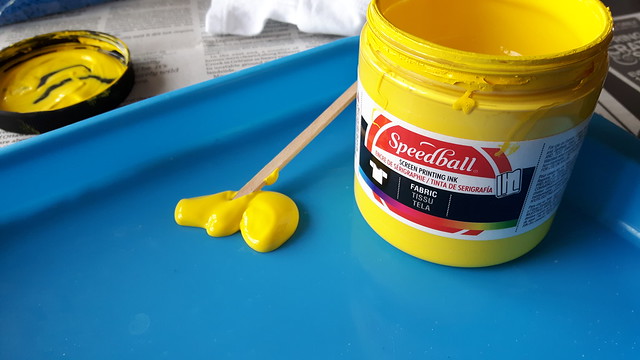
Dabbing a little bit of ink on the sponge – don’t want too much all at once.
Deep breath – ready?
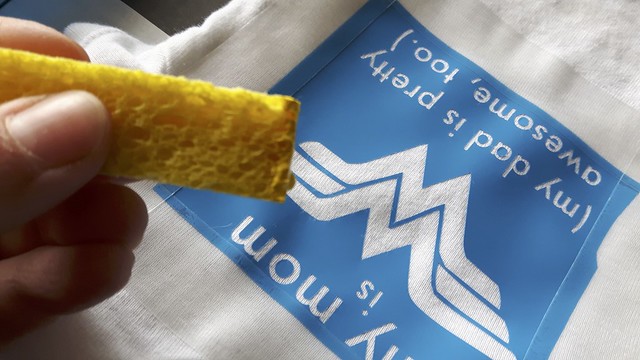
Here I gently dabbed the ink into the negative space on my stencil, dabbing a few times to ensure I got everything covered.
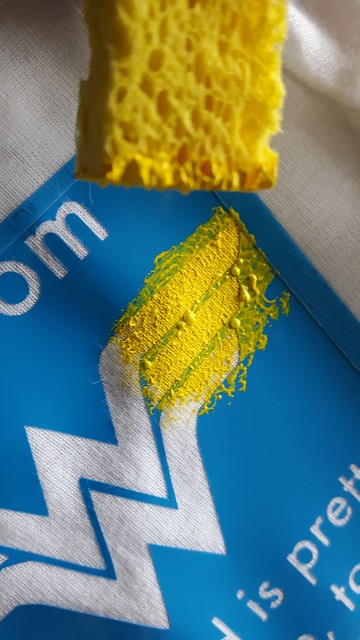
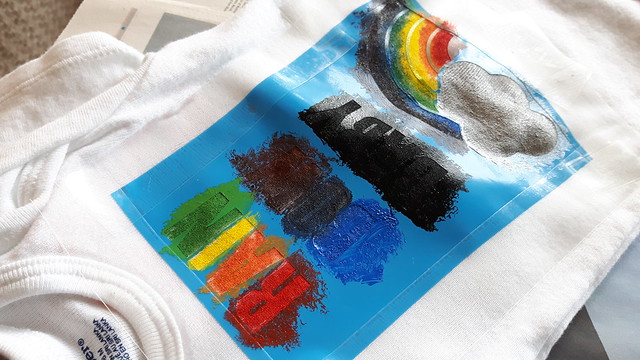
Then I started experimenting with blending colours.
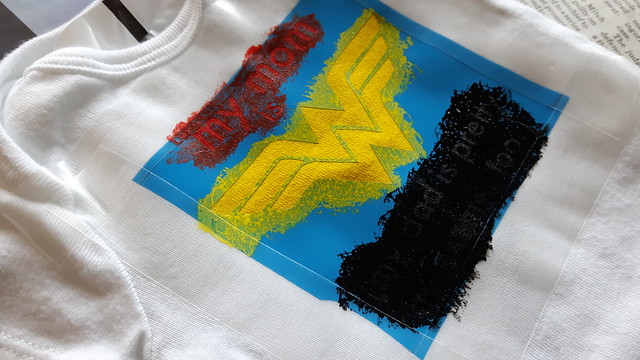
It got a little tricky when all the cut-outs were so close together.
Now I had to force myself to wait overnight for these to dry properly before I could see what they looked like.
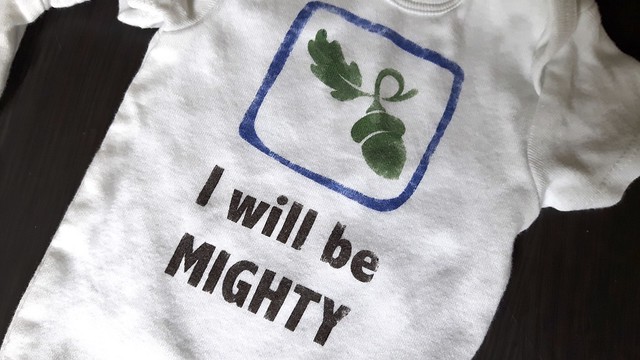
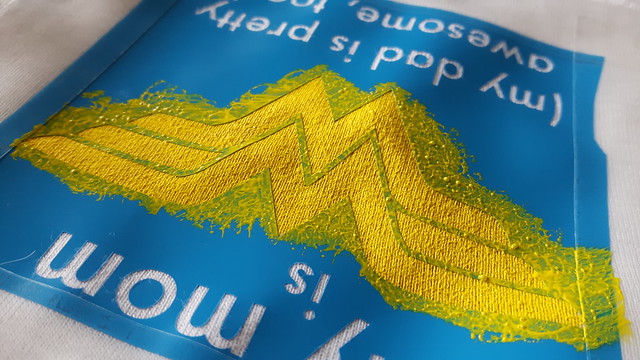
Okay I cheated: I pulled them off about four hours later. So this is the dried ink just after removal of the stencil. Everything is pretty sharp, but you have to wash this AGAIN to get any loose ink off.
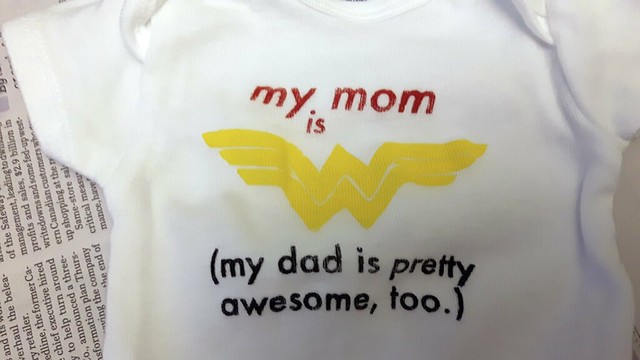
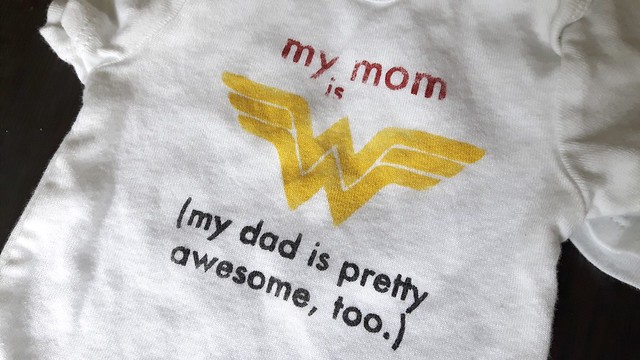
Here are my designs after another wash and run through the dryer. You can see that the ink is sort of faded in the corners, like a vintage t-shirt. TADA!