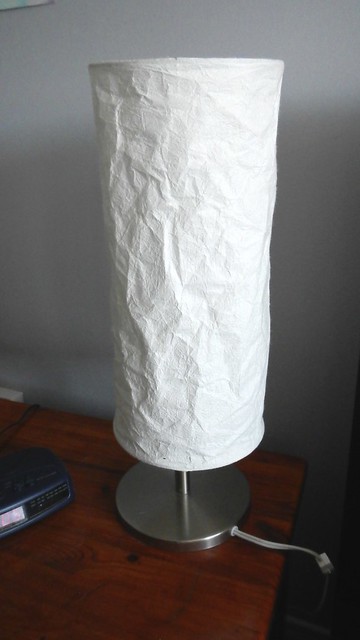
My final quarantine project was one I’d been meaning to get done since we moved into the house over a year ago. When we moved in together we bought a matching set of IKEA lamps: two table lamps and a larger floor lamp with crumpled paper shades. They were literally the WORST shades as the things that held the shades up so they looked crumpled fell out and were lost so you just had this wrinkly, torn, dusty, discoloured piece of paper sitting here and we really started to hate them. But they were cheap and they worked so we moved them across the country and back.
BUT NO MORE.
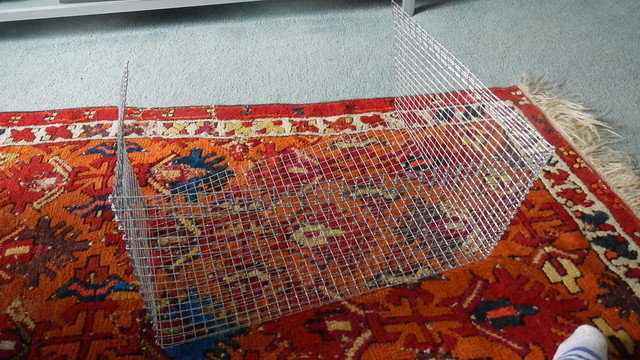
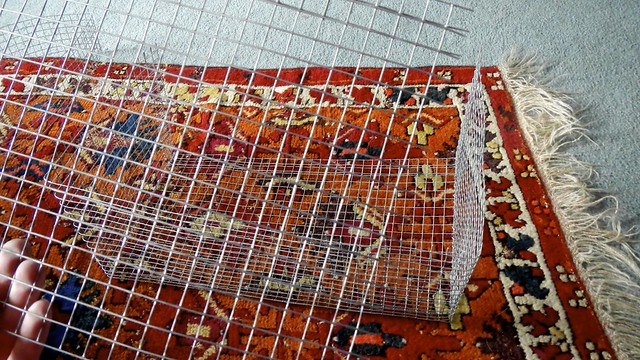
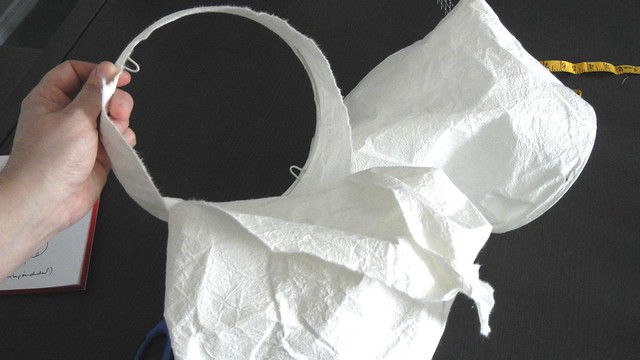
My plan was to use the wire frame of the shades to create a new surface for a slightly more durable fabric shade. So I carefully measured the dimensions of the existing lamps.

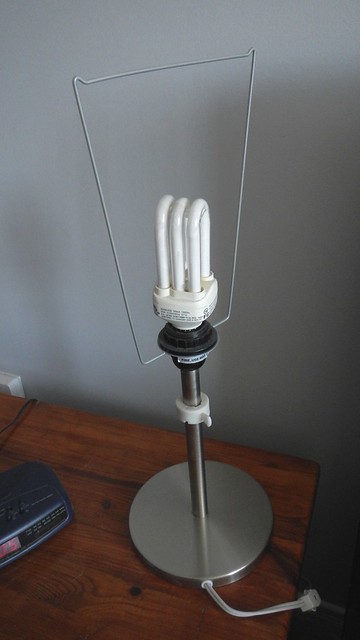
Then I took enormous pleasure in ripping the paper off.
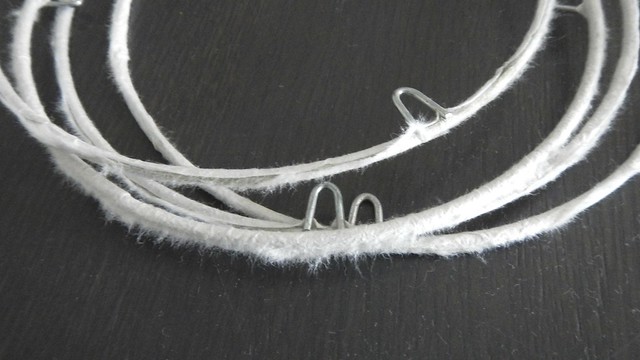
I soaked the wires in warm soapy water for a bit to get the excess glue and paper off.
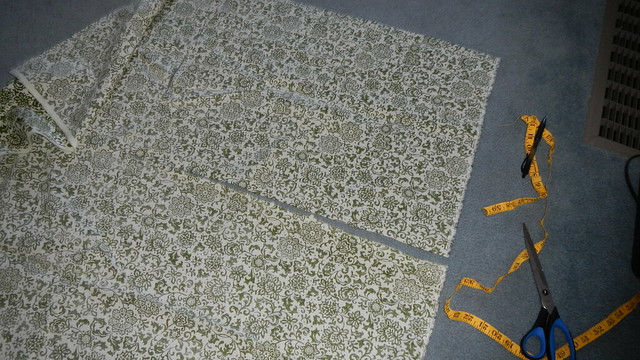
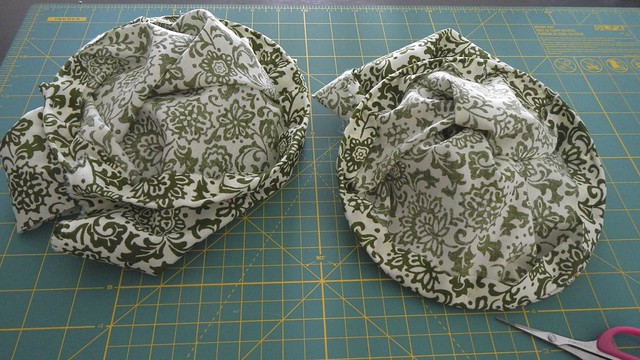
Then I measured and cut the fabric Cait and I had bought from Joann like forever ago.
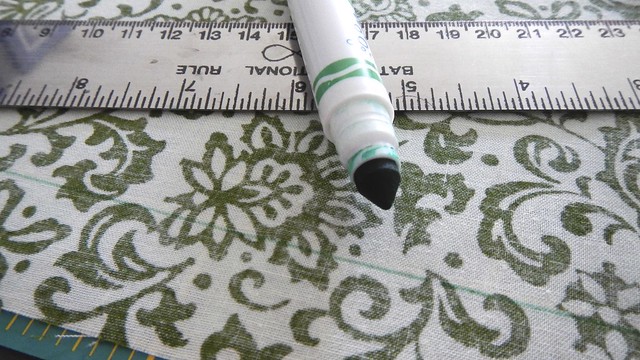
I don’t own any fabric markers so I use washable Crayolas instead. I measured an inch of overlap from the edges to wrap around the frames.
Then I used pins to fix everything into place.

One side done.
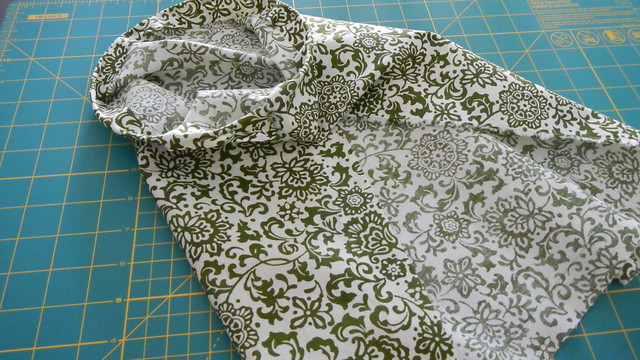
Both sides done.
I left the side seams open for now just because it was easier to manipulate them with it open.
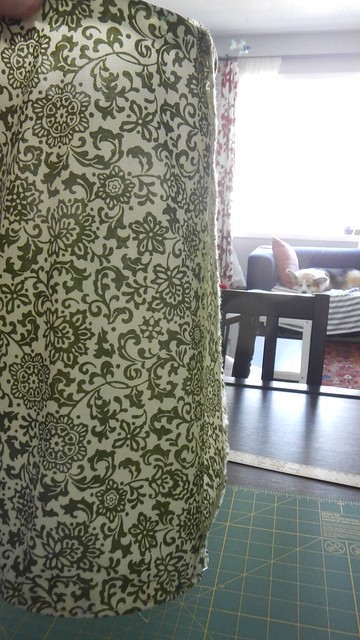
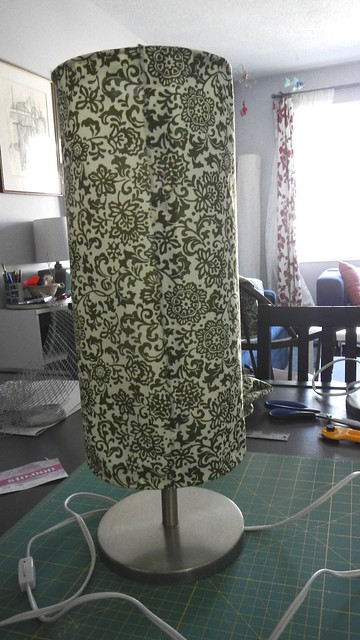
The best way to get this permanently affixed was to set it up so it hung properly, and the best way to do THAT was to put it back on the lamp.
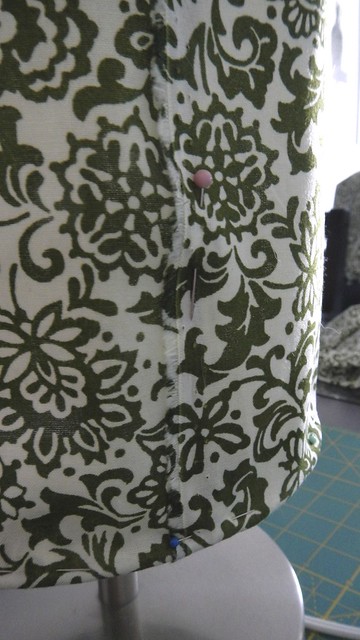
Now I pinned the side seams.
Then I used Mod Podge for fabric and just glued all my flaps closed.
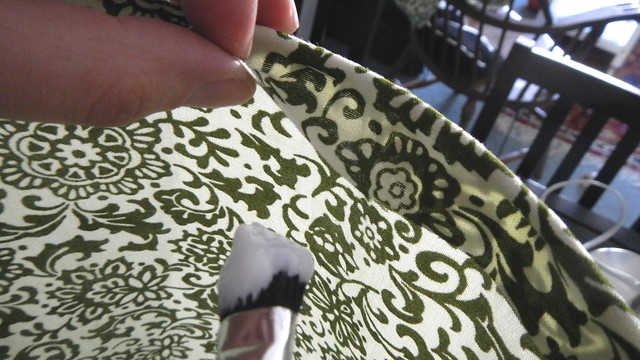
It didn’t take long. I made sure to take the pins out while the glue was still wet.

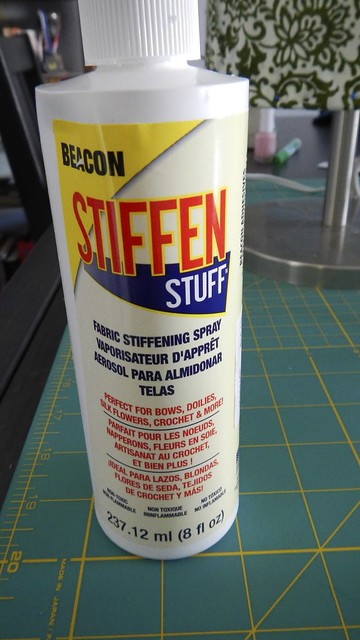
Once it was dry I sprayed the whole thing with Stiffen Stuff, which is sort of a spray starch for making things like bows and ornaments rigid. Another option would have been to wash the fabric with liquid starch and iron them flat before pinning. It might have had a more uniform look to the finished product but it would have been more difficult to manipulate.
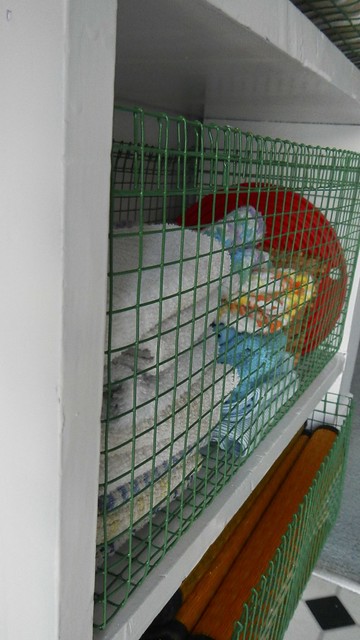
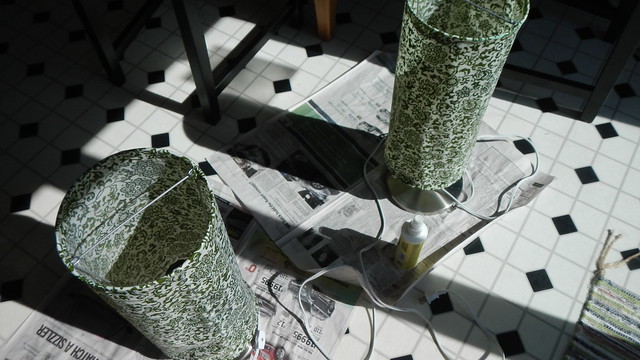
I let the starch dry in the sun.
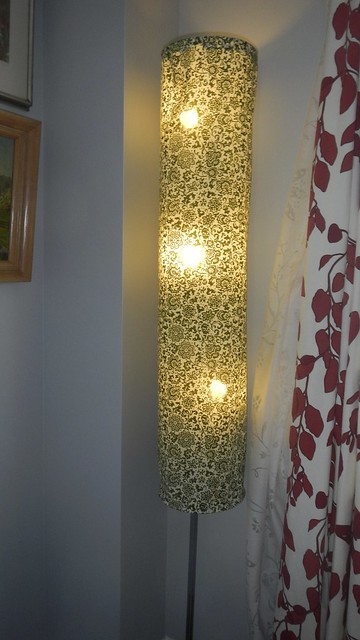
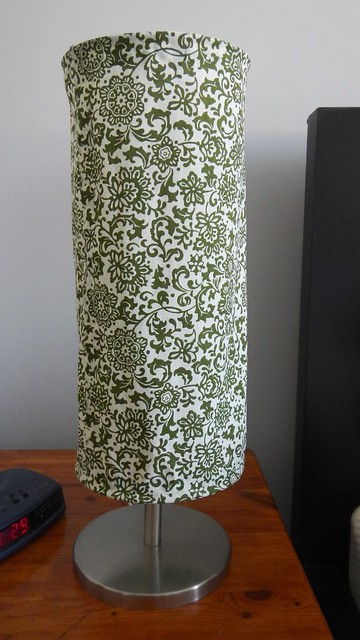
The finished product, off.
And on.
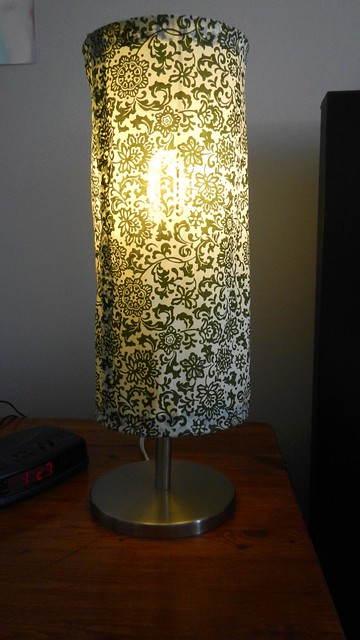
I did the big one too. I’m quite pleased!