Clay Leaf Bowls

Clay Leaves 33

My mother is an artist and as such has a lot of artist friends. When I was a kid, a couple of them ran various art schools and camps and to show support, my mother sent me. I have very little artistic skill, but I loved the camps, because I got to learn new techniques and work with my hands. I especially loved working with clay. I once made a beautiful pistol replica (I was a weird kid) but it blew up in the kiln so I never saw the fruits of my effort. My lack of skill hasn’t stopped me in the years since, and when I saw these beautiful dishes from Urban Comfort, I thought, “I can do that!” So I did.

Clay Leaves 54

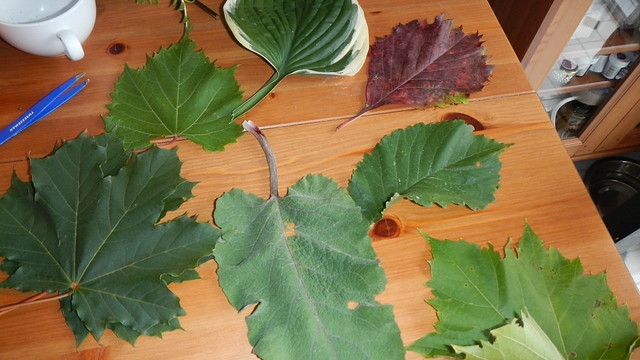
First, you need to gather yourself some leaves. Go for the fresh ones, as they’ll be the most flexible. In these sorts of projects everyone seems to go for the beautiful fig leaves and things like that. Well, figs don’t grow in this Arctic wasteland. So I went with what was available: various forms of maple (it is Canada, after all), some ornamental grapes, random roadside vegetation … What ended up working the best, however, in terms of creating easy dishes, was from my own backyard: hostas, nasturtiums, and the gorgeous morning glory that has been tumbling over my fence all summer.

Clay Leaves 13

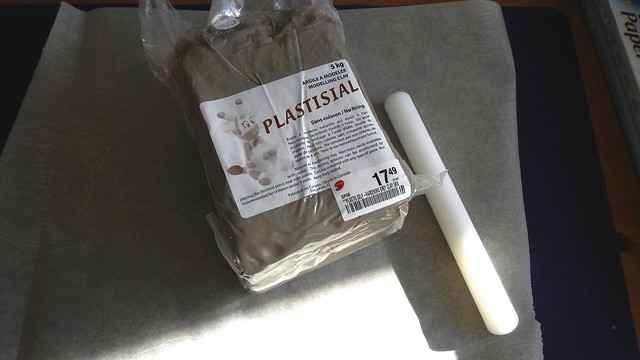
Then grab yourself some air-dry clay (this means you don’t have to shove it in a kiln, though if you have access to a kiln, you should probably use it for these as it will make them much more durable). I picked up a 5kg block of it for $17.49 at DeSerres (actually, I had a gift card, so it was FREE).

Clay Leaves 1

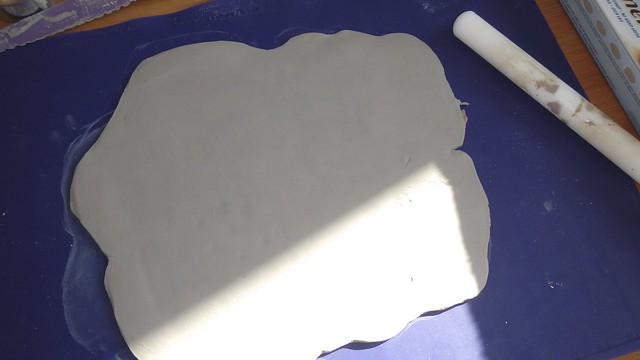
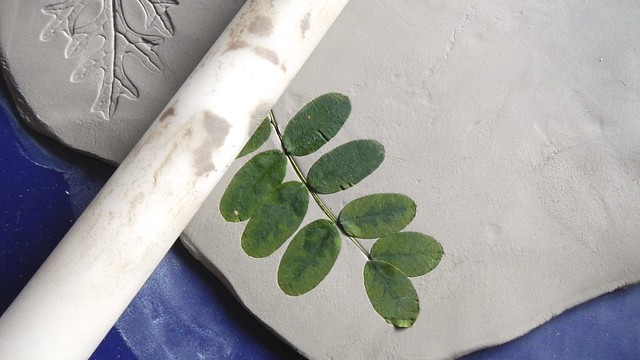
Grab a hunk of it and roll it out to your desired thickness. I used a fondant roller to get a smooth surface. The leaves look better in clay about 2mm (~1/8″) thick, but that makes it much more fragile to handle, so you probably want to aim for around 5-7mm (~1/4″). I use this Kitchenaid silicone mat as a work surface for anything non-toxic, including pies. It’s amazing and portable and easy to clean.

Clay Leaves 2

Now, I did find that if I went straight to leaf pressing and cutting from this stage, my clay was too firmly stuck to the surface to get a good result.

Clay Leaves 12

Accordingly, I carefully peeled the clay sheet off the mat and flipped it onto a piece of parchment paper and went from there. It was just easier and made sure both sides of the sheet of clay were smooth.

Clay Leaves 14

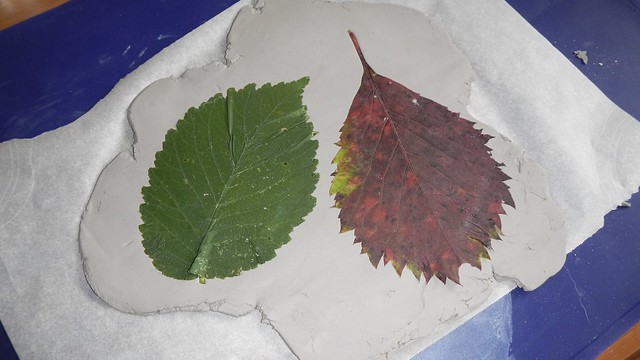
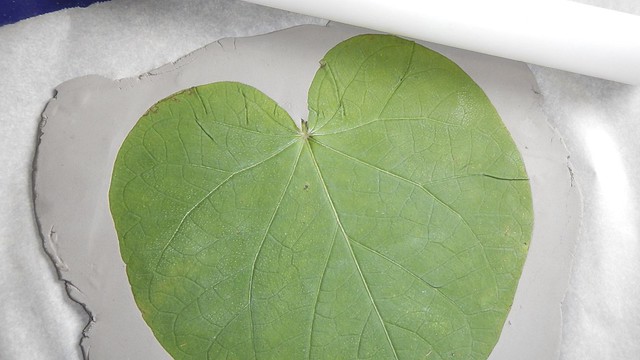
Then you grab your leaves and flatten them into your clay. I used the fondant roller again to get them in there nice and good.

Clay Leaves 5

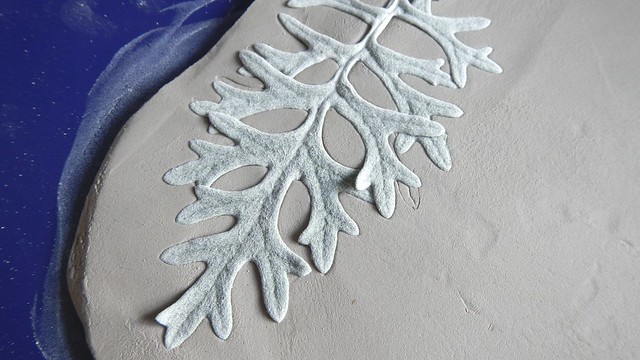
These ones I am not turning into dishes – I just wanted to see what effect they would create.

Clay Leaves 3

It’s neat.

Clay Leaves 7

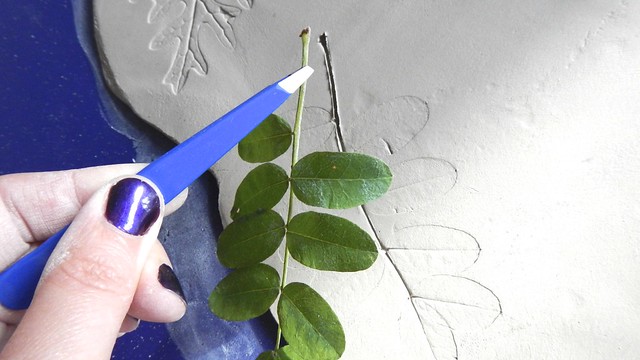
Use tweezers to get tricky ones out of the clay and pick out any stray bits of debris.

Clay Leaves 6

You will have some folds and wrinkles in your leaf, just because it’s hard to press something flat that isn’t naturally flat. But don’t freak out – it just adds to the texture.

Clay Leaves 16

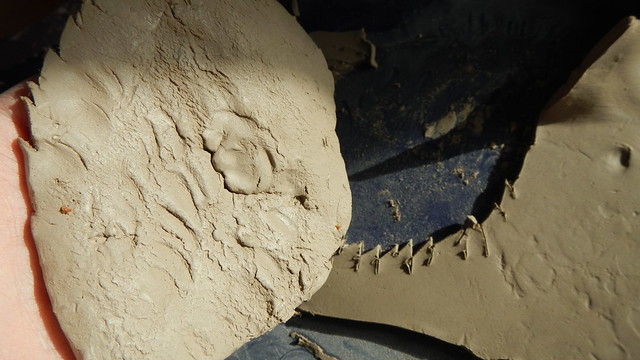
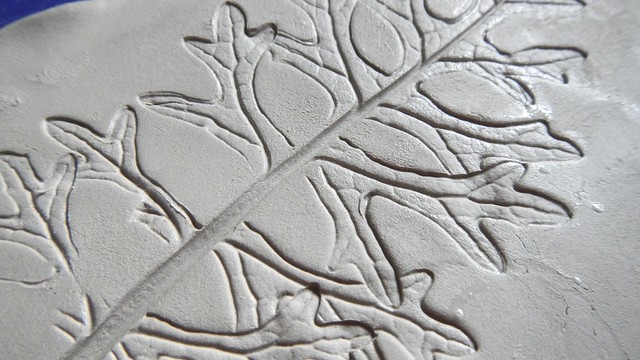
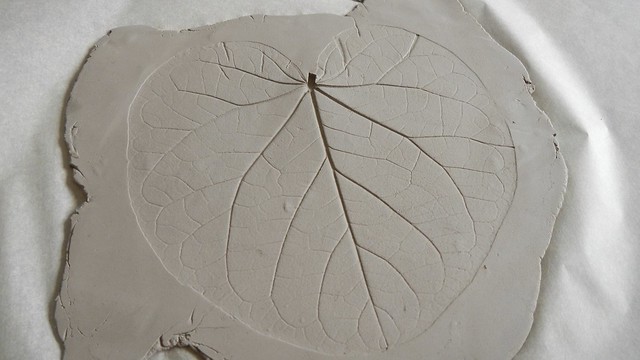
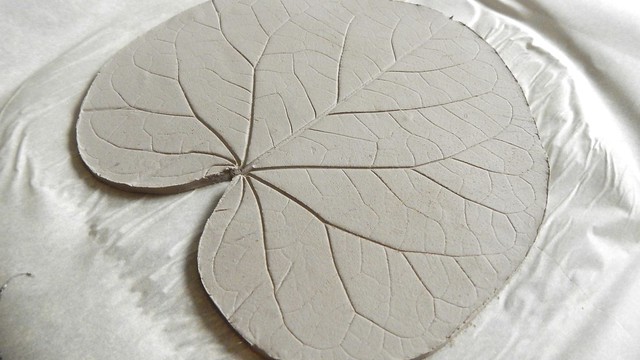
Once you’ve gotten your leaf carefully removed you end up with this lovely impression, veins and blemishes and all.

Clay Leaves 17

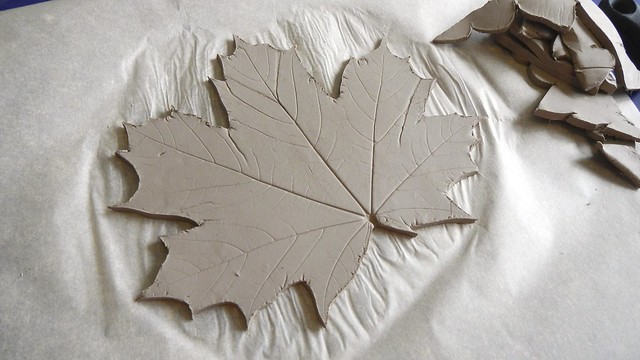
Use the tip of a small sharp knife (Xacto, paring, whatever) to cut along the edge of the leaf and carefully peel away the excess clay.

Clay Leaves 18

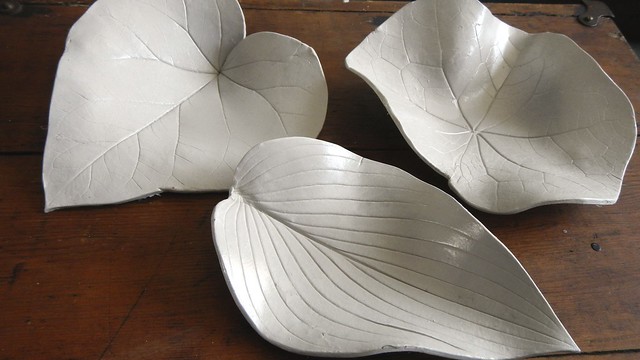
This was way easier to do with round leaves than with the pointy ones, as you can see, and the round ones made better dishes anyway.

Clay Leaves 15

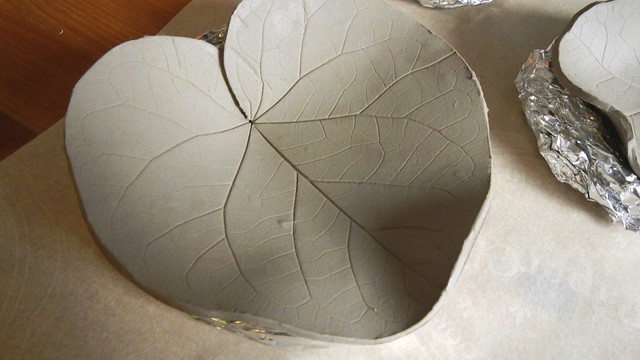
Make a little ring out of aluminum foil and pick up your clay leaf. Bend the leaf into a more natural shape (which it will want to do anyway) and set it inside the ring to dry. Feel free to play with curling the edges up and down, in the way that the leaf would do in nature. I left mine to dry overnight, then I flipped them over (with support) to dry on the bottom for another night.

Clay Leaves 19

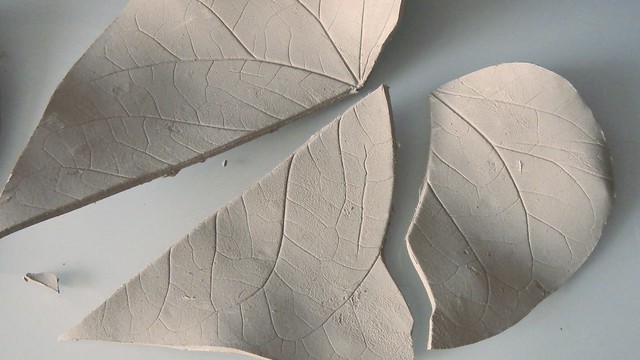
Now you’re done! It’s up to you what you do with them next. They’re pretty fragile still, so nothing hardcore. My biggest morning glory ones broke along their vein fault lines just from picking them up wrong.

Clay Leaves 43

Clay Leaves 42

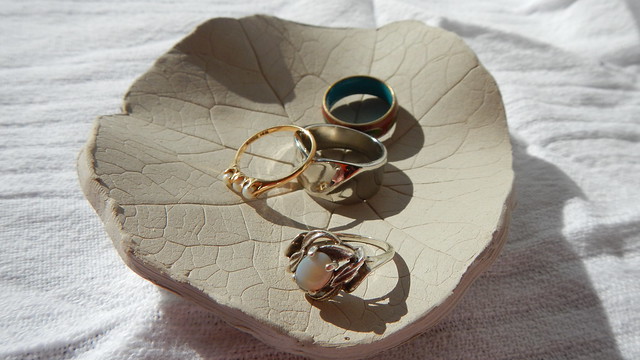
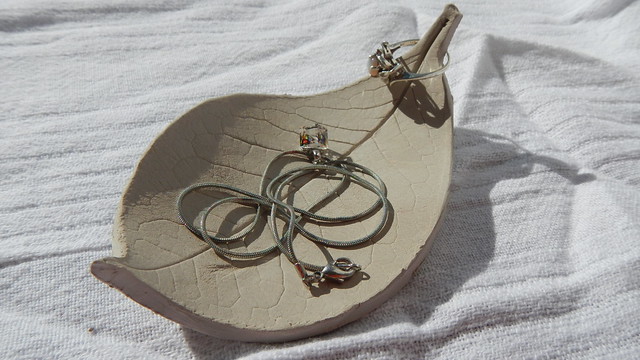
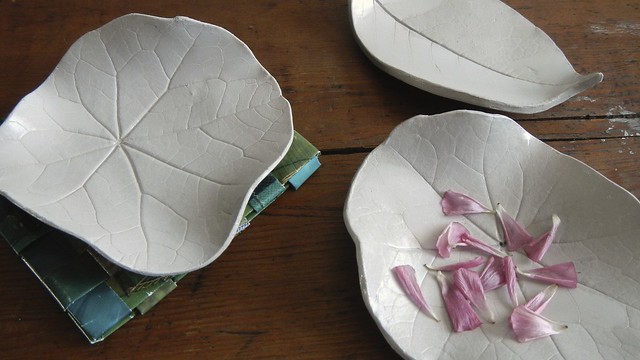
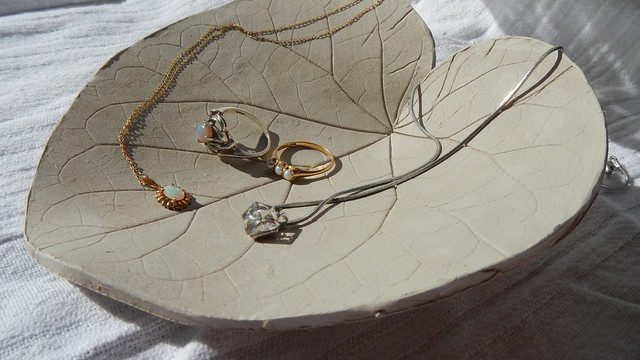
But they make pretty neat little dishes for small items, such as jewelry.

Clay Leaves 24

Clay Leaves 26

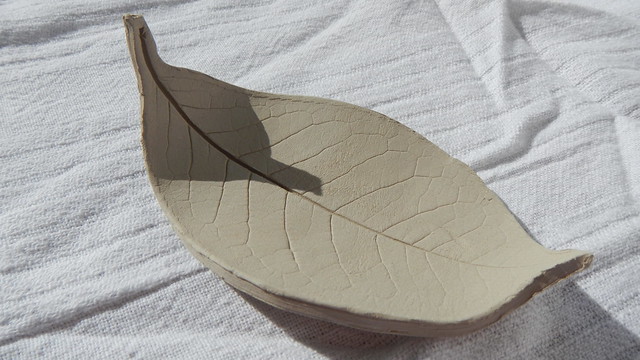
This leaf with a stem makes a nice holder for rings.

Clay Leaves 21

Clay Leaves 22

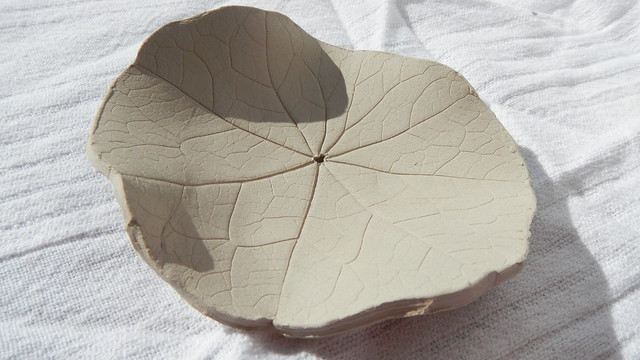
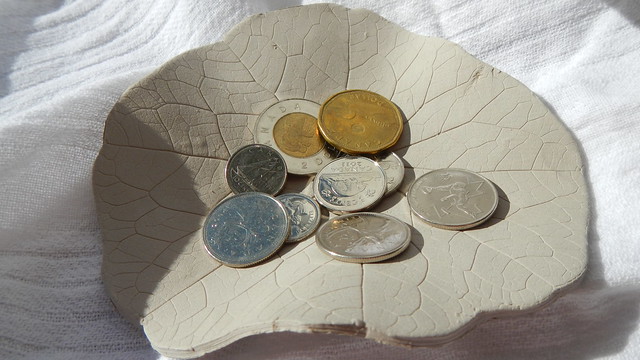
The larger nasturtiums make neat bowls for pocket change. In Canada we recently got rid of our penny, but with both our $1 and $2 denominations in coin, we still have plenty of change kicking around!

Clay Leaves 36

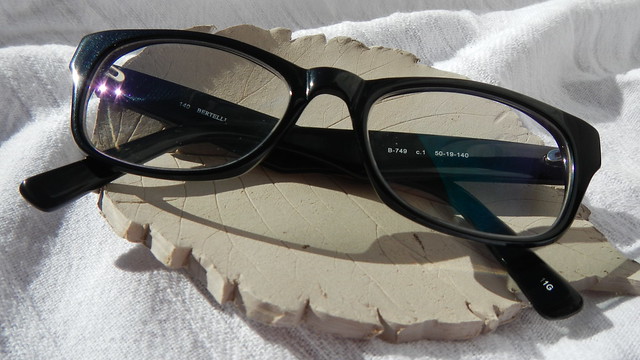
And these grape leaves make a good place to keep your spectacles, if you’re the type of person who forgets where you put them.

Clay Leaves 39

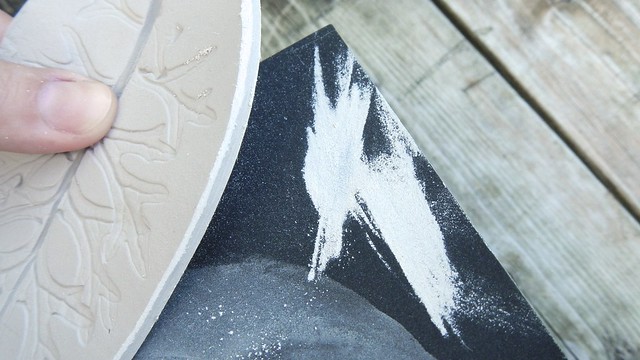
Because the clay is uncured, it tends to scrape off and leave a residue, so I wanted to finish them off a bit. I used an ultra-fine sandpaper to smooth off the edges of each dish. Make sure you do this outside in a well-ventilated area. Not only does the clay dust get everywhere, but you’re also likely to inhale a bunch of it if you’re not careful. Dust off each piece completely before you do anything else. Compressed air is handy for this, but make sure to do it outside.

Clay Leaves 40

I then painted each piece with an outdoor satin sealer that adhered pretty well to the clay surface. I like the soft shininess of it and the fact that it didn’t sink into the porous clay and discolour it.

Clay Leaves 45

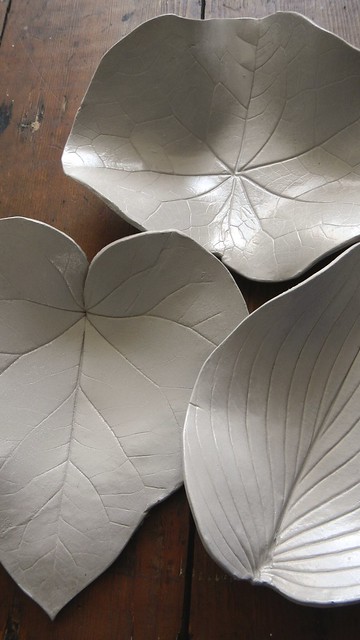
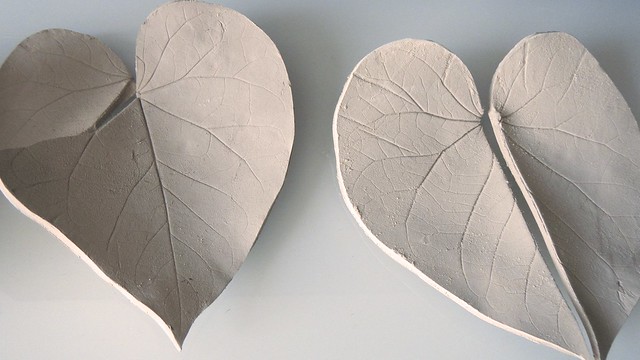
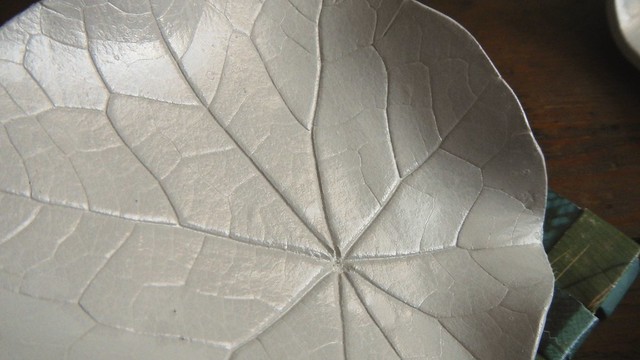
Some of the finished dishes. The one on the left is my favourite, because it’s so thin and delicate. I’m betting good money that whomever I give it to will break it within a week, and it won’t even be that person’s fault.

Clay Leaves 44

And some of the bigger ones. I made so many that pretty much everyone on my gift list is getting at least one. And because of that handy gift certificate, this cost me nothing but time!

Clay Leaves 52

Christmas Fruit Cakes

My mother calls them fruit cakes.  My father calls them Christmas cakes.  Or it’s the other way around.  I can’t keep track of those two.

Nevertheless, before every holiday season, my dad makes between two and three dozen of them to give away to all their family and friends.  Being the stalwart Scots that we are, we fight over who deserves a whole cake and who gets only a slice.

You can’t be ambivalent about fruit cake.  You either love it or you hate it.  And I can promise you that this is not the leaden, dry, horribly frosted version that you hate.  This is the ooey-gooey sticky sweet and moist brick of goodness that you will LOVE.  Guaranteed.

Keep in mind that this recipe is easy to make.  Especially if you make several dozen.  However, you have to start your preparations the day before and baking time can take up to four hours for large cakes.  Not to mention that you can’t eat them right away — these cakes need a spell before they’re good to eat.  These ones here are from back in 2007.  They should be super excellent now.

Day the First:

In a large bowl, measure in 1 1/2 cups whole blanched almonds (blanched is key because the skin is bitter), 2 cups dark raisins, 2 cups light raisins, 1 cup currants, 2 1/2 cups chopped dates, and 2 1/2 cups candied citron peel.  My dad says that when making several batches it helps to bring a measuring cup to the health food or bulk store and measure what you need right into the bag so you don’t have to worry about having any leftover.

Drain a 12oz (340g) bottle of maraschino cherries, saving the juice.  The cherries should measure about 1 1/4 cups.  Add them to the mixture in the bowl.

Pour in 1/2 cup brandy (or fruit juice, if you prefer) and give it a stir.  Cover the bowl with plastic wrap and leave it at room temperature overnight.

In a heavy saucepan, simmer one 19oz (540mL) can crushed pineapple with 2 cups granulated sugar.  Cook, uncovered, until thickened, about 45 minutes.  Make sure to stir frequently. 

By the end, the sugary pineapple should measure 2 1/2 cups.

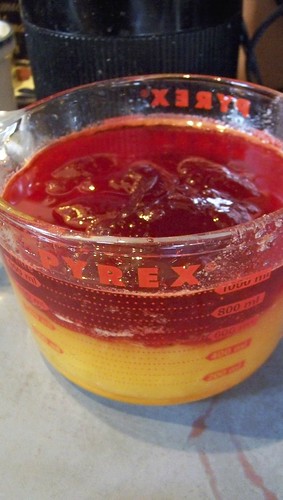
Let the pineapple cool, and then stir in 1/2 cup reserved cherry juice.  Stir in as well 1 cup strawberry jam (the more all-natural, the better).  This doesn’t necessarily need to be done the day before, but it has to be cool before you add it to the cake batter.

Day the Second:

Preheat your oven to 275°F.  Butter your pans (we use four regular-sized loaf pans) and line them with parchment paper.The knob on our oven is positioned badly so we take the knob off in order not to hit it accidentally.  And yes, we probably should clean our oven more often.

In a large measuring cup, whisk together 4 cups all-purpose flour, 2 teaspoons ground cinnamon, 1/2 teaspoon ground cloves, 1/2 teaspoon allspice, 1 teaspoon salt, and 1 1/2 teaspoons baking soda.

Add about a cup of the flour mixture to the fruit and nuts and toss until the bits are all covered.  This will prevent them from sinking to the bottom when you mix them in the batter.  Set the rest of the flour aside for now. 

In another large mixing bowl, cream together  2 1/4 cups granulated sugar with 1 pound (2 cups) butter.

Beat in 12 eggs (yes, 12!), two at a time.  This is less of a pain in the butt if you have someone crack the eggs while someone else runs the mixer.

Take your flour mixture and your pineapple mixture and, alternating them, stir them into the butter and egg mix.  Make 3 dry and 2 liquid additions and stir it all in well. 

Your batter will be a lovely pink colour once you’re all ready.

Pour over your flour-coated fruit and nuts and mix well. 

Pour into your pans and chuck them in the oven.

Place a shallow pan of water on the bottom rack of the oven to keep the cakes moist.

Bake in your oven for 3 1/2 to 4 hours, for the larger cakes.  Smaller cakes might be done in about 3 hours. If you have a fast oven you might want to lay a sheet of aluminum foil loosely over the top to prevent them from drying out in the last hour or so.

The cakes should be fairly firm to the touch in the centre and should test clean with a toothpick.  Once you’ve removed the cakes from the oven let them cool in the pans for about five minutes. 

Then remove the cakes from the pans and peel off the paper.  Let the cakes cool completely.

Now you do your wrapping.

Lay a sheet of aluminum foil on your work surface.  Overlay that with some plastic wrap.

And some cheesecloth.

Plop your cake in the centre.

Baste it generously, all over, with rum or brandy (if you don’t baste you will need to keep the cakes in the refrigerator).

Wrap the cheesecloth tightly around the cake.  Then the plastic wrap.  Then the aluminum foil.

As the cloth dries out, give your cakes a periodic dousing with rum or brandy.  Don’t freeze the cakes or the flavours won’t mellow properly.

The cakes will make good eating in about three weeks, just in time for the holidays.

Roasted Garlic

Grab yourself some garlic.

Seriously, is there anything better than roasted garlic?  I’m not sure there is.  I got this idea from Martha Stewart, of course.

Preheat your oven to 400°F.

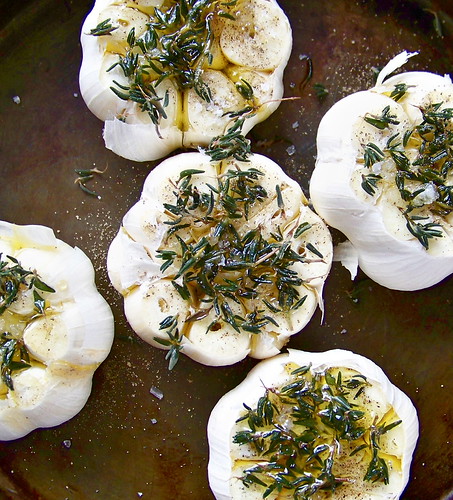
Take some garlic, still in its head (I used five, because that’s what came in the package), and carefully slice off the top quarter of the head.  Make sure the garlic sits flat and arrange the heads, cut-side-up in a baking dish.

Cut off the top quarter or so.

Season the garlic heads with salt and pepper, and sprinkle with some fresh thyme (or frozen, if you have some on hand).

Sprinkle with salt, pepper, and thyme.

Slowly drizzle olive oil over each head, letting the oil soak into and around the cloves.  My heads were small, and I used about a tablespoon of oil for each head.

Drizzle the oil so it soaks in.

Cover the dish tightly with tin foil and roast until the cloves are golden, very soft, and starting to stick out of the head a bit, about an hour.  Let them cool until you can hold them comfortably in your hand.

Starting from the bottom, squeeze each head to push out the cloves and peel the skin from any cloves still enclosed.  At least, that’s what Martha told me to do.  I found it was easier to peel the outside layer of skin away and pop out the roasted clove.

Pop out the roasted cloves.

Transfer the garlic and the cooking oil to a jar or other airtight container and keep in the fridge for up to two weeks.

My very own garlic in a jar!