A Quick Patch

Quick Patch 22
This cute corgi is here to lure you into reading this non-pretty post.

We’ve covered the patching of small holes on Ali Does It before, but this one’s a bit of a doozy. When we moved in to the Tower we discovered that the previous tenants had built a shelf in the garage that attached to the wall. It was huge, and it stuck out so far that our teeny tiny car would not fit inside the garage. So we had to take it out. The previous tenants had built this shelf, however, with more enthusiasm than carpentry knowledge, and the 4″ decking screws they had used everywhere were all stripped and nearly impossible to remove. Finally we had to yank the shelf out of the wall and twist it to be able to saw through the last one, and that’s why we have this giant big hole.  It was the only way.

Quick Patch 2

Now keep in mind that this hole is about the size of my outstretched hand, and that’s about as big as I would go when fixing using this technique. Anything larger and you’re probably better off replacing the drywall instead so you don’t weaken the structure.

Quick Patch 1

Not to fret, though, because we can fix it easily.

Quick Patch 3

First you need to clean it up. Get rid of all the little bits and pieces that are sticking out and smooth everything down. Use a knife.

Quick Patch 4

Add a bit of crumpled newspaper as back fill (this is really only necessary on big holes). Pack it in there nice and firm so it doesn’t want to come back out again. It’s going to give you something to push against when you’re laying on the spackle.

Quick Patch 5

Quick Patch 6

Then you use this nifty adhesive mesh tape to cover over the hole and give yourself a surface to work with.

Quick Patch 7

Mine wasn’t very adhesive as it’s pretty old so I had to use strips that were a little longer so I had more traction.

Quick Patch 8

Quick Patch 9

Then you grab your trusty spackle and a putty knife.

Quick Patch 10

I love that this stuff is pink when wet and dries white. I love it.

Quick Patch 11

Now when you’re patching a big hole like this you want to start from the edges so the tape is well and truly stuck down.

Quick Patch 13

Don’t worry about getting it perfect on the first go-round – if you press too much on the mesh you’ll just push all your spackle through the holes and that’s not very good. Let that dry for a while.

Quick Patch 14

All ready for round two. It’s so pretty.

Quick Patch 15

Lightly sand off all the little protuberances. I like a sanding block for this because it’s easier to hold but you can use sandpaper.

Quick Patch 16

Now more spackle. Don’t be as generous as last time.

Quick Patch 17

Try to get the layers on as thinly as possible but still covering up the imperfections. If this were my living room wall I would be more careful but as it’s the garage I’m not too concerned if it’s perfect or not.

Quick Patch 18

These little lines can be easily sanded off when it’s dry.

Quick Patch 19

Now you just need to wait!

Quick Patch 20

I’m not going to leave you with a picture of dried plaster to end this boringly-photographed post, so you get a picture of a happy Gren instead.

Quick Patch 21

Rustic Pencil Holder and Homemade Pencils

Rustic Pencil Holder

I saw this about a year ago, and I remember thinking at the time that it was such a simple yet elegantly nifty project I would have to make it sometime.  What better time than the present?

Pencil-Holder 27

I wrangled a log out of the mildewed pile in our dilapidated excuse for a shed and got to work.  You can of course use any form of windfall or anything you find lying around.  I’d love to try this with driftwood, if I still had my beach handy.  As it was a pretty long chunk of wood, I figured I’d make three pencil holders, just to spread the love amongst my Christmas gift recipients.

Pencil-Holder 1

I also thought I might make them slightly angled, so that all the pencils or pens could be viewed from one side, instead of them all being on the same level. So I sawed them accordingly, in varying thicknesses.  Actually, the Pie did most of this because I took too long.  But we didn’t really try too hard to get things level or straight — the crooked adds to the charm, and I swear we did this on purpose.

Pencil-Holder 22

And then the bark, which had been sitting and drying out over our kitchen heater for two months, just peeled right off so easily.

Pencil-Holder 23

Pencil-Holder 24

I used a butter knife to get the thinner inner bark off.

Pencil-Holder 25

Now you drill your holes.  I used 3/8″ and 1/2″ drill bits, to accommodate skinny and fat pens and pencils. You know, like the fat ones you pick up from the bank or that you get in swag bags at conferences and stuff.

Pencil-Holder 30

You can space them out evenly or put them in randomly, whichever floats your boat.

Pencil-Holder 31

To make sure that all your holes are uniform in depth, use a bit of tape around your drill bit to mark how deep you want it to go.  When the line of the tape touches the wood, you’ve gone far enough.

Rustic Pencil Holder

In addition, if you are pursuing an angled approach, make sure that your drill is going in perpendicular to the surface upon which the wood is sitting, not perpendicular to the surface of the top of the disk.  Although I suppose you could do that, too, if you wanted your pencils to stick out at an angle.

Rustic Pencil Holder

Then I sanded, to smooth out the edges and to make the top nice and even.  You don’t want splinters in something you’re going to be touching all the time.

Rustic Pencil Holder

I stained one of them as well, again for kicks.

Pencil-Holder 32

Pencil-Holder 33

Pencil-Holder 34

To go with the pencil holders, I thought I would include some pencils I made myself.

Pencil-Holder 35

Pencil-Holder 36

I got the idea from here, but modified it so it was easier for me (because I found this actually quite difficult).  You need some 2mm pencil leads, the kind that go into architectural drafting pencils (also known as clutch pencils).  They tend to come in small plastic boxes of 10, and you can find them at art supply stores or on the internet.

Pencil-Holder 2

Then you need some thin paper.  I used a combination of newspaper flyers and origami paper for this, with the cheap newspaper on the inside and the nice origami pattern on the outside.  Cut the paper into squares that are the same length as the leads, which is usually about 5″.

Pencil-Holder 8

Take a paint brush and some glue and paint some onto the edge of one of the pieces of paper.

Pencil-Holder 9

Lay your lead onto the glued surface, just a little bit from the edge.  Fold that extra part over the lead and tuck it in.

Pencil-Holder 10

Now start rolling, carefully, putting even pressure on both ends of the lead.  You want the paper to be tight around the lead but you don’t want to put too much pressure on it that the lead breaks.  I definitely broke a few.  And go slowly, so you can make sure that the lead rolls straight in the paper.  Many of my pencils came out crooked and had to be trimmed later.

Pencil-Holder 11

When you reach the end of the paper, add some more glue and fasten the edge securely on your roll.  Repeat with more paper until you get to the thickness you like, with some nice patterned stuff on the outside.

Pencil-Holder 12

Put some glue on the outside, just to seal it all in.

Pencil-Holder 14

Allow your pencil to dry, then trim the pointy end of the pencil with a knife or a pencil sharpener, and you’re all set.

Pencil-Holder 21

Rustic Pencil Holder

Rustic Pencil Holder

Piñata-Copter, or, How I Didn’t Eat Enough Paste As A Child

It's a Secret Part 2

The Pie and il Principe share a birthday.  Sure, the Pie is now 29 and IP is only 2, but they can still enjoy the festive atmosphere of a birthday party.

And what’s a children’s birthday party without a piñata?  It’s — well, it’s pretty much just a party without a piñata.  But that’s besides the point.

The Pie and I thought that we would combine il Principe’s love of vehicles with his destructive tendencies, and a piñata filled with toys (because this 2-year-old has enough extra energy) was the perfect gift.

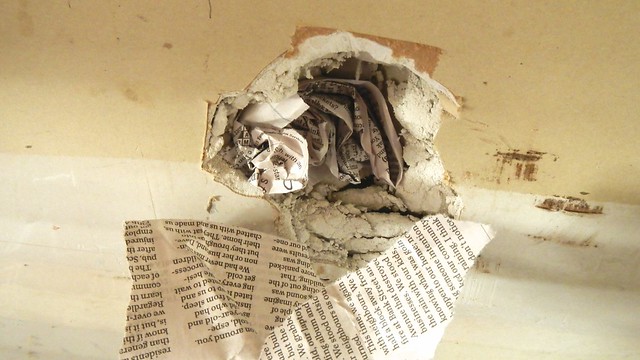
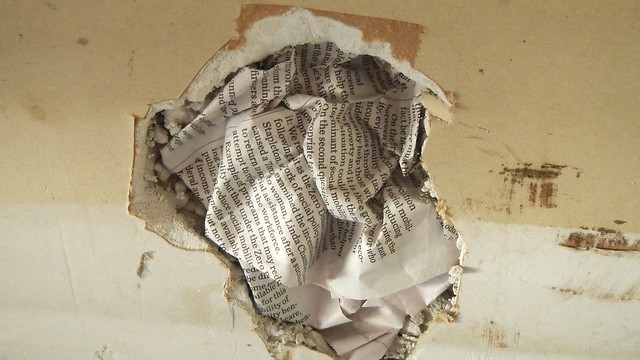
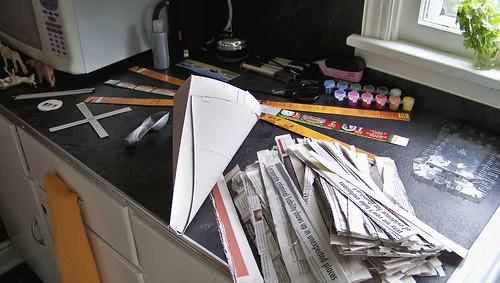
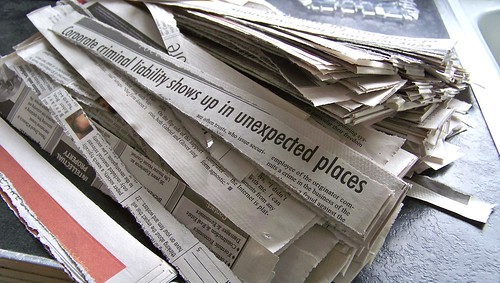
First, I spent a peaceful evening with the dog when the Pie was out tearing strips of newspaper.  These are old copies of a certain legal newspaper popular in these parts.  While it’s a very good newspaper, I must admit to a certain satisfaction in tearing up all that legal verbiage.

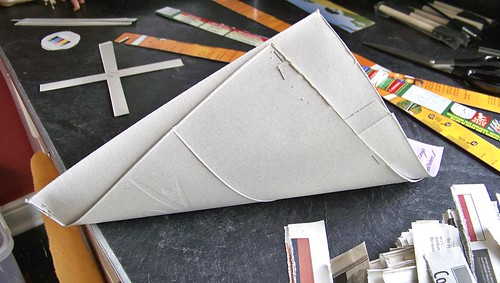
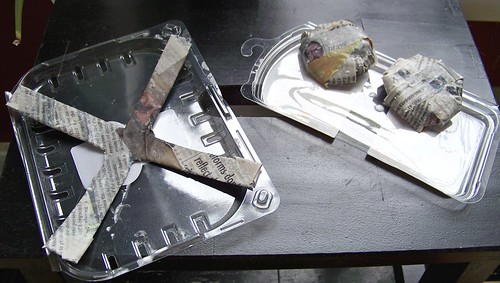
I also prepared my helicopter rotor blades (I decided that this particular helicopter has six blades, so there), as well as the tail and all the other bits.  I pulled old cereal boxes and such out of the recycling for this.

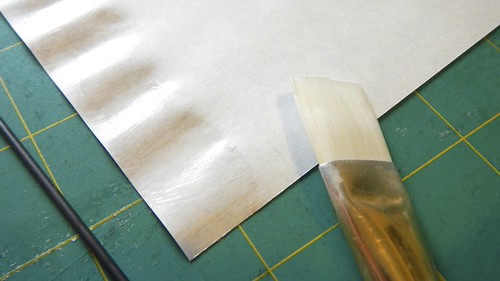
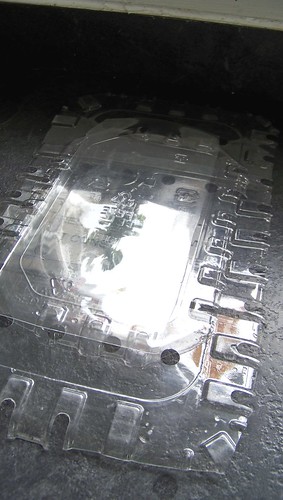
And I cut up some clear plastic out of the recycling to use as windows.  This is going to be one classy chopper.

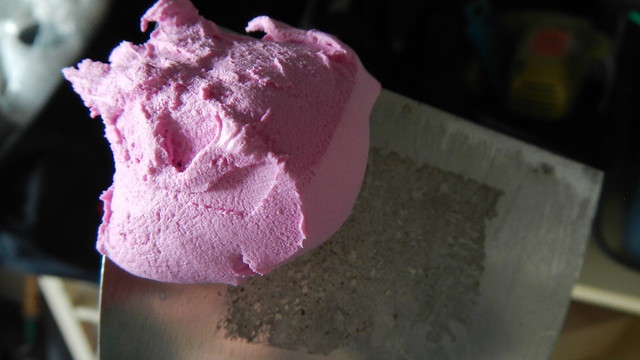
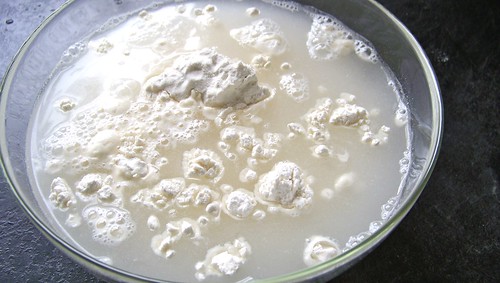
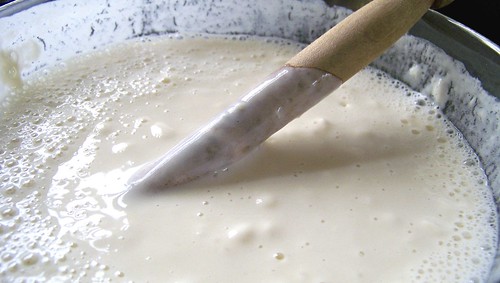
So now that you’ve got everything ready, you need to make your paste.  In a bowl, mix together 2 cups flour with 3 cups water.

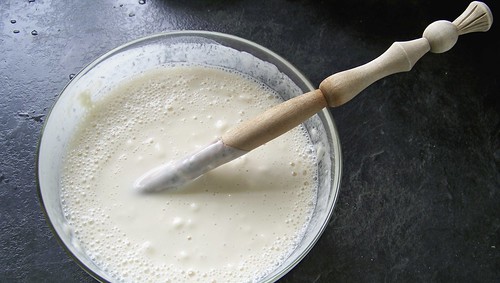
I like to use a spurtle to stir my paste.  That’s right.  A spurtle.

Mmm, pasty.  Everyone always makes jokes about “that kid who ate paste” in kindergarten, but we didn’t have that.  We did, however, have the girl who, when asked, DRANK (like I’m talking glug-glug-glug) Elmer’s School Glue.  Bleugh.

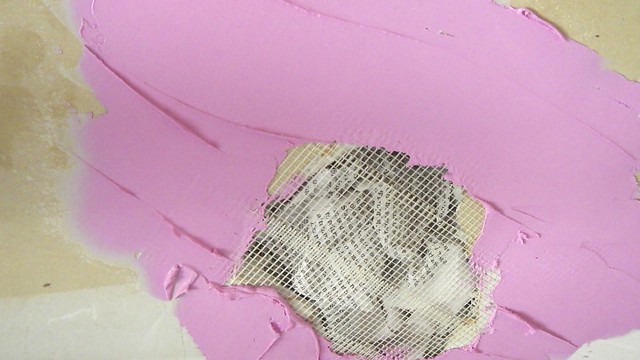
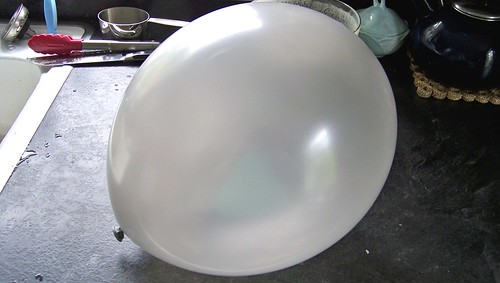
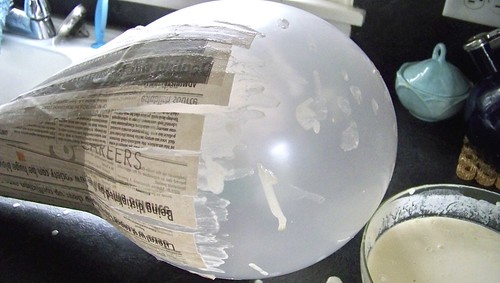
And now we need ourselves a balloon, which forms the basis for many, many papier-mâché projects.  The last time I did papier-mâché I made an enormous head with a huge nose, cut out holes for eyes, borrowed one of my dad’s fedoras (he also has a large head), stuck a Press Pass in the brim and went around for Hallowe’en as a reporter.  It was a good costume.  I swear.

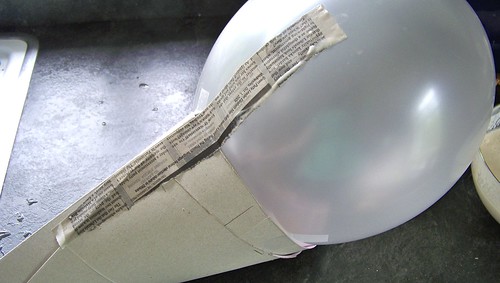
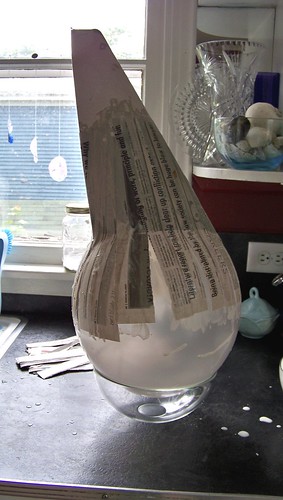
I attached the tail to the balloon with tape.

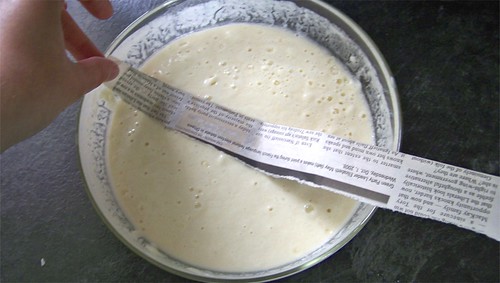
Now we paste strips!  Run one side of your strip through the bowl of paste.

Use your fingers to squeegee off the majority of the paste.

Slap that baby on your structure and smooth it down.

Continue with more strips, being careful to slightly overlap each one.

If you need help with balancing your project as you work, why not try propping it up in a bowl for stability?

Once you have finished a complete layer, use your fingers to smooth on some extra paste.

Let that set for a bit to become tacky and sticky.  While you’re waiting you can put paper on your other bits.

For the wheels, for example, I wanted a little bulk, so I dipped a few strips, crumpled them up, and stuck them to the wheel template before wrapping the whole thing in other strips.

Set those aside somewhere to dry.

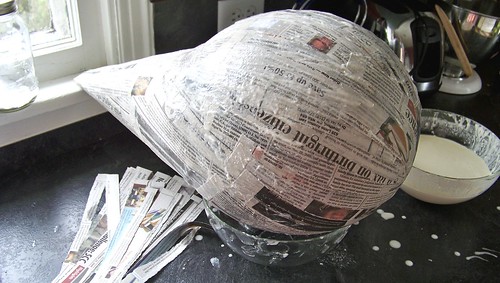
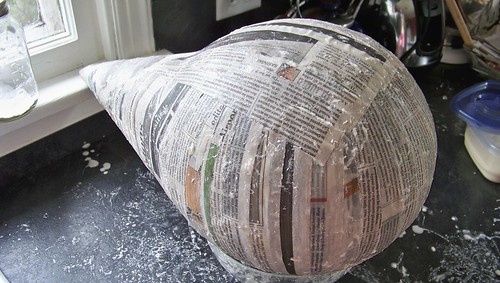
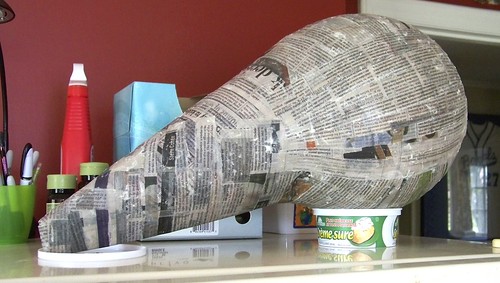
Repeat the layering steps a few more times, creating three or four layers of paper on your main structure.  The focus should be on creating what will be a hard shell around your balloon.  I tried to add a bit more paper at the bottom of the chopper-balloon to help compensate, balance-wise, for the weight of the tail.

When you have enough paper on your structure, put it somewhere out of the way to dry overnight.  The top of our fridge is as good a place as any.  Plus it’s nice and warm there (our fridge is ANCIENT) and with the current humidity I’m hoping it will give the paste a boost in drying.  

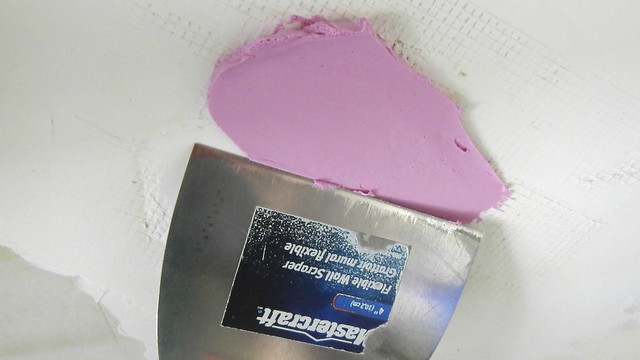
I saved the extra paste, just in case.
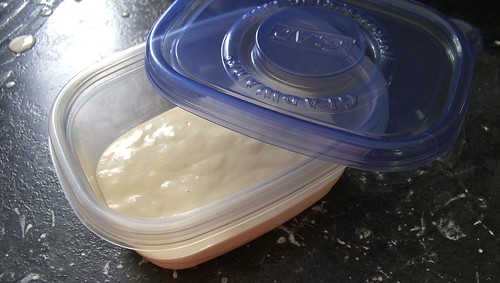
Now to clean up!

The fortunate thing about flour paste is you just have to wet it again and it comes off anything really easily.
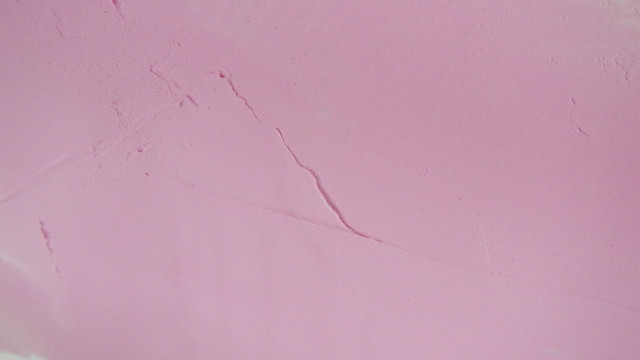
The Next Day …

Actually, this was two days later.  It was so gloomy and humid that the darned thing just would not dry.So now we get to get around to our painting and assembly.
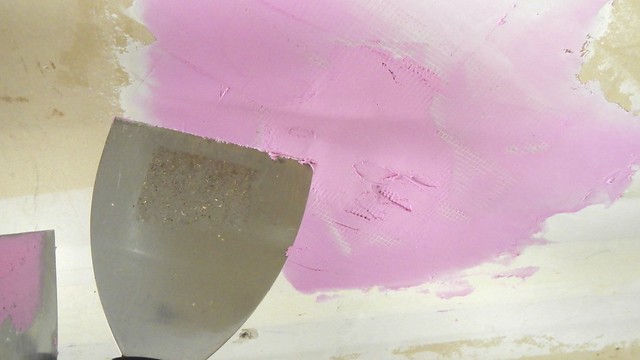
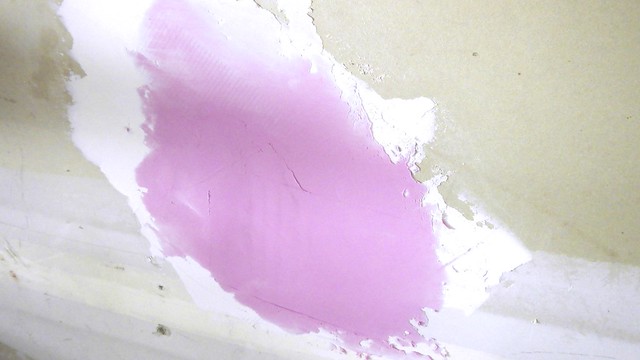
We bought this lovely metallic blue paint at the dollar store and thought it would look good on a helicopter.  It did, but the problem was that it was transparent paint, something the made-in-China label didn’t tell us.  Nor did it tell us that the paint fumes were highly objectionable.  But you get what you pay for of course.Onto plan B, then.  I painted the props and the wheels with the silvery-blue stuff and went off to find a more opaque solution to the plane problem.Thus I came up with India ink.  And ink is awesome because it dries really fast.It's a Secret Part 2Of course, you can still see the metallic paint through the ink, but I figured I would just paint over the quick-dry ink with more metallic paint.

It's a Secret Part 2Mercifully, just as I’d finished, the sun came out, so I left everything to dry for a bit.

It's a Secret Part 2
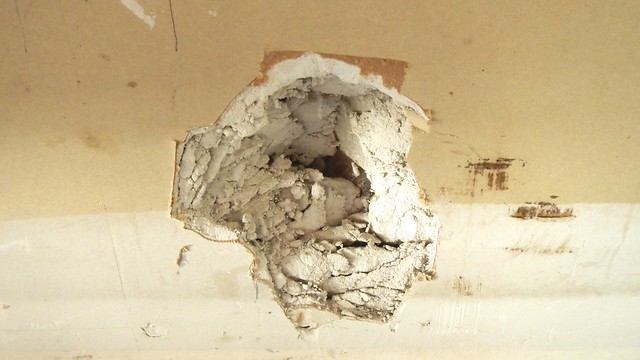
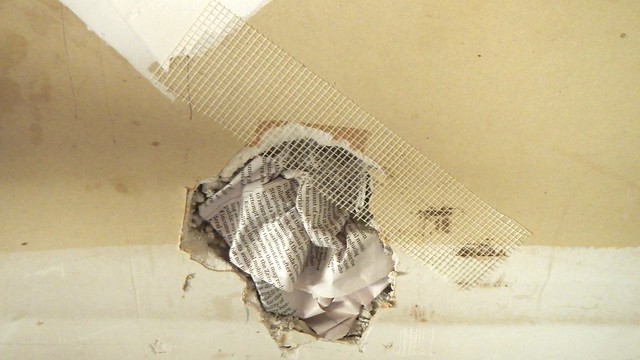
So now we need to cut out a wee hatch through which to insert the prizes.  Using a box cutter, carefully pierce your shell and the balloon underneath.  POP!

It's a Secret Part 2

Cut a hole only just big enough for your purposes, leaving a little flap so you can close it up again later.

It's a Secret Part 2

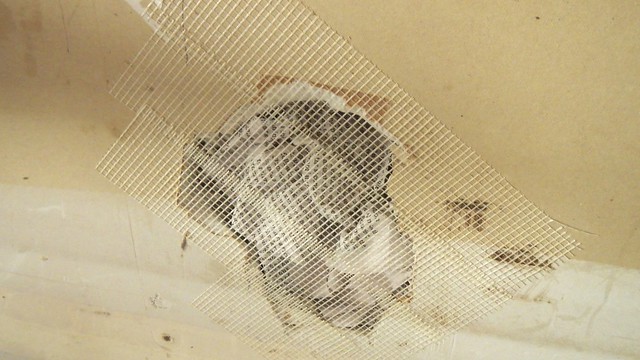
There’s that shriveled balloon.  You can throw that out.

It's a Secret Part 2

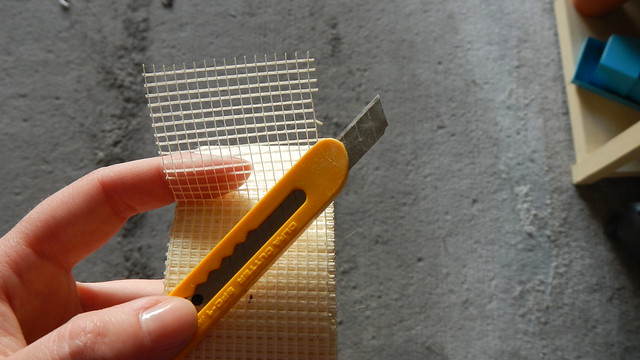
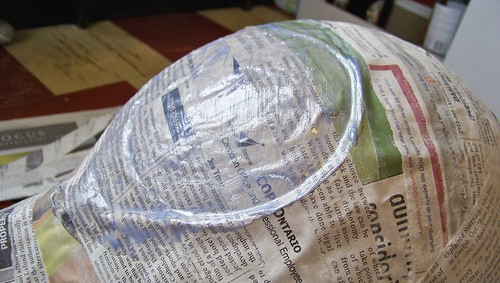
My helicopter is going to have a window, so I measured the “glass” to the side of the chopper.

It's a Secret Part 2

Cut out a hole.

It's a Secret Part 2

I think I may use the piece I cut out to make a fascinator at some later and unrelated date.

It's a Secret Part 2

I fixed the window in place with hockey tape, that lovely universal adhesive.

It's a Secret Part 2

I used a paper punch awl to poke holes to hang the suspension wires from.

It's a Secret Part 2

You can see that balance is going to be an issue here.  I ended up taping a few rocks into the tail of the chopper to balance it out.

It's a Secret Part 2

I stuck the props on.  The wheels refused to stick and were therefore scratched.  Bye-bye b’ys.

It's a Secret Part 2

Don’t forget to put your prizes in!

It's a Secret Part 2

Then the helicopter needed some accents.  On one side of the tail I painted on il Principe‘s initials and the year he was born, to look like some kind of ID code.

It's a Secret Part 2

On the other I did his birthdate (21 July) followed by HB – happy birthday.

It's a Secret Part 2

Then I added some dots that represent flashing lights, and blacked out the frame parts of the window.  And yes, I just made up where they went.

It's a Secret Part 2

And there you have it.  Il Principe can’t wait to destroy it.

It's a Secret Part 2

Newspaper Plant Pots

I have a baby spider plant here for S that I am trying very hard not to kill.

I am also trying to root a cutting of my parlor palm for Kª.  I’m dubious about this, because apparently it’s impossible the way that I am doing it.

Anyway, today I decided that the day had come to introduce them to the earth for the first time.

I don’t have any spare small pots lying around so I surfed the internet for a while on making pots out of paper. These are biodegradable, of course, and can be planted right into the soil outside if that’s what you’re into.  Just make sure if that’s what you’re planning you use a newspaper with soy-based ink.  Because the newspaper is porous, you can put lots of seedlings close together and they will absorb each other’s water.

I found two versions that I liked.  One is the origami version and the other is the jar method.  Both need one half of a full broadsheet of newspaper (as in, not the whole square piece but the half-piece that is the individual page you turn).  Fortunately newspapers tear easily along this fold so you don’t even need scissors for this project.

Origami Method

Fold your paper in half vertically so that the two short edges match up and crease.

Fold it in half again, this time horizontally.

Aaand again, this time vertically.

Take one of the (now square) flaps of paper and turn it out into an upside-down isosceles triangle.  Flatten and crease the edges.

Flip it over.

Do it to the other side.

Now ‘turn the page’ of your new upside-down triangle to the left.

Flip it over and do the same to the other side.

Take the edge of the top flap of your triangle and fold it to meet the centre crease.  Grab the opposite edge and do the same.

Fold those edges in towards the centre one more time.

Make sure to crease your folds good and sharp.

Flip your paper and do that whole rigmarole to the other side as well.

Take the little bit of paper hanging over the top of your folds (the length of it will depend on the size of the newspaper sheet you used) and fold it down over your folds to hold them in. 

Mine were super short, so I actually used a single staple to hold things in place. 

I figured, what’s one staple to the thousands of nails and screws buried in my garden?

Now open out your box and flatten out the bottom.

Fill it up with soil or just admire your handiwork.

Jar Method

This is less complicated but less sturdy.

Fold your newspaper sheet in half, bisecting the short end.

Take yourself a jar, a can, or a glass and place it at the edge of the paper.  There should be enough paper sticking out from the bottom of the jar to fold up and cover the bottom of the jar.

Roll up the paper around the jar.

This works best on jars or cans or glasses that have a depression in the bottom.

Fold the bottom of the paper to the bottom of the jar and use the jar to squish it down.

Pull out the jar.  This version is not freestanding so you need to fill it immediately with soil to keep it steady.

Two pots.  Two minutes.