Challenge Accepted: IMPOSSIBLE PIE

Impossible Pie 18

I found this recipe in the newspaper a little while back and thought it looked tempting enough to try. It’s easy peasy and totally delectable but it looks complicated and fancy when you serve it, and it is not a totally overpowering dessert, so you can always have seconds!

Impossible Pie 16

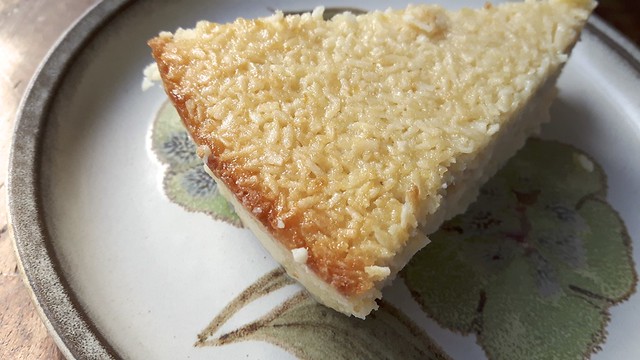
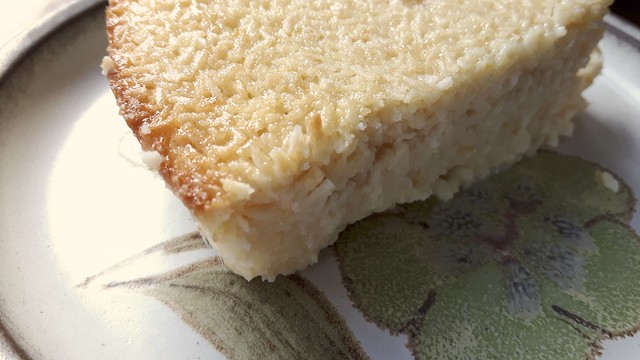
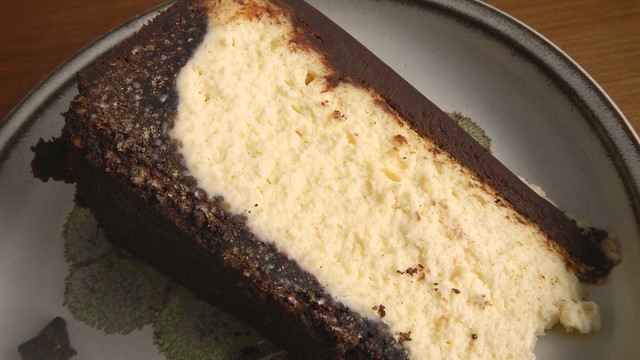
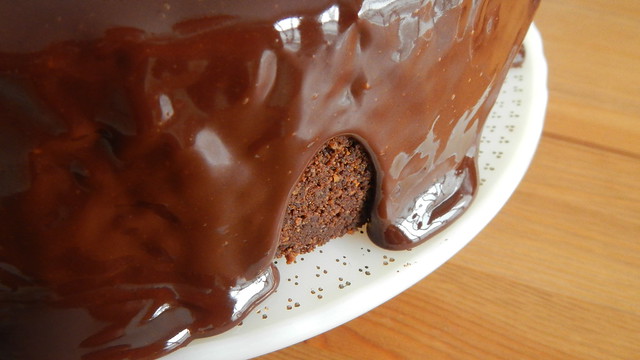
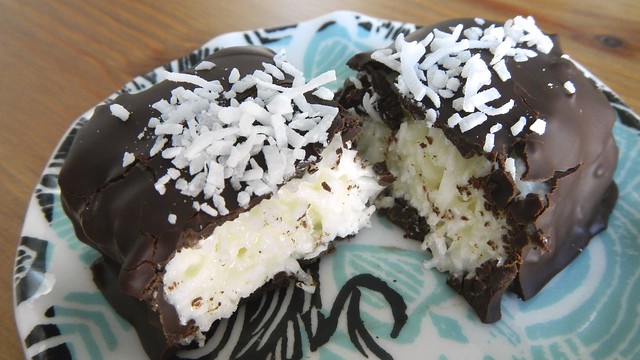
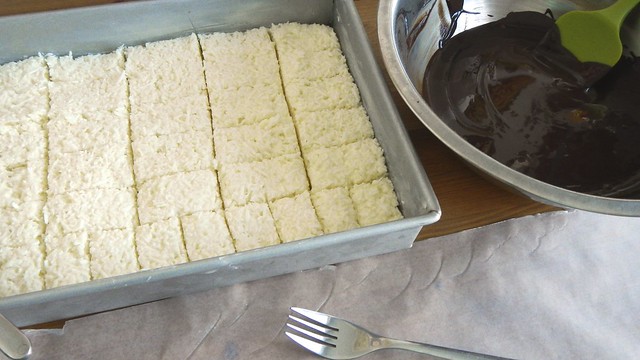
The impossible part of this pie is that you mix everything together all at once and pour the very liquidy batter into your pan for baking, and what comes out ends up having three layers: a sweet fudgy layer at the bottom, a custardy layer in the middle, and the chewy coconut layer on top. Full disclosure: I never achieved the fudgy bottom layer, but I suspect it’s because I used a huge heavy pie pan (because that was the only one I had that was deep enough). Perhaps if you use a thinner pie pan you might have better luck – if not, the pie is still pretty effing good.

Heat your oven to 325°F and spray a 10″ wide and 2″ deep pie pan.

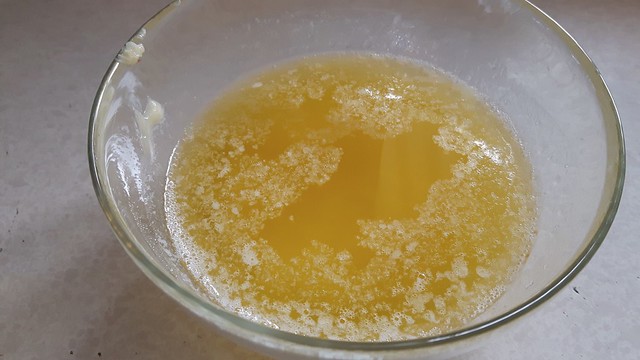
Melt 1/2 cup butter, and let that come to room temperature. Pro tip: if you only melt the butter halfway, then give it a stir, the melted butter will melt the non-melted butter and the non-melted butter will bring the temperature of the melted butter down faster and you don’t have to wait as long for your super molten burn-y melted butter to cool down. It’s like MAGIC. Or thermodynamics. Either or.

Impossible Pie 3

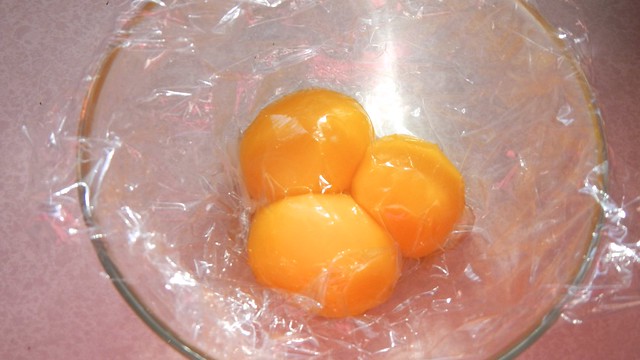
Grab 4 large eggs out of the fridge and bring them to room temperature by plopping them in a bowl of warm water. While you’re at it, leave 2 cups whole milk (or a combo of milk and cream) out on the counter to warm up too. HEY PRESTO!

Impossible Pie 1

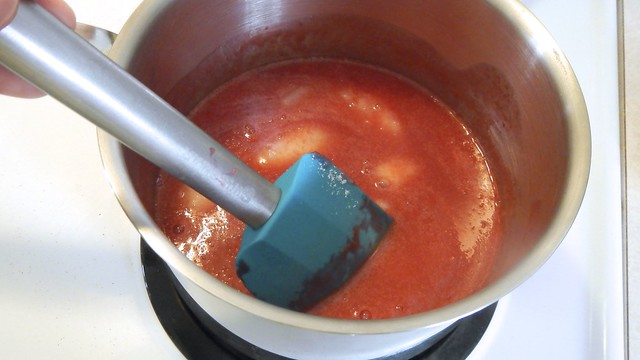
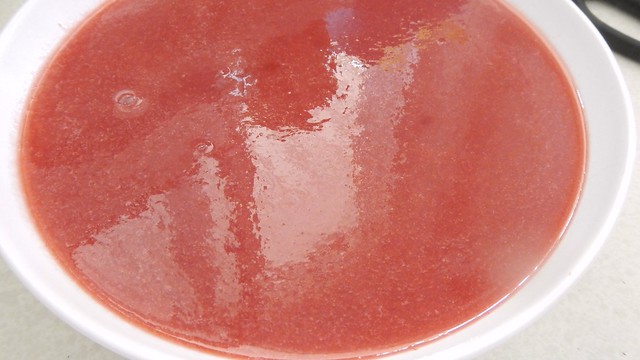
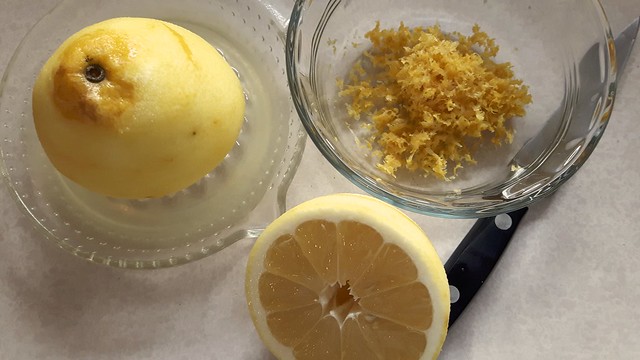
Take 1 lemon and zest it and then juice it. Nothing super magic about that. It’s a lemon for crying out loud.

Impossible Pie 2

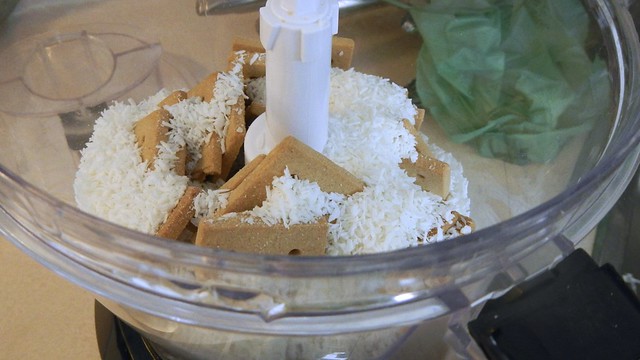
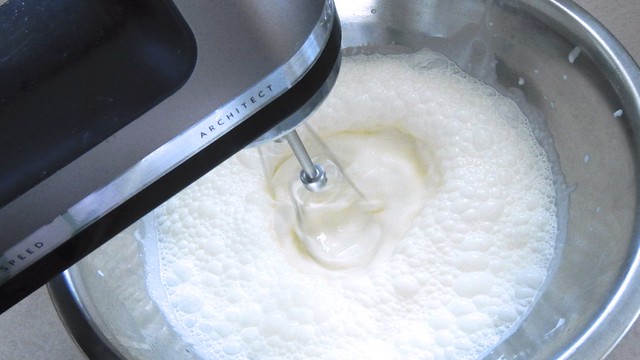
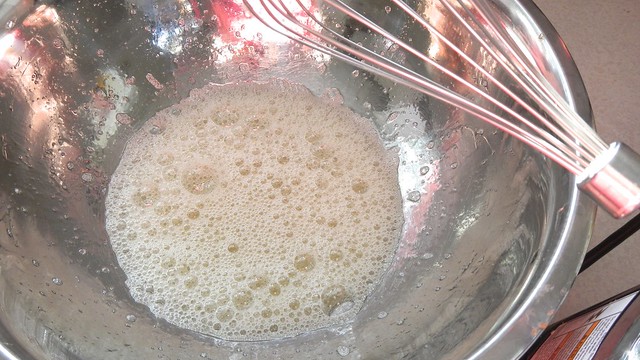
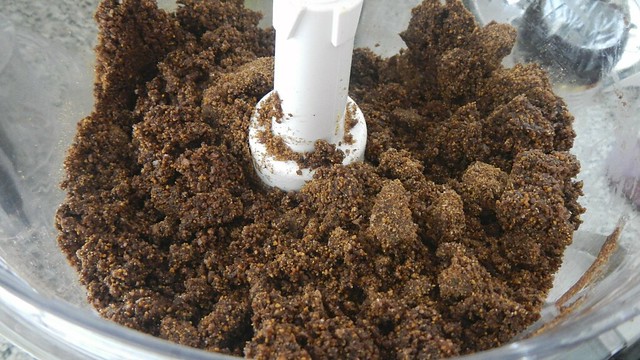
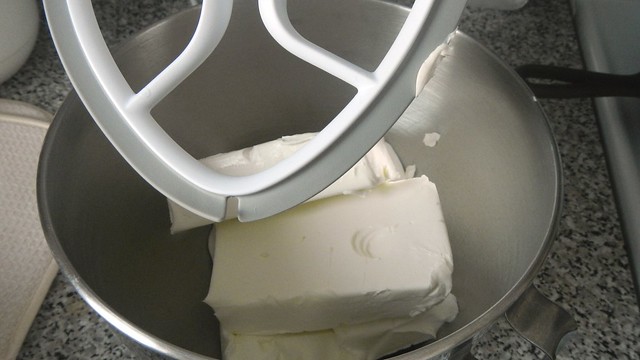
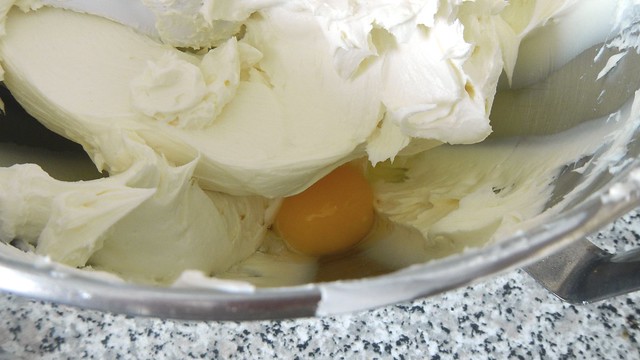
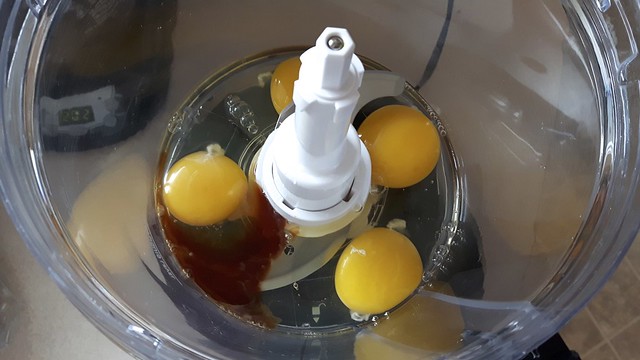
Grab yourself a perfectly ordinary food processor (or is it?). Or a blender. Or do this by hand. I prefer the magic of electricity. Plop in your 4 eggs, and 2 teaspoons vanilla extract.

Impossible Pie 4

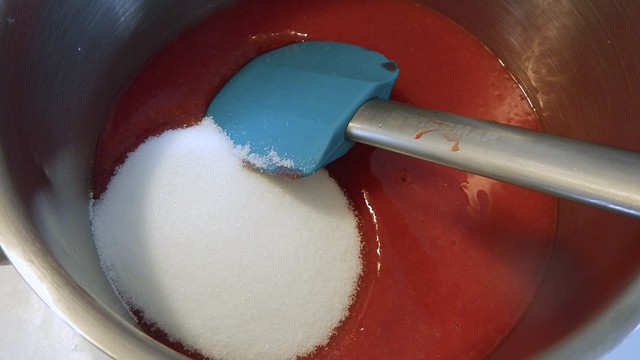
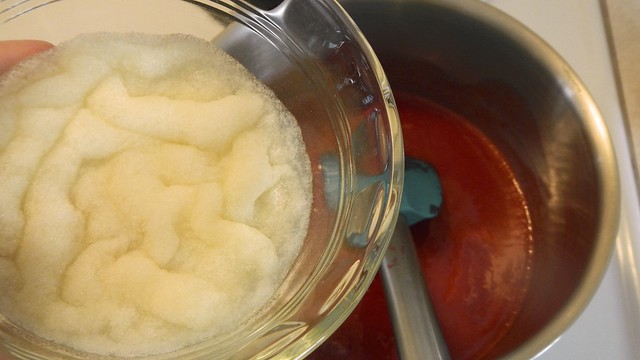
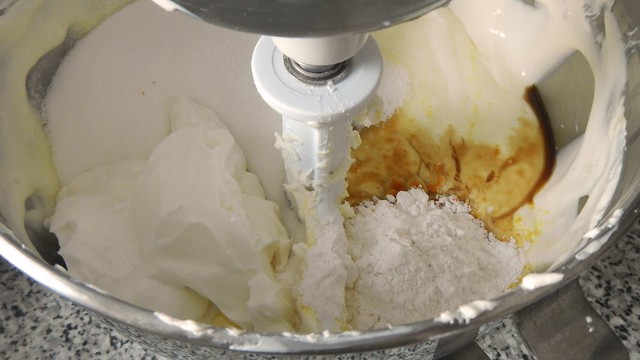
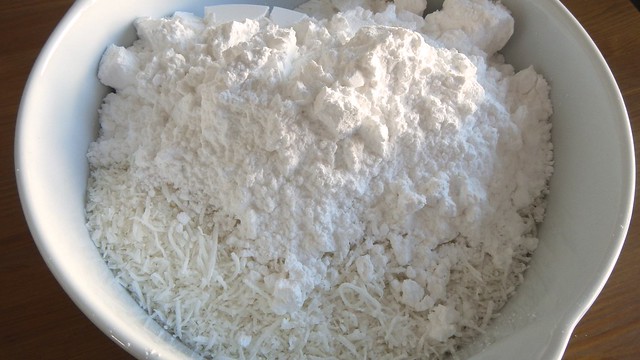
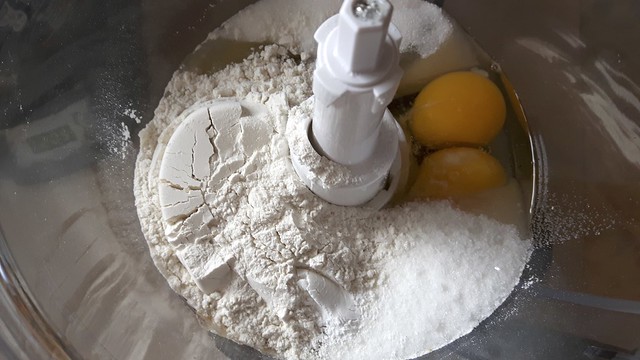
Then tip in (or do this first, the order doesn’t matter – this is just how I took the photos) 1 cup granulated sugar, 1/2 cup all-purpose flour, 1/4 teaspoon sea salt, and 1/4 teaspoon baking powder.

Impossible Pie 5

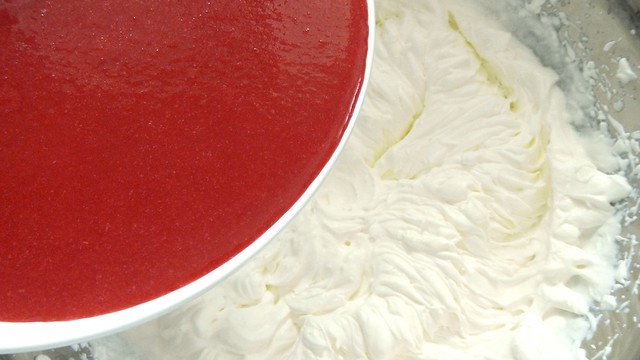
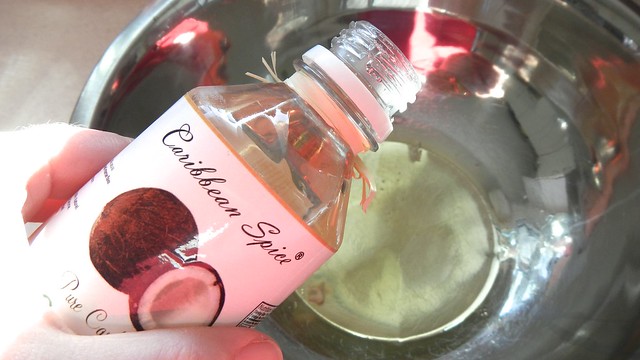
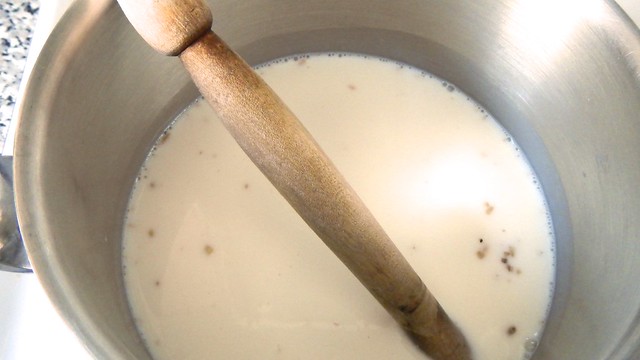
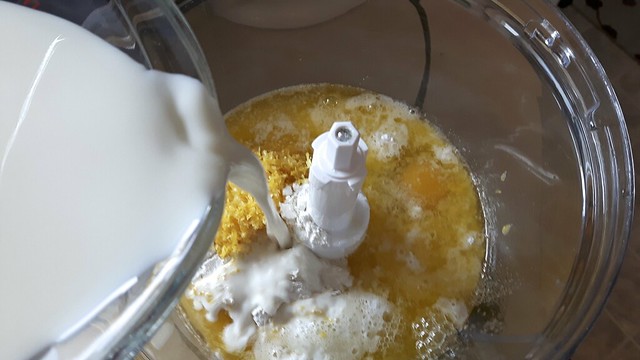
THEN tip in (or do this second, or whatever) your 1/2 cup butter, 2 cups whole milk, and lemon juice and zest.

Impossible Pie 6

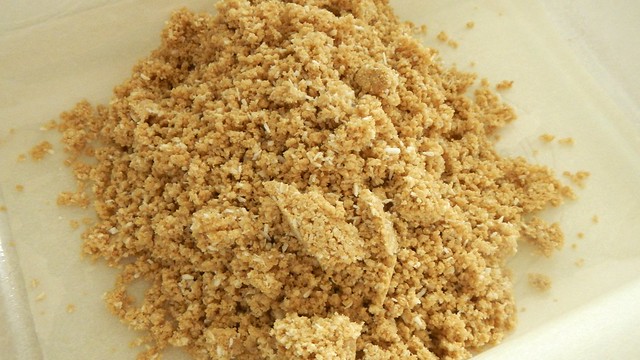
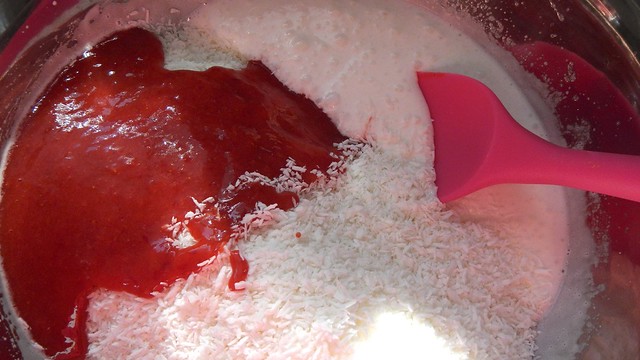
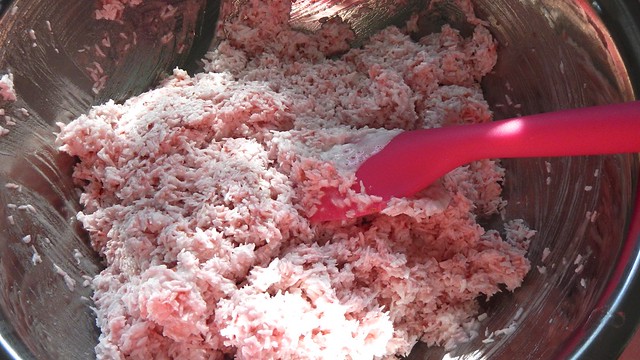
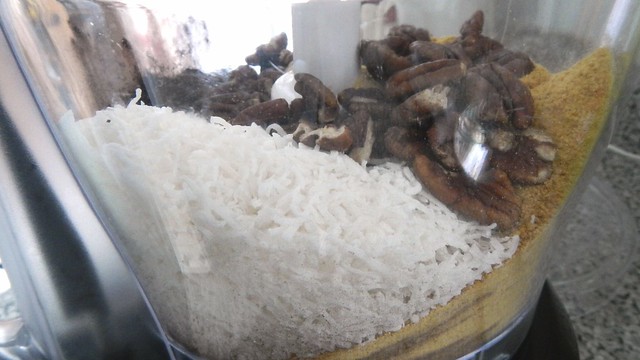
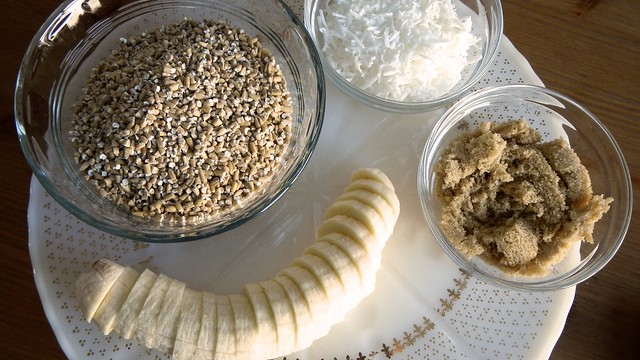
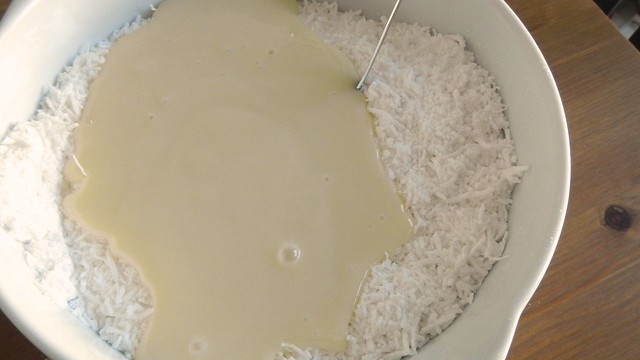
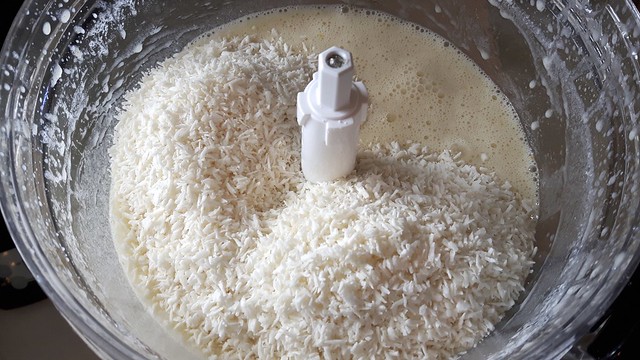
Give that a good whaz, THEN tip in (and this time it DOES matter the order because this has to happen after the whazzing) 1 1/4 cups shredded sweetened dried coconut (I used unsweetened. It was fine.). Stir that around.

Impossible Pie 7

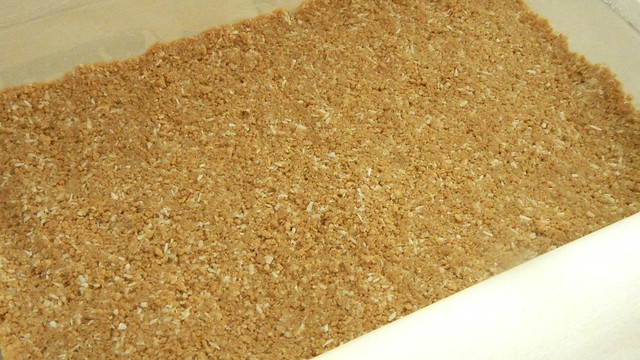
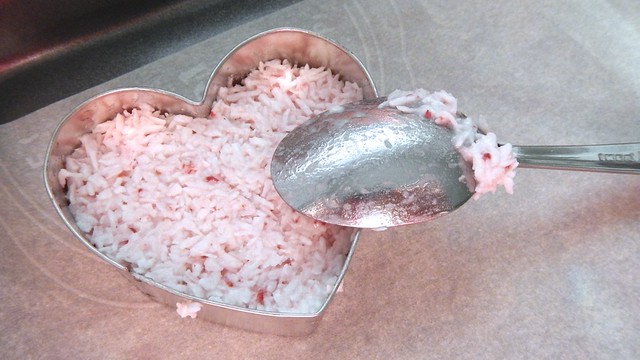
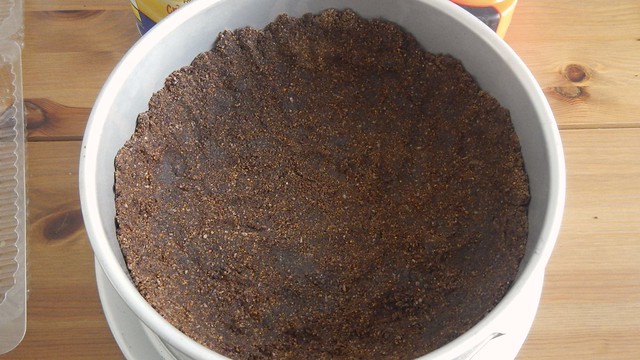
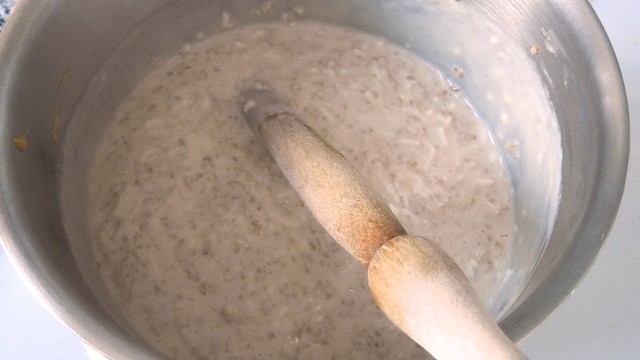
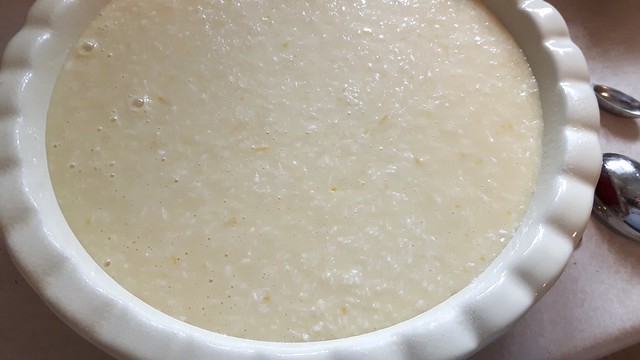
Pour the batter into your prepared pan. There it is, all perfectly ordinary and homogeneous-ish.

Impossible Pie 8

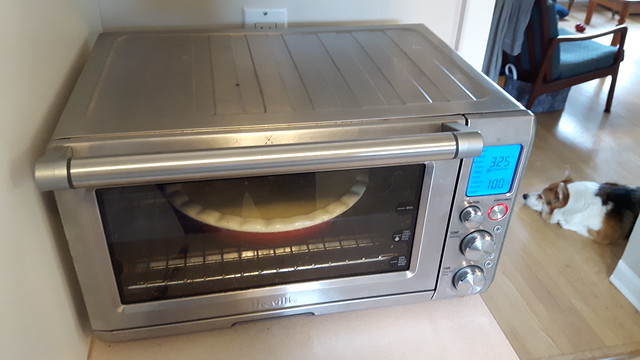
Shove that in your prepared oven (I used my convection toaster oven) and bake for 55-60 minutes, until the top is a golden brown around the edges and you can shove a toothpick in the centre and it comes out clean (LIKE IT WAS NEVER DIRTY! AMAZING!).

Impossible Pie 9

Impossible Pie 11

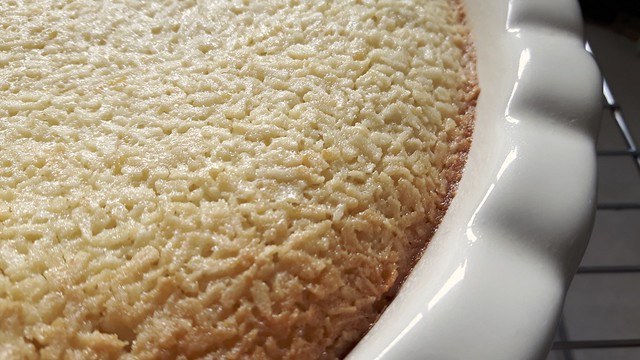
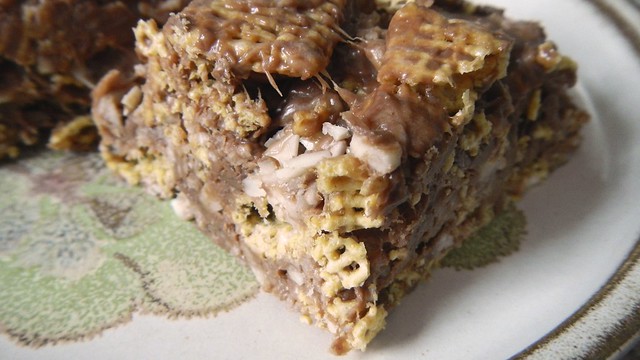
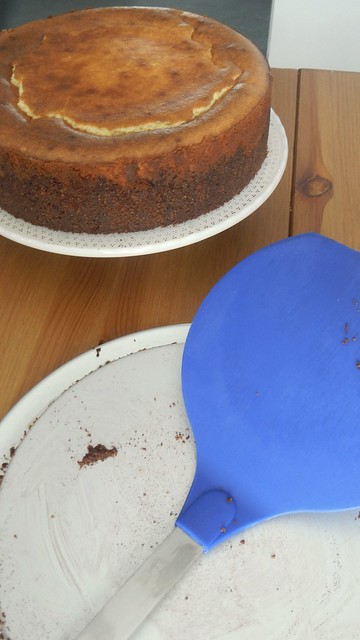
Pop that on a wire rack to cool. You can serve this warm but it cuts best if it’s been chilled first, so I recommend that. Keep any leftovers (HA) in the fridge, covered up.

Impossible Pie 15

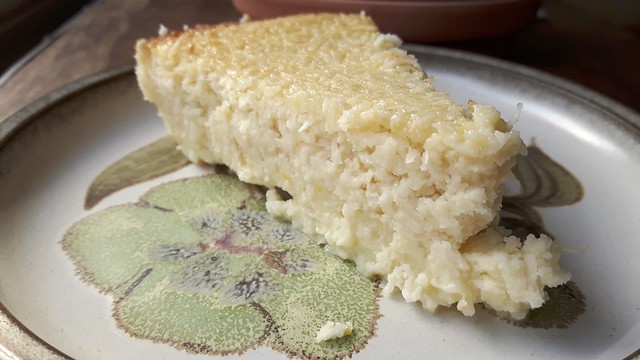
Even without that fudgy layer, this thing was still ballin’.

Impossible Pie 17

Raspberry Mousse Pie

Raspberry Mousse Pie 27

This is another Martha Stewart recipe that I adapted to be gluten-free and made up for the second of our Mother’s Day celebrations (same day, different mom). This recipe is also great because it actually involves zero baking whatsoever, so if it’s hot where you are and you can’t handle the thought of turning on the oven – don’t worry about it.

Raspberry Mousse Pie 25

Start by lightly spraying a 9″ square metal baking dish with cooking spray. Or a 7″ x 10″ glass baking dish, which is what I did. Line it with parchment so that there’s some overhang, because you’re gonna need handles.

Raspberry Mousse Pie 6

Grab 7 or 8 graham crackers. These gluten-free ones are really tiny and kind of thick. We used the whole package. The original recipe involves laying them out in the pan whole but that always ends poorly for me so I plopped them in the food processor, together with about 1/3 cup unsweetened shredded coconut and about 3 tablespoons butter and gave them a good whaz. Then I took that clumpy mixture and pressed it hard into the bottom of the pan. That way I could cut the pieces anyway I wanted without worrying about the shape of my graham crackers.

Raspberry Mousse Pie 2

Raspberry Mousse Pie 5

Raspberry Mousse Pie 6

Tip 3 tablespoons lemon juice into a wee bowl and sprinkle 1 envelope powdered gelatin (∼ 2 1/4 teaspoons) over top. Leave that for 5 minutes. Wash and drain about 2 cups fresh raspberries and plop them in your food processor. Purée the crap out of them.

Raspberry Mousse Pie 7

Pour the raspberry goo into a measuring cup via a fine mesh sieve. Scrape and scrape and shove the goo around until all the juice is through and what you have left is just seeds. Compost the seeds – you should have about 1 cup of raspberry juicy stuff.

Raspberry Mousse Pie 10

In a small saucepan, combine the raspberry stuff with 1/2 cup sugar and stir over medium until bubbles start to form at the edges.

Raspberry Mousse Pie 11

Tip in the gelatin mixture and stir constantly until the stuff is completely dissolved, about 1 minute.

Raspberry Mousse Pie 12

Raspberry Mousse Pie 13

Pour that into a bowl and let it cool to room temperature.

Raspberry Mousse Pie 14

While you’re waiting, whip up 2 cups heavy cream with 2 tablespoons sugar until stiff and lovely.

Raspberry Mousse Pie 15

Fold your cooled raspberry goo gently into the cream and keep folding until the colour is uniform and it looks amazeballs.

Raspberry Mousse Pie 16

Raspberry Mousse Pie 18

Pour the mousse goo over the graham crumbs and smooth if necessary with an offset spatula.

Raspberry Mousse Pie 19

Wash and drain another 2 cups fresh raspberries and use them to decorate the top.

Raspberry Mousse Pie 20

Raspberry Mousse Pie 22

Refrigerate the mousse pie for about 2 hours or up to overnight. When you’re ready to serve, use the parchment handles to gently remove it from the pan before cutting it into squares. Enjoy!

Raspberry Mousse Pie 28

Strawberry Macaroons

Strawberry Macaroons 28

I made these yesterday, but you know I’m not one to plan ahead and, like, blog these in advance so you could maybe make them yourself on that special day. They’re still a cute thing to make though, even if it’s not Valentine’s Day.

Strawberry Macaroons 33

My big brother Krystopf came over to help me paint what’s going to be the baby’s room (which hopefully I’ll get finished within the next week or so), and we fed him dinner for Valentine’s Day as his family is currently away on the other side of the country.

DSCN9294

These are based on my original macaroon recipe, which is always a crowd-pleaser. Start by bringing some stuff to room temperature: here I have 3 large eggs sitting in a bowl of warm water, and about 12 frozen strawberries, defrosting in the morning sun.

Strawberry Macaroons 1

While you’re waiting, preheat your oven to 325°F and line two baking sheets with parchment paper.

Strawberry Macaroons 9

Blend up the thawed strawberries into a glorious red purée.

Strawberry Macaroons 7

Separate the eggs, and save the yolks for something else (for me they’re going in a meatloaf later on).

Strawberry Macaroons 5

Tip the whites into a bowl together with a teaspoon or two coconut extract.

Strawberry Macaroons 10

Give them a whirl until they’re foamy and then add in 1/2 cup granulated sugar. Whiz that up until it’s white and thick-looking.

Strawberry Macaroons 11

Tip in 5 cups shredded coconut (I used unsweetened, but you can use sweetened) and your strawberry goo.

Strawberry Macaroons 13

Fold that together until fully combined.

Strawberry Macaroons 14

I decided to try to mould the cookies, which I’ve never done before, so I grabbed a heart-shaped cookie cutter and used a teaspoon to fill and pack the coconut down.

Strawberry Macaroons 15

Some careful wiggling and pressing down with the spoon freed up each one quite nicely.

Strawberry Macaroons 17

I kept going until I had 21 coconut cookies and an empty bowl.

Strawberry Macaroons 19

Shove those cookies into the oven for about 15 minutes, rotating halfway through, until the bottoms are browned and the cookies are solid. Let cool completely.

Strawberry Macaroons 22

While they’re cooling, grab some dark chocolate and huck it into a double-boiler to melt. Let that cool as well.

Strawberry Macaroons 21

Then tip the cooled chocolate into a bag with the corner nipped off and squeeze it out on your cooled cookies. Let that set.

Strawberry Macaroons 25

Serve to your attendant gentlemen!

Strawberry Macaroons 29

Chex Blox

Chex Blox 13

I thought the name I had come up with for these was pretty cute but one of my coworkers objected and decided they should be called “Chexicans” instead, because of the tenuous (maybe) connection of almonds to Mexico. Then he came up with Chex Yo Self, Chex-o-Slovakia (because Nutella was invented in the Czech Republic), and Early Chex Out (“like early check out, because if you eat too many you’ll die at a young age”). Then he arrived at “Dirty Chexican” because it made his fingers sticky. So I told him I would let you guys decide on a name because you are way smarter than he is. Annnnnnd GO!

Chex Blox 14

In any case, these little blocks of whatever-they-are are well-received wherever you want to take them. Aside from a wee bit of butter (that could be replaced with margarine), they’re dairy free, and the rice cereal makes them totally gluten-free as well. For nut-free folks you can easily skip the almonds. I totally made this recipe up as I went along so there’s no reason for you not to play around with it too!

Chex Blox 1

I started with a big-ass bowl and into it I dumped a whole box (about 5 cups) Chex cereal. It was the honey-flavoured but you could use plain too. Then went in about 1/2 cup sliced almonds (use any nut you like – these were on-hand), 1 cup unsweetened dessicated coconut, and 1 cup chocolate chips. Or about those amounts. I didn’t measure anything. I gave that a good stir.

Chex Blox 2

Into a small pot on the stove went about 3/4 cup Nutella and 3/4 cup peanut butter. The one picture I didn’t take doubles of is of course the one that turns out blurry.

Chex Blox 3

I stirred that around until it was fully melted and amazing.

Chex Blox 6
… okay so this one’s a little blurry too.

In another pot I melted about 2 tablespoons butter.

Chex Blox 4

Then tipped in a whole package (about 5 cups) marshmallows.

Chex Blox 5

Stirred that up until it melted. SO GOOEY.

Chex Blox 7

Then I added the hazelnut peanut butter to the cereal and stirred it for a little while.

Chex Blox 8

Then went in the marshmallow and that got stirred around.

Chex Blox 9

I plopped it into a high-sided baking sheet lined with parchment paper and pressed it down into place. You can shove it in the fridge to speed up the hardening process but it will happen on its own on the counter if it’s not too hot outside.

Chex Blox 10

When it’s hardened you can cut it into blocks.

Chex Blox 12

Store whatever doesn’t get eaten in an airtight container. Enjoy!

Chex Blox 15

Nanaimo Bar Cheesecake

Nanaimo Bar Cheesecake 27

If you’re Canadian, you’ve probably had a Nanaimo Bar once or twice in your life. If you’re not Canadian, you probably SHOULD have a Nanaimo Bar once or twice in your life.

Nanaimo Bar Cheesecake 29

My sister-in-law Mags sent me this recipe as a not-so-subtle hint about what kind of birthday cake she’d like this year (her birthday was February 15th). We usually celebrate her birthday jointly with her dad’s, Papa John, whose birthday is on February 19th. But with a bunch of travel on all sides, we ended up postponing their birthday celebrations until this past weekend, which was MY birthday. So this is a joint cake for the three of us. And it’s amazing.

Nanaimo Bar Cheesecake 25

Preheat your oven to 350°F. Grab a food processor and chuck in 5 tablespoons cocoa powder, 3 tablespoons granulated sugar, 1 1/2 cups graham crumbs, 1/2 cup chopped walnuts, and 3/4 cup dried coconut.

Nanaimo Bar Cheesecake 1

Give it a good whazzing, then drizzle in 4 tablespoons melted butter and 1 teaspoon vanilla and whaz it again, until you get some crumbly mixture.

Nanaimo Bar Cheesecake 3

Take your crumb mixture and dump it into a 10″ springform pan. Press the crumbs into the bottom and a little up the sides, making sure to press extra hard in the corners (I didn’t and it was a little too thick there, so that’s why I am warning you).

Nanaimo Bar Cheesecake 4

Shove that into your oven and bake it for 5 minutes. When you pull it out, leave the oven on and shove in a large (9″ x 13″) pan of warm water and put it on the rack below where you will be cooking your cheesecake.

Nanaimo Bar Cheesecake 5

Now, in the bowl of a stand mixer, chuck 4 250g packages plain cream cheese (remember that room temperature cream cheese makes smoother cheesecake). Beat that up until it’s smooth and lovely.

Nanaimo Bar Cheesecake 6

Then, one at a time, crack in 4 large eggs, scraping down the sides of the bowl and beating the whole time.

Nanaimo Bar Cheesecake 7

Now you can chuck in 1 1/2 cups granulated sugar, 1/3 cup sour cream, 1 teaspoon vanilla, and 3 tablespoons vanilla custard powder.

Nanaimo Bar Cheesecake 9

I used Bird’s custard powder here, because that is all that is traditional and right in the world. Beat that up until smooth.

Nanaimo Bar Cheesecake 8

Pour the mix into your baked crust above your pan of water and bake for 1 hour.

Nanaimo Bar Cheesecake 10

When it’s done, turn the oven off and crack the door just a little bit and wedge it with a spoon. Leave that for 1-2 hours until the cheesecake is room temperature.

Nanaimo Bar Cheesecake 11

Don’t fret about that crack. It’s not a big deal. Transfer the cake to a nice plate with care. Chill the cake for a little while.

Nanaimo Bar Cheesecake 15

To make the lovely ganache that goes on top, toss 1 cup cream and 1 cup chocolate in the bowl of a double boiler and heat until the chocolate melts.

Nanaimo Bar Cheesecake 16

Nanaimo Bar Cheesecake 17

Whisk until smooth, then let it cool to room temperature.

Nanaimo Bar Cheesecake 18

Now gently pour it on top of your cooled cake. I had a lot of ganache so I carefully guided it down the sides as well.

Nanaimo Bar Cheesecake 20

Chill your cake until the ganache is set.

Nanaimo Bar Cheesecake 23

Serve to all your birthday guests!

Nanaimo Bar Cheesecake 26

Peanut Butter Porridge

Peanut Butter Porridge 18

The inspiration for this delightful twist on the classic parritch recipe comes from the ever-brilliant Foodess and it’s a new favourite in this house. You can use any kind of oats you want for this dish. I prefer the steel-cut oats because they have a nice texture for oatmeal, though they take longer to cook than old-fashioned oats. The measurements below serve two for a nice warm breakfast on a very cold day. You can easily expand the recipe: just remember that the ratio of oats to liquid is 1:2. If you like to add extra ingredients like coconut or dried fruit to the porridge before cooking, just add a few extra splashes of water to compensate.

Peanut Butter Porridge 2

Plop 2/3 cup oats into a smallish pot with 1 1/3 cup water (or milk, if you want to be extra luxurious, or coconut milk or soy milk or rice milk or unicorn milk or whatever). Add in about 1/3 cup shredded dried coconut as well, if you like.

Peanut Butter Porridge 8

Tip in as well 2 tablespoons peanut butter (or almond butter or sunbutter or whatever kind of that sort of thing you like) and let that melt into the mess.

Peanut Butter Porridge 9

Bring to a low simmer, stirring often, until it gets all thick and glutinous. If you get it so thick that your spurtle (that’s the wooden stir stick thingy) stands up in the centre then it’s thick enough for your average Highlander but you might want to take it off the heat before that point for your own personal taste.

Peanut Butter Porridge 10

Scoop the porridge into two bowls (soak the bottom of your pot with water while you eat so you can clean it more easily later). Sprinkle with brown sugar and decorate with slices from a banana.

Peanut Butter Porridge 11

Serve with a little bit of milk to cool it down and add a bit of liquidity.

Peanut Butter Porridge 16

Ridiculously Easy Coconut Cream Bars

DSCN2495

I seem to have put myself in the evil cycle of making treats for my bimonthly meetings at the office.  I feel like I’m trying to curry favour with the boss or something.

But these don’t really count as putting in effort, because they’re stupid easy, and the perfect thing to make on a hot day when you don’t want to use the oven.

DSCN2482

Spray a 9″x 13″ baking dish and set that aside for a second.

DSCN2483

Grab a large bowl and dump in 20oz shredded coconut, 14oz sweetened condensed milk, and 2 cups icing sugar.  Give that a good stir.

DSCN2484

Now smoosh that all into the baking dish and freeze it for about an hour.

DSCN2485

When that’s almost ready to go, melt yourself 24oz chocolate and let it cool to room temperature.  I actually melted this stuff just after I shoved the coconut into the freezer and then I took the dog out for a while (more than an hour) and when I came back it was perfect.

DSCN2486

DSCN2488

Cut the frozen coconut into squares and dip it in the melted chocolate.  Make sure to get all the holes sealed because the interior will leak out once it warms up.

DSCN2489

Sprinkle the top of each square with an additional pinch of coconut before the chocolate hardens, which will happen quickly.

DSCN2491

Set on waxed paper to fully harden and store sealed in an airtight container — I kept mine in the fridge because it’s quite warm out.

DSCN2493

Nanaimo Bar Cupcakes

Nanaimo Bar Cupcakes 21

Yup.  ANOTHER cupcake recipe.  If you think that’s ridiculous, you’re gonna laugh at what I have planned for Friday.  This recipe has been stored in my Evernote for forever, but I keep seeing the photos pop up on Facebook. I think it’s a not-so-subtle hint that I should probably make them.

Nanaimo Bar Cupcakes 18

Start with 1 1/2 cups blanched slivered almonds (I used flaked) and mix them with 2 cups dessicated unsweetened coconut in a bowl.  Set that aside for now.

Nanaimo Bar Cupcakes 1

Toast a wee pinch of the coconut and almonds (I popped mine in the toaster oven) and set that aside as well.

Nanaimo Bar Cupcakes 3

Preheat your oven to 350°F and line a standard muffin tin with cups.  I like how cheery these are.

Nanaimo Bar Cupcakes 2

In another bowl, whisk together 2 cups cake flour, 1 cup cocoa, and 1 1/2 teaspoon baking soda.

Nanaimo Bar Cupcakes 4

In yet ANOTHER bowl, ideally the one in your electric mixer, cream together 3/4 room temperature butter, 1 1/2 cups brown sugar, and 1/2 cup granulated (white) sugar for about 3 minutes until pale and cohesive.

Nanaimo Bar Cupcakes 5

Beat in 3 eggs, one at a time.  Ideally they are also room temperature.  Pour in 3 teaspoons vanilla while you’re at it.

Nanaimo Bar Cupcakes 6

Now you can start adding your flour mixture in, alternating with 1 1/2 cup buttermilk until it’s all smooth and combined.

Nanaimo Bar Cupcakes 7

Then you can fold in all your almonds and coconut.

Nanaimo Bar Cupcakes 8

Scoop the batter into your cupcake cups until they’re’ about 3/4 full.  Now, the recipe didn’t tell me how many this made and so I assumed that it was only 12.

Nanaimo Bar Cupcakes 9

I WAS WRONG.  AND I WAS OUT OF CUPCAKE LINERS.  So I used the last four I had, then put the rest of the batter in a disposable loaf pan.  I figured it’d make a nice cake to freeze.

Nanaimo Bar Cupcakes 10

Anyway, bake your enormous number of cupcakes for 25-30 minutes, until a toothpick inserted in the centre cupcake comes out clean, then you can let them cool completely on a wire rack.

Nanaimo Bar Cupcakes 11

The Nanaimo-bar-y-ness of the icing comes from using custard powder.  The custard is what makes a Nanaimo bar a Nanaimo bar. Nah-NYE-mo bar.  I love the word Nanaimo.  I may have a problem.

Nanaimo Bar Cupcakes 13

Right.  Icing.  That’s what we were doing.

In the bowl of an electric mixer, whip together 1 cup room temperature butter, 2 teaspoons vanilla, 4 cups icing sugar, and 4 tablespoons custard powder.

Nanaimo Bar Cupcakes 14

When that’s all combined, pour in as well about 3/4 cup whipping cream for smoothness.

Nanaimo Bar Cupcakes 15

There, that’s lovely.

Nanaimo Bar Cupcakes 16

Pipe it onto your cupcakes, and then sprinkle with the toasted almonds and coconut.  That’s it.

Nanaimo Bar Cupcakes 19

Then you eat it and then it’s gone.  So satisfying.

Nanaimo Bar Cupcakes 23

Nanaimo Bar Cupcakes 24

Puffy Pumpkin Pancakes

Puffy Pumpkin Pancakes 9

We sent Gren ahead of us to Ottawa a week before we moved, so he wouldn’t get stressed out during the chaos of moving.  But in the days following his departure, we kept finding ourselves looking for him, or expecting him to suddenly appear.  We kept  having to remind ourselves we would see him shortly, but it was still sad.  Anyway, you all know that we feed Gren pumpkin regularly to keep him, well, regular.  After he left, I had almost a full can sitting around, so we decided to use up the last of our flour and whip ourselves up some pumpkin pancakes for breakfast one day.  Not very seasonal for August, but they were darned tasty anyway.

Puffy Pumpkin Pancakes 1

Turn your oven on to 250°F and chuck in a heatsafe dish (this will keep your cooked pancakes warm until it’s time to eat).

In a bowl, whisk together 1 1/4 cups all purpose flour (or a gluten-free equivalent), 2 tablespoons granulated sugar, 2 teaspoons baking powder, 2 teaspoons cinnamon, 1/2 teaspoon ground ginger, 1/2 teaspoon ground nutmeg, 1/2 teaspoon ground allspice, and 1/4 teaspoon ground cloves.  If you have pumpkin pie spice on hand, that will do instead of measuring out all the other spices.  If you’re feeling lazy.  I also added in 1/4 cup sweetened desiccated coconut, for texture.

Puffy Pumpkin Pancakes 2

In another bowl, whisk together 1 1/2 cups milk, 3/4 cup pumpkin purée, 2 tablespoons melted butter, 1 egg, and a drop each of vanilla extract and coconut extract (optional).

Puffy Pumpkin Pancakes 3

Mix the dry ingredients with the wet ones.  The batter will be pretty thick.

Puffy Pumpkin Pancakes 4

Scoop about 1/3 cup of the batter into a heated pan and cook for however long it takes for you to be happy with the consistency of your pancakes.  These ones are pretty thick so it took a while at medium heat.  The batter makes about 12 pancakes.

Puffy Pumpkin Pancakes 6

Serve with butter and maple syrup, or whatever else floats your boat.  LIKE BACON.

Puffy Pumpkin Pancakes 7

Choco-Coco Crisps

Choco-Coco Crisps 17

I had pretty much a full package of marshmallows left over from my horrid disaster with s’mores, and a sizable chunk of baking chocolate that needed to be consumed before we left the province.

Choco-Coco Crisps 1

So start with a giant pot and your gooey whites, around 40 large marshmallows.  Chuck them in the pot with 3 tablespoons butter and heat that on medium low, stirring frequently.Choco-Coco Crisps 3

While that’s on the go, butter two large baking dishes.

Choco-Coco Crisps 2

Chop up about 4oz chocolate (I used milk chocolate) and use your microwave or a double boiler to melt it down.

Choco-Coco Crisps 4

When the marshmallows start to melt, you can add in a few tablespoons vanilla extract and a few tablespoons coconut extract.  Be careful, as the alcohol in the extracts will fizz up.  Keep stirring as the marshmallows continue to desolidify.

Pour in the melted chocolate when the marshmallows are nearly entirely melted and remove the pot from the heat.  This will prevent your melted chocolate from seizing.

Choco-Coco Crisps 6

Stir quickly until it’s all well combined.

Choco-Coco Crisps 7

Pour in about 1 cup sweetened dessicated coconut and stir that up.

Choco-Coco Crisps 8

Add in as well 6 cups crisped rice cereal and stir until it’s all evenly coated with chocolate goo.

Choco-Coco Crisps 9

Using a buttered spatula or buttered hands, flatten the crispies into the buttered pans, pressing down firmly into the corners.

Choco-Coco Crisps 10

Chop up about 8oz chocolate, melt that, and spread it thinly over the top of the crispies in both pans.

Choco-Coco Crisps 12

Allow the chocolate to set for a bit, but cut your treats before it’s completely hardened.  Chill to set completely.

Choco-Coco Crisps 13

And then, well, you eat them.  Simple as that.

Choco-Coco Crisps 14