Gluten-Free, Dairy-Free, Still Amazing Angel Food Cake

GF DF Angel Food 32

We’ve made this cake before. Many times. But I thought I’d make it again for a dual birthday celebration we had a few weeks ago. This cake was for the Pie’s grandmother, who recently turned NINETY. The next cake on our list I made for Papa John, her son, who turned SEVENTY at the same time. The Pie’s grandmother is a celiac and she’s also lactose-intolerant, so making her a special treat for her birthday was going to be a challenge I looked forward to.

GF DF Angel Food 30

And why not actually go through the old traditional way where you make an angel food cake the same day as a devil’s food cake, so that you can use up all the yolks? So the devil’s food cake will be in my next post – stay tuned!

GF DF Angel Food 1

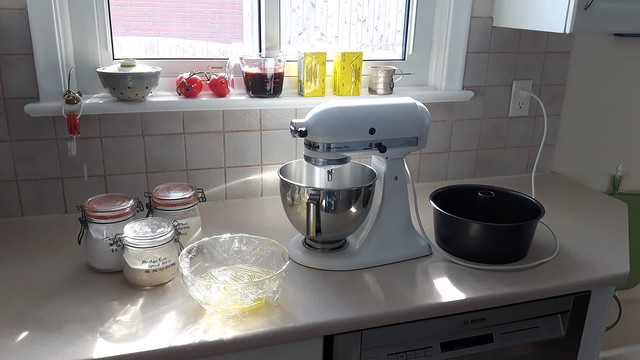
Begin with your egg whites. Separate 12 eggs, saving the yolks for the chocolate cake coming up (you can freeze them), and bring them to room temperature. Normally I do this by leaving the bowl in a patch of sun on my counter but if you’re in a hurry, you can set the bowl in warm water and that’ll do the trick too. Don’t try to use pasteurized egg whites from a carton: they will not whip at all. I’ve tried.

GF DF Angel Food 2

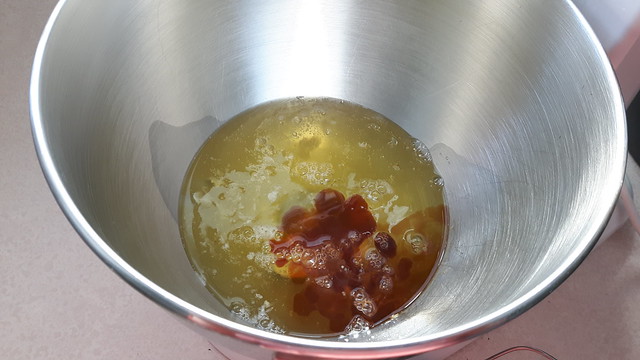
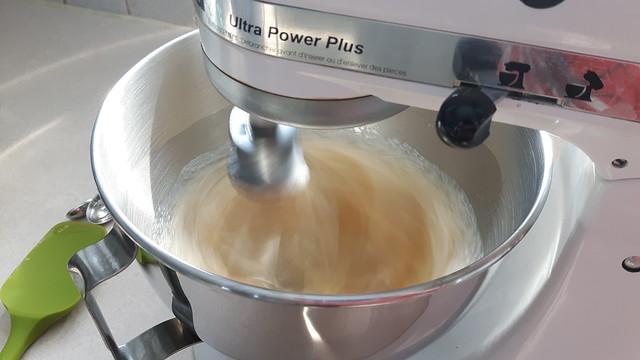
Plop your 12 egg whites in the bowl of your electric mixer with 1 1/2 teaspoons cream of tartar and 2 teaspoons vanilla (or however much a generous dollop is. I never measure vanilla).

GF DF Angel Food 4

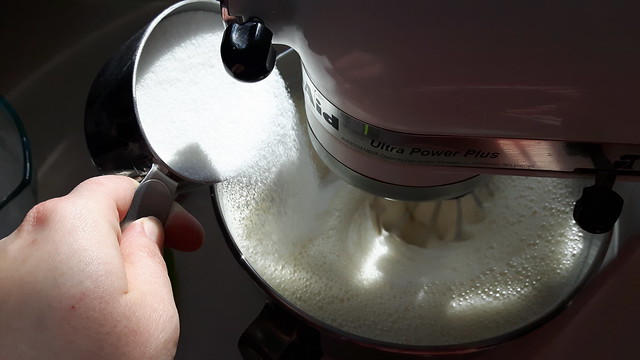
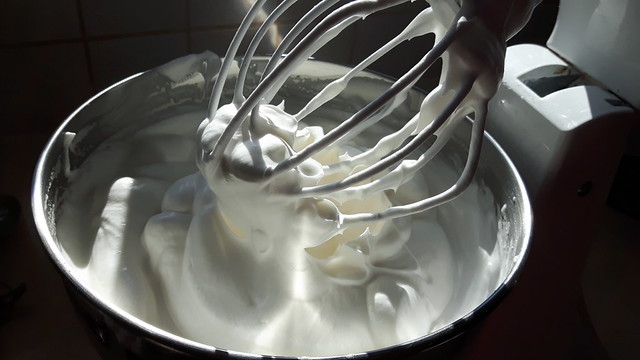
Beat that with the whisk attachment until it’s nice and thick and foamy, and then slowly tip in 1 cup granulated sugar while you beat it some more. It’s the sugar that makes the meringue here stiff and solid, so don’t skimp on it!
GF DF Angel Food 5

GF DF Angel Food 6
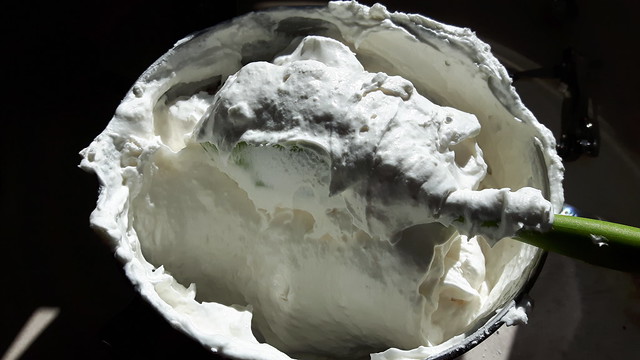
The meringue should be stiff enough to support the weight of the beater if you took it off the armature and set it on top.

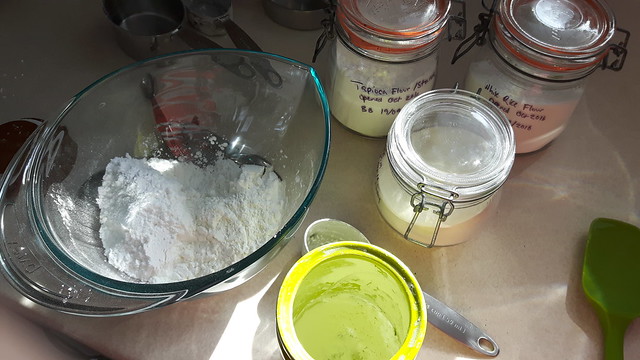
Once that’s ready you can set it aside for the moment and whisk together your “flour.” In this case, our tried-and-true combination for gluten-free gorgeousness is 1 1/3 cups icing sugar, 1/2 cup tapioca flour/starch, 1/4 cup cornstarch, 1/4 cup rice flour, 1 teaspoon xanthan gum, and 1/4 teaspoon (a pinch) fine salt.

GF DF Angel Food 3

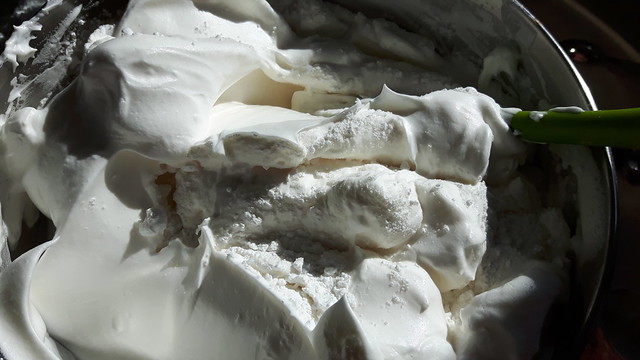
Fold that flour mixture into the meringue mixture very carefully. You have to be gentle enough that you don’t smush the bubbles in the egg white, but thorough enough that you’re not leaving pockets of flour in the batter.

GF DF Angel Food 7

Good enough.

GF DF Angel Food 8

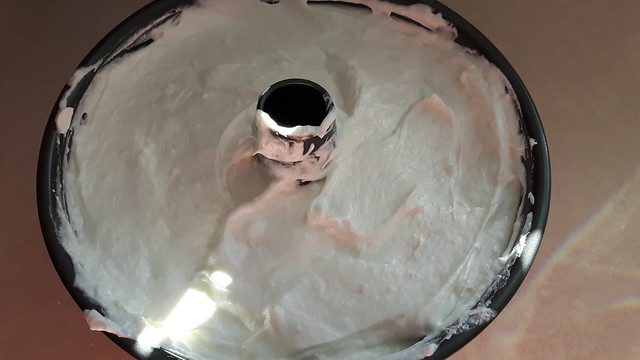
Smooth the batter into an UNGREASED angel food pan (can’t stress that enough, never grease your angel food pan or it will fall out on you).

GF DF Angel Food 11

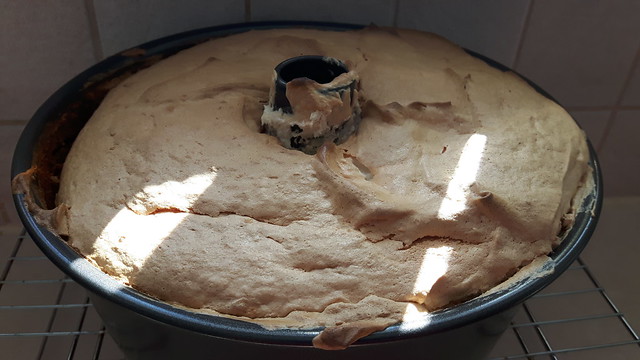
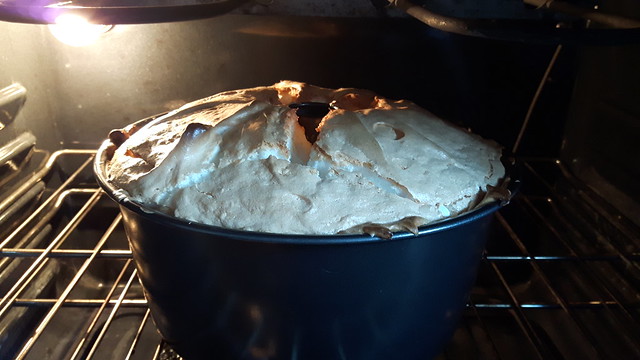
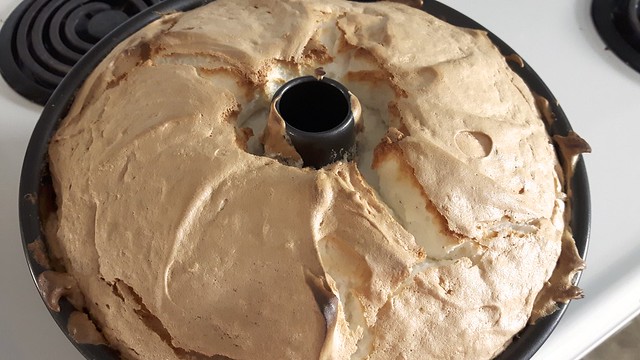
Pop that in the oven for 35 minutes, until the top is golden-brown and dry to the touch. If you see cracks, that’s good.

GF DF Angel Food 12

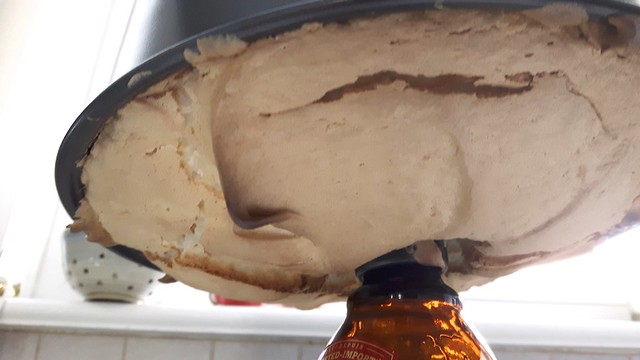
Fantastic. Now take it out of the oven and invert it over a bottle or if it has feet, stand it on the feet. This keeps the cake from collapsing under its own weight as it cools. Once it cools it’s a lot more firm. The gluten-free version is always way squishier than the gluten-y one so this is very important.

GF DF Angel Food 20

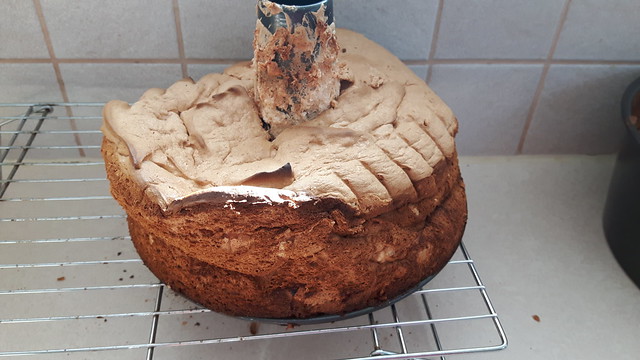
Here’s my issue: my angel food pan is actually NON-STICK. So as I was inverting it, the bottom segment shifted away from the sides and I bobbled the whole thing, dropping it with a clatter. KABOOM.

GF DF Angel Food 16

At precisely that moment and not ten feet away, the Pie had just put his elbow down on LongJohn’s plate, spectacularly spattering his lunch all over the floor and wall. Windows too. That’s the kind of day we were having.

GF DF Angel Food 14

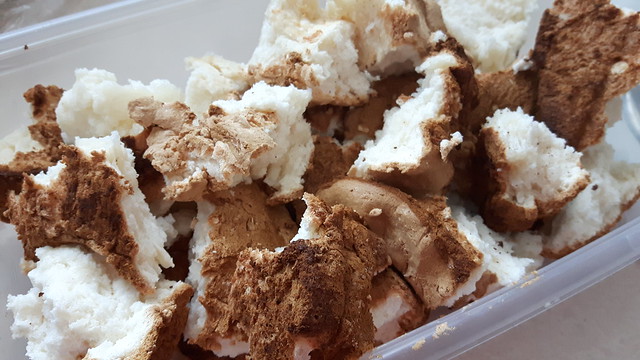
So I made another one. Which meant that we had not just 12, but 24 egg yolks. And a busted cake. “I guess that means we’re having trifle for dessert tonight,” said the Pie as he scrubbed hummus off the wall.

GF DF Angel Food 21

GF DF Angel Food 22

So that’s what we did. But that’s neither here nor there. I made the other cake. And it turned out even better than the previous one.

GF DF Angel Food 17

GF DF Angel Food 18

You can see that the pan is trying its best to screw me over by separating. Jerk.

GF DF Angel Food 19

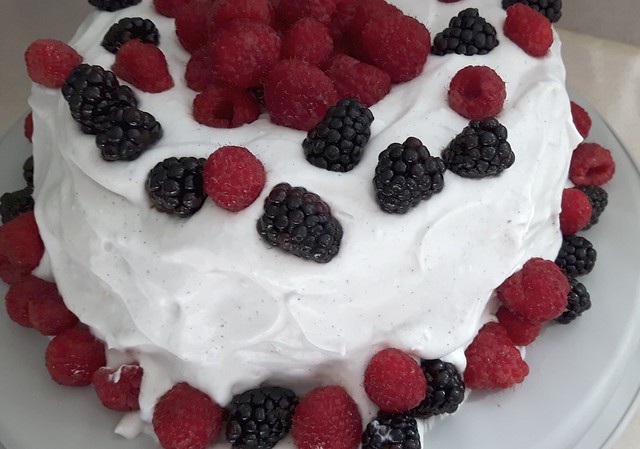
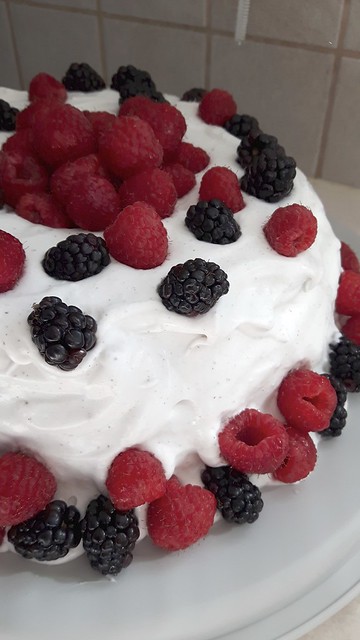
Once the cake has cooled you can decant it from the pan and decorate it as you see fit. I usually whip up some cream and slather it all over with some fresh berries, but the Pie’s grandmother is also lactose intolerant, so I decided to try whipping coconut cream instead.

GF DF Angel Food 26

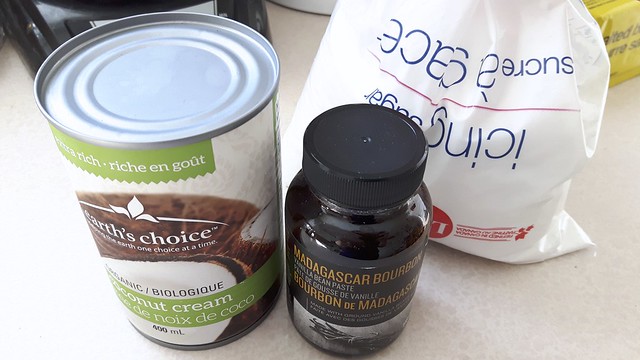
Coconut cream is a bit harder to find in Ottawa than regular coconut milk, but I eventually tracked some down in the local health food store. I was told by the cashier that the trick in getting it good and whippy is to make sure the cream, beaters, and bowl are all extremely cold. So the 2 cans coconut cream went into the fridge overnight and the beaters and the bowl went into the freezer.

GF DF Angel Food 23

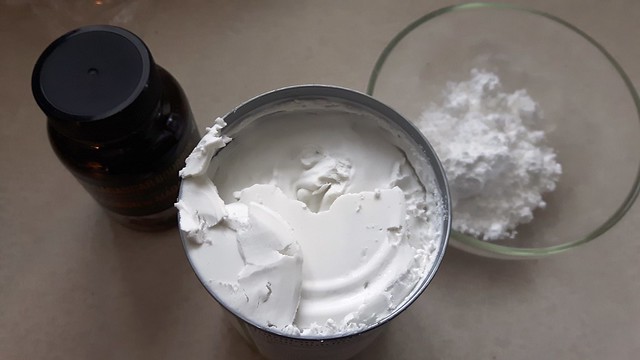
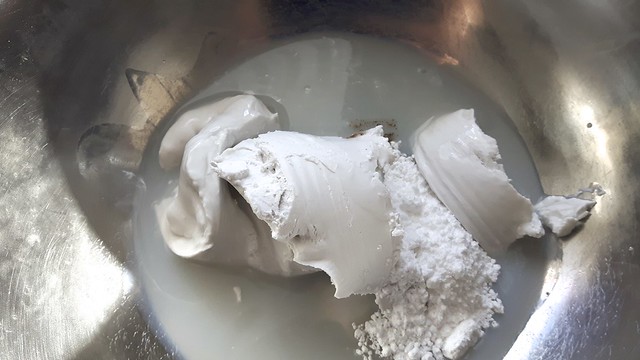
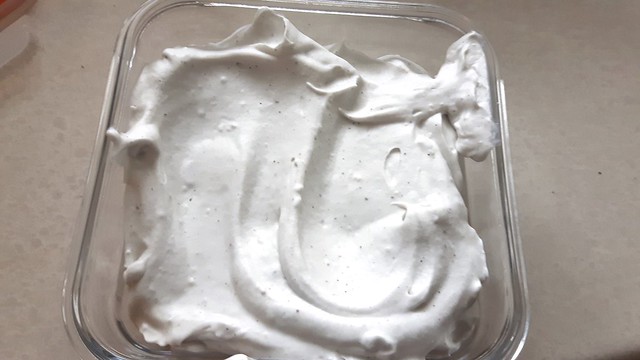
I tipped the cream into the ice cold mixer bowl together with a few tablespoons icing sugar and a dobble or two of vanilla bean paste and gave it a whirl with the whisk attachment.

GF DF Angel Food 27

It takes a while, and it doesn’t get as stiff as whipped dairy cream, but it sure tastes good.

GF DF Angel Food 25

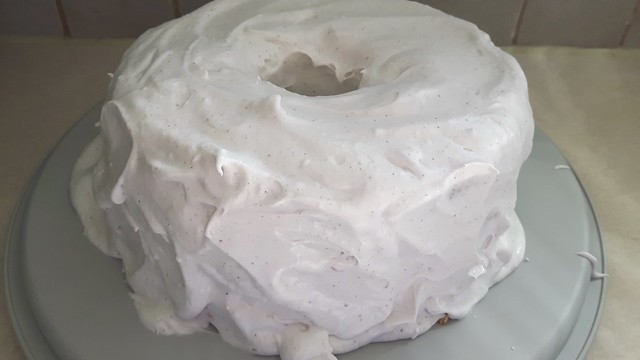
Slather that all over the cake. It’s a bit slippery so make sure to keep it in the fridge until you’re serving. Does anyone know if there’s some kind of stiffening agent you could add to make it stay put?

GF DF Angel Food 28

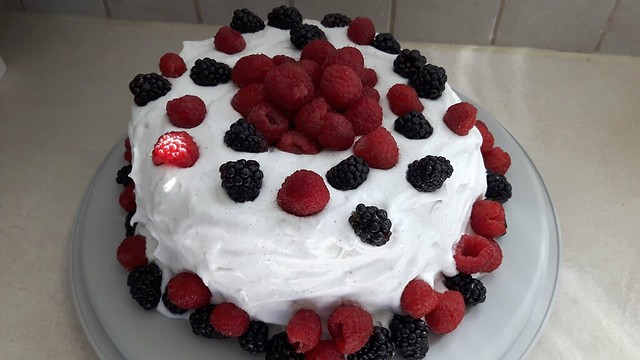
Pop some berries on top and in the hole in the middle and we are good to go!

GF DF Angel Food 29

Fruity Oat Muffins (Gluten-Free!)

Fruity Oat Muffins 20

Fussellette sent me this gorgeous recipe from the CBC and I had to try it out after listening to her rave about the results.

Fruity Oat Muffins 2

The best part about this recipe is that it’s flexible — you can change the flavours around by changing up the fruit you’re using, even using fruit-flavoured yogurt if that’s what you have on hand.  I’d also like to play with the flours a bit, maybe swapping in some coconut or almond flour if appropriate.

Fruity Oat Muffins 3

Preheat your oven to 375°F and spray or line a muffin tin with paper cups. I recommend paper cups for these, because gluten-free baked goods tend to like to stick to what they’re baked in.

Take 1 cup oats (if you have a sensitivity, make sure they’re gluten-free), and pulse in a food processor until they’re all fine and powdery.  Plop that in a large bowl.

Fruity Oat Muffins 4

Add to that 1/3 cup brown rice flour, 1/3 cup tapioca flour, 1/3 cup corn starch, 1 tablespoon baking powder, 1 teaspoon baking soda, 3/4 teaspoon xanthan gum, 1/2 teaspoon cinnamon, and a pinch of salt.  Whisk that all together.

Fruity Oat Muffins 5

Then add in 1/2 cup each dried cherries, dried cranberries, and golden raisins.  I had this multi-pack with all those in it already, so I chucked that in, together with some chopped dried apricots.

Fruity Oat Muffins 1

Fruity Oat Muffins 7

In another bowl, rub 2 teaspoons orange zest and 2 teaspoons lemon zest (I used 4 teaspoons orange because I had no lemons) into 1/2 cup granulated sugar.

Fruity Oat Muffins 8

Fruity Oat Muffins 9

Fruity Oat Muffins 10

Whisk in 2 large eggs, then 1 1/4 cups Balkan-style plain yogurt1/3 cup light olive oil or vegetable oil, 2 teaspoons vanilla, and 1 teaspoon cider vinegar.

Fruity Oat Muffins 11

Add the flour mixture to the wet ingredients and stir only until just combined.  It will seem lumpy but don’t fret.  If you stir it too much you’ll end up with flat muffins, which, especially in gluten-free recipes, is the opposite of what we want to happen.

Fruity Oat Muffins 12

Spoon into your muffin tin (it should make 12 regular-sized muffins or 6-7 super large ones).

Fruity Oat Muffins 13

If you end up with some empty space in your muffin tin, add a bit of water into the empty cups — it will ensure that your muffins bake evenly.

Fruity Oat Muffins 14

Sprinkle some more whole oats and maybe some brown sugar on the top of each muffin.

Fruity Oat Muffins 15

Bake for about 25 minutes, until the tops are firm to the touch.  Allow to solidify in the pan for about five minutes after removal from the oven.  Use a fork to transfer the muffins to a rack to cool completely.  As with most gluten-free material, they won’t last long, so make sure to eat them or freeze them within a couple of days.

Fruity Oat Muffins 17

Gluten-Free Yellow Cake Batter

Gluten-Free Cake Batter

Everybody needs a basic cake batter recipe to work from, even those who have a low tolerance for gluten.  Fussellette was coming for Easter and I wanted to serve a cake for dessert.  So I needed to come up with a cake that she could enjoy along with the rest of our guests.

Gluten-Free Yellow Cake Batter

This recipe is adapted from Martha Stewart’s Easy Cake Batter.  I replaced the flour in the recipe with a gluten-free mix I came up with myself, with a little bit of help from Ellen’s Kitchen.  If you are curious as to the right proportions when combining gluten-free flours, check out her suggestions — they are very useful.

Gluten-Free Yellow Cake Batter

First we want to bring all our liquid ingredients to room temperature: 1 cup butter, 4 large eggs plus 2 large egg yolks, and 1 1/2 cups buttermilk (or soured milk). If you want to warm up your ingredients a little faster, try placing them in a warm water bath.

Gluten-Free Yellow Cake Batter

In a bowl, whisk together 2 cups white rice flour, 2/3 cup almond meal (I find that the coarseness of the almond meal gives the cake crumb a springy, solid texture, with no fear of it falling if handled too roughly), 1/3 cup tapioca starch/flour, and1 tablespoon baking powder.  So the final result of this particular combination tastes like a sweet, more tender version of cornbread — it has a finer texture but that’s the best analogy I can come up with.

Gluten-Free Yellow Cake Batter

In the bowl of an electric mixer, beat together your butter with 1 3/4 cups granulated sugar, until it’s light and fluffy and creamy.  Don’t rush this process.  Let your mixer go on high for about 6 minutes, and you will see the difference between butter and sugar that are just well-combined versus butter and sugar that are well and truly creamed together. This is the just-combined stuff.

Gluten-Free Yellow Cake Batter

This is the truly creamed stuff.  It makes all the difference in a cake, especially one where you need all the help you can get to keep the structure light and fluffy.

Gluten-Free Yellow Cake Batter

Mix in your eggs, one at a time, until they are well-combined.  Again, you add the eggs a bit at a time so that the mixer paddle will have a chance to properly emulsify all of it.

Gluten-Free Yellow Cake Batter

Add in at this point 1 tablespoon vanilla extract.

Flip the mixer to its lowest setting and mix in about a third of your flour mixture.  Pour in half the buttermilk and let that get mixed in as well.  Then another third of your flour, mix that in, and the rest of the buttermilk.  When that’s mixed in, add the last of the flour and mix until just combined.  You may need to scrape down the sides of the bowl. This picture is blurry because I like to cook in motion.

Gluten-Free Yellow Cake Batter

Now you have a basic batter with which you can do pretty much anything.  You can turn it into a layer cake, or mix it with other flavours like chocolate or fruit.  Or you can make it into cupcakes, like I did here (the frosting is a package of cream cheese mixed with a cup of icing sugar and some coconut).

Gluten-Free Cake Batter

This cake here I wrapped up and froze for a future event.

Gluten-Free Cake Batter

For Easter I poured the batter into two pans and then layered the cake with whipped cream mixed with raspberries.  DIVINE.