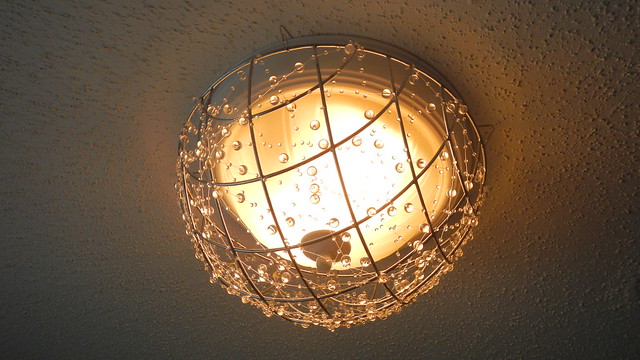
Cheapo Chandelier

Cheapo Chandelier 20

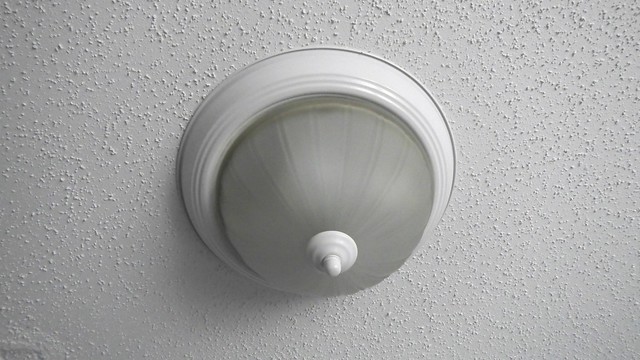
When this little DIY popped up in my Feedly from Hammer and Heels, a light went on over my head (literally).  We suffer from boob lights in our house (they’re the cheapest lights contractors can buy in bulk), and because we rent I can’t change too many things. This is a great solution to temporarily dress up what’s otherwise a super stupid-looking lighting system.

Cheapo Chandelier 15

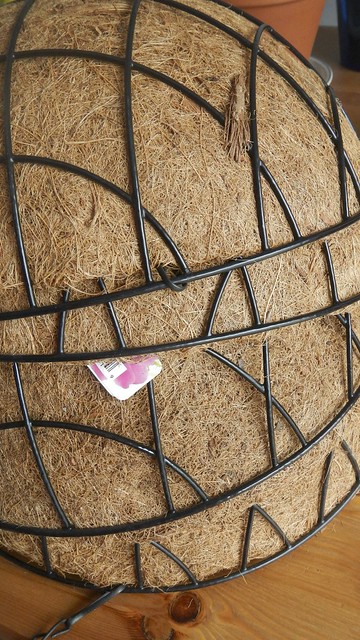
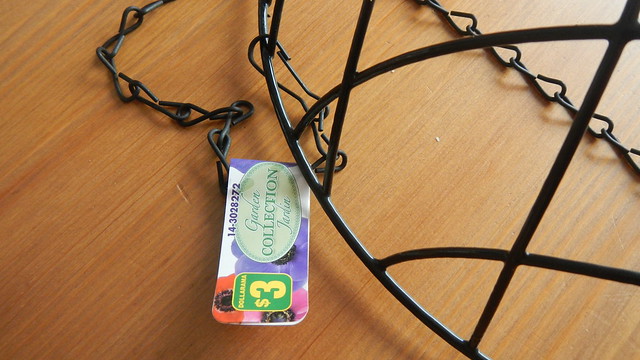
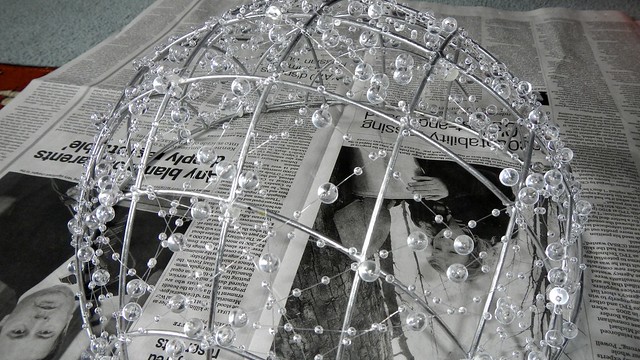
You need a coconut hanging basket-type thing. You don’t need the coconut part, just the wire basket. So any wire basket thing you like will do. I found these at Dollarama for $3 each.

Cheapo Chandelier 2

This basket doesn’t have the swoopy elegance of the Hammer and Heels version but I kind of like the industrial nature of it. Plus it was THREE BUCKS.

Cheapo Chandelier 5

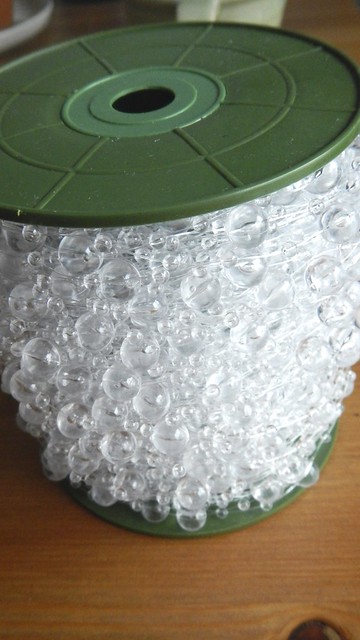
And you need some beaded string or wire or something on a string that is pretty and light looks pretty going through it. I found this stuff for decorating wedding bouquets on Amazon for $30. It took a while to get here from China but it was cheap and that’s what counts in this case.

Cheapo Chandelier 3

So remove the coconut lining and the hanging mechanisms from the baskets (if they have them). Save the bits for something else. You never know when stuff like this will come in handy.

Cheapo Chandelier 6

I sprayed two of the baskets (I had four) silver with spray paint. Just one coat did a pretty decent job. Then I ran out of silver and painted the other two gold (and then I didn’t end up making the other two chandeliers … yet. I might just turn them back into hanging baskets, who knows?).

Cheapo Chandelier 9

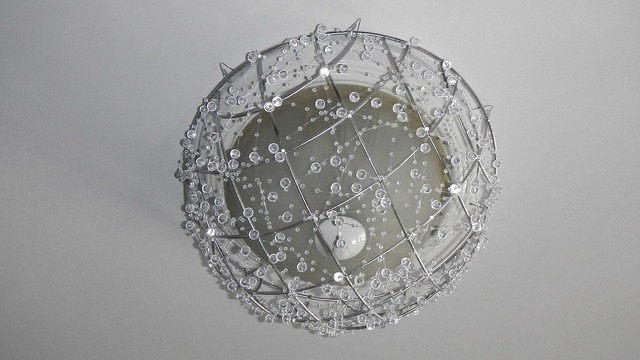
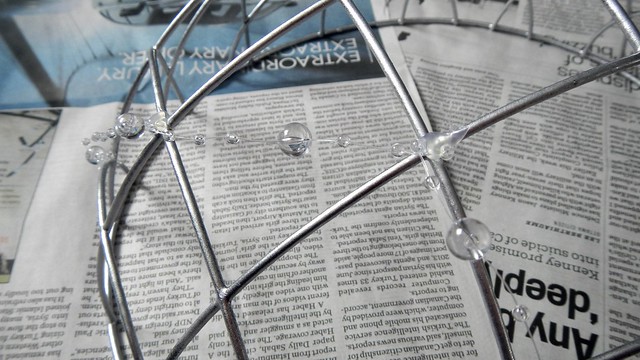
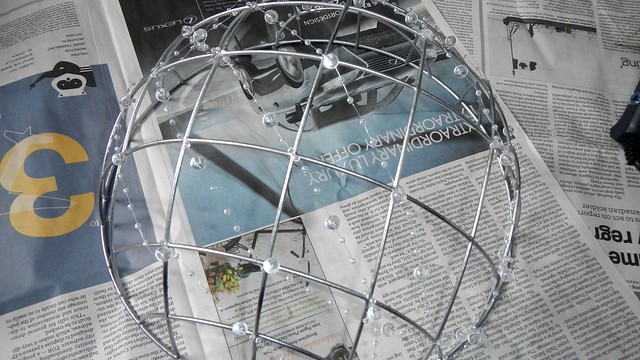
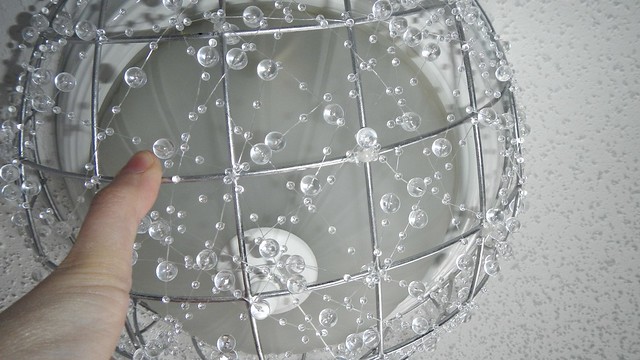
Once those were dry I could begin. I used a dab of hot glue on the low setting (so it wouldn’t melt my string) to secure the ends onto the basket. Then I wrapped the string around all the little junctions, going all over the basket, making sure that most of the beads and stuff were on the underside of the basket so you could see them better.

Cheapo Chandelier 12

I worked with 10-foot lengths of string to make it easier to manipulate it around all the little twists and turns.

Cheapo Chandelier 13

I just went kind of random after I got a good base of string down, switching directions to fill various gaps as I saw fit. I ended up using 40 feet of string on each chandelier, and I think it was just enough and not too much.

Cheapo Chandelier 14

Now to put it up. This is how it will disguise the boob. But I don’t want anything that will be permanent or will damage the ceiling or fixture.

Cheapo Chandelier 17

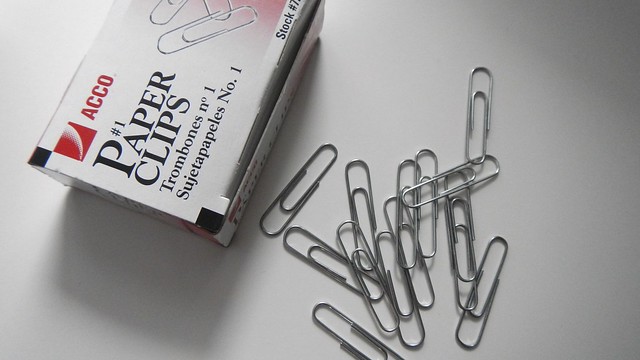
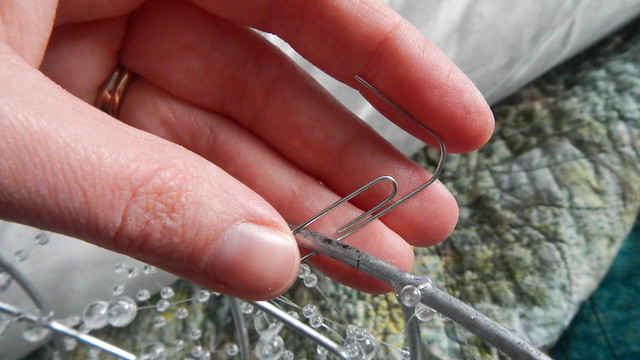
Solution: paper clips!

Cheapo Chandelier 16

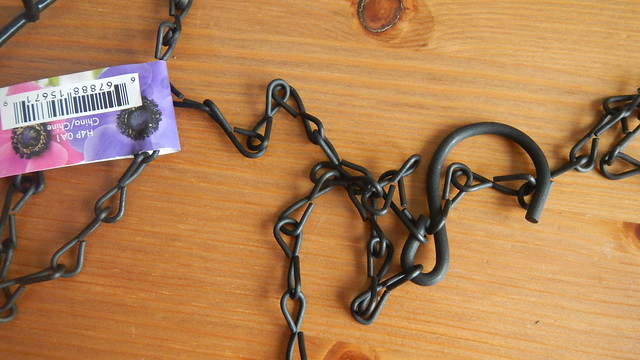
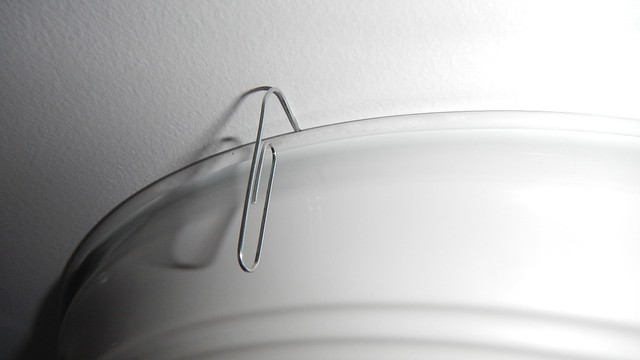
They’re just narrow enough to slide snugly between the ceiling and the fixture.

Cheapo Chandelier 18

And they clip easily onto my basket, which is not very heavy (do remember that if you’re using a heavy basket, do not attach it directly to the light fixture – anchor it more securely or bad things will happen).

Cheapo Chandelier 19

The first one I used like SEVEN paperclips to stick it up and I needn’t have bothered.

Cheapo Chandelier 22

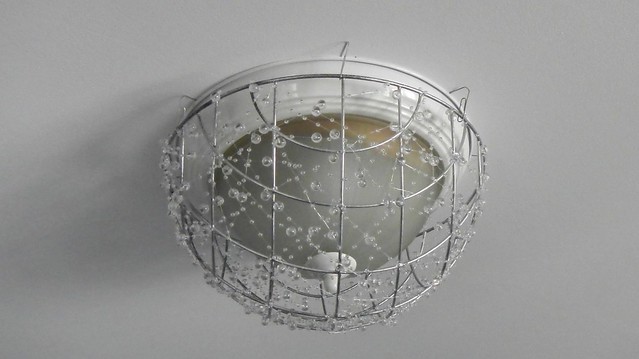
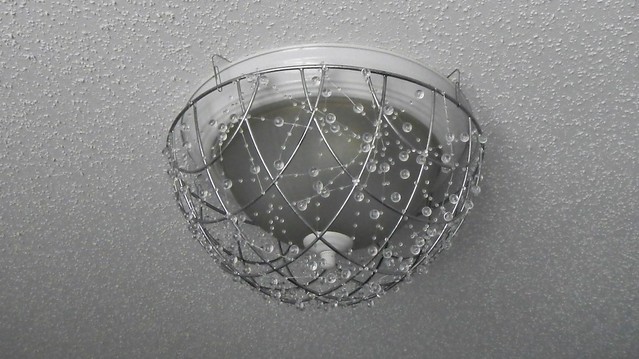
This one I just used four and it’s totally fine. And you really don’t notice the paper clips unless you’re looking for them. If it bothers you that they look like paper clips, then just bend them into a different shape!

Cheapo Chandelier 23

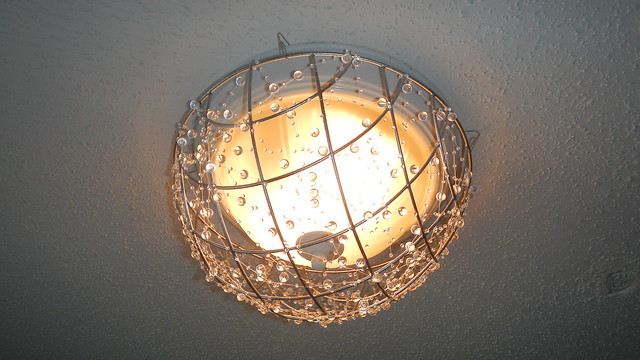
To me it looks like a dew-covered spiderweb over a chain link fence and I like it a whole lot. The pictures don’t really do it justice, unfortunately.

Cheapo Chandelier 25

Estimated total cost of each chandelier: NINE DOLLARS (Basket: $3; 40ft Beaded String: $6; Spray Paint, Hot Glue, Paper Clips: on hand, and in minimal amounts).

Cheapo Chandelier 26

(Paperless) Towels

(Paperless) Towels 3

I don’t have a super long post for you today, because Krystopf and Atlas finally (after being fogged out and stuck in Halifax for a day) made it to Newfoundland this weekend and we only just got rid of them — I mean, bid them a fond farewell.

Krystopf-Atlas Visit May 2013 5

But I would like to know how you folks feel about paper towels.  Have you managed to eradicate them completely from your lives?  Do you know the trick to drying your hands in public using only one piece of paper towel?

(Paperless) Towels 5

We haven’t yet successfully eliminated paper towels from our household, but we’re working on it.  I bought a pack of 8 rolls of these recycled unbleached eco-friendly suckers  from Costco about four years ago, though, and we still have three rolls left.  So that’s something.  Currently we save our paper towel usage for draining bacon (though we could do that on a rack) and cleaning up dog vomit at 4:00 AM (though we could use cloths for that).

(Paperless) Towels 4

If you do a bit of poking around on the internet you’ll see a lot of people who come up with nifty solutions to the paper towel problem.  Most of them involve using nice absorbent flannel sheets.  In some cases, they’ve cut and hemmed the sheets to be the same size as a standard sheet of paper towel.  And if you want to get really fancy, you can attach snaps or velcro to the corners and have them all attach to each other so it fits on the paper towel roll.

(Paperless) Towels 2

But that seems complicated. What I have are just plain flannel sheets, which my mother lovingly serged for me and gave to me when the Pie and I moved in together.  That’s all you need.  Makes a great housewarming gift, and you can use them for anything, including a makeshift receiving blanket for babies (depending on the size, of course).

(Paperless) Towels 1

I’m not really sure who came up with this particular pattern, but it doesn’t really matter when  you’re wiping up spills.  You can even pick up old flannel sheets at thrift stores and cut them up for this purpose.  The best part of that is they’ve been washed so many times they’re already super-absorbent. The older it is the better!

(Paperless) Towels 6

Felting Old Wool Sweaters

As you may know, I’m doing a DIY Christmas this year.

Many of the projects that have come to my attention recently have involved re-using and re-purposing old things you don’t want anymore.

Some of those particular projects involve making items like mittens and hats out of felted wool, which is easy to make and fun.  When natural fibres such as wool are washed and rubbed against each other, the fibres shrink and separate, tangling with other fibres, creating the thick, durable material we know as felt.

Take yourself some old sweaters.  Sweaters that are 100% wool (or merino, angora, cashmere, etc., all the natural animal fibre ones) work the best, but I experimented with two orange sweaters which were 90% wool and 10% nylon.  I picked up most of these at Value Village.Chuck them into your washing machine and wash them in HOT water.  Just make sure you turn all the knobs back when you’re done so the next person doesn’t accidentally shrink all their clothes in the next load!

I managed to produce a large ball of wet sweater babies when I cleaned out the washing machine.Pop them in the dryer when you’re done and when they’re dry they should be felted.  You may have to do this more than once if your sweaters are loosely knit, just to get all the fibres tangled up with each other. If you can cut into the sweater without it unraveling or fraying then you have successfully felted your wool.

You can see how much smaller the sweaters are now.  This used to be a medium-sized adult man’s sweater, and now it would maybe fit a two-year-old.

I removed all the stuck-on sweater babies with a fuzz comb.

Stay tuned for all the fun things I plan to make out of these!