
Okay, so the thing I made for the Pie’s birthday, remember that? Well if it wasn’t quite your style, maybe this one, using the same technique, will be more to your liking.
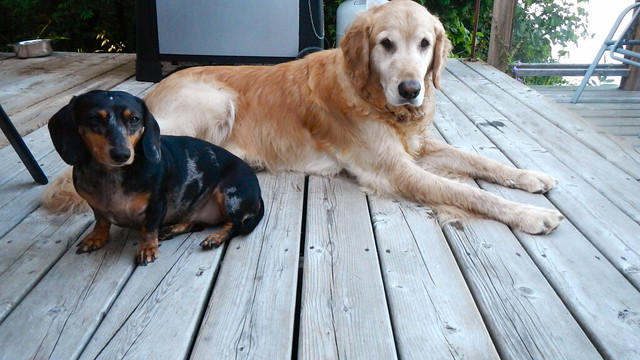
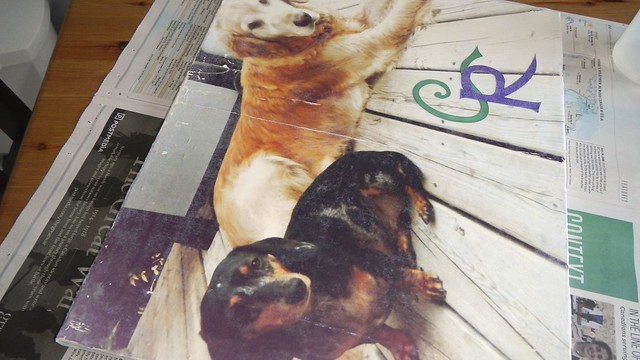
Cait’s dog, Ruby, is very sweet, but, being a dachshund, she doesn’t really get along with most other dogs. When Cait became mom to an anxious golden retriever named Cooper, we all held our breath to see what would happen. It turns out we needn’t have worried. Ruby enjoys having a big brother to boss around and take care of, and Cooper’s anxiety is so much less with a constant companion. I took this super cute photo of the two of them at a cottage last summer (for the microsecond they actually sat still). They are the best of friends.
Now, Cait’s birthday is only four days after the Pie’s, so, working on the success of the Pie’s gel transfer painting, I decided to do something along the same lines. I messed this up before I got it right, so I’ll show you what I did.
First, I had to alter the photo to make it fit on the 16″ x 20″ canvas, and change the colours a bit in the photo to make sure both dogs stood out. It’s hard when you have a dog with a black face and another with an almost white face to make sure they both show up. So I put a vintage filter on the photo, put a light vignette at the edges, and boosted the contrast a little. These things tend to work better with high-contrast pictures. Then I flipped it horizontally so it would come out facing the right way.

I had the picture printed out at Staples, and because it was so big it came out on their high gloss poster paper. My first mistake.

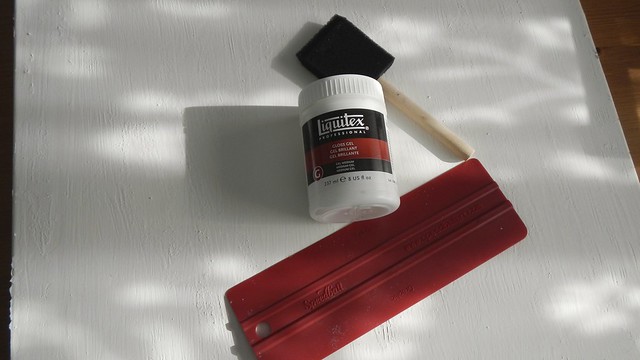
I couldn’t find my sponge brush, so I just used a regular plastic bristle paint brush to smear on the gloss gel medium. My second mistake.
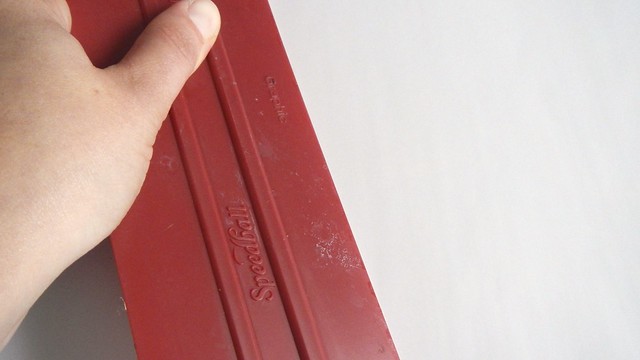
Then I used my squeegee to smooth the photo face-down onto the gel medium-ed canvas. The centre of the canvas was pretty flexible, so I should have put something underneath to support it as I pushed around on top. My third mistake.
You’re supposed to leave it to dry overnight, but after an hour I could see that the thing wasn’t working. The poster paper was too thick to conform to the huge grooves in the gel medium left by my paintbrush, and there were giant streaks everywhere. Because there was no support in the centre of the picture when I pushed down with the squeegee, there were whole spaces where the medium hadn’t adhered at all to the photo.
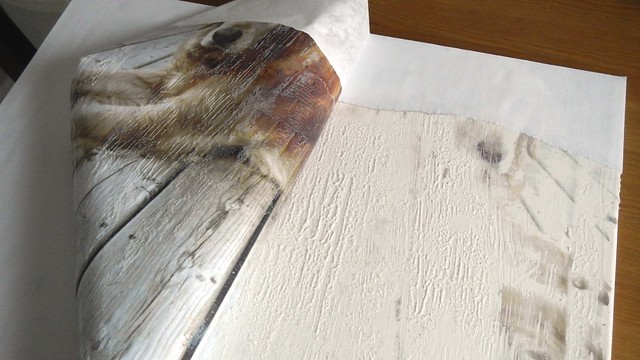
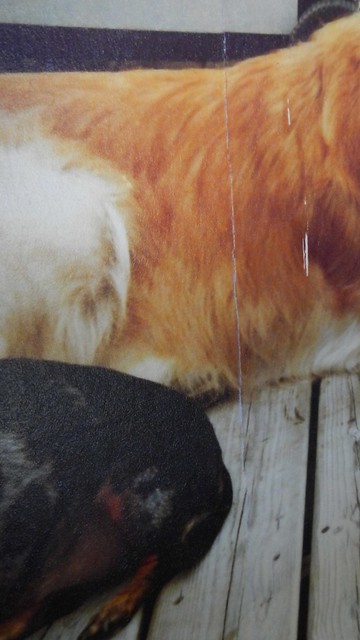
Part of Ruby’s face was completely missing.
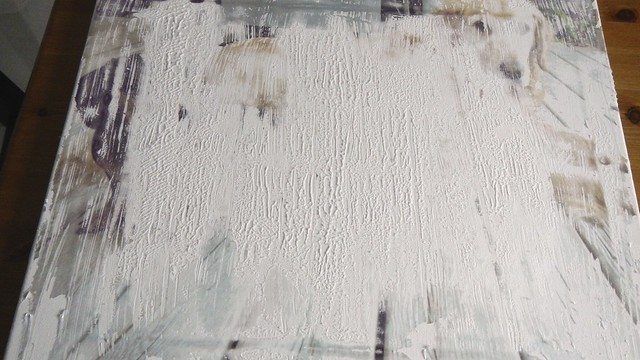
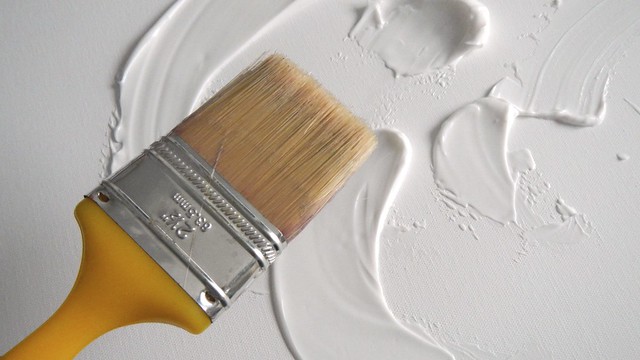
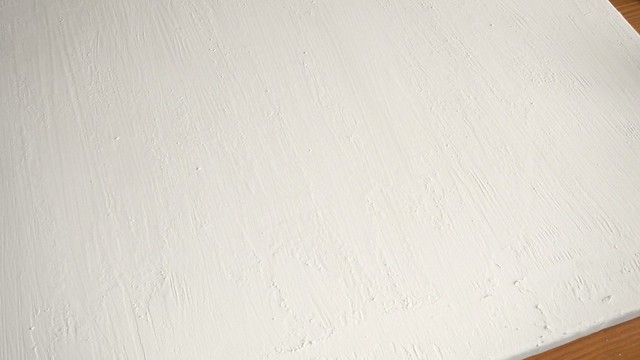
No worries. I can fix this. I scraped off the parts of the gel medium that were still wet and left the thing to dry completely. Then I covered the thing completely in a few coats of antique white craft paint.
It left a bit of a texture, but nothing that couldn’t be smoothed over with a new batch of medium and some careful application.
To get the picture printed on thinner paper (the regular 25lb stuff that comes out of photocopiers), I had to split the photo in half, so each part measured 10″ x 16″ and would fit nicely on a tabloid (11″ x 17″) piece of paper. You need a photocopier or laser printer for this job, as the ink in an inkjet goes through too many layers of the paper and will not work.

Here I am trimming the white edges off the paper. My paper cutter is really nice, but it isn’t big enough to do the long edge of the 17″ sheet. I managed, but it was dicey.

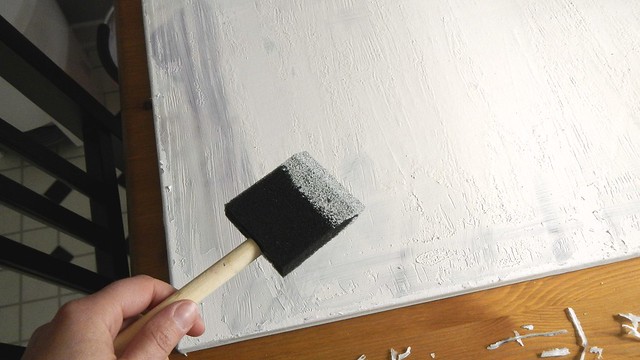
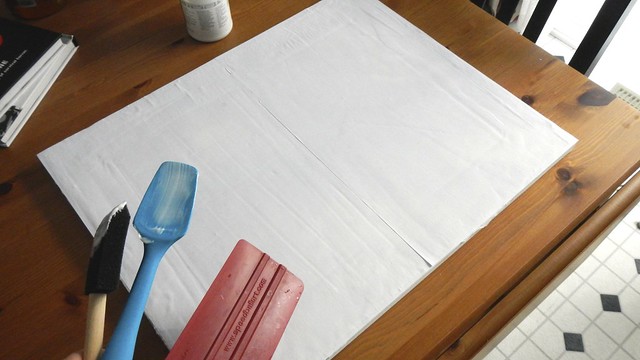
This time I put some books under the centre of the canvas to hold it up.
I used a sponge brush AND the squeegee to get the medium evenly across the whole thing.
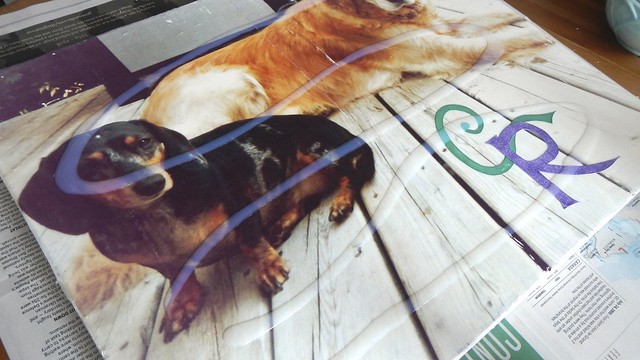
I did my best to line up the photos as closely as I could, though it wasn’t perfect. I was very careful with the squeegee when pressing it down not to press too hard in any one area. I examined it minutely for bubbles and pushed out any that I found. Then I left it the hell alone overnight.
The next day I had roofers come to fix our leak so I hid out in the kitchen while chaos reigned.
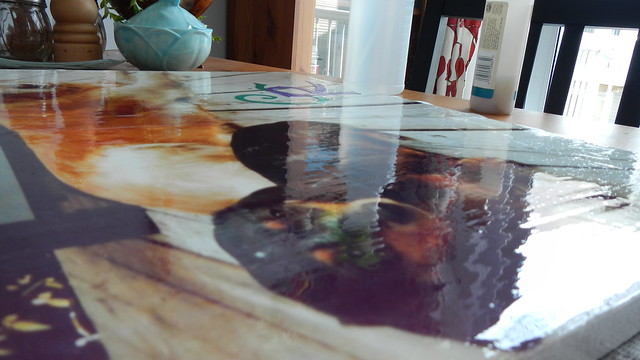
I used my handy spray bottle full of water to wet the paper.

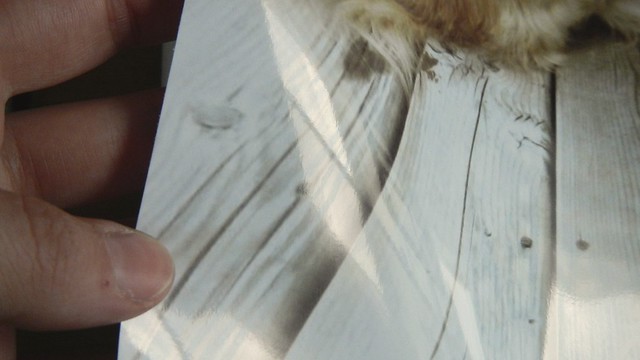
Then I began to rub off the wet layers of paper. I used just my fingers, because I didn’t want to rub too hard on the dogs’ faces and accidentally remove the colour.

I ended up wetting it and rubbing it at least three times before I was happy with how much white paper I took off.

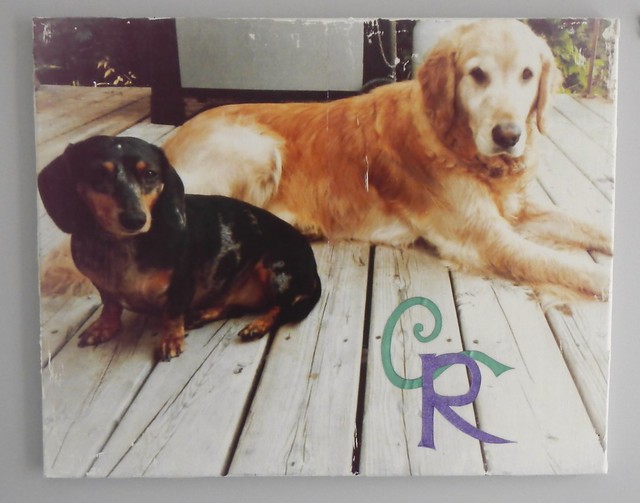
It’s a little rough around the edges, but it’s supposed to be, so it looks good with the vintage cast of the photo.
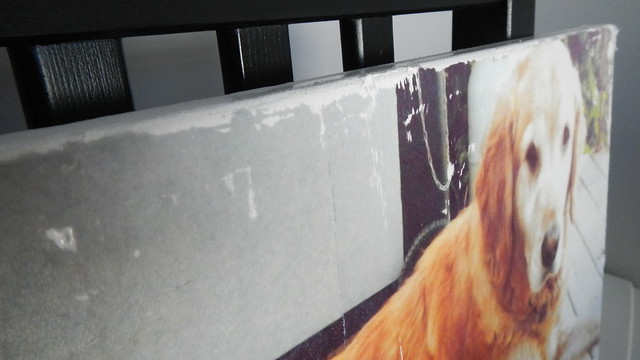
Even the dividing line turned out mostly okay.
Because there is a big chunk of empty deck space in the centre of the photo, I wanted to put in Ruby and Cooper’s initials, to make it extra cute.
I freehanded the letters onto some card stock.
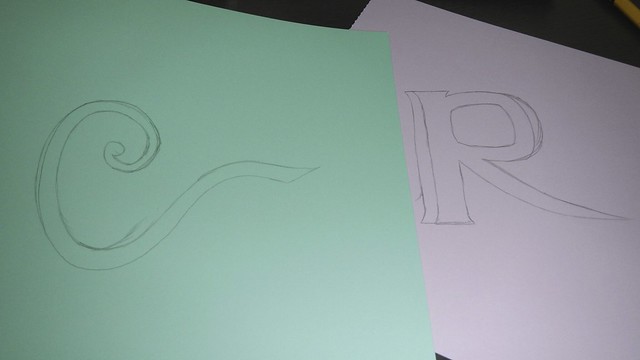
I then painted the card stock. With glitter craft paint. Just to be ridiculous.
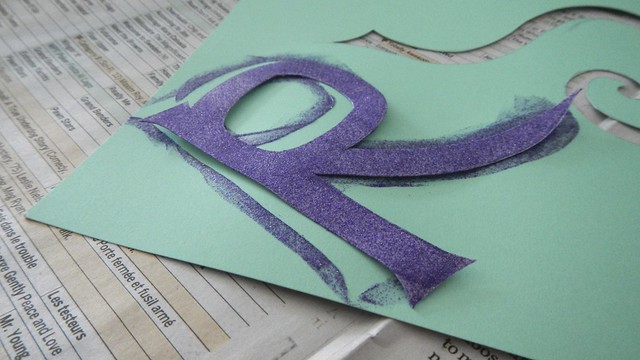
When those were dry I glued them to the canvas with Mod Podge and left that overnight.
I then painted it with two coats of gloss polyurethane to seal it.
And added picture hanging hardware, same way I did for the Pie’s present. So shiny …
And there it is!

Reblogged this on VIVIMETALIUN.
LikeLike
This is fantastic! Thanks for sharing the mistakes too – this is often me when doing projects so its nice to know I’m not alone in the learning curve! I would love to do this for my dogs, but have the same problem – mongrel the same colour as Ruby and a black pug (whose face only ever comes out if I use Instagram filters!).
LikeLike
Oh yeah, my learning curve is STEEP sometimes!
To get these guys to show up it was kind of lucky that their faces were at the edges of the picture because I used a white vignette in the corners and it seemed to do the trick, mostly!
LikeLike
Right, so, get pets to sit still, place them at opposite sides of each other, and then photograph them so they’re at the edge of the frame! No small task then! 😉 I shall bear it in mind, but I’m not sure they will!
LikeLike
Bahaha yes, getting both to sit still at once will be a challenge. This was actually the only picture I have PERIOD of both of them that isn’t blurry.
LikeLike
So cute! I need to try this.
LikeLike
great job! Thanks fr sharing what not to do as well as what worked.
LikeLike
You’re welcome! Nobody gets everything right the first time, and I feel like if you can learn from my mistakes then you won’t have to go through the same process yourself!
LikeLike
Good thinking. 🙂
LikeLike
Wow ,,, this was so cool. Both of them are adorable
LikeLike
Love that picture of Ruby and Cooper and how you made it into a great present! Thanks for sharing your technique.
LikeLike
You are a wonderful friend, and I’m sure Ruby and Cooper’s owners will cherish this unique picture. I love the way you throw yourself into your projects and refuse to give up!
LikeLike
Aw, thanks!
LikeLiked by 1 person
This is amazing! I love it.
LikeLike
This is so awesome. Love the finished piece!!!!! Adorable dogs 🙂 thanks for sharing 🙂
LikeLike
Thanks, and you’re welcome!
LikeLike
I tried this because it’s just too cute but didn’t have success. Do I need to get the picture printed on a toner printer? Using my inkjet didn’t work out. Thanks for all you do, Tina
LikeLike
Yes, inkjets don’t work at all because the colour goes through too many layers of paper. Sorry, I think I mentioned that in a previous post and must’ve forgotten it in this one. I’ll make that edit for the future. At least you can just paint over the first attempt!
LikeLike
Thanks, Ali. I made two digital scrapbook pages (8×8) for two friends’ birthdays, one with Jane’s two dogs and one with Liz’ new cat. I think they will be very pleased, especially as they are both very difficult to shop for! I’ll let you know (see) how it goes. Cheers!
LikeLike
Woohoo! I can’t wait! Good luck Tina!
LikeLike