Oh hi there. Didja miss me?
I know, I know: “Ali, where the h-e-double-hockey-sticks have YOU been?”
I’m here. And I’m not going anywhere. I’m just going quiet for a little while.
See, I started my new, extremely demanding job in June. I love it, but it’s exhausting, and both the Pie and myself have been working a lot of overtime to get some projects off the ground.
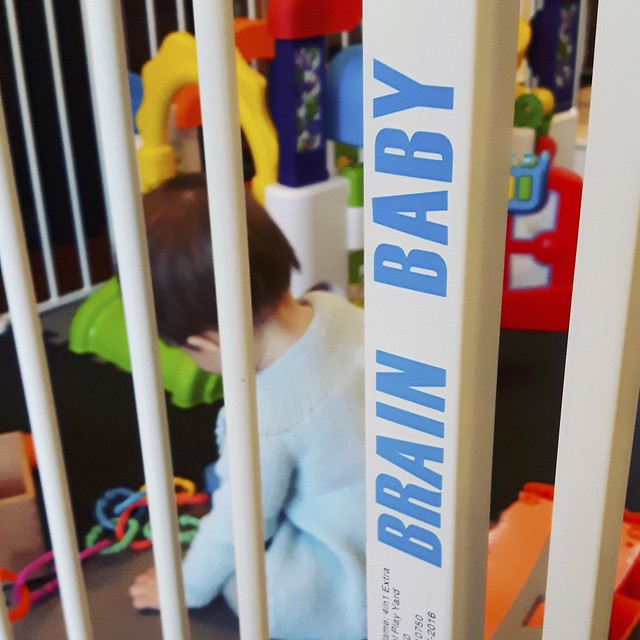
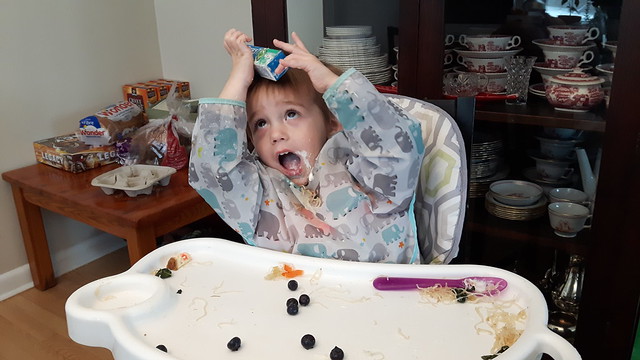
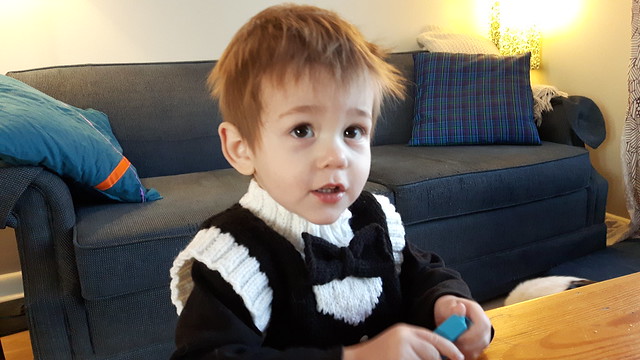
I also have this highly active and demanding toddler hanging around my house. He’s so much fun. He’s hilarious. He’s EXHAUSTING.
And then I had my double hand surgery. Which was extremely painful. I’m totally fine now, though: better than ever before. But it certainly put a cramp in my style for a couple of months.
With all of that, the quality of the stuff I was sending out to you kind internet folks, well, it kind of SUCKED. And I didn’t want to keep pushing out stuff to you just to meet an arbitrary schedule of my own making. Especially if the stuff I was shoving out the door was not to the arbitrary high standard of my own making.
These days I still enjoy making things and doing stuff, but I also want to spend most of my non-working hours chasing after my goofball of a child and spending time as a family, rather than editing photos and combing the internet for new experiments to try. Doing that would also imply that I somehow had the TIME to do so. Most of the time I get a brief glance at my phone and then I have to go and prevent LongJohn from setting fire to something. Somehow this year I managed to make eight loaves of Bourbon Caramel Banana Bread, some Salted Toffee, and of course the requisite Scottish Shortbread for my holiday baking without any of us suffering from a major injury. It also enabled me to clean out my freezer of an unholy amount of frozen bananas. I don’t have to worry about being that lady from the Beaverton article …

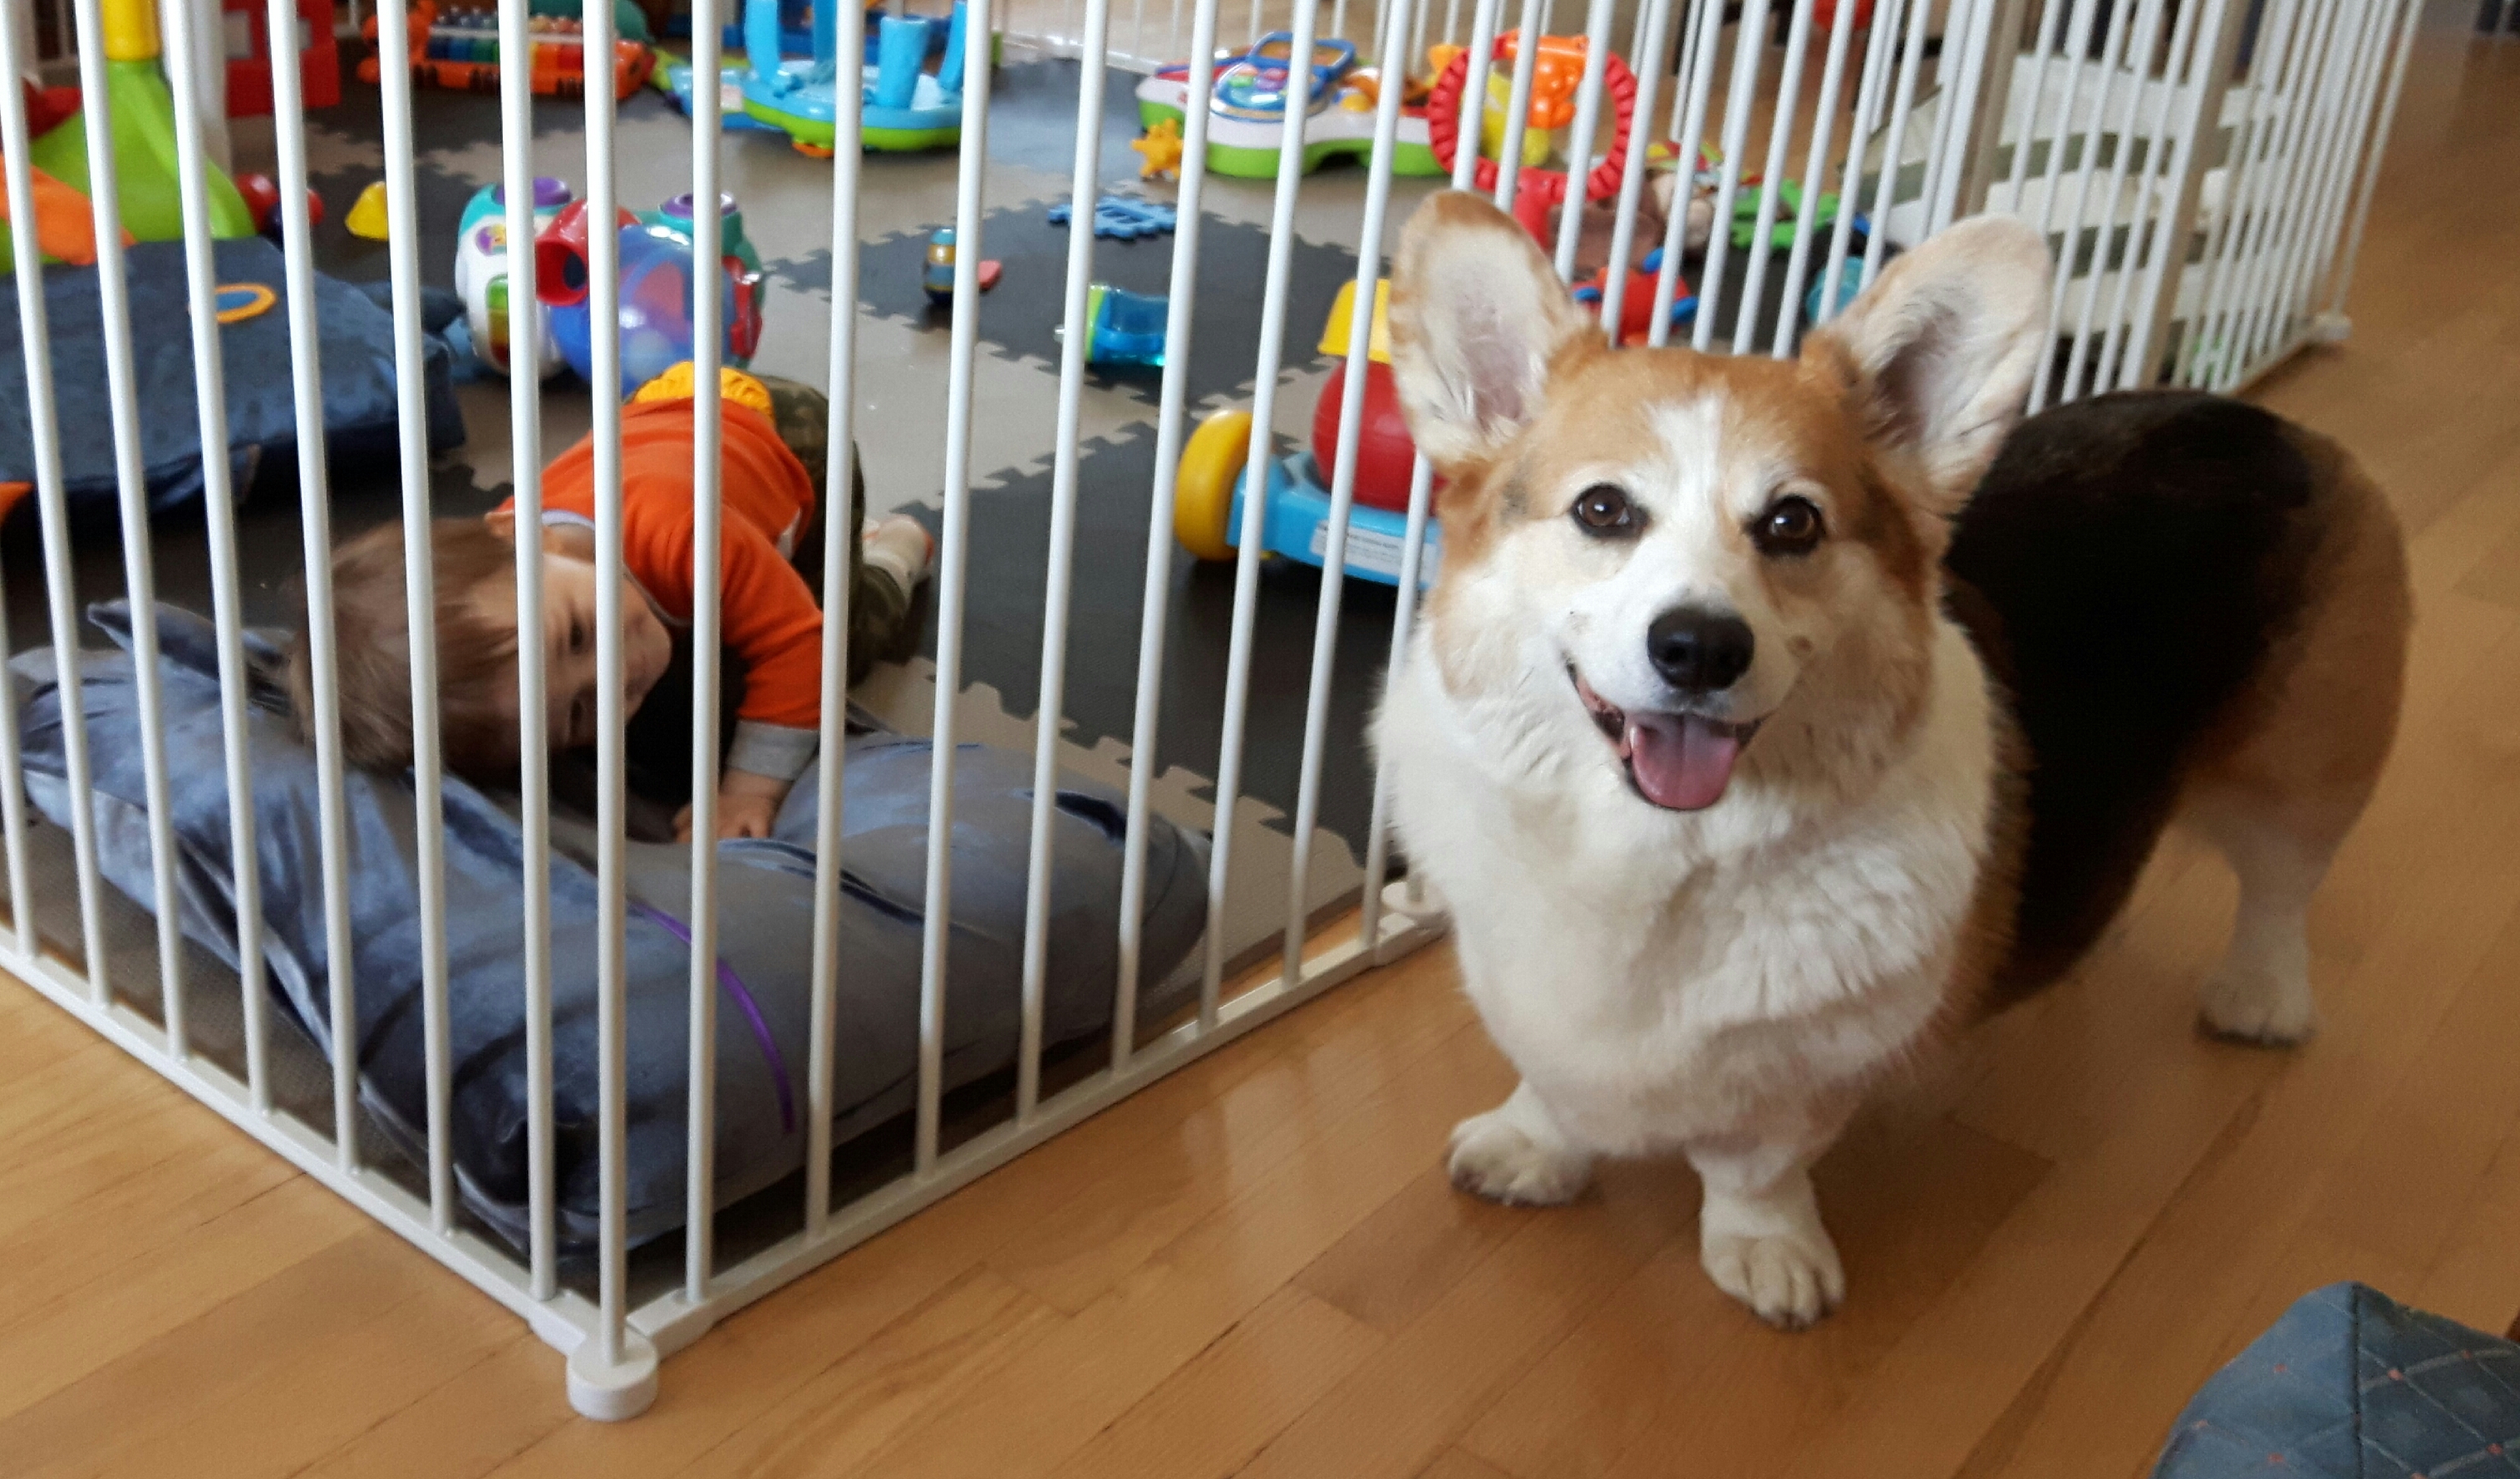
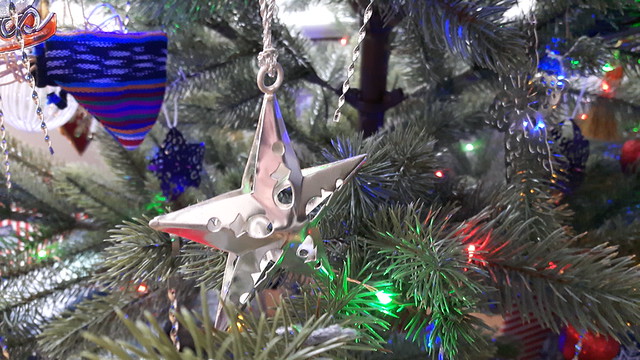
All that to say, Ali Does It is still alive and kicking (albeit it’s more of a twitch at the moment), and will continue to be here for a while yet. When I have something worthy of sharing with you folks, you will be the first to hear it, but I’m not committing to anything at the moment. We will be great again someday soon. And I’ll see you then – in the meantime, HAPPY HOLIDAYS from Ali, Pie, LongJohn, and Grenadier!