These puppies are all over the internet, so I can’t give you any one particular website that gave me the inspiration to try this little Easter craft. Despite it being warm(ish), we just got another 20cm of snow this week (in one night) and I have had it with winter in the worst way. So I’m doing Easter things.
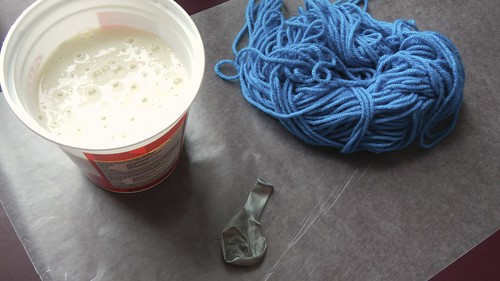
Today we’re making yarn eggs. What you need for this is a work surface that you can easily clean off (this is a messy project), some brightly coloured yarn, a balloon, and some glue. In this set of photographs I’m using a 5″ balloon for a medium-sized egg. You can use a full-sized 10″-12″ balloon but you’ll use more yarn and glue and then you’ll have to find a place for your giant egg. Water balloons, which are typically around 3″-4″, are probably best for this, though you will have to squish them around to make them a bit more egg-shaped. I’m also using a papier mâché paste with a flour:water ratio of 2:3 as my glue.
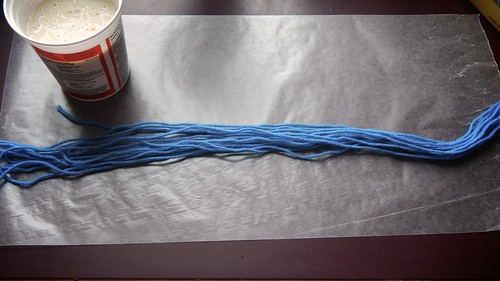
Start by inflating your balloon. Tie it off and then loosely wrap it in the yarn of your choice, just to get an idea of how much you are going to need.
When you have it wrapped to your satisfaction, you can cut the yarn. I ended up with between 6 and 7 metres of yarn for a 5″ balloon (before you object too loudly, remember that I’m Canadian and we jump back and forth between metric and Imperial measurements with impunity — it’s a cultural thing).
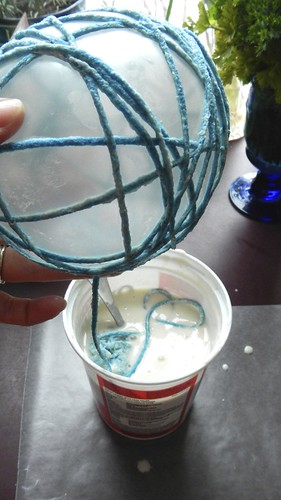
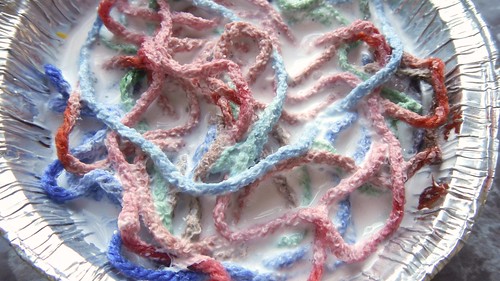
Loosely wind up your yarn so it won’t get too tangled as you pull on it and dunk it gently into your glue mixture.
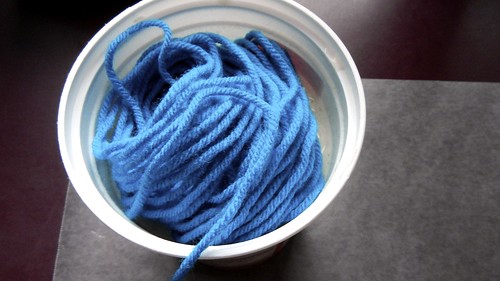
Keep hold of the end so you can find it again.
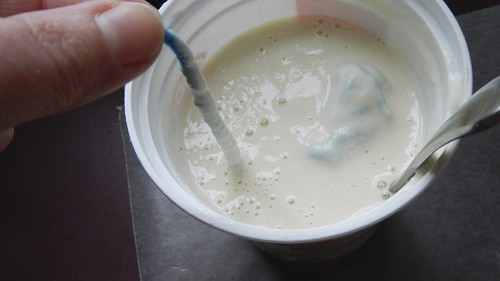
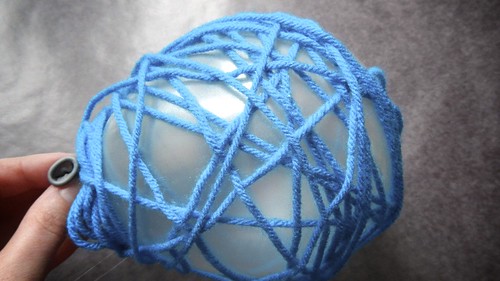
Run the gluey yarn through your fingers to squeeze off the excess and start wrapping it snugly around your balloon. Some people have sprayed the balloon with cooking spray to prevent sticking, but I didn’t find that this was a problem for me. Make sure to leave the tied off neck of the balloon hanging out so you have something to hold on to.
When you are at the end of your yarn, tuck the edge in so it won’t unravel as it dries.
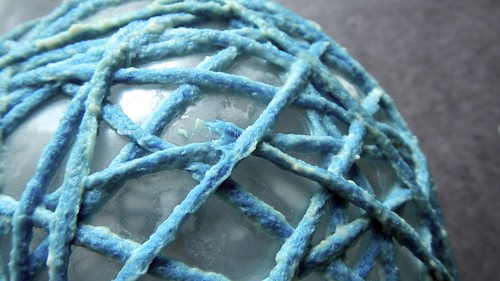
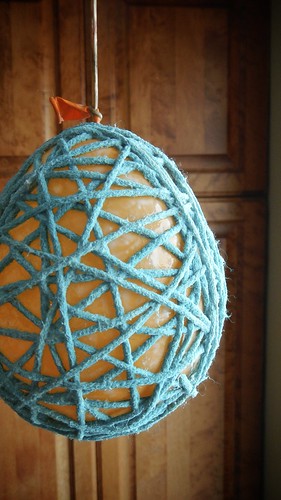
It’s best to hang up the balloon overnight so it will be able to dry completely on all sides.
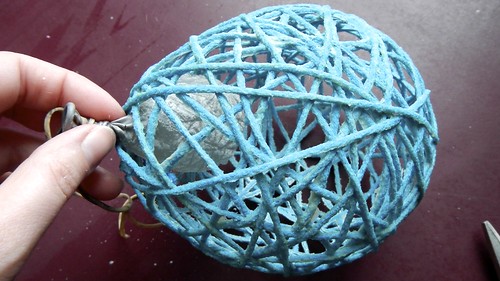
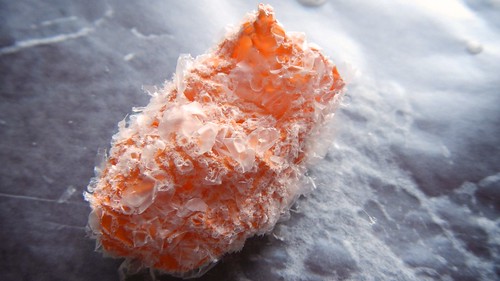
While I was making breakfast the next day, the balloon decided to contract and it took me a good five minutes to figure out that the crackling sound in my kitchen was the balloon separating from the pasty yarn.
Then you simply pinch the balloon near the neck and cut a snip in it to deflate the balloon quickly without popping it.
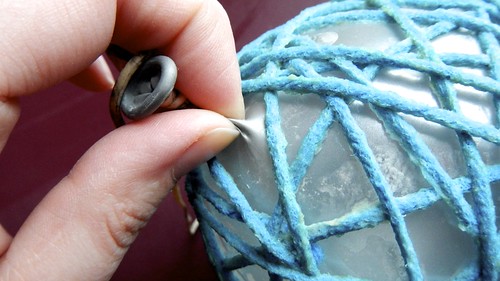
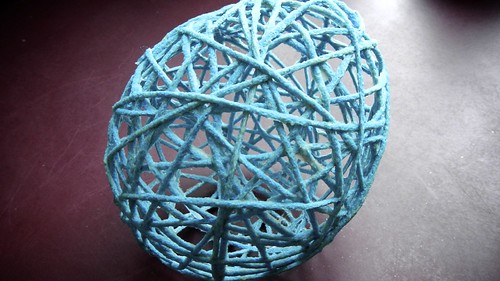
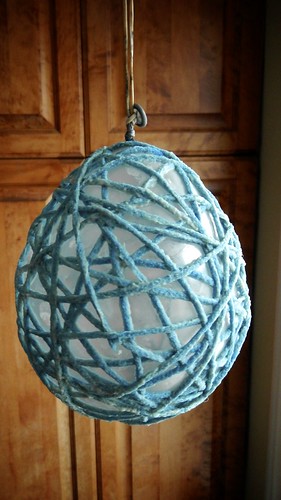
Pull the deflated balloon out through the hole where the neck was.
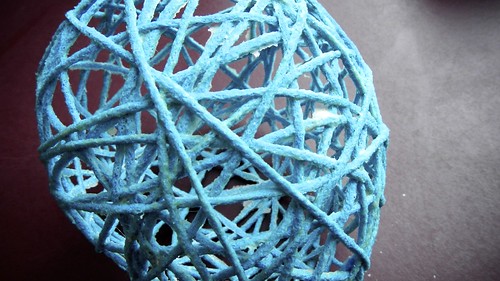
There you have it. I’m not entirely happy with the way that the papier mâché paste has discoloured the yarn, but this method would probably work best on pale yellow yarn or off-white, to disguise the discolouration.
For the next one (this was a test run after all), I decided to use Mod Podge “Stiffy” Fabric stiffener, mixed with a wee bit of Mod Podge Fabric Glue.
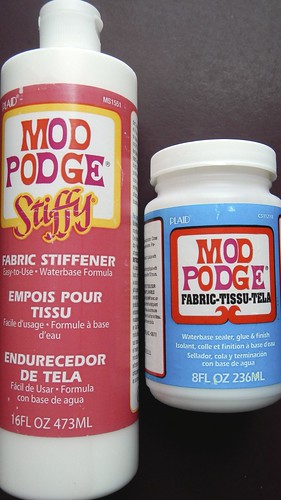
This was a lot more slippery to work with, for some reason. The papier mâché seemed to adhere better to the balloon when wet (though it might have also had something to do with me using a metallic balloon first, and then a regular opaque one next — I find that the metallic ones have a different feel to them). The fabric stiffener slid all over the place, so I had to hold it with my fingers. So glue was everywhere.
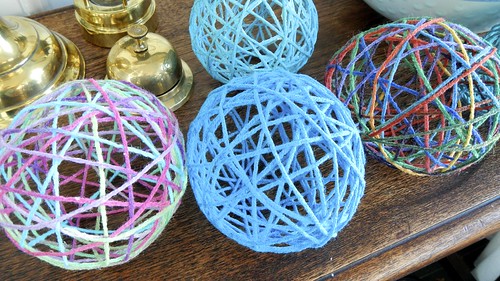
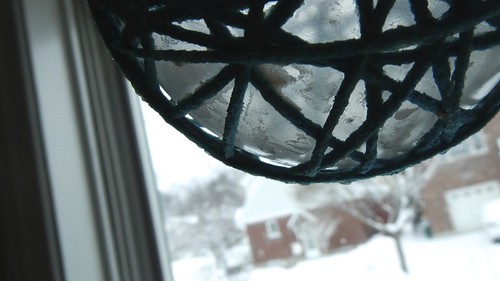
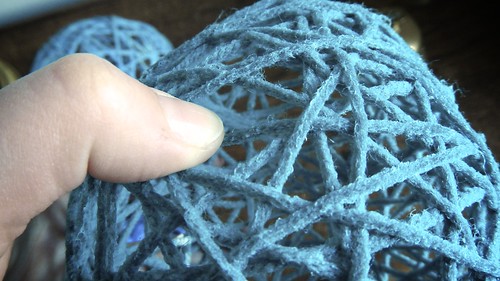
The final three eggs I used straight Stiffy, no glue. You can see that there’s a difference between the paste one, which is more rigid but has bits of goo all over it, and the Stiffy ones, which are slightly more flexible but also less gross looking.
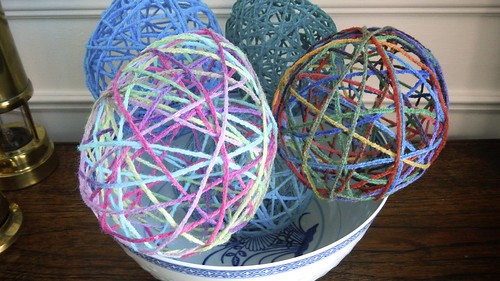
The finished eggs can be strung up as a garland, or displayed in a bowl, or used as place markers at the dinner table (if you made wee ones with water balloons). You can also use rounder balloons to make actual spheres for non-Easter related decorating. I’ve also seen them stuffed with LEDs as indoor/outdoor luminaries (though if you’re going to put them outdoors I would spray them with a waterproofing sealant first). I’ve even seen people use giant weather balloons to make huge pendant lampshades. It’s a very versatile and easy technique.