
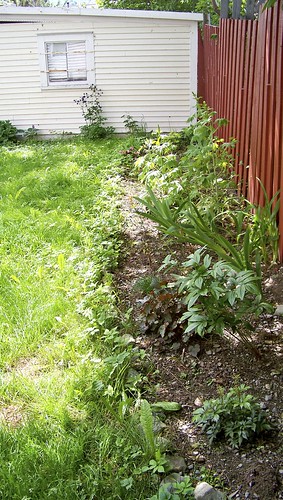
 Gren pees on my peonies. It’s annoying. He also gets his lead tangled around some of my more delicate plants, and he’s already dug up and eaten an entire lupin. I needs me a fence.
When Doodle and I were last in Ferryland, we saw these lovely wattle fences surrounding the 17th century kitchen gardens. This ancient style of building was very popular in rural areas, like most of Newfoundland, where scraggly vegetation was everywhere and iron nails were at a premium. Settlers clearing areas of land for their houses and farms could easily re-use the saplings and brush they removed in making strong wattle fences to keep their livestock and gardens separate.

I showed pictures of wattle construction to Cait, extolling the virtues of its sturdiness and simplicity — just sticks! Cait then raised the counterpoint to me that the little pig who built his house out of sticks didn’t fare particularly well against the big bad wolf. I rebutted by saying that if you saw the illustrated pictures in the books you could CLEARLY see the pig did not use the wattle method and his shoddy construction was at fault. Cait then informed me that I was the Mike Holmes of fairy tales (which is only funny if you know who Mike Holmes is). I take that as a great compliment.
You can use any flexible sapling for your weave, the longer and straighter it is the better. We used mostly maple, as there are no shortage of those around. In fact, there is a vacant lot about half a block from our house that has recently been sold to a developer for condominium building. We figured that the property was going to be razed anyway — who would miss a bunch of scraggly teenaged trees? Still, we did feel like we were trespassing, no more so than when an unmarked police car pulled up to us. It turns out the officer was just there to get some paperwork done, but for a moment we thought we were going to get in big trouble.
Use pruning shears and a pruning saw to cut your saplings and remove any smaller branches and leaves. Make sure to use the branches relatively soon after you cut them so that they maintain their flexibility.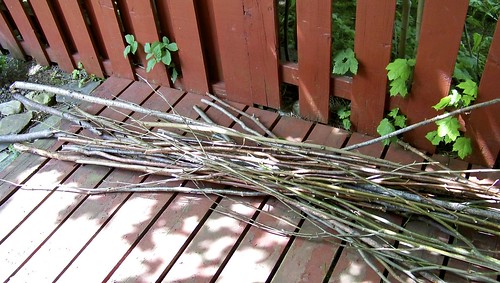
Now I’m not making a particularly tall fence here, nor is my weave going to be all that tight. I just want to use it as a barrier to keep out small dogs and children, but I still want to be able to see the plants that are behind it.
All the information I found about these fences told me that I would need wayyyyy more branches to do it than I even thought of. I probably used a hundred or so sticks for a fence 12.5m long and 30cm high.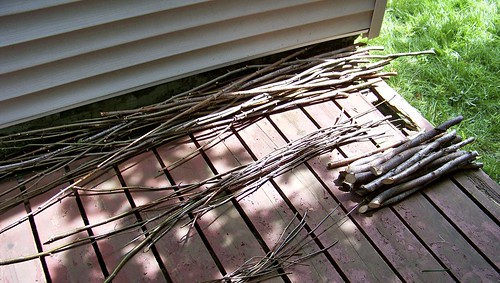
First I needed stakes. I sawed off the thickest 50cm at the bottom of each sapling, cutting it at an angle to make a sharp edge. I ended up with 25 stakes for my 12.5m garden bed.
Using a stout hammer (you can use a mallet as well), I pounded in the stakes, spaced about 50cm apart, as far in as they would go, which was about 20cm in most cases. If you have one or two that hit rocks or aren’t as firmly embedded as the rest, don’t fret. The more you add to the fence, the stronger it will get, and the more-stuck stakes will help to hold the less-stuck stakes into place.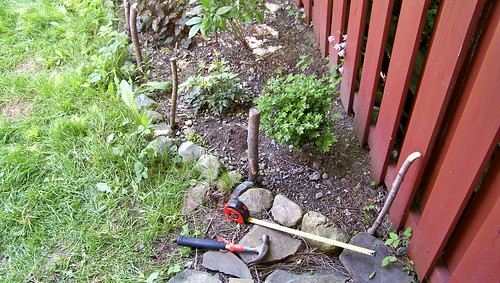
Once you’ve got the stakes hammered in, you can start to add the saplings.
Start at one end of your fence with the thicker part of a sapling, and weave the sapling between the stakes until you reach the end.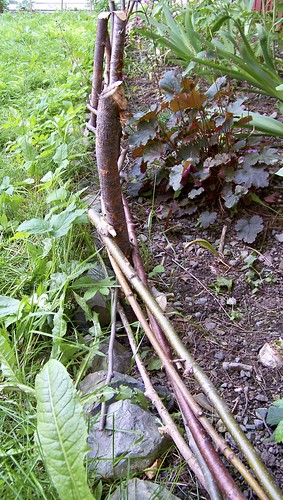
Repeat with more saplings until you get to the end of the row.
Reverse the direction of the saplings for the next row, so that the thick and thin ends alternate, and make sure to work the saplings around the opposite side of the stake than you used in the previous row. Use a hammer or mallet to wedge the saplings closer together if you want a tight weave.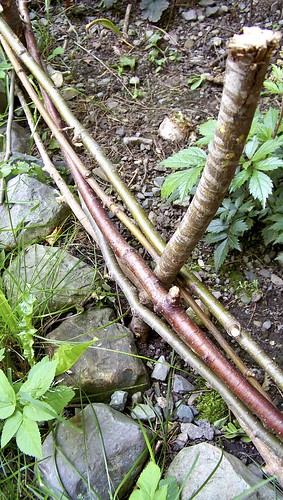
Keep going and going. And going.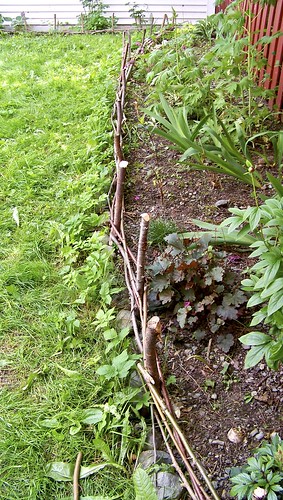
Until your fence is as high and tight as you want it to be.
I used smaller branches to help hold in some of the more recalcitrant sapling ends.
But of course I ran out of sticks. So I’m not finished yet, and it will be a while before I can get the Pie to help me steal saplings again. I’ll post a picture when I finally do finish, though.
For more information on wattle fencing, you can check out these links here:

I thought you had green peas growing on your peonies and you were just a bad speller. Still not sure if Gren is a dog, a man, or a kid. I have been wanting to make this fence and didnt think of just pounding the support stakes in, no auger and cement.
LikeLike
Now I have to go back and re-read what I wrote to see my almost bad spelling. Gren is a dog, but we share the yard with two small human boys as well.
LikeLike
I really like this idea but yes getting the sapling could be easier said than don’t.
LikeLike
It’s true. They have now ripped up the vacant lot where we got the last ones so I can never finish it!
LikeLike
We were just in Ferryland a couple of weeks ago and I loved the fences around the garden. I took pictures of them in the hopes of trying to make some as we have all the saplings growing on our property at our disposal to do it! Very cool to see this link and find out it was the SAME PLACE! ! that I had seen them!
LikeLike
That. Is. Awesome.
LikeLike
i so love the fence. i have alot of bare yard and iam trying to fix it up.but dang !!! everything money money money !!!!. lucky i live next a huge state forrest and i have alot of access to weeping willow trees in my yard and pasture.so yea this fence is going down today..lol i love your web site iam a first timer take care
LikeLike
Thanks so much! And with willows I understand that if you use super fresh ones with the ends in the ground you can get them growing again and have a living fence!
LikeLike
I can do this
LikeLike
I’m thinking of doing this on the land I plan on buying. I want to do raised garden beds using wattle fencing but I’m also thinking of fencing in some pasture with it. My only worry is how long it will take. I’ve got 10 acres at my disposal and I’m the first few weeks we need to clear 3 acres of it.
LikeLike
It’s going to take a loooooooong time!
LikeLike