
When I first saved this recipe in my Evernote folder, “crack pie” was super trendy. But that was like FOUR YEARS AGO. I am so not trendy. But I had 8 egg yolks left over from making meringues and this is a great way to use them up. The measurements are a bit finicky, probably, I suspect, because they were converted from metric for American audiences, but still workable. I made the cookie crust the day before, just because there are a lot of steps to follow.

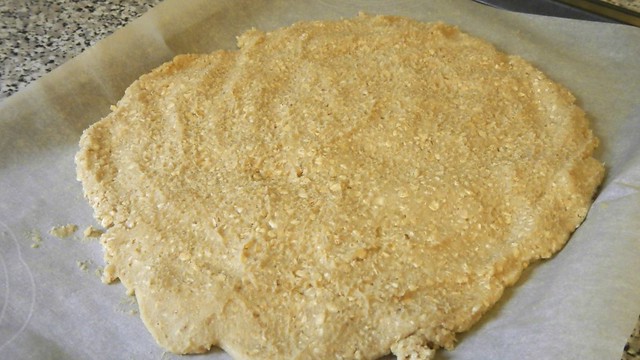
To make the oat cookie for the crust: Preheat your oven to 375°F and line a baking sheet with parchment paper. Technically you’re supposed to do this in a 9″ x 13″ pan but mine was dirty so what’re you gonna do …
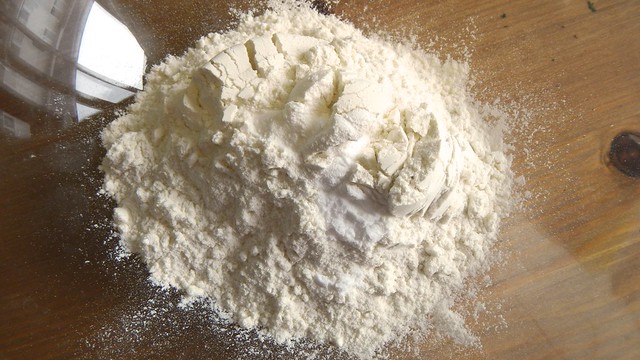
In a bowl, whisk together 2/3 cup plus 1 tablespoon all-purpose flour, 1/8 teaspoon baking soda, and 1/8 teaspoon baking powder.
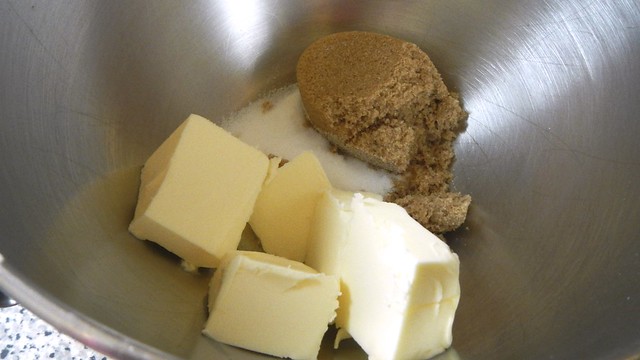
In the bowl of your electric mixer, cream together 1/2 cup butter, 1/3 cup brown sugar, and 3 tablespoons granulated sugar.
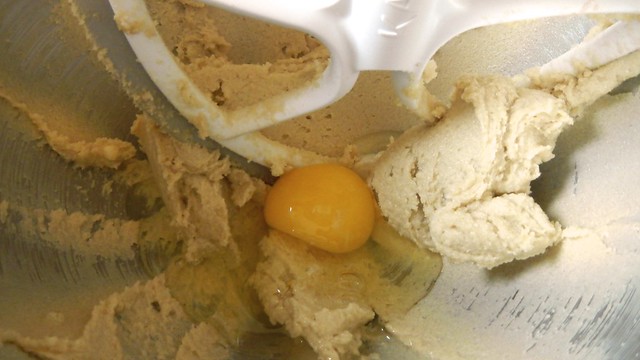
Beat in 1 egg until well combined.
Then tip in your flour and mix that in well.
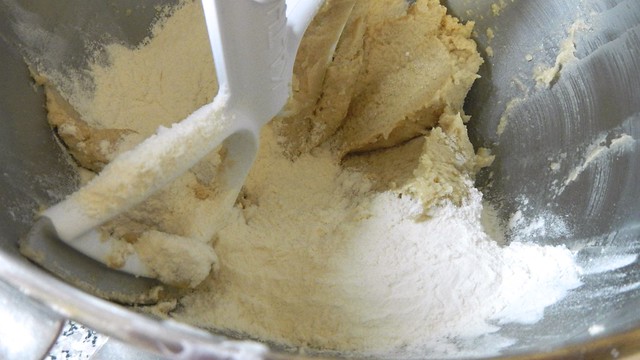
Finally, add 1 cup oats and stir until fully blended.
Press your cookie dough (because that’s what it is, surprise!) onto your pan.
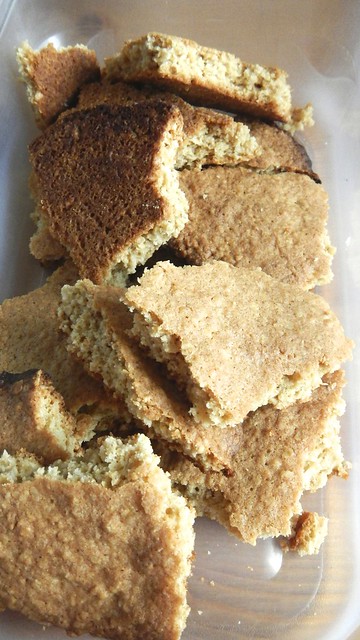
Bake for 20 minutes, then cool it completely on a wire rack.
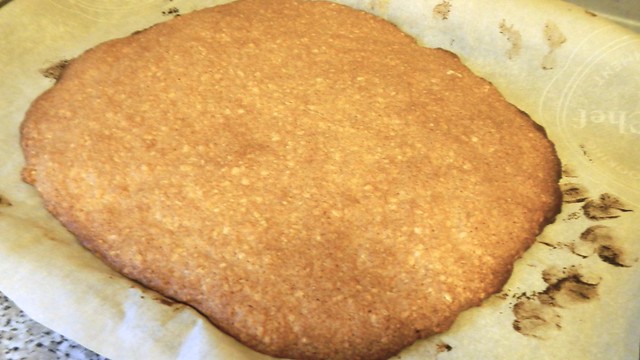
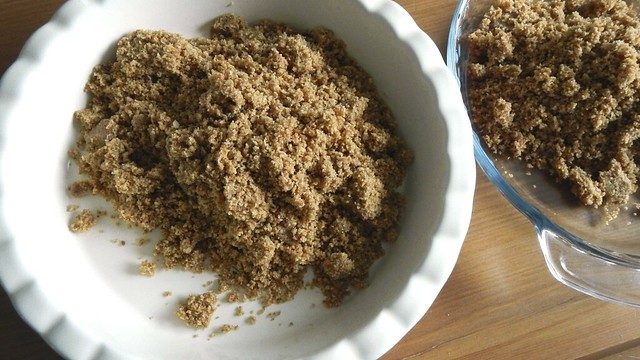
Bust it into pieces.
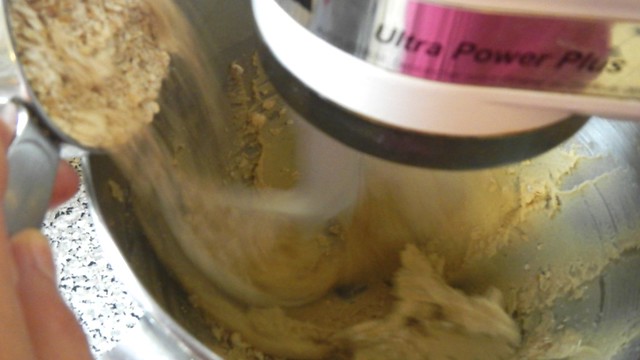
To construct the cookie crust: Take the crumbled bits of cookie and chuck them in your food processor together with 1/4 cup butter and 1 1/2 tablespoons brown sugar and pulse until you have fine, clumpy crumbs.
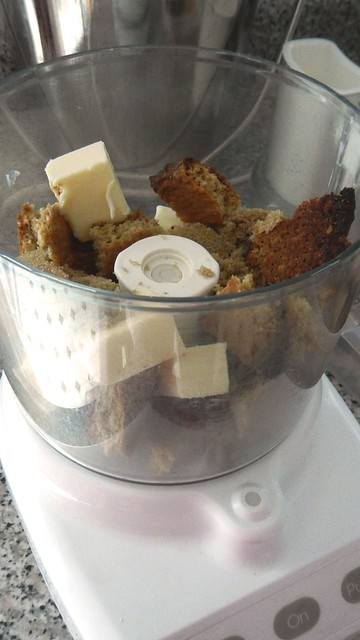
I actually found it easier (because my processor is super small) to pulse the cookie on its own and then add in the butter and sugar.
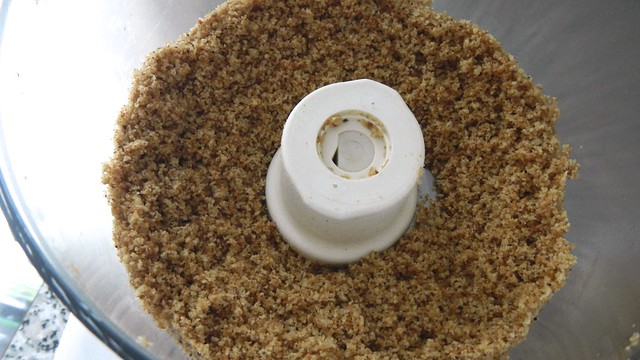
The crumbs should stick to themselves when you press on them.
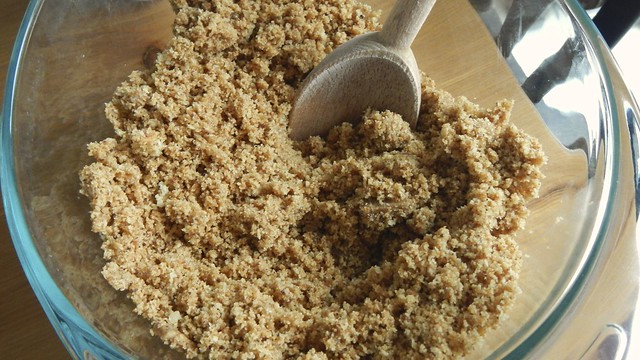
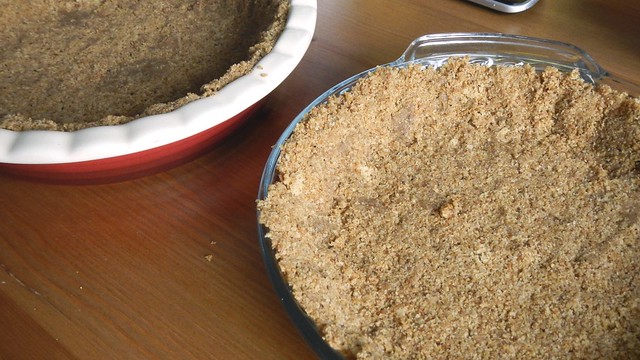
Divide the crumbs between 2 10″ pie pans. These are 9″, which will make the filling a bit thicker which means I will have to bake them for a little longer but that’s fine. I rarely use my 9″ pans as it is, so don’t freak out and buy a 10″ one unless you plan on making a lot of skinny pies.
Press the crumbs onto the bottom and up the sides of the pan. I may have gone a bit too high up the sides. Crack pies are pretty low-profile.
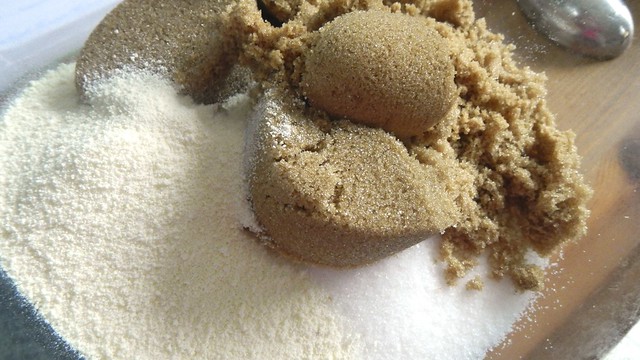
Now, in a bowl (don’t use a mixer for this as you’ll beat in too much air), whisk together 1 1/2 cups granulated sugar, 3/4 cup plus 3 tablespoons brown sugar, and 1/3 cup plus 1 teaspoon powdered milk (if you are unfamiliar with powdered milk, you can usually find it in the coffee/tea aisle of the grocery store).
Melt 1 cup butter (it’s a lot, I know) and stir into it 3/4 cup plus 2 tablespoons heavy (whipping) cream and 1 teaspoon vanilla.
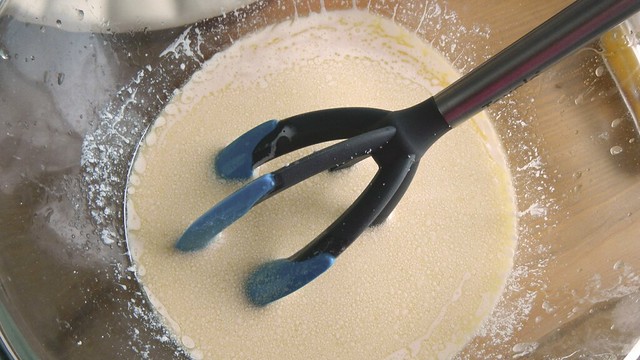
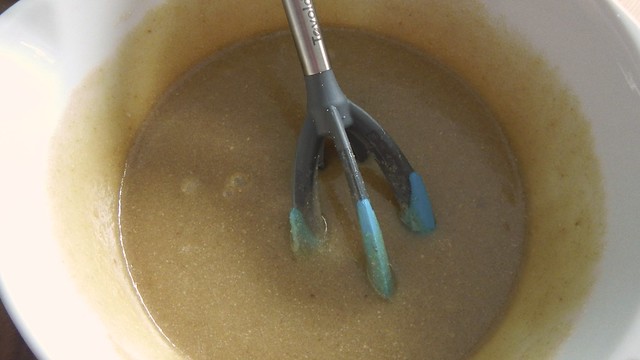
Gently whisk the butter/cream into the sugar/powdered milk.
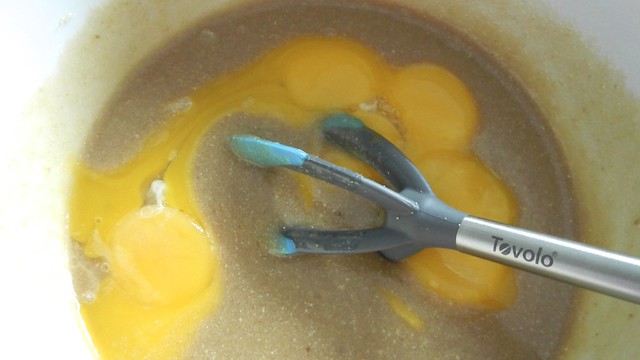
Then grab your 8 egg yolks. I am so pleased with how these fit into my storage container. It’s highly satisfying.

Ever-so-gently whisk the yolks into the rest of the mixture, careful again not to mix in too much air (fluffy crack pie filling will puff up and be way not as good).
Divide the filling between the two crusts.

The recipe told me to bake the pies one at a time, but as it involves temperature changes I decided it would be a waste of energy to do so, so I did them both at once. Bake the pies for 15 minutes, then lower the heat to 325°F and bake for a further 10 minutes, until the surface of the filling is a nice even brown and bubbling. I had to bake the one in the white pan for an extra 5 minutes, simply because it was thicker.
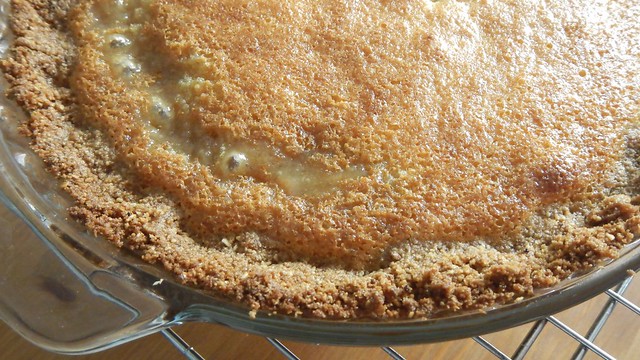
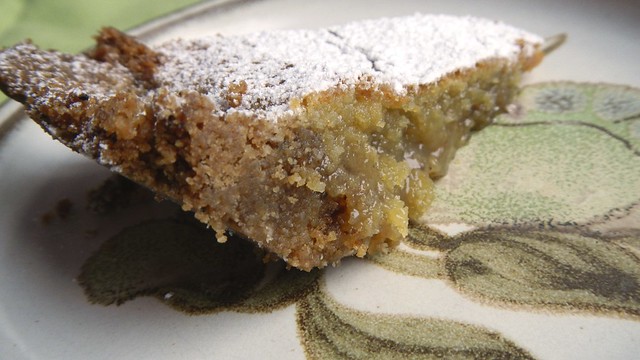
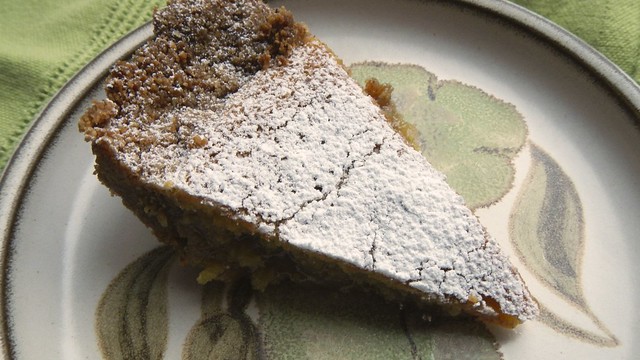
Set the pies on a wire rack to cool and then cover them and shove them into the fridge. Crack pie is meant to be served cold, and even cold it’s gooey, like a giant butter tart. It’s a bit obscene, actually.
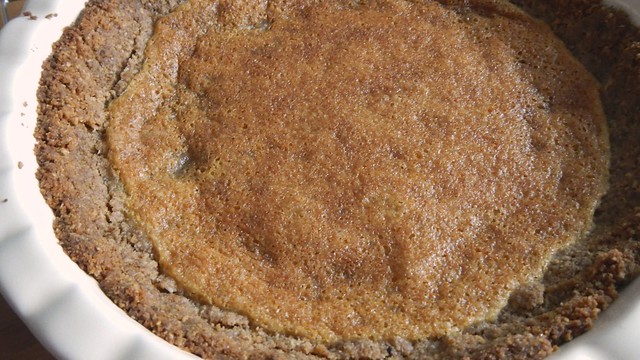
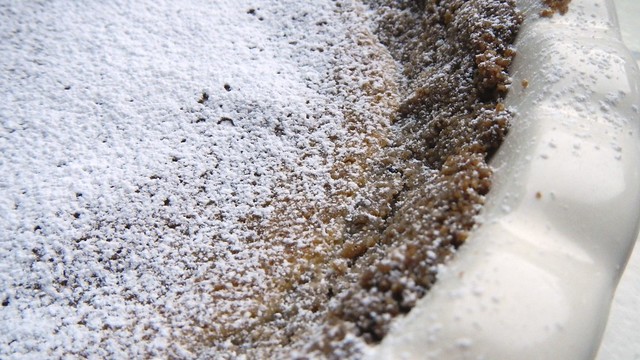
Before serving, dust the surface of the pie with icing sugar.
Slice and serve!

What is MOMOFUKU’S ?
LikeLike
It’s a super fancy chain of restaurants in New York and Toronto: http://momofuku.com/
LikeLiked by 1 person
WOW this looks amazing. I need to try soon. Thanks for sharing!
Momo
LikeLike
This looks amazing and definitely something that I’m not allowed to eat with my food plan! 🙂
LikeLike
It definitely took a while for us to get through them!
LikeLiked by 1 person
The problem is, I’d want to eat it all up at once! 🙂
LikeLike
I think even if you wanted to you wouldn’t be able to – it’s sooooo sweet!
LikeLiked by 1 person
YUMMM!!!!!!
LikeLike
I simply must try this one…..looks wonderful!!
LikeLike
Trendy or not this looks amazing!!! Thanks for sharing!
LikeLike
That looks fantastic! I get hungry just looking at it, will have to try it sometime. Thanks for sharing!
LikeLike
It is a different recipe, but somehow it reminds me to a Spanish cake called Tarta de Santiago, (Santiago’s cake), a deliciousness brought to Earth straight from Heaven.
LikeLike
Oooh, maybe I should try that. Do you have a favourite recipe for that?
LikeLike
Not really, my brother is the one who bakes that cake and I’m the one who devours it 🙂
I’ve checked and this recipe looks good:
http://www.epicurious.com/recipes/food/views/Almond-Cake-366229
The original is this one (it’s in Spanish though):
http://www.hogarutil.com/cocina/recetas/postres/201203/tarta-santiago-14332.html
(The ingredients are eggs, sugar, almonds, lemon, cinnamon and icing sugar… and a bit of butter for the recipient. Flour is not needed).
LikeLike
Awesome – I will check both of them out (I speak Spanish). It sounds amazing!
LikeLike
Oh, fenomenal! 😀
If you bake it, tell us how it went!!
LikeLike
If I bake it, it will be on the blog! Now I just need to find one of those cool stencils …
LikeLike