
This is a super popular project for folks with kids, because you can teach them all about surface tension and the properties of soap and fat and all that good science-y stuff in a nice controlled environment, with very pretty results.

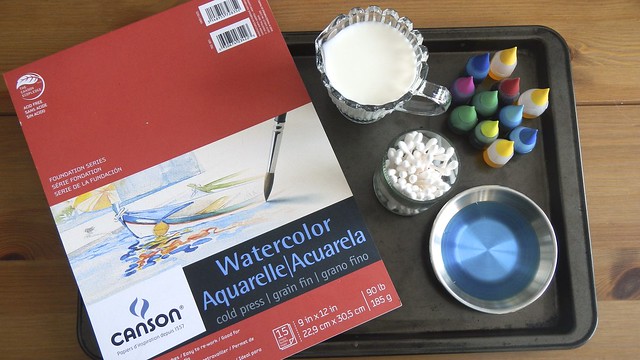
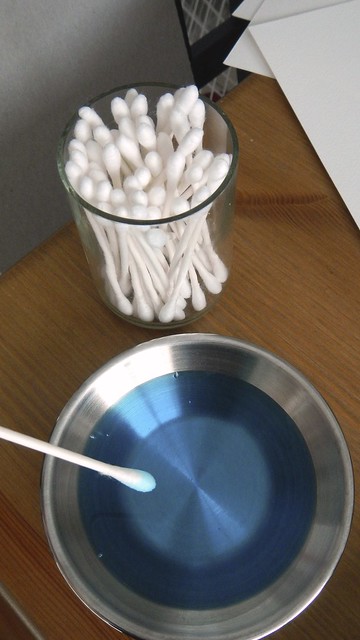
The supplies are simple: a large shallow tray (a rimmed baking sheet will do), watercolour paper (sized to fit in your tray), cotton swabs, liquid food colouring, a few drops liquid dish soap, and some milk. You can use almond milk or rice milk or homogenized milk or cream or whatever — you just need some milk with a decent fat content. The results will apparently differ depending on the milk you use (almond milk is supposedly the best), but I only had regular old 2% on hand so I can’t really speak to that.
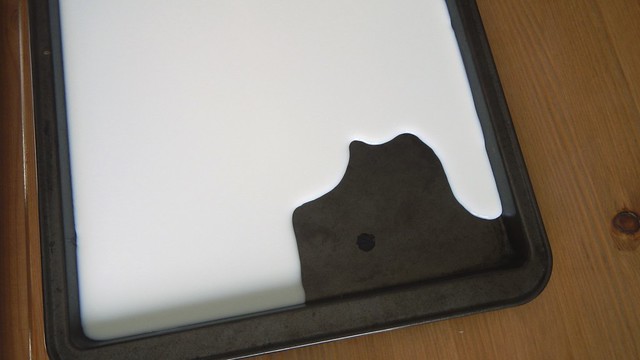
On a level surface, pour milk into your tray so that the whole bottom is just covered.
Now start dotting the surface of the milk with food colouring. Go with whatever floats your boat.
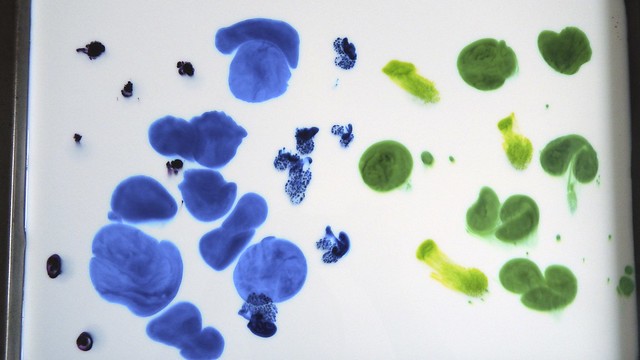
Take a cotton swab and dip it in your dish soap.
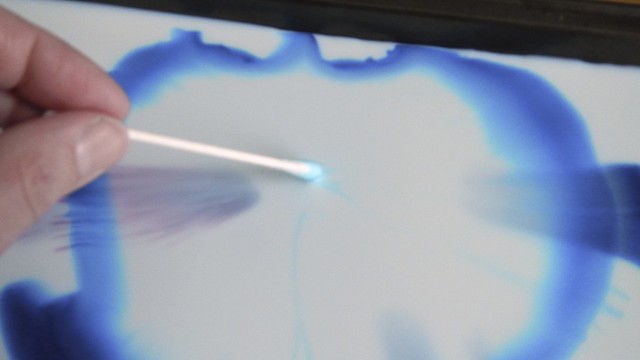
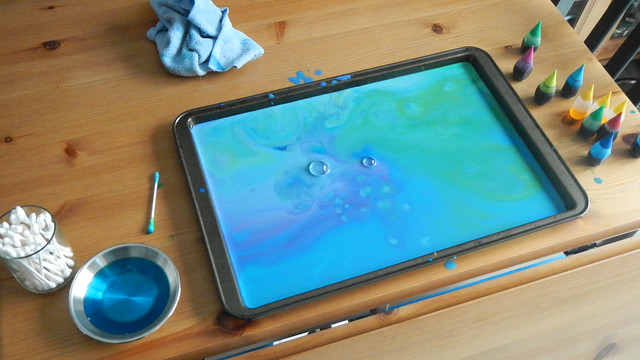
Gently touch the swab to your milk surface. POW! Watch that science happen.
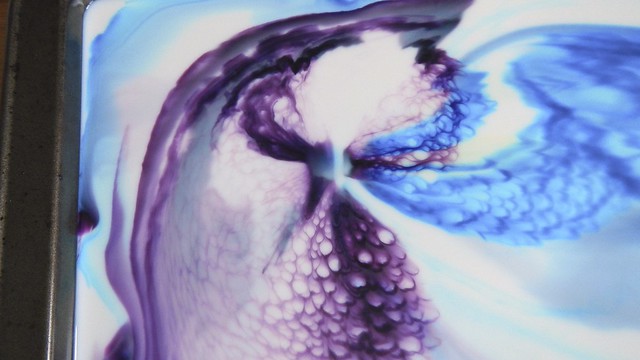
This is that same spot a few seconds later.
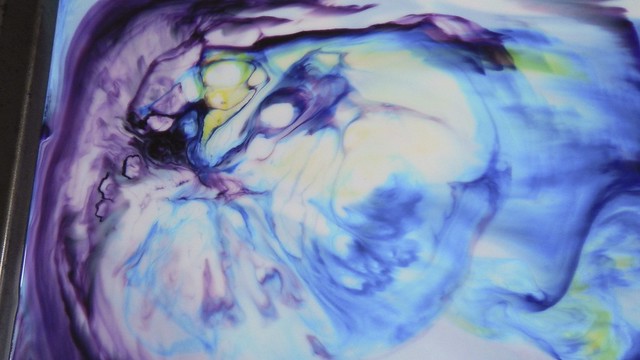
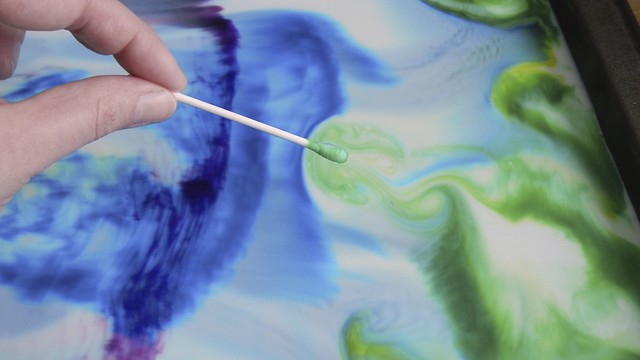
Touch the swab all over to make the colours mix or drag it across the surface to make a trail.
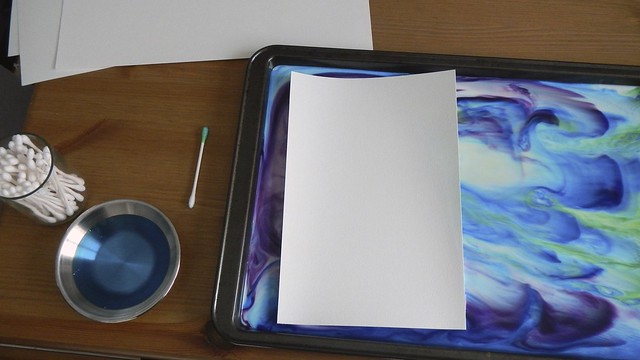
Now lay your paper down flat on the surface of the milk, then slide it off.
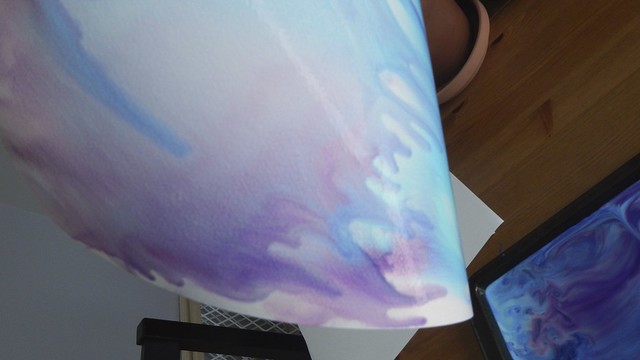
Let it drip a bit and lay it or hang it somewhere to dry.
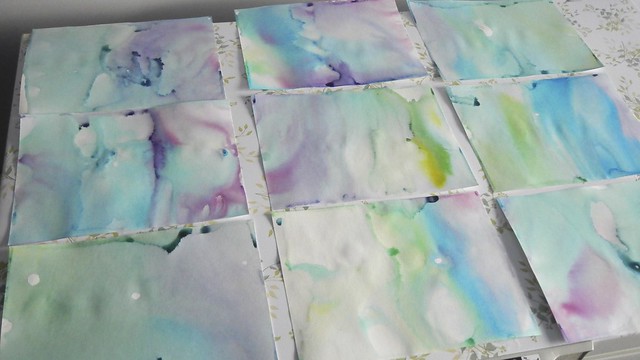
I liked how the colours kept changing as I put in more paper, so I didn’t replace my milk, but you can if you like.
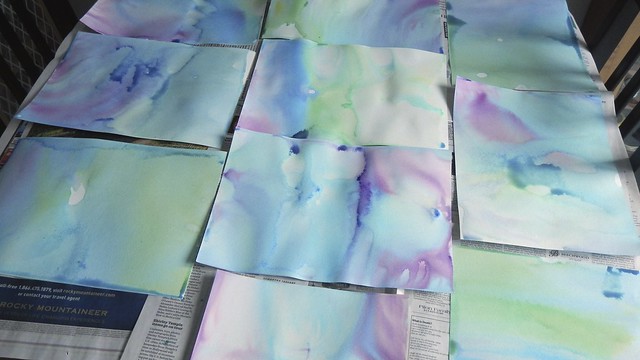
After a while I had nine full sheets and I was quite pleased with the results.
You can do whatever you want with these sheets: cut them into shapes and frame them, use them as stationery or greeting cards … whatever you want.

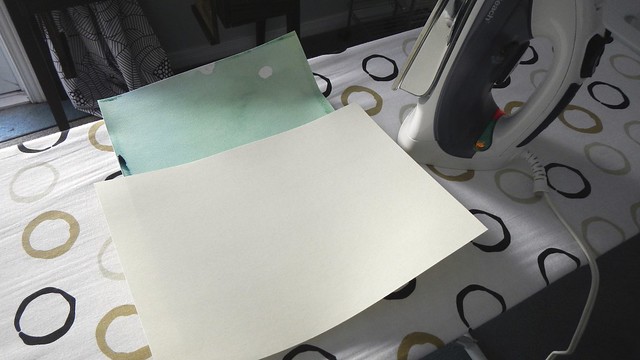
In my case, I ironed them flat using the high steam setting on my iron.
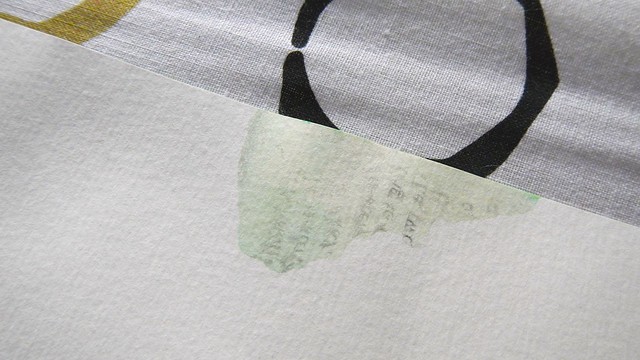
You can tell that I let this one dry on a sheet of newspaper can’t you?
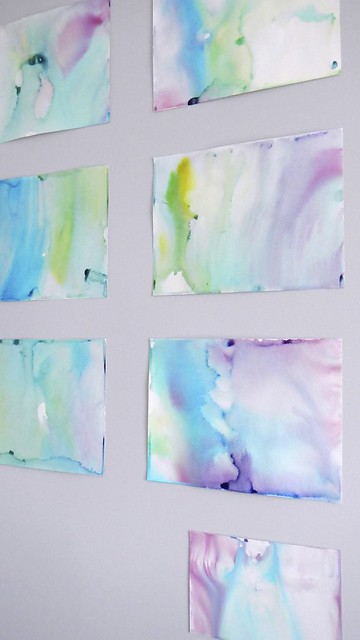
Then I played around with the order of them a bit.
And used Blu-Tack to put them up on the wall in our bedroom.

The colours I used complement the other quick wall art I made a few weeks ago so I am very happy with how they turned out – though I would like to try it with almond milk sometime.

I love this! What a beautiful set of art pieces!!! Thank you for sharing!
LikeLike
Thank you!
LikeLike
I wish my kids were still little so we could do this. Guess I’ll wait until the grandchildren come along! Looks fun!
LikeLike
Who says you have to be little? I’m 33!
LikeLiked by 1 person
Oh how fun! I am pinning this on my “For when I am a grandma” board 🙂
LikeLike
Why wait?
LikeLiked by 1 person
May not! 🙂
LikeLiked by 1 person
That’s the spirit!
LikeLike
Thank you for such a great idea, I’ll definitely do this with my little one this weekend.
LikeLike
Love this! Who says you need to be a kid? I’m organising this for the next time I get together with my arty friends.
LikeLike
This is amazing!!! I might have to try it soon! Thanks for sharing!
LikeLike
This is such a fun, unique craft! And it’s great for all ages! Thanks for sharing!. 🙂
LikeLike
Never know milk can create such a marble-like or watercolour effect. Now I can what I can do with my expired milk! Thanks for sharing.
LikeLike
This sounds like a super fun rainy day project!
LikeLike
Easy and fun project. I love it!
LikeLike
I used to teach paper marbling at a summer camp last year and never knew you could do it with milk – this is really cool! Thanks for sharing.
LikeLike
Reblogged this on likesyourhome.
LikeLike
Wow! This is really amazing. I would surely like to do this in one of my scrapbook pages.
LikeLiked by 1 person
Definitely! They would also make great stationery.
LikeLiked by 2 people
wow its pretty!
LikeLike
This is so cool! Might have to try this
LikeLike