
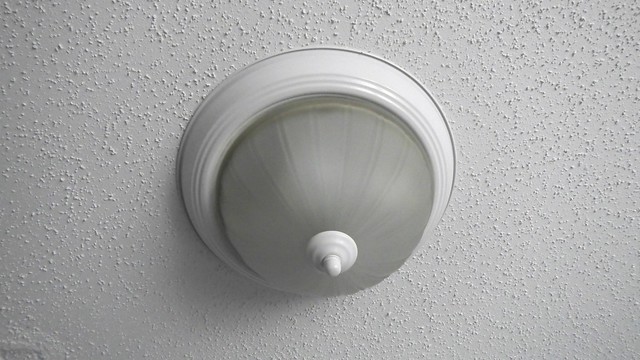
When this little DIY popped up in my Feedly from Hammer and Heels, a light went on over my head (literally). We suffer from boob lights in our house (they’re the cheapest lights contractors can buy in bulk), and because we rent I can’t change too many things. This is a great solution to temporarily dress up what’s otherwise a super stupid-looking lighting system.
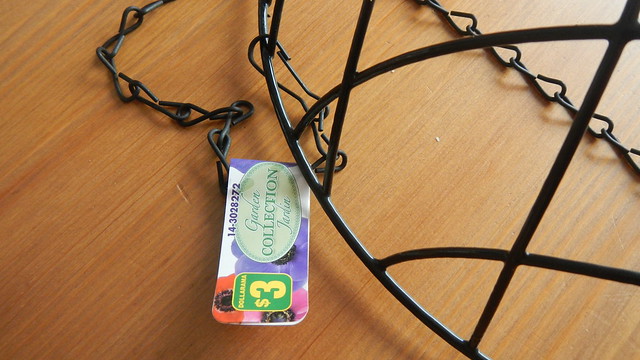
You need a coconut hanging basket-type thing. You don’t need the coconut part, just the wire basket. So any wire basket thing you like will do. I found these at Dollarama for $3 each.
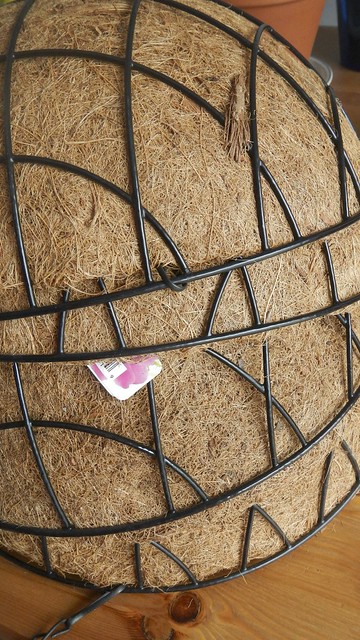
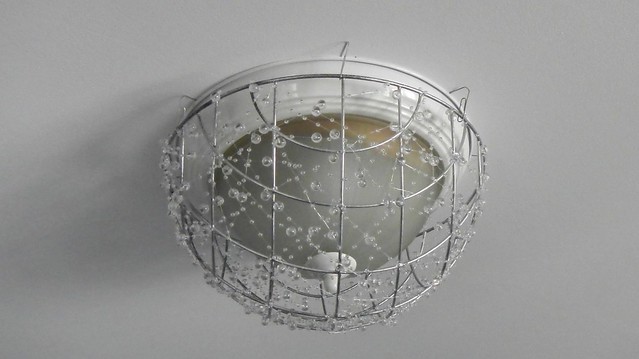
This basket doesn’t have the swoopy elegance of the Hammer and Heels version but I kind of like the industrial nature of it. Plus it was THREE BUCKS.
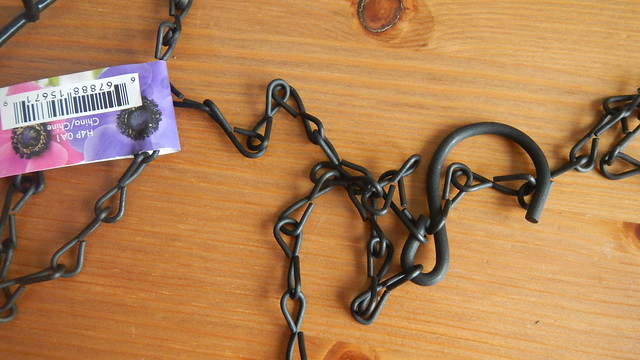
And you need some beaded string or wire or something on a string that is pretty and light looks pretty going through it. I found this stuff for decorating wedding bouquets on Amazon for $30. It took a while to get here from China but it was cheap and that’s what counts in this case.

So remove the coconut lining and the hanging mechanisms from the baskets (if they have them). Save the bits for something else. You never know when stuff like this will come in handy.
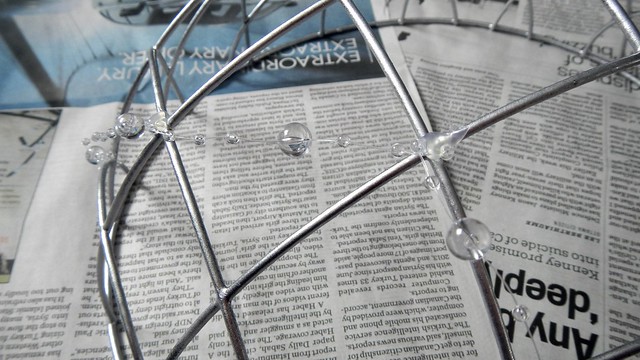
I sprayed two of the baskets (I had four) silver with spray paint. Just one coat did a pretty decent job. Then I ran out of silver and painted the other two gold (and then I didn’t end up making the other two chandeliers … yet. I might just turn them back into hanging baskets, who knows?).

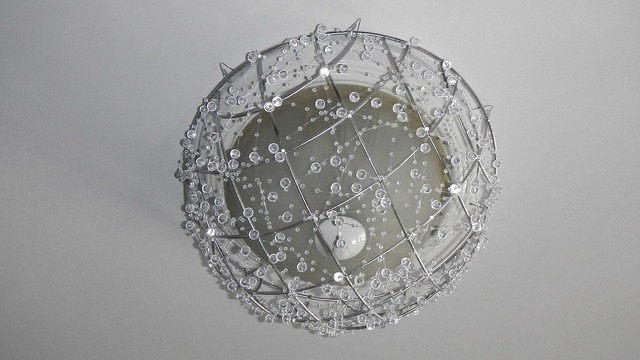
Once those were dry I could begin. I used a dab of hot glue on the low setting (so it wouldn’t melt my string) to secure the ends onto the basket. Then I wrapped the string around all the little junctions, going all over the basket, making sure that most of the beads and stuff were on the underside of the basket so you could see them better.
I worked with 10-foot lengths of string to make it easier to manipulate it around all the little twists and turns.
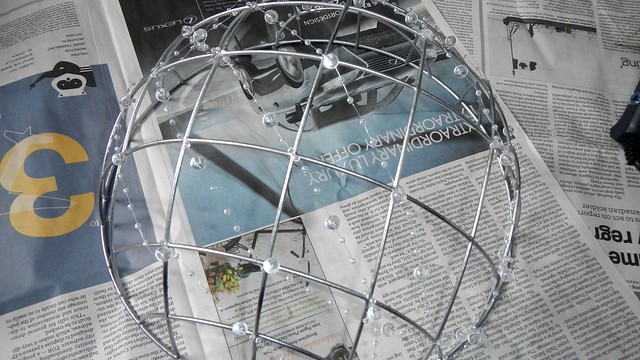
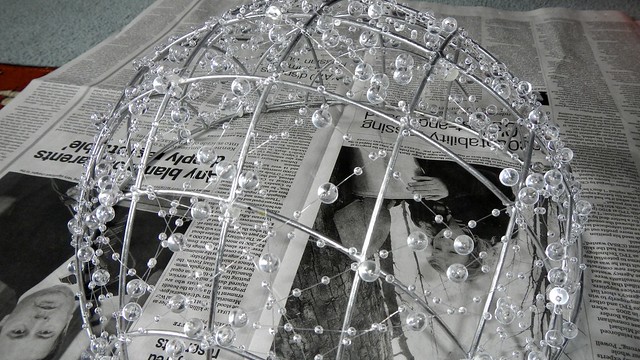
I just went kind of random after I got a good base of string down, switching directions to fill various gaps as I saw fit. I ended up using 40 feet of string on each chandelier, and I think it was just enough and not too much.
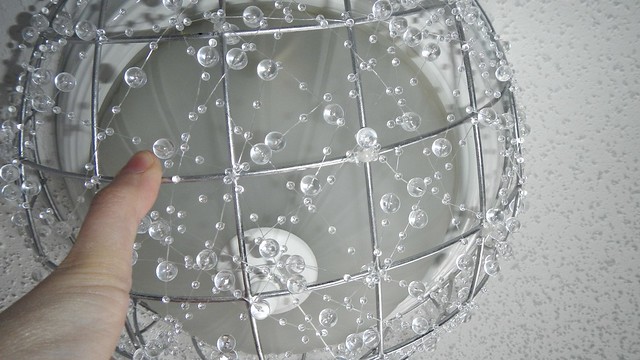
Now to put it up. This is how it will disguise the boob. But I don’t want anything that will be permanent or will damage the ceiling or fixture.
Solution: paper clips!
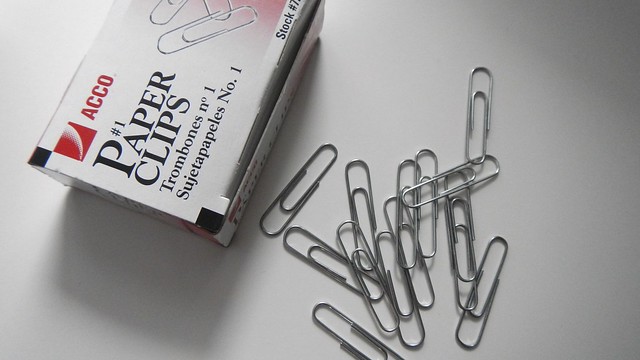
They’re just narrow enough to slide snugly between the ceiling and the fixture.
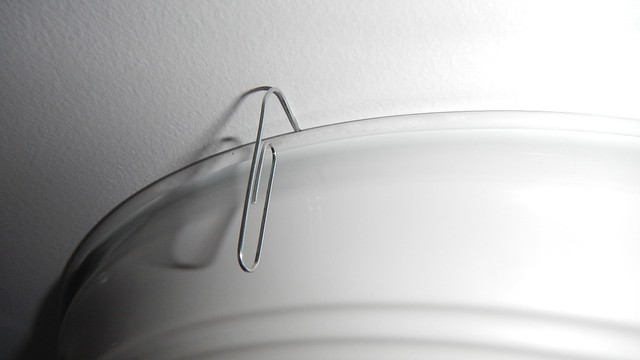
And they clip easily onto my basket, which is not very heavy (do remember that if you’re using a heavy basket, do not attach it directly to the light fixture – anchor it more securely or bad things will happen).
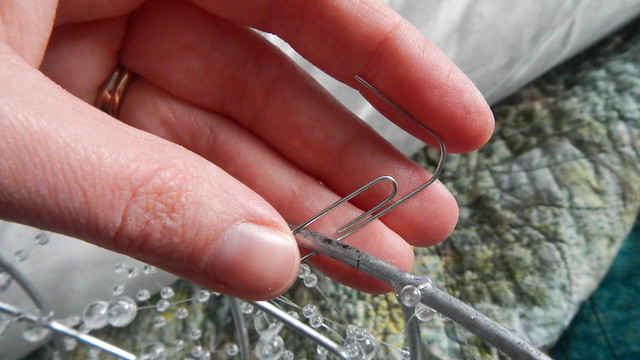
The first one I used like SEVEN paperclips to stick it up and I needn’t have bothered.
This one I just used four and it’s totally fine. And you really don’t notice the paper clips unless you’re looking for them. If it bothers you that they look like paper clips, then just bend them into a different shape!
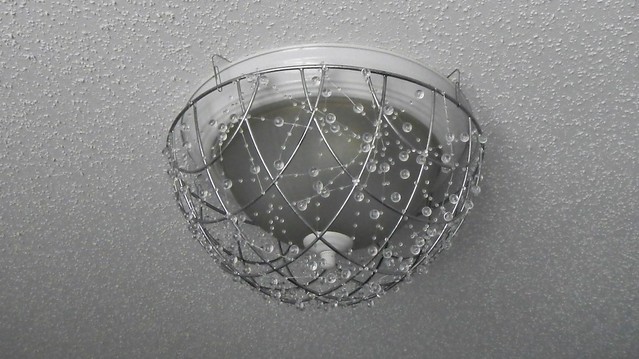
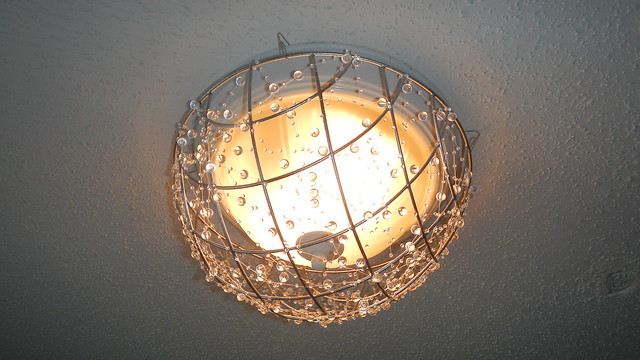
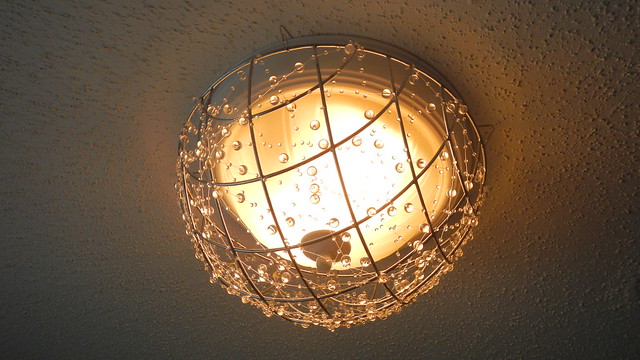
To me it looks like a dew-covered spiderweb over a chain link fence and I like it a whole lot. The pictures don’t really do it justice, unfortunately.
Estimated total cost of each chandelier: NINE DOLLARS (Basket: $3; 40ft Beaded String: $6; Spray Paint, Hot Glue, Paper Clips: on hand, and in minimal amounts).

That’s really pretty ! And you could do the last two ones with a theme for Christmas or Halloween by using beads of different colors ! Many possibilities !
LikeLike
Oh totally! That’s a great idea!
LikeLiked by 1 person
haaa! boob lights??!!!!!!!! i love it!
LikeLike
Great job, what a transformation!
LikeLike
This is ridiculously cool!
LikeLiked by 1 person
That is so beautiful!
LikeLike
It’s SOOO cool! I have the same kind of lights in my house. Great way to dress them up! Thanks for sharing!
LikeLike
This is a FABULOUS idea!! We have a ton of boob lights in our house, too, but can’t afford to totally replace them. Love this solution!
LikeLike
For nine bucks, it can’t be beat!
LikeLiked by 1 person
You are so clever!!
LikeLike
I wish I’d thought of it myself – but at least I could put my own spin on it! 🙂 Thanks Mom!
LikeLike
Now THOSE make a statement! love it
LikeLike
Wow it looks absolutely stunning!
LikeLike
Nice temporary update!
LikeLike
Thanks!
LikeLike
Hahaha boob lights.
LikeLike
That is TOTALLY what they are.
LikeLike
They are. I’m so sorry! Ours are dangly bits… willy lights?
LikeLike
REALLY? Pictures please.
LikeLike
Ugh, we have replaced them all. But it is a cord where you have to stick something pleasing on the end. Our only boob light was in the bathroom, and even then it was nipple-less!
LikeLike
I’m so sad that you missed out on the nipple. AND I’m sad that I missed out on your willy lights.
LikeLike
Um. They aren’t really that willie like. Unless you are used to willies a centimetre wide and 8 inches long? God I hope not.
LikeLike
BAHAHAHAHA oh my.
LikeLike
Ewww.
LikeLike
They are dangly however.
LikeLike
Ew
LikeLike
your blog is really inspiring ! I will try some DIY thank you 🙂
LikeLike
Thank YOU!
LikeLike
OMG super cute idea. I think I’m going to try this DIY chandelier. Tired of seeing the boos on the ceiling.
LikeLike