
I like to learn one big major skill in DIY every holiday season and turn it into my showcase gift for friends and family. This year, the Pie and I learned how to make soap, from scratch. There are four main methods of soap preparation:
Melt and pour: basically you get a kit containing a block of solid soap, goat’s milk, glycerin, whatever, and some nice moulds and you melt the soap in the microwave, mix it with pretty flowers, and pour it into the moulds. You may recall a disastrous outcome we had once with one of these kits. They are, however, super trendy right now and many DIY bloggers have instructions on making pretty layered soaps and things.
Hand-milling: more or less a fancier version of melt-and-pour, in that you grate up a bunch of super nice soaps, melt them down, add things to them, and then chuck them in a mould.
Cold process: This is the from-scratchiest way to make soap, wherein you combine specific oils with a lye solution and cause the chemical reaction that leads to saponification. SCIENCE! Of course this is the version we did. Do not do this process with small children, as it is quite dangerous. To start, I began with the very clear and simple instructions I found on Garden Therapy.
Hot process: Essentially the same as cold process, except you speed things up by “cooking” the soap, usually in a slow cooker. We did a bit of this with one of the batches that didn’t turn out right the first time.
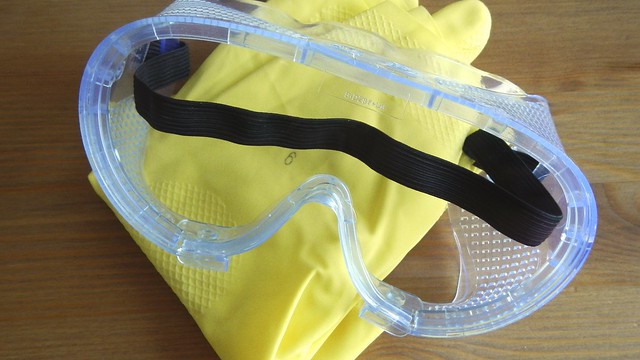
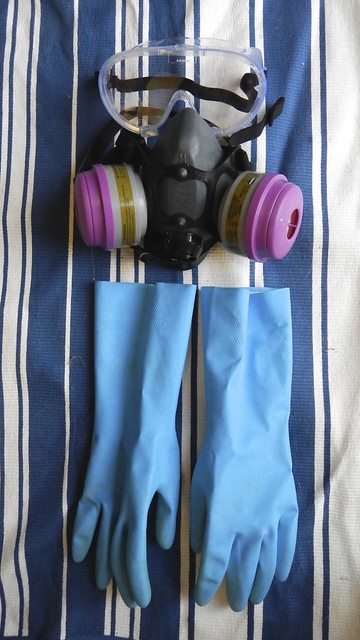
Safety Equipment
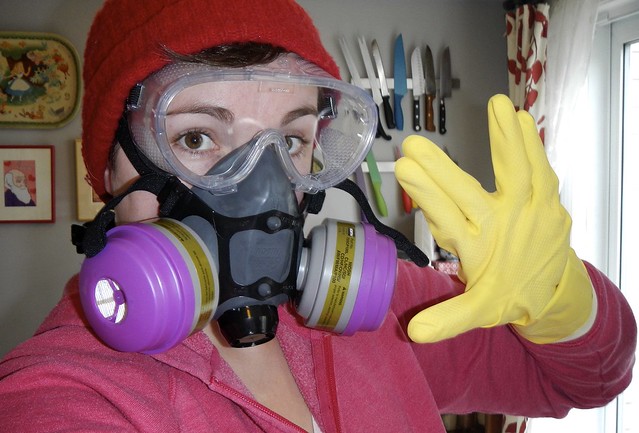
Lye is an extremely strong chemical, and you’re using it in a pretty violent reaction in this DIY, so safety should be your number one priority. Lye can burn or blind you and inhaling its fumes is a really bad idea as well. You must, therefore, have good quality safety goggles (the kind that touch your face all around) and some strong rubber gloves with long sleeves.
Wear long sleeved shirts and long pants, and make sure to wear shoes while you do this. If you have a chemical ventilator, I recommend you use it as well. This one cost me about thirty bucks at Home Depot and it’s great.
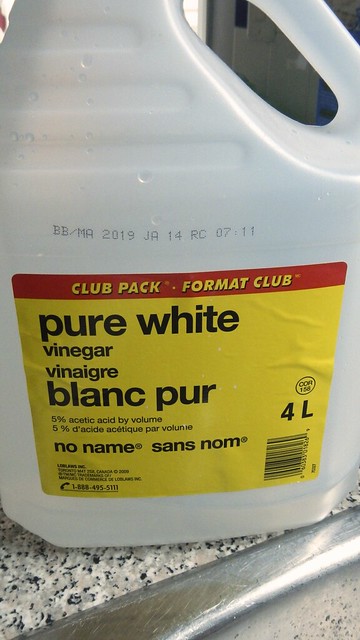
Keep a large amount of white vinegar handy. The acid in the vinegar will neutralize the strong base of the lye should you happen to spill it on yourself.
Work in an area as well that has access to fresh air either through a window or a fume hood (the first time we did this I went outside). I do not want to feel responsible for you people if you die while doing one of my DIYs. So please behave yourselves and BE CAREFUL!
Non-Chemical Equipment
You need a lot of stuff for soap-making that doesn’t necessarily tie into ingredients and/or safety equipment.
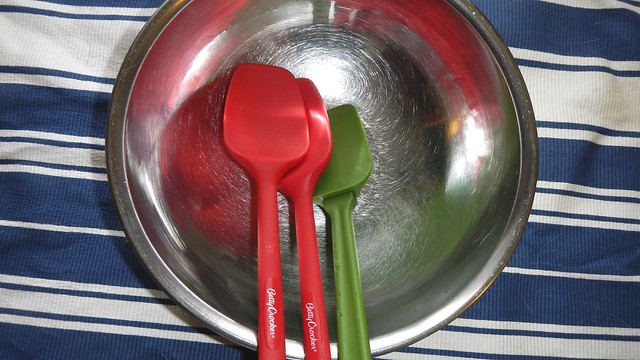
You’ll need at least 3 heatproof bowls (glass or metal, doesn’t really matter), and at least 3 silicone spatulas. I should also note that once you use these tools to make soap you probably shouldn’t use them in connection with food anymore, so plan accordingly. I used old spatulas I was going to throw out and/or picked up at the Dollar Store, and bowls I grabbed from Value Village for a few dollars each.
You’ll need a double boiler or access to a microwave. I prefer using a double boiler because it’s easier to measure temperatures that way.

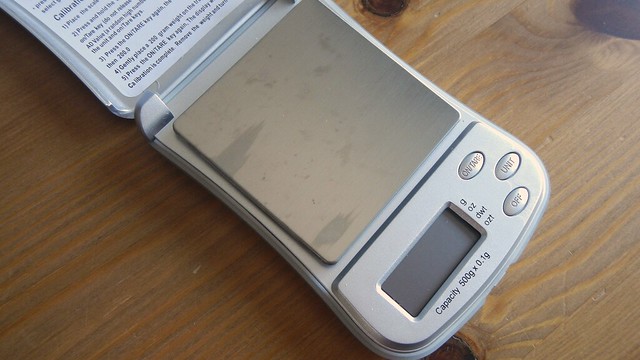
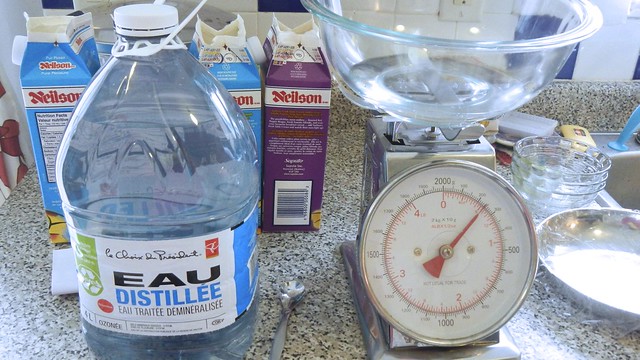
You also need a highly accurate scale and thermometer. For that reason, a digital scale and digital instant read thermometer are probably best.
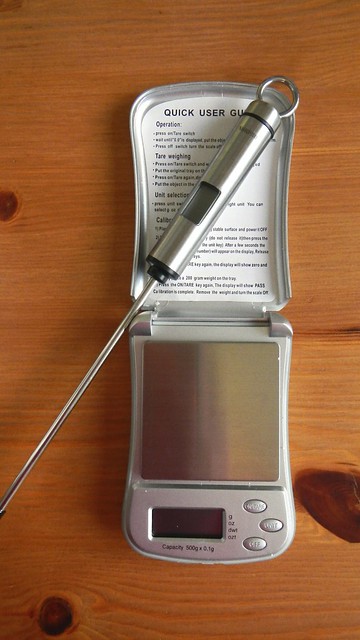
If your scale is super tiny, like mine is, you’ll also need some wee dishes for measuring your oils. If you have a big one, you can measure your oils all together in one big bowl.
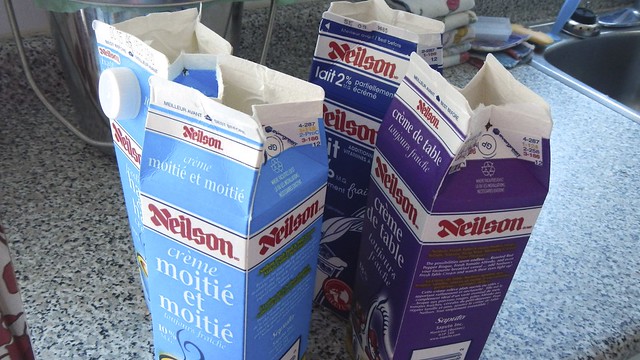
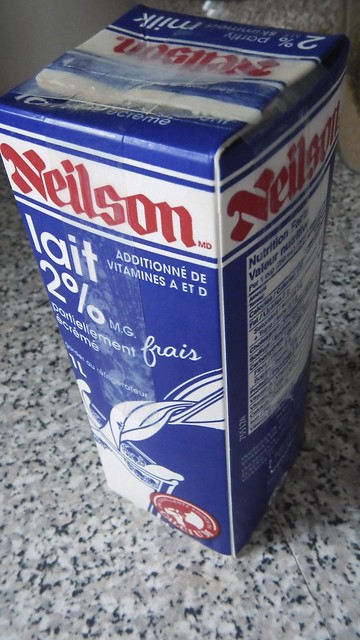
You need something to put your soap in when it’s ready. You can use all sorts of fancy actual soap moulds for this, but the amounts I used in the recipes below produce enough soap to fill a 1L (~1qt) milk carton, which has a nice non-stick interior. Just make sure you wash and dry the carton carefully first.
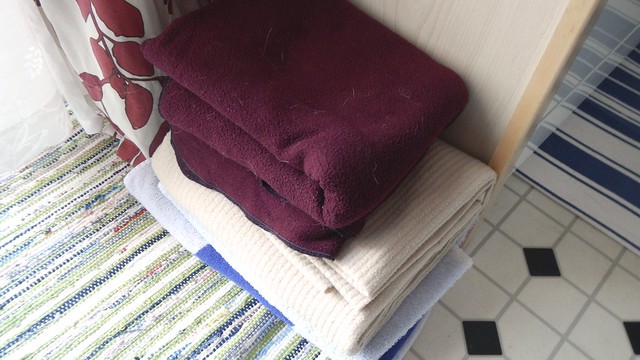
Also handy will be a set of old towels or blankets for wrapping the soap cartons.
Not shown, but that is more or less necessary, is an immersion blender (again, you can’t use it again for food, but you can buy a new one off Amazon for twenty bucks). I dedicated my old one to the cause and bought a shiny new one for myself.
You may also need a wide mouth canning funnel, for pouring your soap mixture into your cartons. You might not need it, depending on how steady your hand is, but I found it very useful.
Soap-Making Ingredients
Now we’re getting down to business. Soap at its most basic is composed of oil/fat and lye. That’s it. How you put those together is up to you. So you’ll need assorted oils (vegetable, castor, olive, coconut, etc.) to get you started. I recommend doing a little bit of research into the different properties of each oil and what they do before you make your selections. I found this article to be particularly helpful.
To “flavour” your soaps you will also need an assortment of essential oils and some dried and ground herbs. The essential oils will add your desired scent while the dried herbs will add texture, and ground herbs will contribute to colour. Here is a handy list of ingredients that will change the appearance of your soap.

Very importantly, you’ll need some distilled water. Use distilled over filtered or tap water simply because the varying mineral compositions in undistilled water will make your results unpredictable.
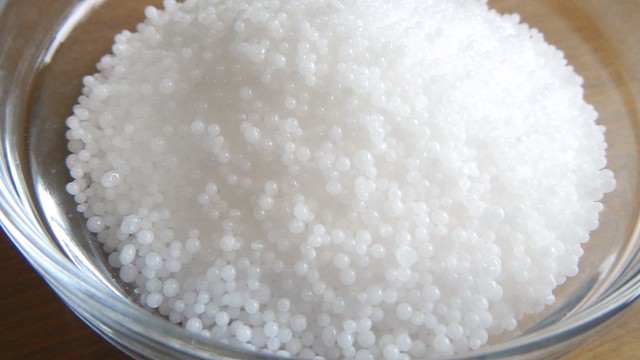
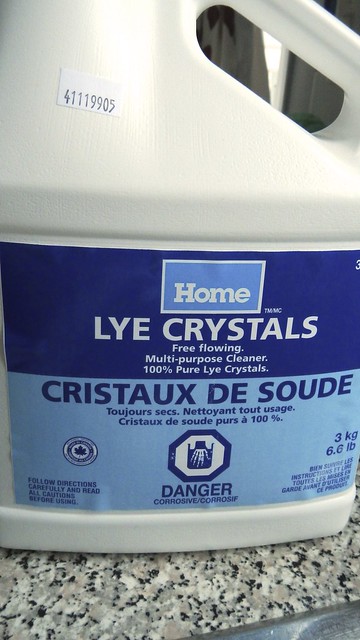
Equally important is lye. That’s what makes the magic happen. For solid soap, you want to get yourself sodium hydroxide (potassium hydroxide is used for liquid soaps). Get the lye that comes in free-flowing crystals or pellets – they’re easier to measure and less likely to get everywhere.
For those Canadians who don’t have access to specialty soap suppliers, you can purchase lye at Home Hardware.
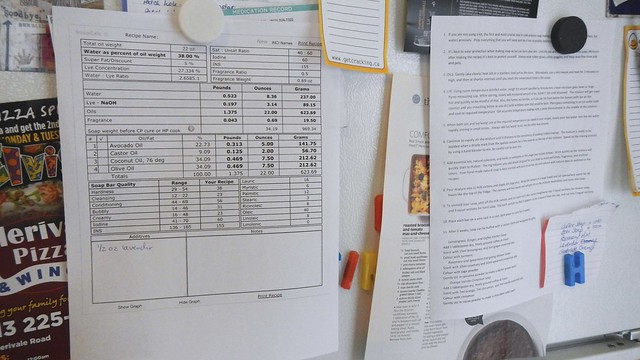
And the final magic ingredient you will need is a LYE CALCULATOR. I found the SoapCalc to be helpful and easy to use (and it’s free). There’s also a handy link in the top menu that explains all the calculations. Basically, you begin by figuring out how much soap you want to produce – for our purposes, 700g soap fits in a 1L milk carton. From there you calculate what percentages of oils you want to go into your soap, and then the software will do the calculations to tell you the exact measurements of oil, lye, and water that you will need. And then it tells you the quality of soap you will produce with those numbers. And it does it in metric AND imperial. Then you can print it out and keep it handy. I love things that do math for me.
The Cold Process Process:
Once you get the hang of this (i.e., like me, you do it five or six times in a row), it’s super easy – you just have to pay attention so you don’t hurt yourself and make sure your measurements are accurate. One of the most important things you need to do first is measure out your raw ingredients as accurately as possible.

You’ll notice in this, our first batch, that we used olive oil as one of our ingredients. Olive oil, we learned later, is hard to make into soap because it doesn’t always form a trace (you’ll see in a little bit what we mean), so we actually had a lot of trouble with this first batch. But that’s good for you guys, because I can show you how we fixed it. And we had no problems with any subsequent batch. Anyway, keep measuring out your ingredients. Accuracy is key.

When all your ingredients are ready and laid out (this includes the water for your lye solution and all your flavourings), then you can put all the oils together (except for the scented ones) and start gently heating them in your double boiler with one of your heatproof bowls.
A note on temperature: Always, always, ALWAYS make sure that your oils and your lye solution are the same temperature when you mix them together. This is very important. Every recipe differs, as will the humidity levels and relative temperatures of your environment, but generally you are aiming for an ideal temperature of between 110° and 120°C for both your oils and your lye solution. They don’t have to be exactly the same, but in that range would be best.
So, once your oils reach about 120°-125°C (I like to get them hot and let them cool a bit while I do the next step), you can work on your lye solution.
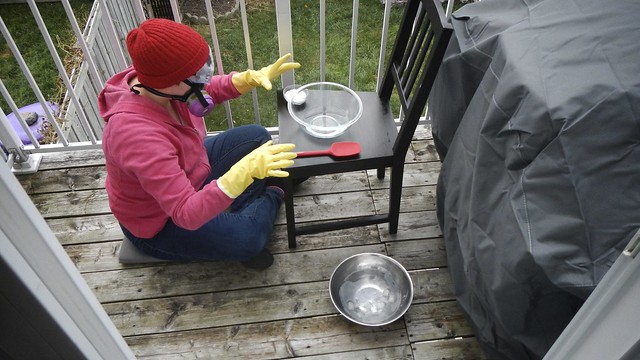
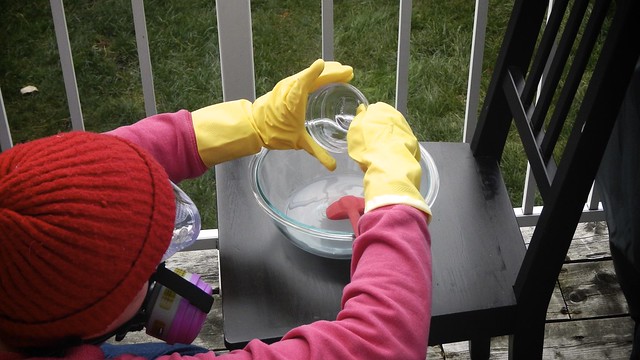
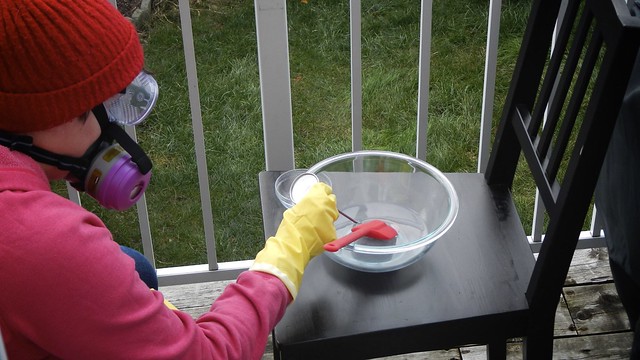
Take another one of your heatproof bowls and fill it partially with water and ice to create an ice bath. Set that aside for a moment. Measure out your room-temperature distilled water into your third heatproof bowl and have your lye crystals measured and at hand. Do this in a well-ventilated area. As I mentioned above, the first time we did this I sat on our balcony in the fresh air. In subsequent times I just put everything on top of the stove and did it with the window cracked and the stove fan going at full blast. But this looks way more dramatic.
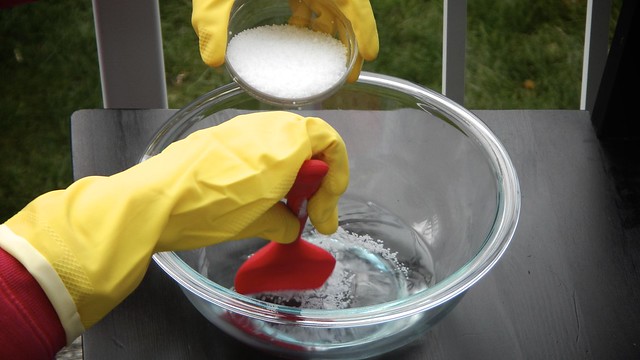
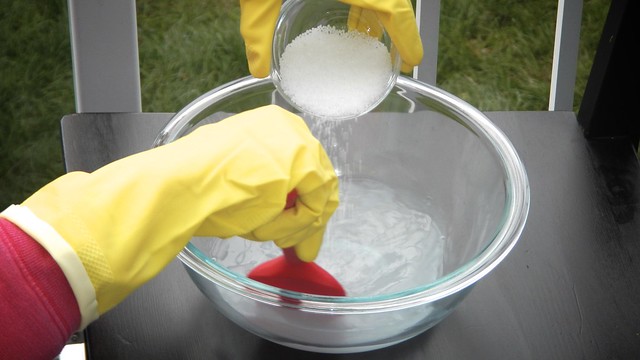
When you’re ready, grab one of your spatulas and your lye crystals and ever-so-slowly pour the lye into the distilled water. SLOWLY. Stir gently the whole time.
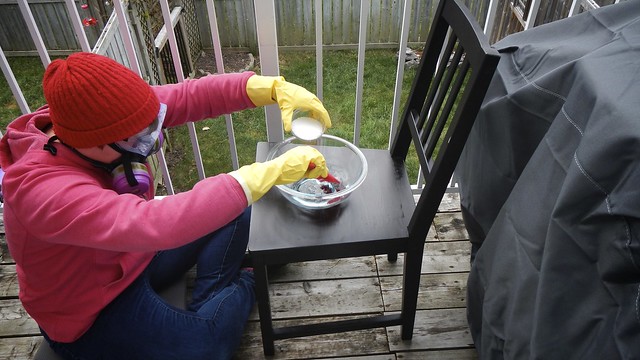
At first it will look like nothing is happening. I feel like my neighbours were suspicious at this point.
But then the lye will start to dissolve and the water will turn cloudy and begin to steam. DO NOT INHALE THIS STEAM. IT IS NOT GOOD STEAM.
Make sure to get every last crystal into the solution.
Continue to stir the solution until it starts to clear, then take its temperature. The lye/water reaction means the liquid will get really hot, really fast. You want to cool the lye solution down to the same 110-120 range as the oils, and that’s what the ice bath is for. Feel free to use it (because we were doing this particular batch outside in November, it didn’t take long for it to cool).
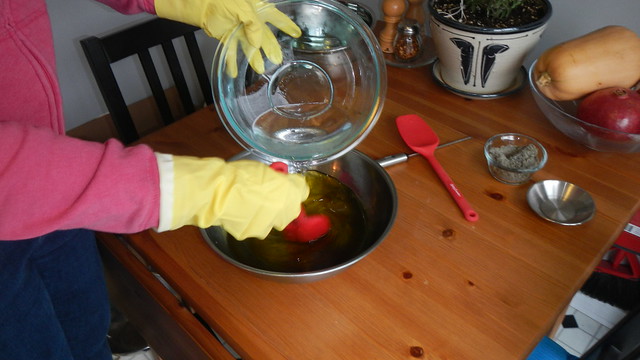
When the lye solution and the oils are the same approximate temperature, you can add them together. Slowly. Stirring the whole time. And ALWAYS add the lye to the oils, not the other way around.
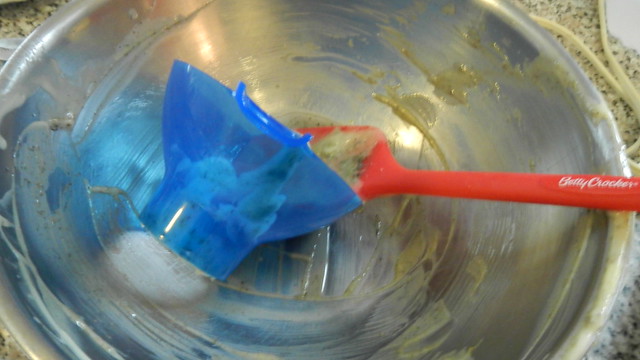
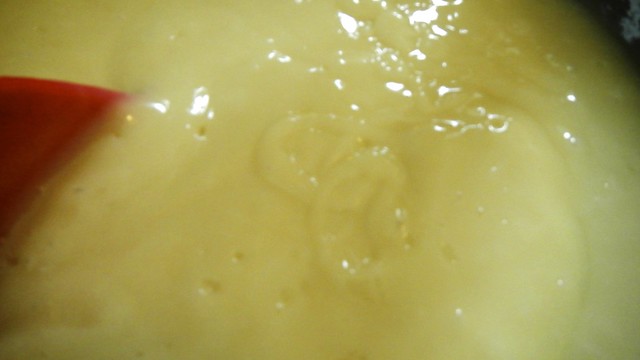
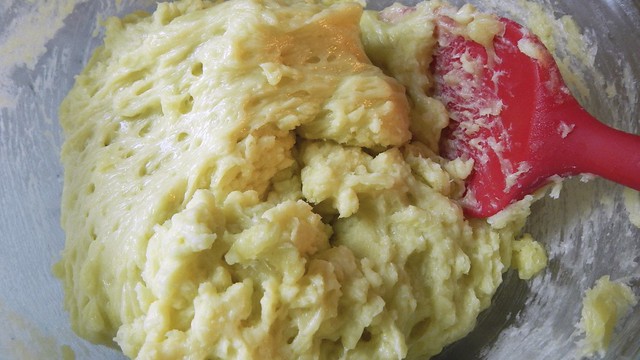
Now you keep stirring. Only crazy people do this by hand because it can take up to four hours for this stuff to start working. Use your immersion blender in thirty-second bursts to emulsify the mixture. There is some spatter involved, so make sure you’re still wearing all your safety equipment. I find it useful to do the blending with the bowl sitting in my empty sink. What you’re looking for – and this may take a while – is what is called “trace”. This is when the mixture thickens and starts to resemble pudding, and when you drip a bit of the mixture on top of itself (like it falls off the blender back into the bowl), you can see the trace of the drip on the surface). At this point, you have to act quickly (hence the blurry shot).
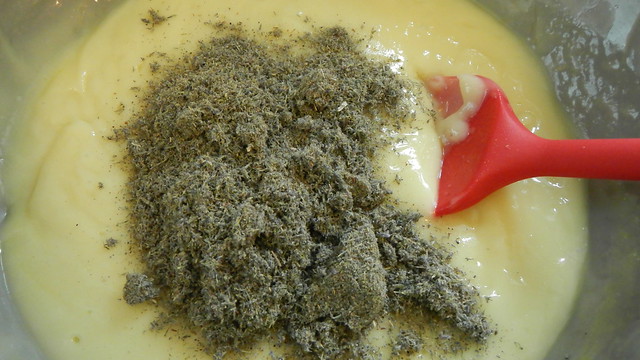
Now you add in your solids and your essential oils and blend it up again.
Pour your new almost-soap into your milk carton and tape down the top. Wrap it in a towel and put it somewhere warm (like on top of your fridge or near a heating vent) for 48 hours. The carton will feel warm and then actually hot over the next little while as the saponification occurs.
Neutralize your dirty dishes with vinegar before you wash them. And keep your gloves on while you do it, just to be safe.
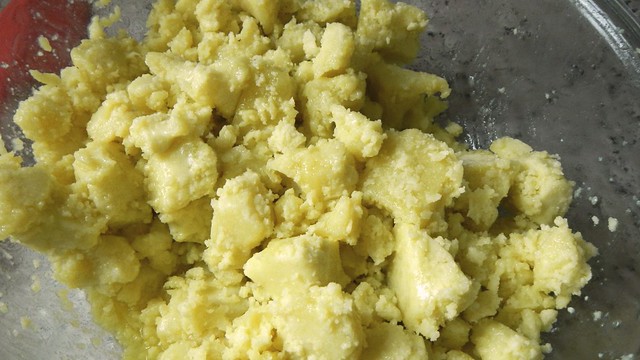
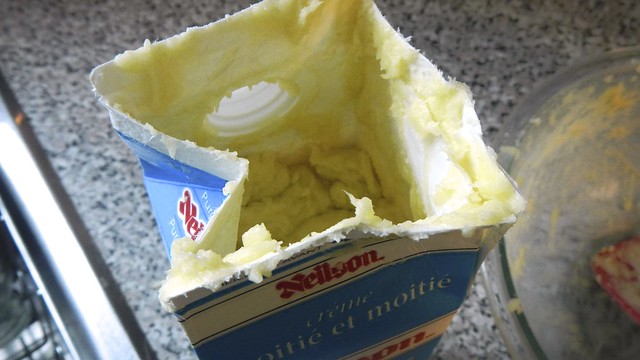
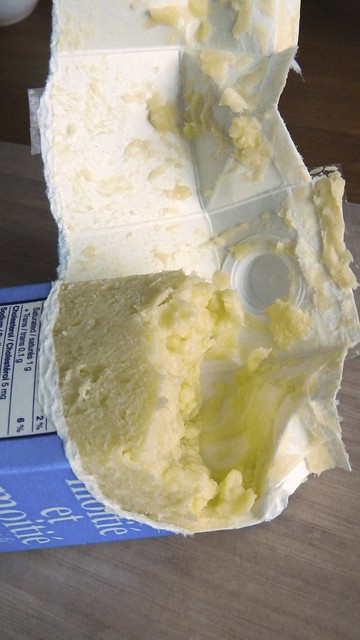
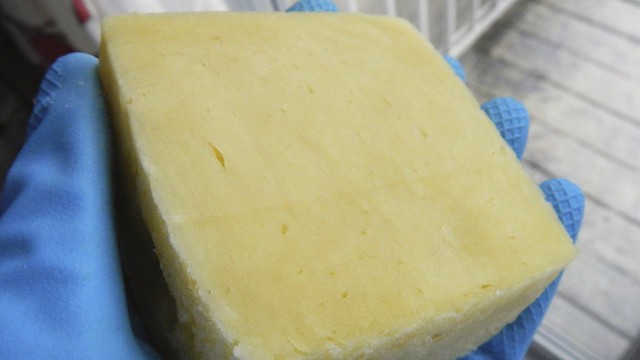
Now, sometimes, you don’t get a trace, no matter how hard you try. Sometimes this means you weren’t mixing hard enough (so that’s why you use an immersion blender). Sometimes the temperature isn’t right – the ingredients don’t have the same temperature, or they’ve cooled too much. If you are having trouble achieving trace, try putting the bowl back on the double boiler and heating it up a little more again. And if that doesn’t work, then just shove it into the carton anyway, and hope for the best. You’ll know in 48 hours if it worked or not. In this case, the olive oil combo we used, combined with our inexperience and inexpert technique, meant that when I ripped open the carton 48 hours later I had a chunk of soap and then a bunch of oozy liquid. Always wear your gloves when you open a mould, just in case something like this happens. There’s no way of knowing how much of that liquid is reactive lye.

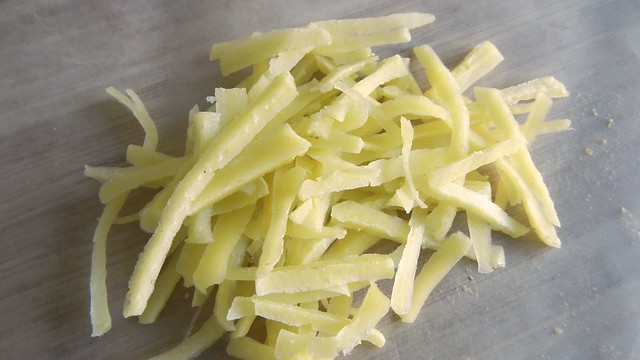
But this is fixable! Just mush it all up (newly saponified soap is very soft).
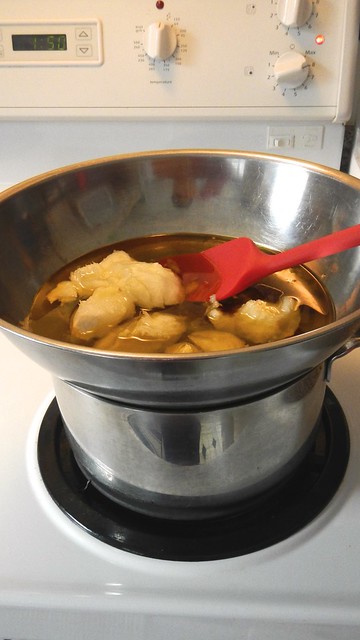
And put it back on your double boiler to melt it down.
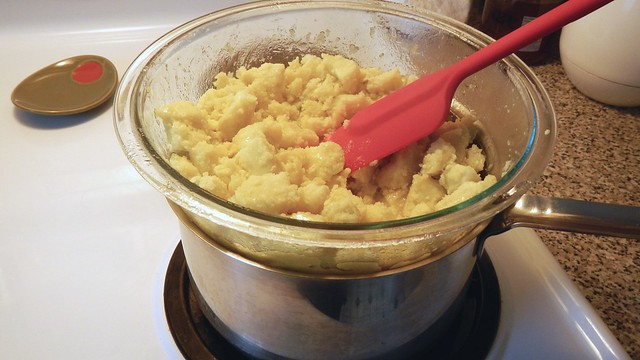
You won’t get the same smooth texture you had before. In fact, it’s kind of weird.
And then you can shove it into a new milk carton, seal it up, and wait another 48 hours.
Now it looks a little bit weird and rough, but it’s real soap! You can always trim off the rough bits.
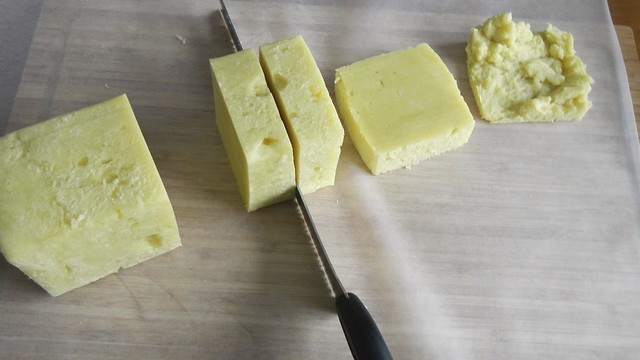
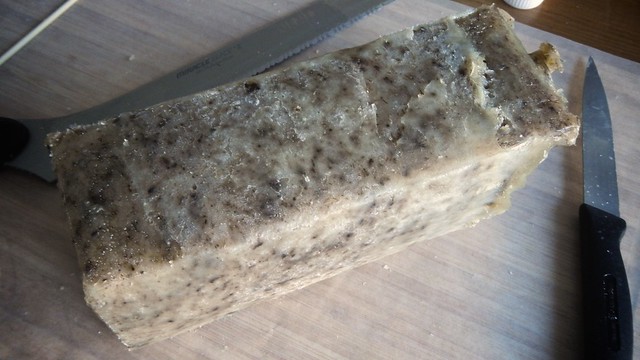
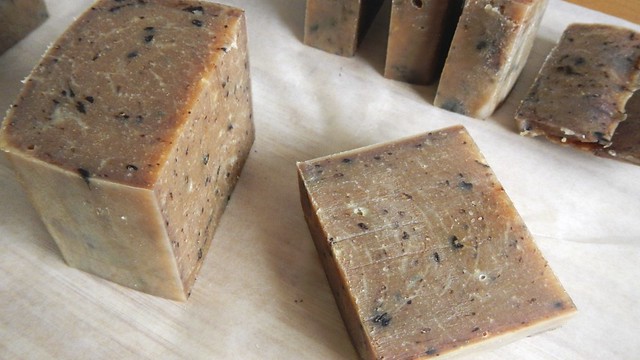
So after 48 hours, you can cut your soap into manageable pieces. It’s very soft, so it’s not a difficult task. Make sure to wear gloves as you do it, in case there are pockets of lye hidden in the soap, and also because freshly made soap is really drying.
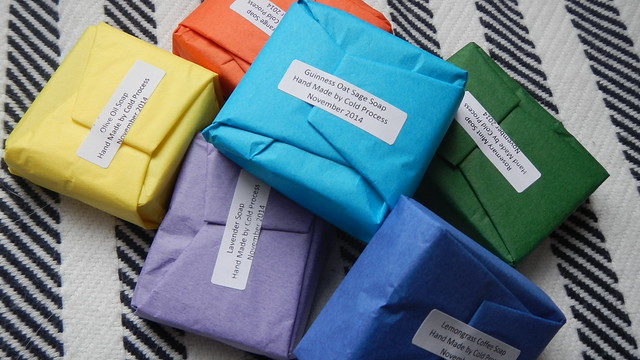
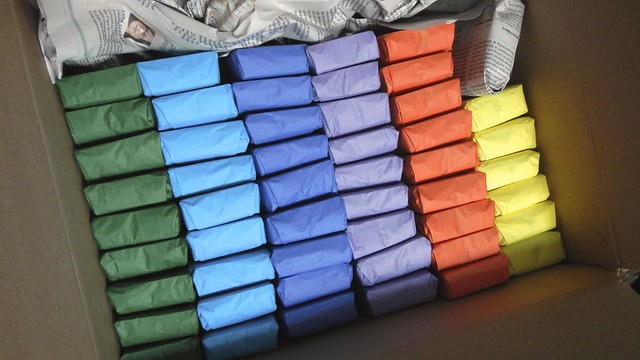
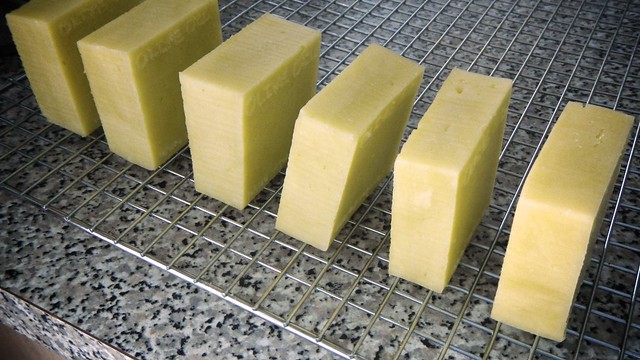
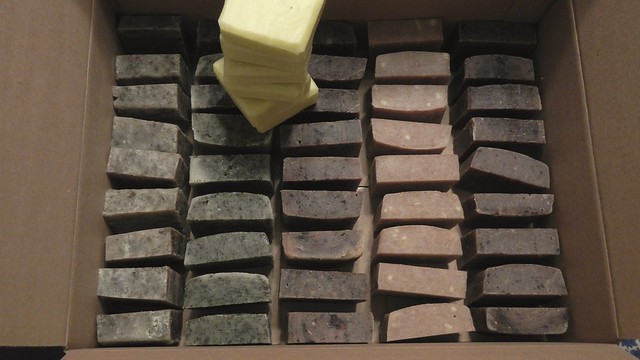
Set your soap upright on a rack or in a box (you want as much airflow around it as possible) and put it in a cool dark place to cure for at least 3 weeks. After that time, you can buff it to a shine with a soft cloth and wrap it for gifting!
I made six different batches of soap in my experiments. Here are the percentages and shots of the finished product, for your edification.
Olive Oil
- Coconut Oil 34%
- Olive Oil 34%
- Avocado Oil 23%
- Castor Oil 9%
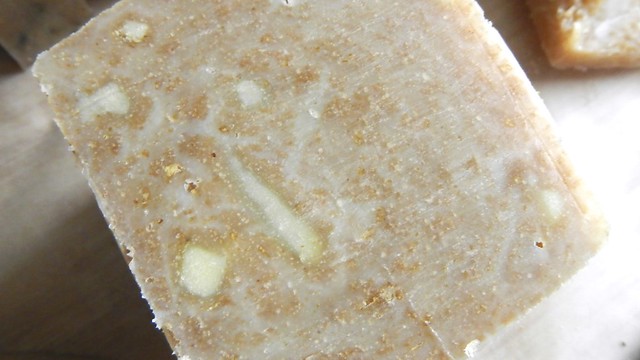
I cut off some rough bits from this soap after we re-melted it, and saved them to use as inclusions in another recipe.
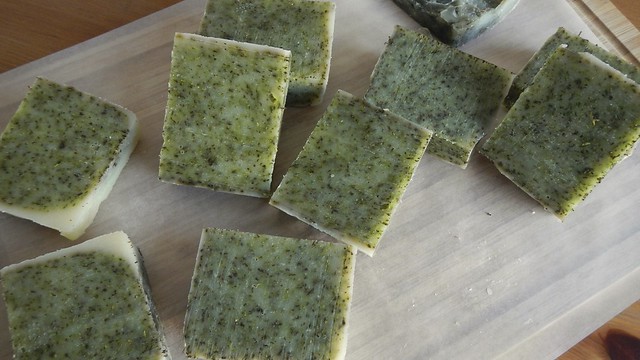
Lavender / Rosemary Mint (two separate batches with the same oil base)
- Coconut Oil 34%
- Crisco 30%
- Castor Oil 14%
- Sweet Almond Oil 11%
- Avocado Oil 11%
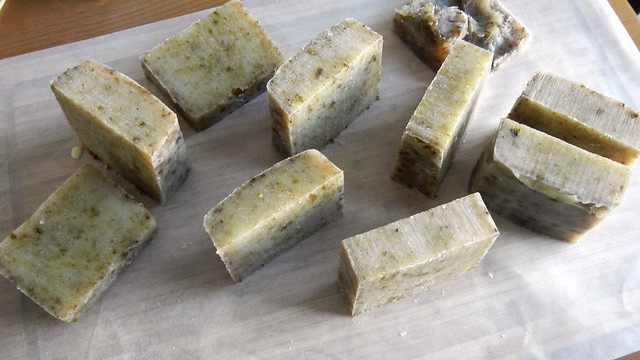
Ground Lavender flowers and essential oil added at trace. Dried Ground Rosemary and Mint added at trace with Peppermint essential oil.
Chocolate Orange
- Crisco 40%
- Coconut Oil 30%
- Canola Oil 20%
- Cocoa Butter 10%
Sweet orange essential oil added at trace. Turmeric added at trace for orange colour. Cocoa added and swirled in.
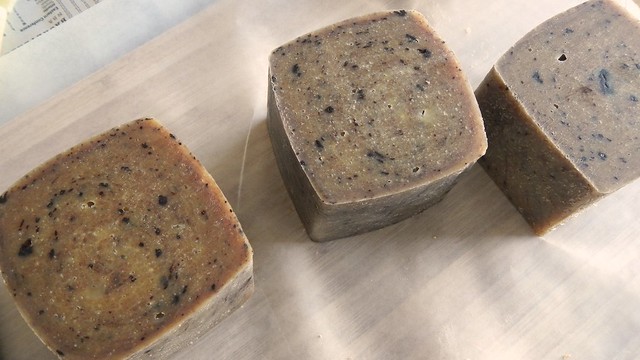
Coffee Cocoa
- Crisco 40%
- Coconut Oil 30%
- Cocoa Butter 10%
- Sunflower Oil 10%
- Castor Oil 10%
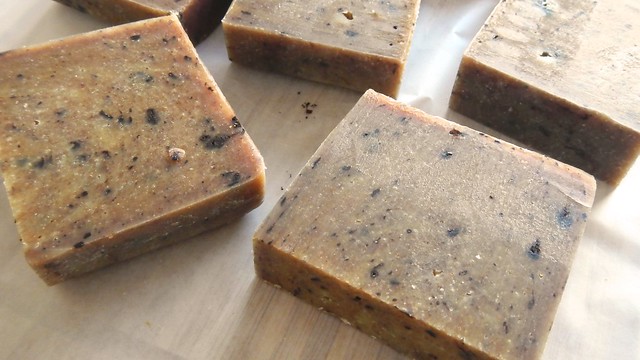
Lye solution made with chilled coffee (to learn how to make lye solutions using other things than water, read this article). Lemongrass Oil added at trace, together with 2 tsp cocoa and 2 tsp oatmeal.
Guinness Oat
- Crisco 40%
- Coconut Oil 30%
- Shea Butter 15%
- Castor Oil 8%
- Sunflower Oil 7%
Lye solution made with chilled, flat Guinness Stout. Sage oil added at trace, together with 2tsp finely ground oatmeal. Inclusions from Olive Oil soap added.

Oh thiiiiiis is what you were making when you decided to channel Walter White! I’ve not used the soaps yet as I’m still getting through a backlog of my other hand soaps, but every time I open the closet I’m greeted by the scent of these soaps and I loooove it.
That milk carton idea is freaking genius.
LikeLiked by 2 people
Isn’t it? Way cheaper than a special mould.
LikeLike
I really like the idea of turning what you learn to gift giving for the season. Seems like it makes life so much easier and you get to hone your skill.
LikeLiked by 1 person
It also makes me just a little bit cooler every year!
LikeLiked by 1 person
Reblogged this on Dolphin and commented:
Here’s a really good blog on making your own soap. I’ve always wanted to try it, but I won’t even try it with lye (Murphy’s Law is my mantra). I haven’t been able to find a recipe that doesn’t use lye, but still makes good, solid soap. I haven’t given up the quest, however, and the search goes on…
LikeLiked by 1 person
Learning a new skill every holiday season is such a great goal. I’ve always wanted to make soap–I have a scale and thermometer and everything. I even bought a mold a few years ago, but the milk carton is the best idea ever. The only thing I never got around to getting my hands on is lye.
LikeLiked by 1 person
That was what delayed me so long. In Canada the only place I’ve found it is home hardware.
LikeLike
Reblogged this on United States of Being and commented:
Such a great step-by-step tutorial for DIY soap! I am very much looking forward to channeling my inner Walter White and making my own soap!
LikeLike
Reblogged to http://www.unitedstatesofbeing.wordpress.com with comment:
Such a great step-by-step tutorial for DIY soap! I am very much looking forward to channeling my inner Walter White and making my own soap!
LikeLike
Your posts always inspire me💗💗
LikeLike
Aw, thanks!
LikeLiked by 1 person
What happens to the pockets of lye? I think I’m scared of using it as soap if it’s so noxious……
LikeLike
You’ll see if there are lye pockets when you cut it into pieces. If you don’t see them then you’re all good!
LikeLike
You’ll see if there are lye pockets when you cut the soap into pieces. If you don’t see them then you’re all good!
LikeLike
The packaging looks awesome though
LikeLike
My mother-in-law wants to start making soap! Thanks for sharing!
LikeLike
I made soap this way some 15 years ago (before there was blogs and loooong before I had a camera to document it!). Just olive oil and the lye. No immersion blender and it took THREE days for it to stop separating. I used a rubbermaid container for a mold that had a lid. I would stir back in the separating oil back into it once in the morning, once in the afternoon, and once again in the evening. It made a really nice hard bar of soap. It was the first time I ever made it, and I’m glad I didn’t just toss it.
LikeLike
After all that work it would have been frustrating to junk the whole thing!
LikeLike
This is fantastic! You are so inspiring with your DIY ideas (and so brave for using lye!) I think I may give it a try though and hopefully not poison myself in the process!
LikeLike
Thanks, and good luck! It’s scary the first time but you quickly get the hang of it.
LikeLike