
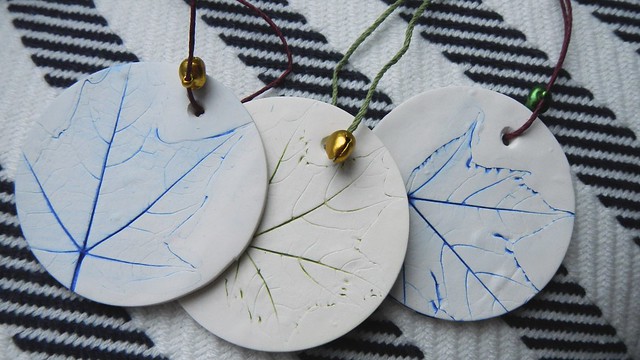
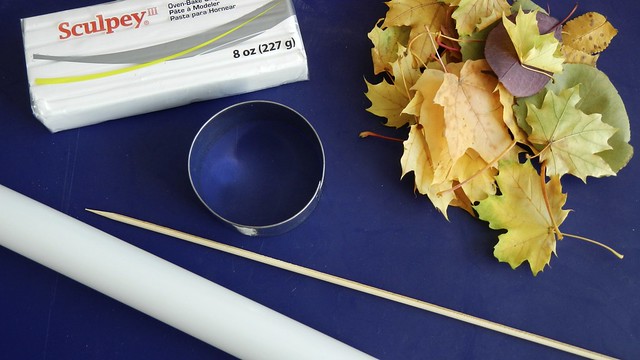
I saw this leaf imprint necklace at Happy Hour Projects and I thought it was neat. While I wasn’t that interested in the jewelry aspect of it, I thought that the technique would make for some great Christmas ornaments. What you need to do this is simply some oven-bake polymer clay (like Sculpey) and some leaves or other items to make impressions in the clay. Everything else, the silicone work surface, the craft paint, the bits and bobs, those are all up to you. A note on polymer clay – it is not food-safe. Whatever you use to cut or otherwise work the clay should not be used for food items.
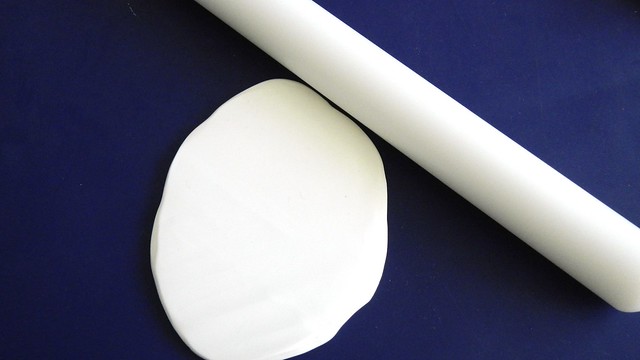
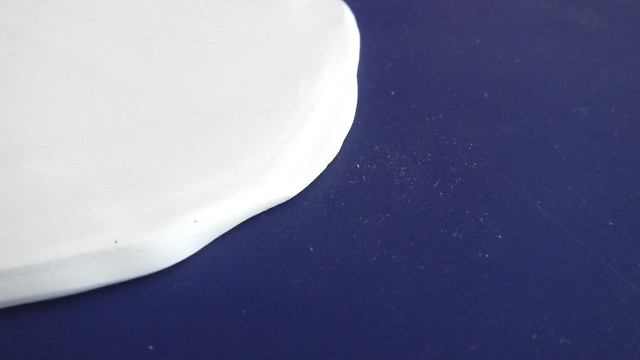
So. Grab your clay. I used a plain white. Work some of it between your hands to soften it and then flatten it onto your work surface. I’d aim for a thickness between 1/8″ and 1/4″.
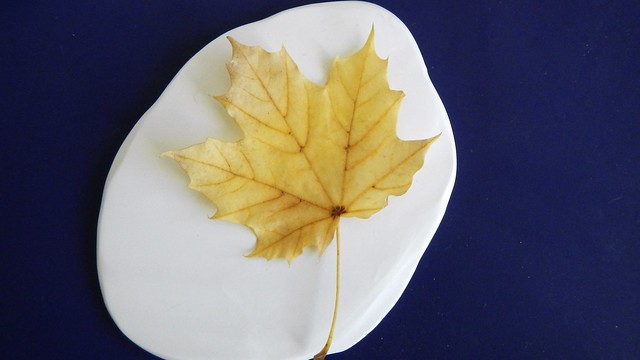
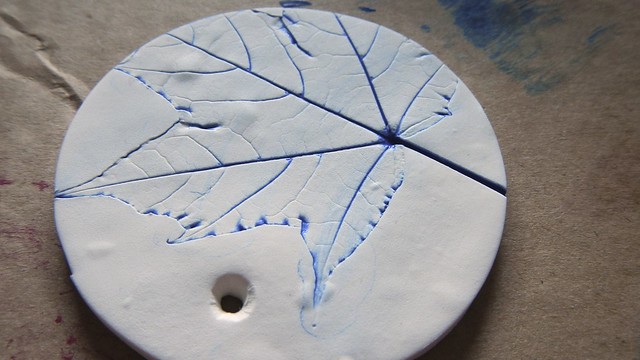
Then take a leaf or whatever else you’d like to impress, and place it on the clay. This leaf is about 2″ wide, to give you an idea of scale.
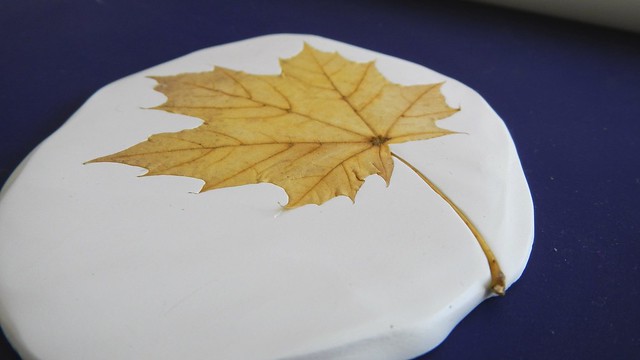
Press the leaf into the surface of the clay so that it leaves a full and detailed impression. You won’t get as much detail with the small leaves on polymer clay as you would on natural clay (like with the clay leaf bowls) simply because the substance is more resilient.
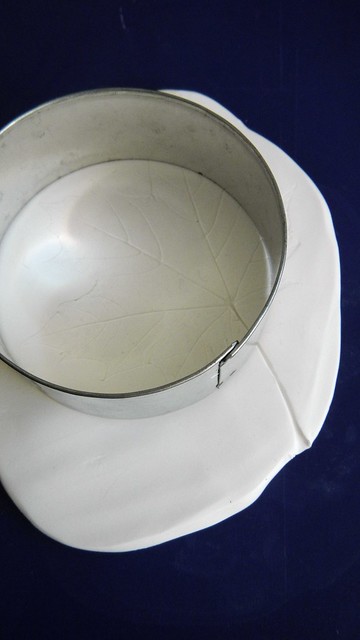
Carefully remove the leaf and then cut it out with a cookie cutter or knife. You can cut it off-centre or however you would like. I’m not grading you on these.
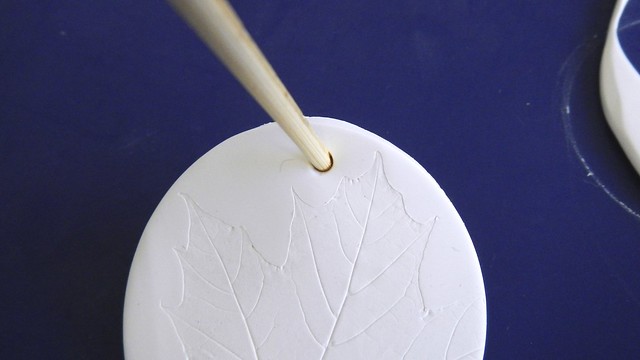
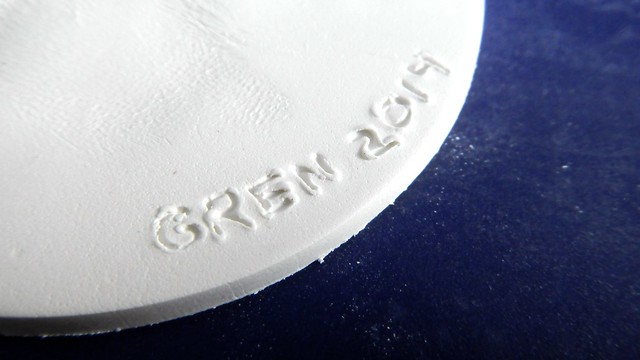
Use a skewer or some other pokey object to put a hole through for stringing.
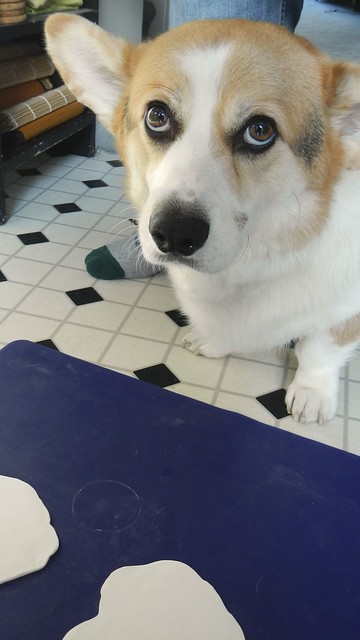
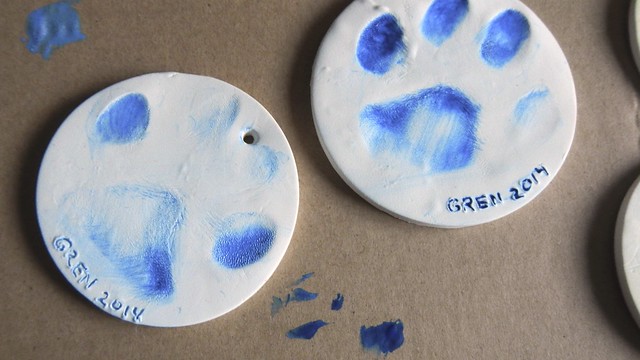
We even got Grenadier in on the action, though he wasn’t happy about it. If you want him to step on something, suddenly his paw is a delicate flower and he can do no harm. If you don’t want him to step on something, he will immediately put his full 40lbs of weight behind it.
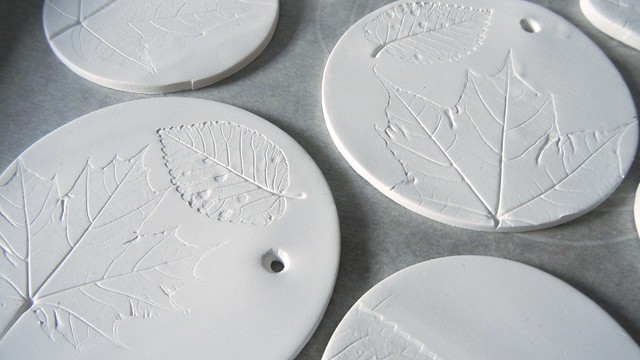
So these impressions were not as deep as I would like.
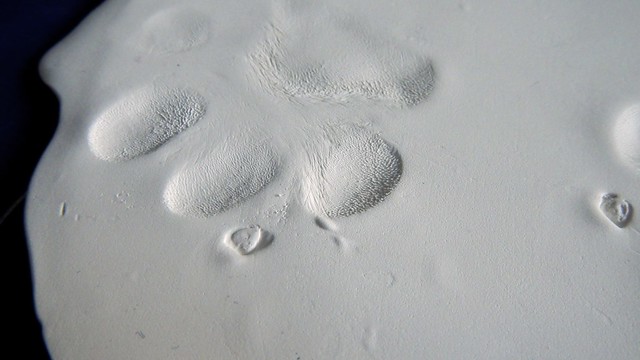
But they worked out well enough that I figured they’d do.
Place your finished items on a sheet of parchment and bake at 275°F for 15 minutes per 1/4″ of thickness of your clay. Let them cool completely before handling.
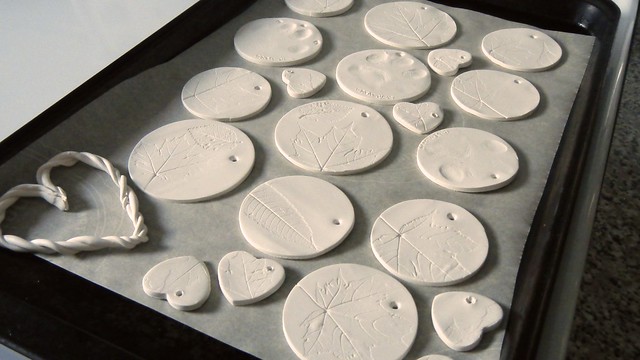
Done.
Now we paint. If you want. I used some craft paint and a small paintbrush to swipe colour over the impression.
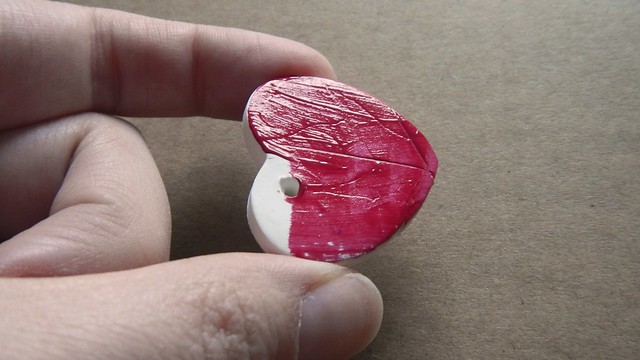
This one I used a dry paper towel to wipe it off, which left the colour on the majority of the ornament.
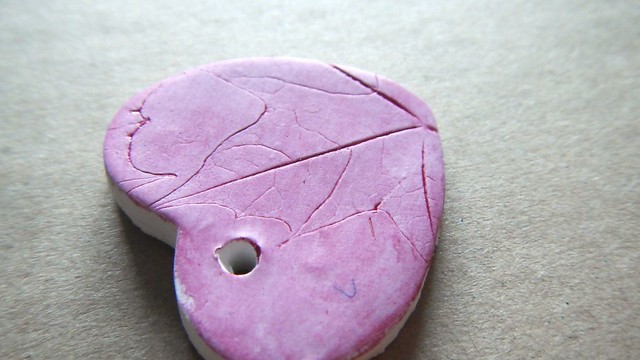
This one I just filled in the leaf part as close as I could.
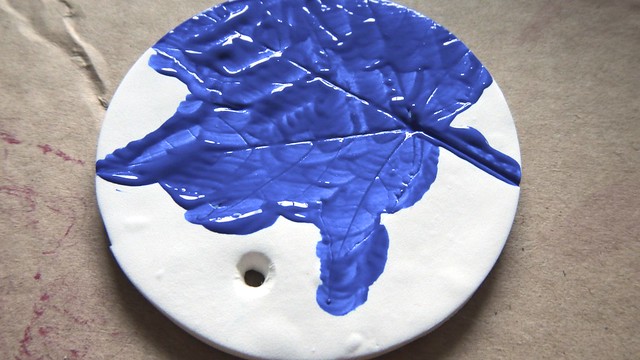
Then I used a wet flannel cloth to wipe it gently off.
The Gren ones took a few applications of paint.
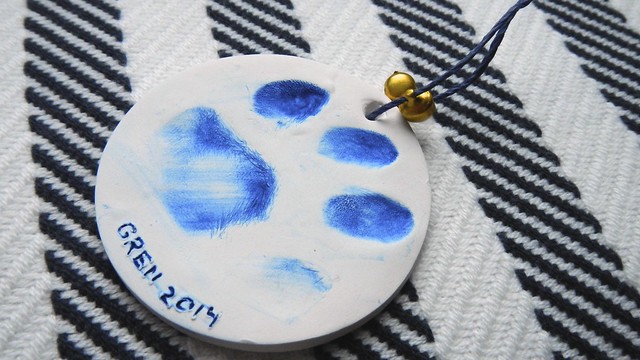
Then I strung them with some hemp line and some wee bells.

These would make a great addition to your gift wrap arsenal, a cute personalized stocking stuffer, or you could give a few to a person just starting to collect their own Christmas ornaments.

Reblogged this on VIVIMETALIUN.
LikeLike
Hello there Ali, this is such a lovely craft to make. I’m off today to the craft store for some clay, and I hope my pup will cooperate with me to get some paw prints too.. Thanking you kindly for this post, looks like fun. Take care and Happy blogging to ya.
LikeLike
Thanks! I’d love to see a picture of your pup (and ornament) when you’re all done!
LikeLiked by 1 person
I will make a special post just about the ornaments, and of course my pup is a must as documentation. I will also re-blog your post within. Thank you again for such a fun idea.. Take care & Happy blogging to ya…
LikeLike
Excellent! I can’t wait!
LikeLiked by 1 person
Grenadier! What a star. What a brilliant and apt name. I know what you mean about the paw stamping. Amazing how small(ish) dogs can get so heavy (except when you want them to be). Thanks for a brilliant idea for pressies. Moke xx
LikeLike
Thanks – though the Pie takes credit for the name. He weighs a ton when he stands on my boobs to wake me up in the morning but you want him to make ornaments and he’s a delicate princess (Gren, not the Pie) !
LikeLike
These are unique & fabulous!
LikeLike
Love this sooo much. Can’t wait to add this to our holiday craft list (especially with your detailed instructions and pictures). Thanks for sharing!
LikeLiked by 1 person
oooh, this is SO cute! Have to try this with my 4 legged hairy little girl Cookie! ; )
LikeLike
such a simple idea…i really like this. i might have to steal this one 🙂
LikeLike
This seems like an easier and better way to work with leaves. I tried to do a candleholder with leaves stuck to the outside, and I could not get them to stick, even with Mod-Podge.
LikeLike
Leaves are tricky, even with glue, because they always want to bend the way they would naturally, and once they age they get so brittle …
LikeLike
I love these! I’ve been trying to come up with some ideas for more homemade ornaments for my christmas tree this year and I think these would make the cut since they are so cute!
LikeLike
Cute and EASY!
LikeLiked by 1 person
How beautiful!
LikeLike
Love these! I did pawprints last year, and totally feel your pain about trying to get the dog to step on things. It took me at least 4 tries – for each of my 4 dogs.
LikeLike
Oh geez, I had enough trouble with just the one!
LikeLike
These are so nice! I love that your dog watched.
LikeLike
He is extremely nosy. Like, literally he will stick his nose in everything he can reach.
LikeLiked by 1 person
That’s hilarious. My two toy poodles have to be in the same room or on my lap, so sometimes crafting/projects are a challenge. The cat also gets involved.
LikeLike
And of course the cat can get up on the table or other places where the dogs can’t, so you’re never safe!
LikeLiked by 1 person