
There’s a story behind this one. My dad, in his office, has a massive collection of pictures of various RCN ships he was involved with, ships’ crests, together with some sketches my grandfather did during the war. It’s a very nautical room. For his birthday yesterday, I wanted to give him another nautical trinket, using that nifty new technique I learned of gel transfers … but on wood.
The two most important ships in his history (that I can remember at least) are the HMCS Miramichi, which was his first command, and the HMCS Regina, which he commissioned as Executive Officer and which was the last ship he was on before we moved to Ottawa and he eventually retired.
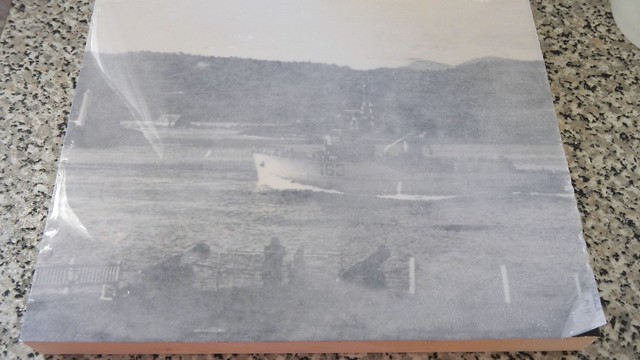
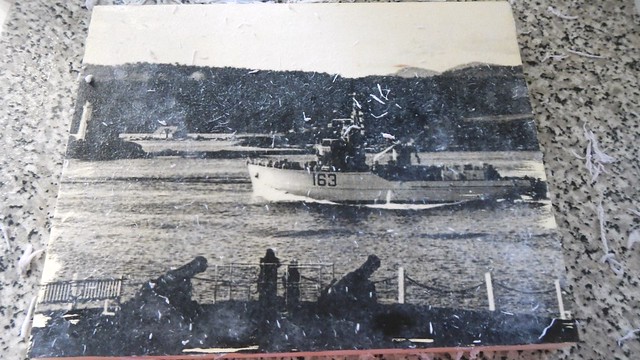
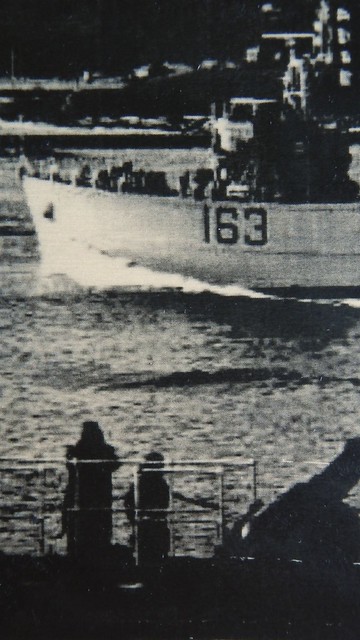
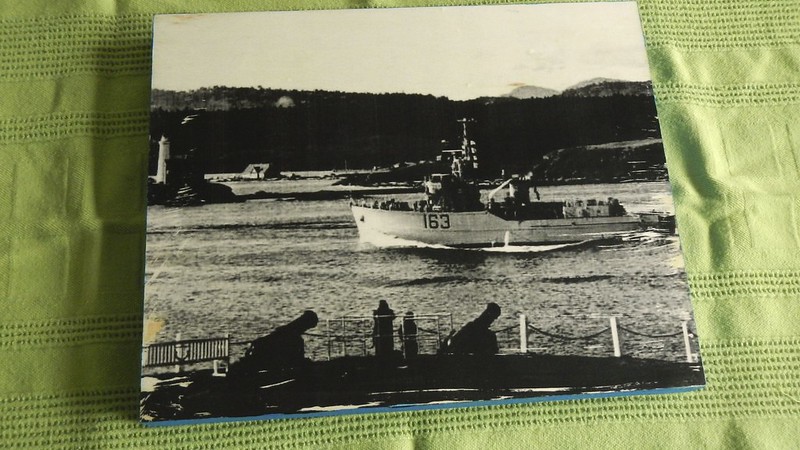
In debating which ship to use, I was having trouble finding a good one of the Miramichi. It’s no longer at sea so there aren’t too many shots of it on the internet (if you do a Google image search you come up with only a handful of pictures of the exact Miramichi – 163 – I’m looking for). Except perhaps this one, which looked really familiar to me:
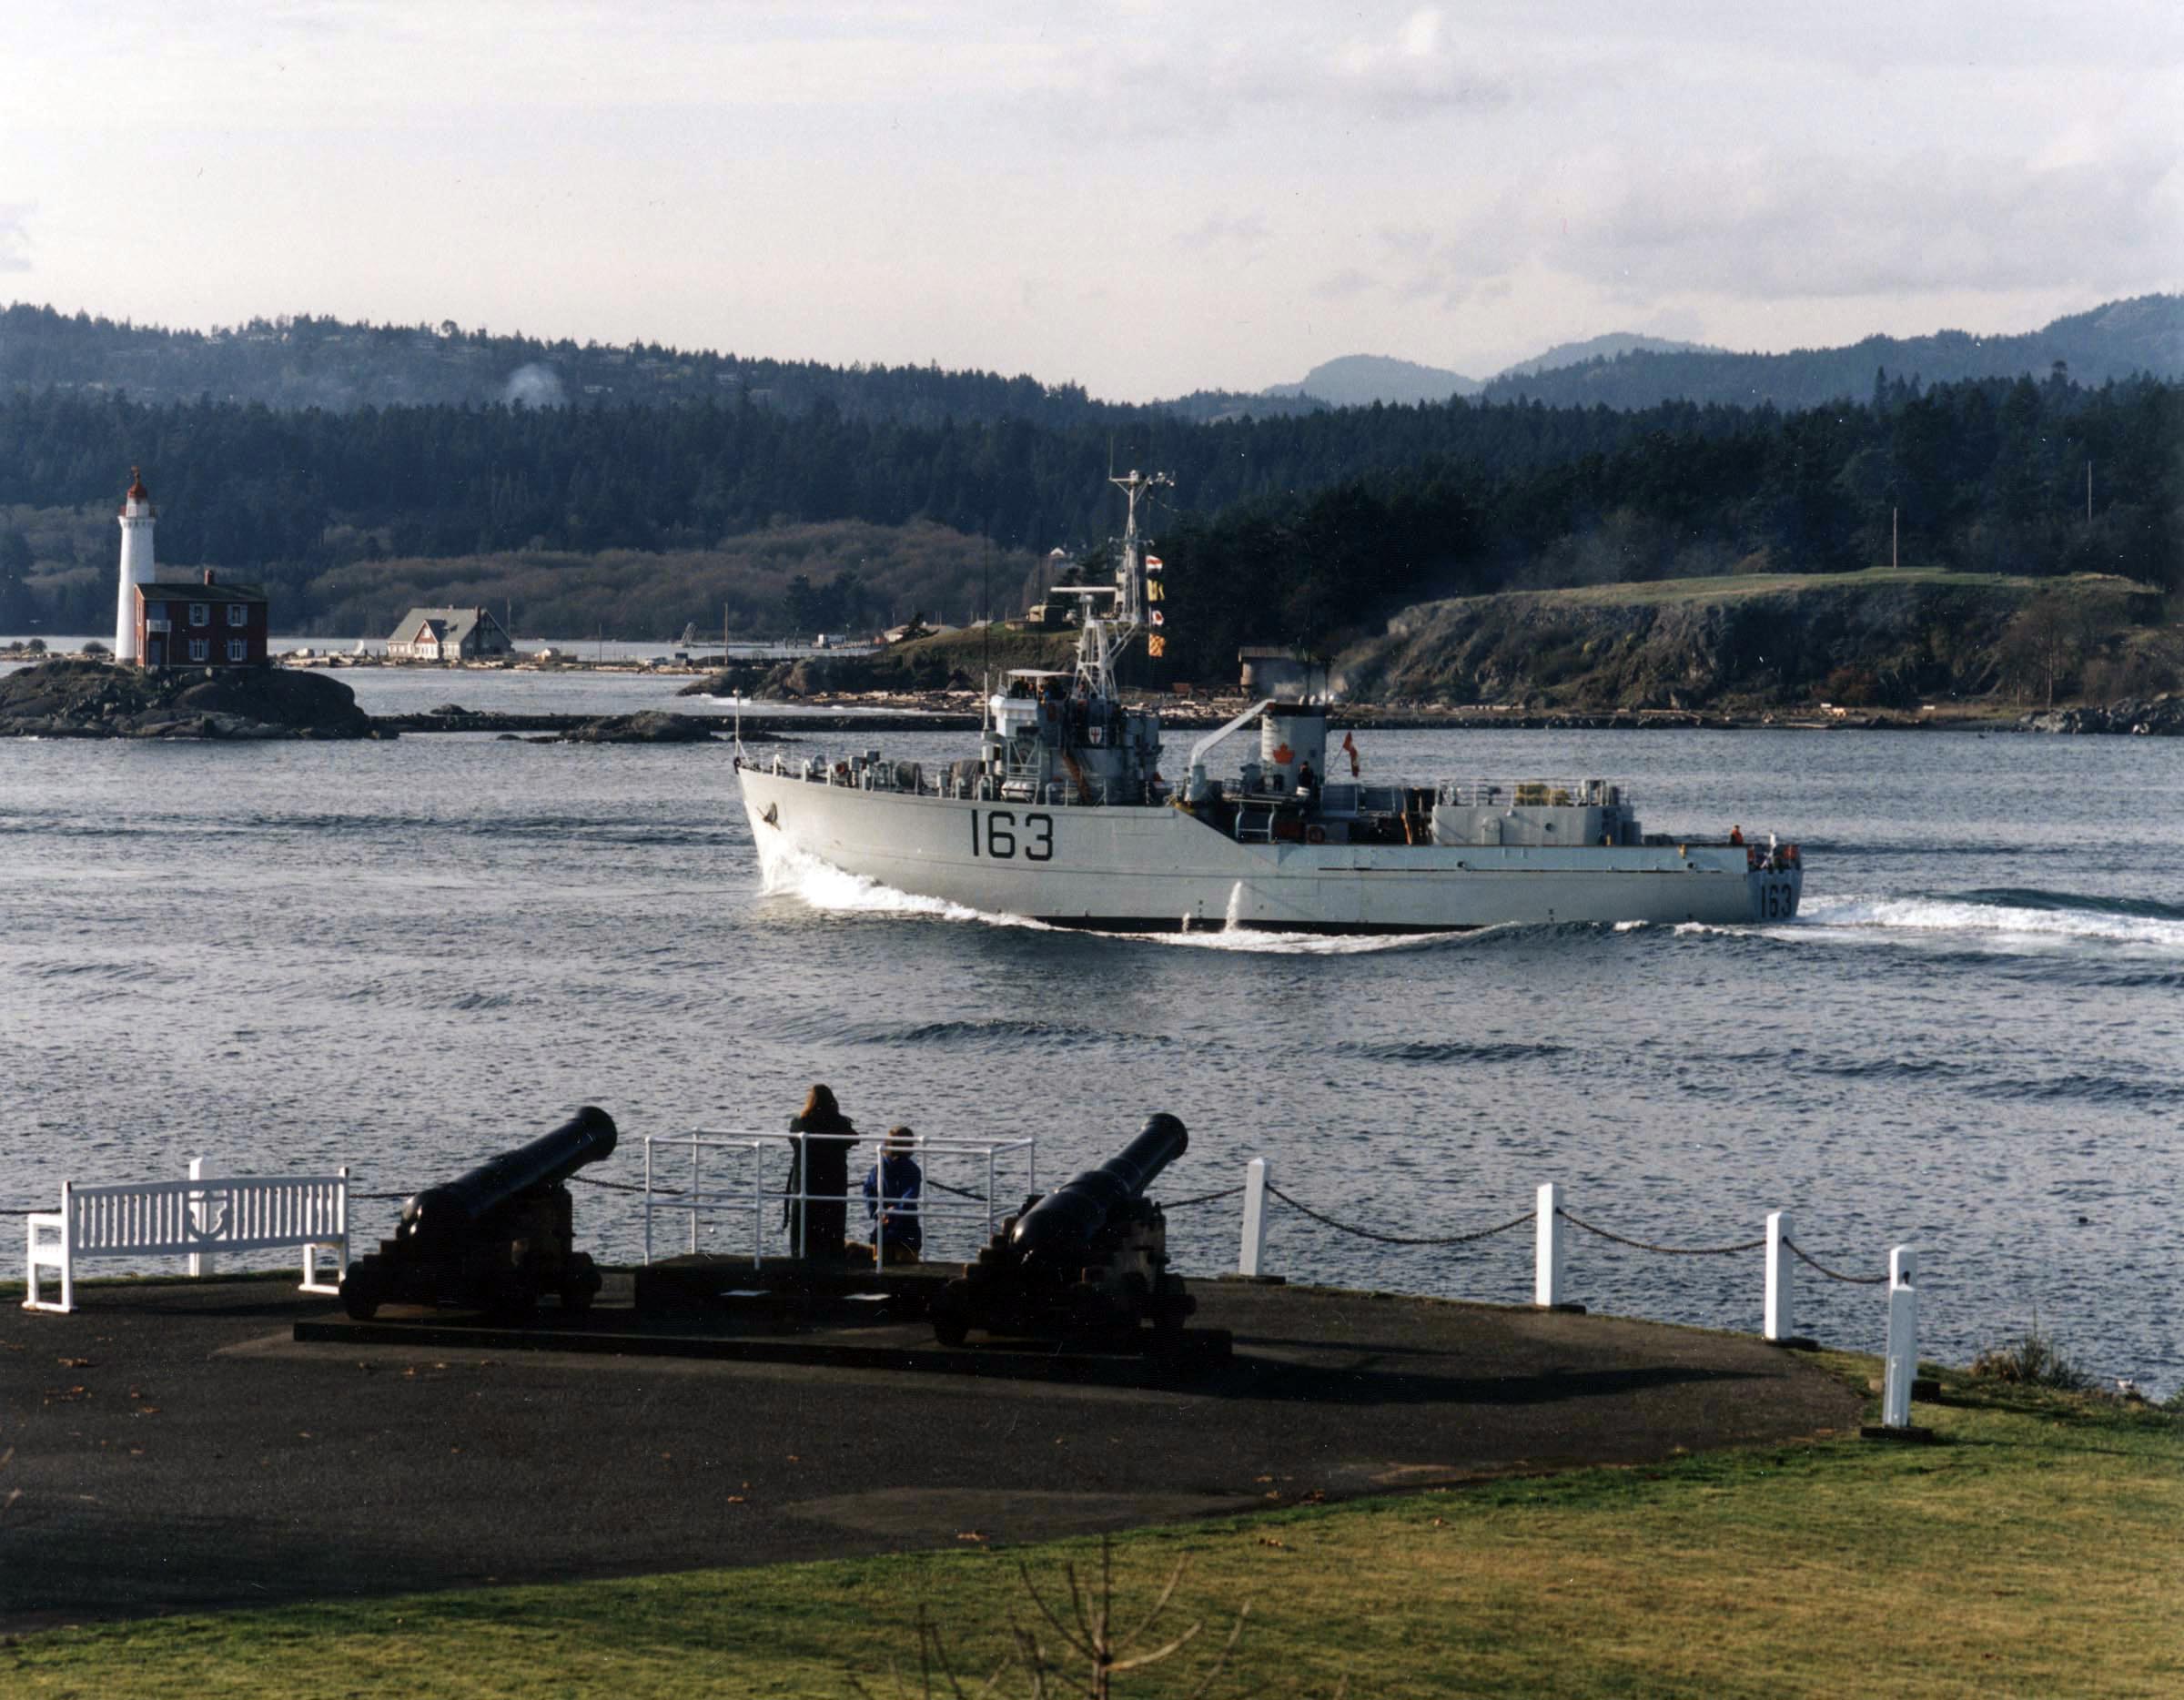
You see those two people standing in the foreground? That’s my mother on the left, and the short one is me. I have my hands behind my back because I used to like to stand like a weirdo, and my mother is taking a picture with her camera, which is why her elbows are up. There weren’t many other little girls living on that particular base at that particular time, so it is definitely me and my mum. Whenever my dad went off to sea we would go down to Duntze Head (which is where those cannons are) to wave goodbye. When he came back, and he sailed past our house (yes, I was that lucky), he would have someone signal us in gibberish Morse code. It became a sort of tradition.
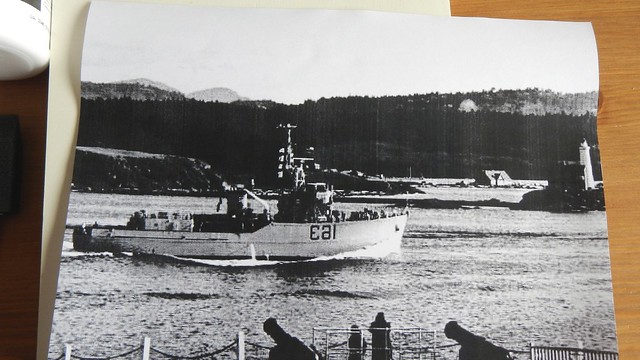
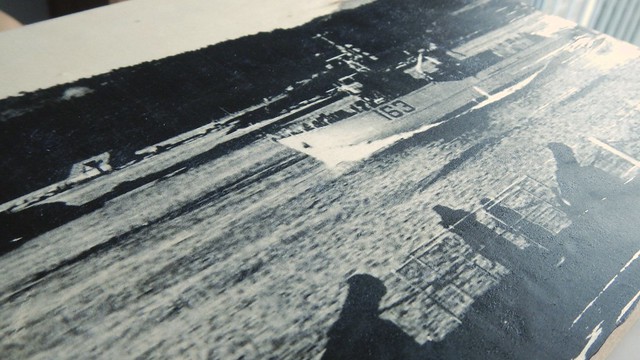
So anyway, because I’m actually IN that photo, that’s the one I have to use, naturally. It’s not a terribly high-quality shot – taken before digital photography became really popular, this was clearly developed from film and then scanned on some terrible early digital-era scanner (I am that old), so when you blow it up it doesn’t look perfect. But the nice thing about these gel transfers is that the lack of detail actually improves the result. So I cropped it to fit on my work surface, boosted the contrast, and desaturated it. Remember when you do this to print the image with a laser printer or photocopier, as inkjet images are too heavily sunk into too many layers of the paper to work properly. Also remember to print it in reverse!
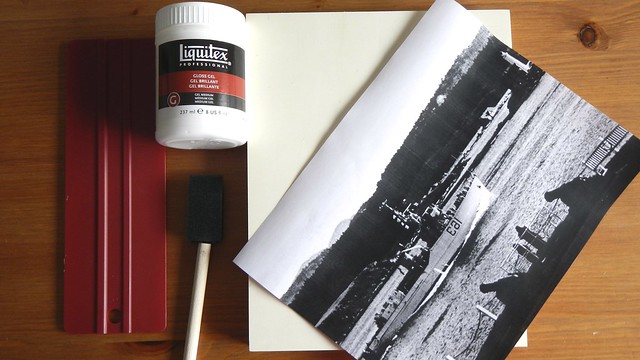
My supplies: 8″ x 10″ artists’ board canvas ($3 at Dollarama, bonus!); reversed laser printout on regular printer paper; sponge brush, gel medium, and a squeegee.
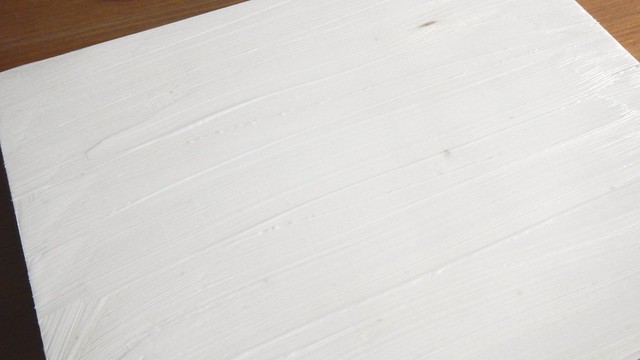
We’ve done this twice before. You’ve probably got it down pat. But I’ll do it for you again, just so you can be confident. Use the sponge brush to smooth a generous amount of gel medium evenly across the surface of the board. Pay close attention to the edges, as they will tend to accumulate less medium (though it enhances the effect in the end if you aren’t looking for perfection).
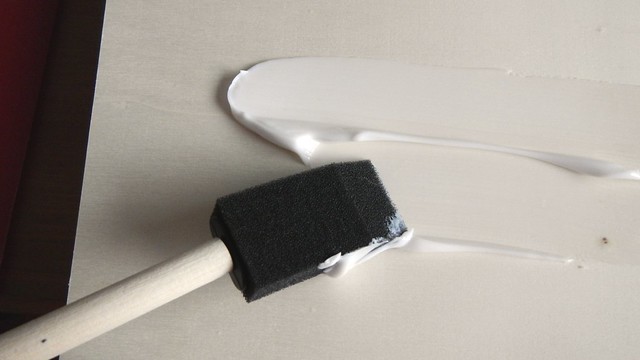
Make sure there aren’t too many big brush marks on the surface. These are fine; you just don’t want huge peaks and valleys of the stuff.
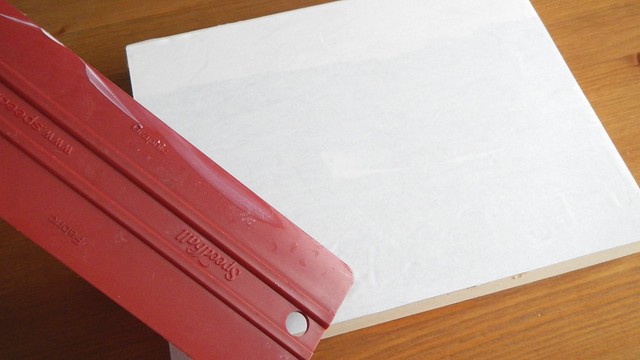
Use your squeegee to flatten the image face-down on top of the gel medium. Set that sucker aside to dry for a couple hours.
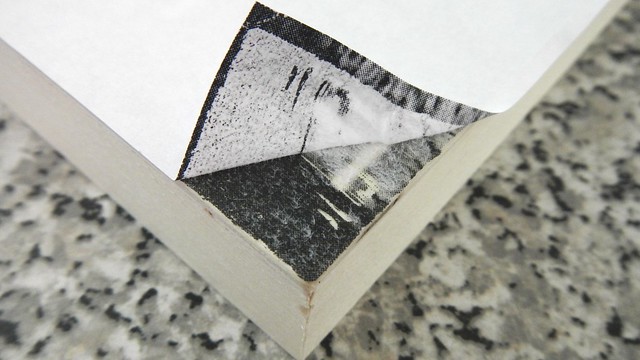
To rest for readiness, peel up one of the corners a bit and see how much toner stayed stuck to the surface. If it’s all still stuck to the paper, you either didn’t use enough gel medium, you used the wrong type of printout, or it’s not dry yet.
Spray the surface of the board with water and let it sink into the paper.
Use your fingers or a soft cloth to rub off the bits of wet paper. You will likely have to let it dry and wet-rub it again a couple times before you get all the white paper off that you want.
Finally the surface was as smooth as I could get it.
The yellowish tint of the wood underneath added an antique cast to the picture that I quite liked, despite the pixellated nature of the shot.
I painted the sides of the board frame a mixed turquoise with craft paint, then sprayed the whole thing once with a satin-finish sealant.
It doesn’t suit my gray walls but I think it will look great on my dad’s wall!


Wow, that turned out really awesome!
LikeLike
Thanks, my dad loved it!
LikeLike
Ooo, this is kind of exciting! I can get free pallet-wood at work, some of it is quite pretty… this does work on wood, right?
LikeLike
Absolutely, and the weirder-looking the wood is, the more grain you can get, the better it will look. If you want to stain the wood I would do it before doing the gel transfer as I find the medium blocks the stain. Also sand the crap out of the surface you want to transfer to or you will get hella splinters when you rub the paper off.
LikeLike
I like. I wonder… I have pictures of wood, wonder what it would look like on wood! Ha!
LikeLike
It would be super meta. I would want one.
LikeLike
I have so much black and white stuff I like… this could be a thing.
LikeLike
DO IT. I wanna see!
LikeLike
Gotta find place to buy the gel. Probably in Galway… Might be a while 😦
LikeLike
http://cregalart.net/advanced_search_result.php?keywords=gel+medium&osCsid=9c40c3613eb82654aa34418949538365&x=0&y=0
This place has online ordering!
LikeLike
Thank you! Sent that off to the man with the credit card 🙂 I never buy anything!
LikeLike
Glad to be of service for all your international gel-medium needs! I don’t even know if that’s the closest or the cheapest. That’s just what came up when I googled art supply stores near Galway.
LikeLike
I found some in Castlebar! Today! And I bought it! And some Derwent Inktastic pencils, because they are way cool. Shop-dude have me three free samples of stuff, too! I’m all giddy 🙂
LikeLike
Oooh, free shit’s good shit! I’m jealous!
LikeLike
Hmm. When wet they look great (I did three on a piece of board as a test), but when they dry they turn all white with leftover paper. I can’t take more off, I’ve already rubbed through to the wood in a few places! If I coat the top with the same stuff, will that bring back the clarity, do you think?
LikeLike
Sometimes the paper doesn’t come off all the way, though I have found that on the third or fourth try if you use just your fingertips you can pull off some more. I have found that a nice glossy finish (you can use the gel medium but you can also use any other kind of sealer/topcoat) will return it to that “wet look” and it will be fine. You’ll want to seal it anyway so it all works out!
LikeLike
I did just use my fingers – of course I’m probably all callused from the work I do and might be too rough. This is why I am testing! I don’t have much in the way of supplies. Probably only have matte goop that is 15 years old, if anything!
I’m going to try on a tile next, not a glossy-smooth one. That one might be a keeper if it works out!
LikeLike
Maybe try it with a piece of flannel.
And if you don’t have any goop then give it a shot with the medium – my only worry is that it’ll come out all textured, just because that’s what the medium is supposed to do …
I want to see these tiles of which you speak when you’re done!
LikeLike
wow! you’re so artsy and graceful in doing your work! ❤
LikeLike