
My mother is an artist and as such has a lot of artist friends. When I was a kid, a couple of them ran various art schools and camps and to show support, my mother sent me. I have very little artistic skill, but I loved the camps, because I got to learn new techniques and work with my hands. I especially loved working with clay. I once made a beautiful pistol replica (I was a weird kid) but it blew up in the kiln so I never saw the fruits of my effort. My lack of skill hasn’t stopped me in the years since, and when I saw these beautiful dishes from Urban Comfort, I thought, “I can do that!” So I did.
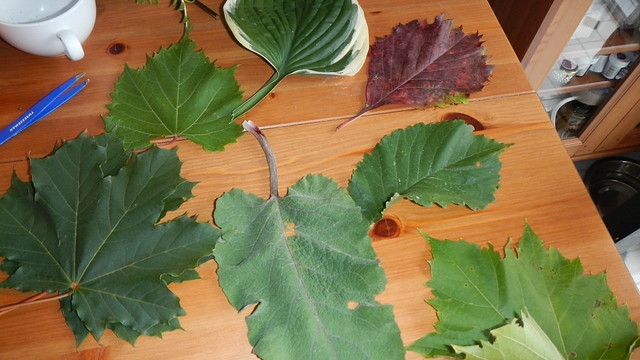
First, you need to gather yourself some leaves. Go for the fresh ones, as they’ll be the most flexible. In these sorts of projects everyone seems to go for the beautiful fig leaves and things like that. Well, figs don’t grow in this Arctic wasteland. So I went with what was available: various forms of maple (it is Canada, after all), some ornamental grapes, random roadside vegetation … What ended up working the best, however, in terms of creating easy dishes, was from my own backyard: hostas, nasturtiums, and the gorgeous morning glory that has been tumbling over my fence all summer.
Then grab yourself some air-dry clay (this means you don’t have to shove it in a kiln, though if you have access to a kiln, you should probably use it for these as it will make them much more durable). I picked up a 5kg block of it for $17.49 at DeSerres (actually, I had a gift card, so it was FREE).
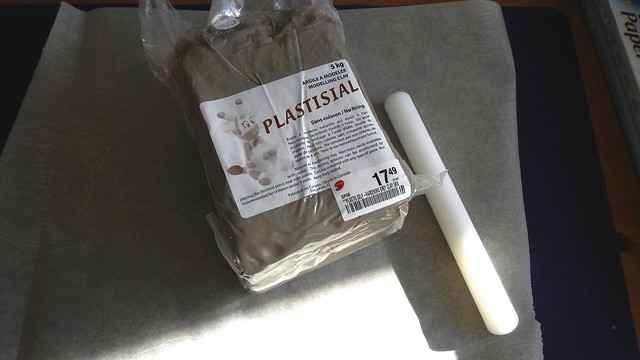
Grab a hunk of it and roll it out to your desired thickness. I used a fondant roller to get a smooth surface. The leaves look better in clay about 2mm (~1/8″) thick, but that makes it much more fragile to handle, so you probably want to aim for around 5-7mm (~1/4″). I use this Kitchenaid silicone mat as a work surface for anything non-toxic, including pies. It’s amazing and portable and easy to clean.
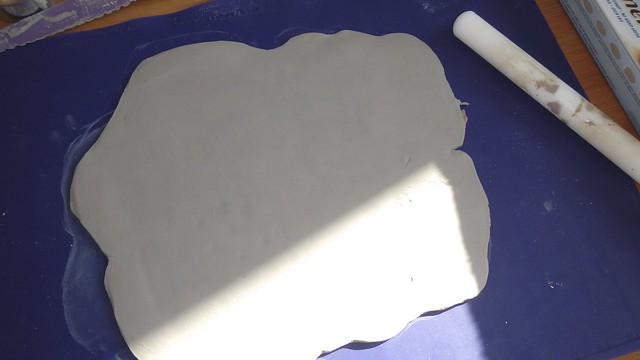
Now, I did find that if I went straight to leaf pressing and cutting from this stage, my clay was too firmly stuck to the surface to get a good result.
Accordingly, I carefully peeled the clay sheet off the mat and flipped it onto a piece of parchment paper and went from there. It was just easier and made sure both sides of the sheet of clay were smooth.
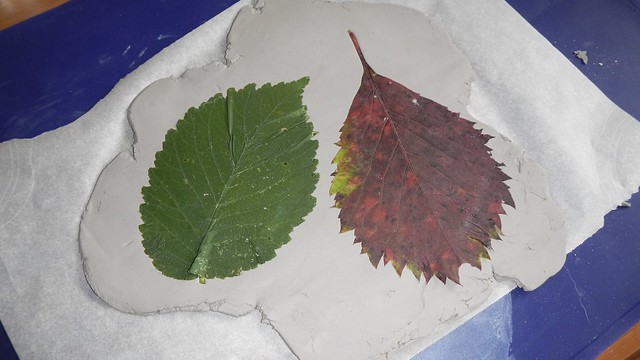
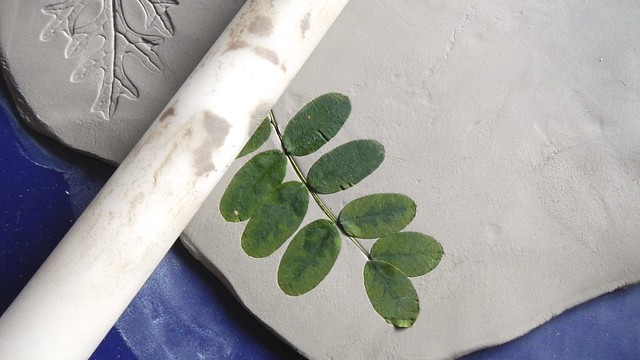
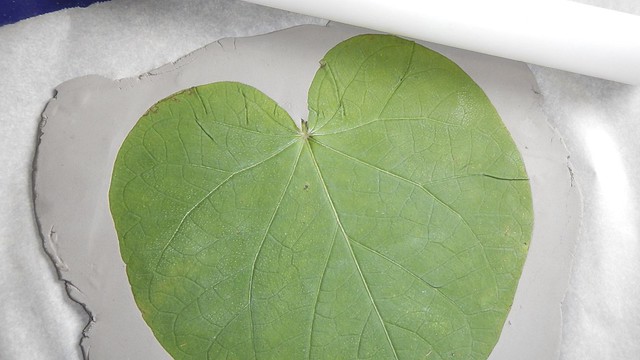
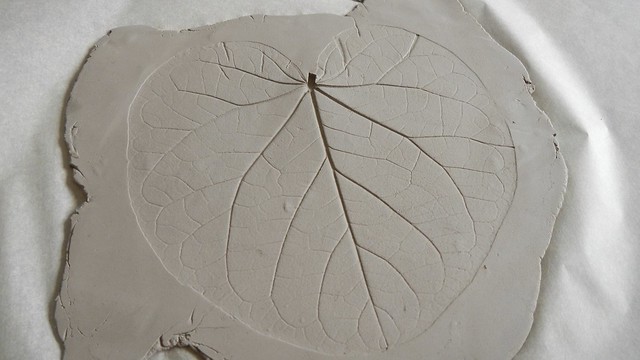
Then you grab your leaves and flatten them into your clay. I used the fondant roller again to get them in there nice and good.
These ones I am not turning into dishes – I just wanted to see what effect they would create.
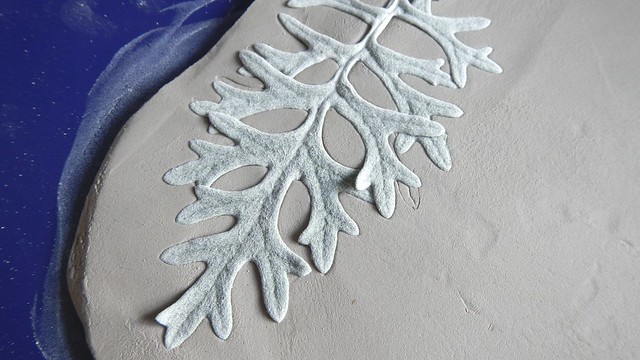
It’s neat.
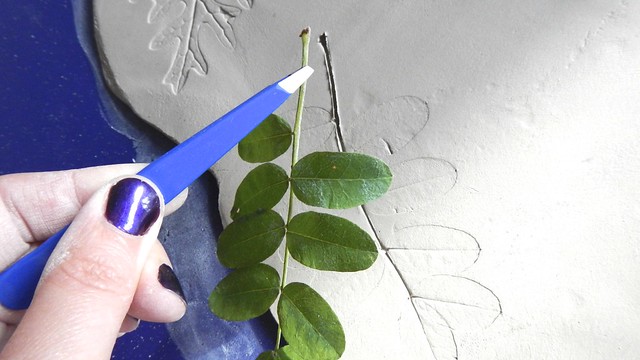
Use tweezers to get tricky ones out of the clay and pick out any stray bits of debris.
You will have some folds and wrinkles in your leaf, just because it’s hard to press something flat that isn’t naturally flat. But don’t freak out – it just adds to the texture.
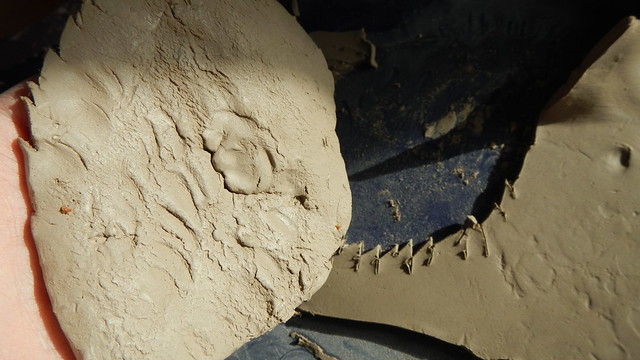
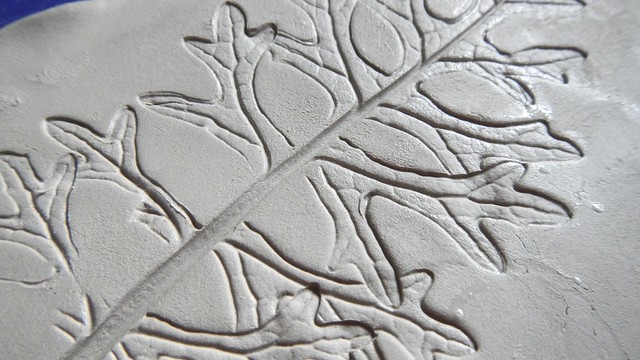
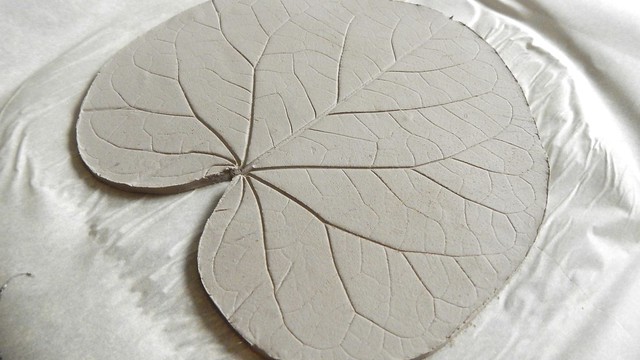
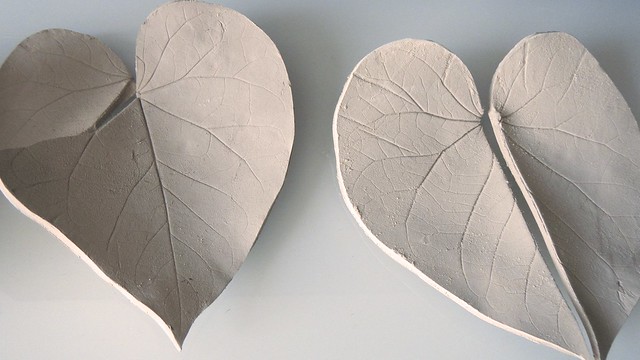
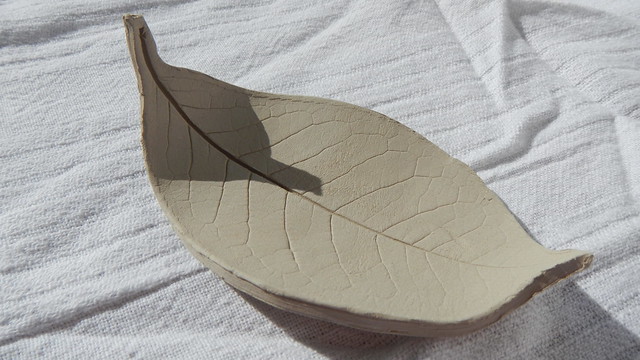
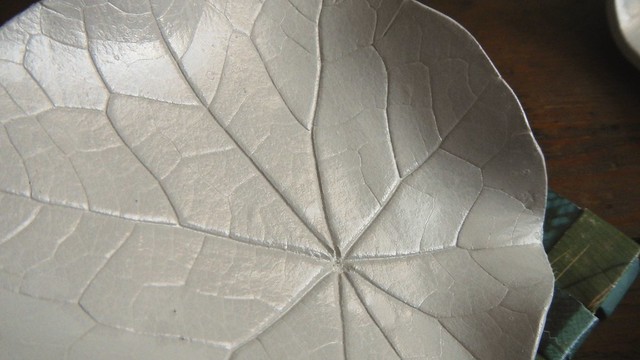
Once you’ve gotten your leaf carefully removed you end up with this lovely impression, veins and blemishes and all.
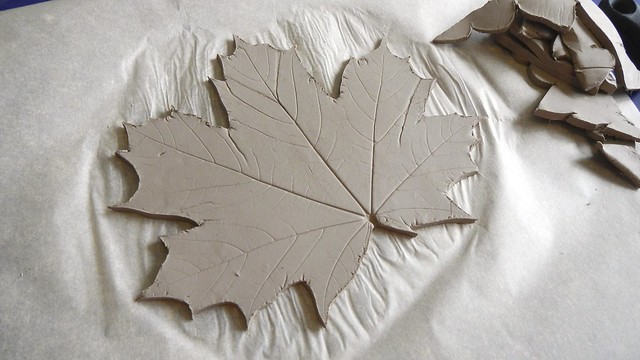
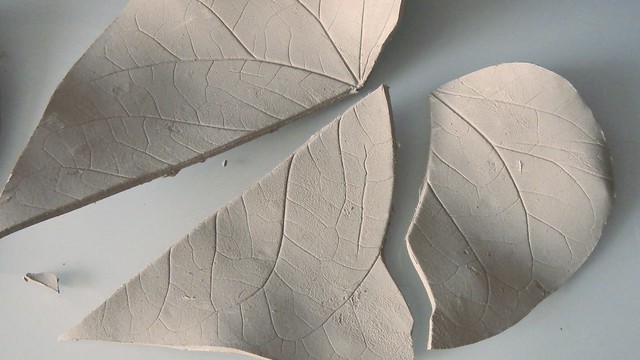
Use the tip of a small sharp knife (Xacto, paring, whatever) to cut along the edge of the leaf and carefully peel away the excess clay.
This was way easier to do with round leaves than with the pointy ones, as you can see, and the round ones made better dishes anyway.
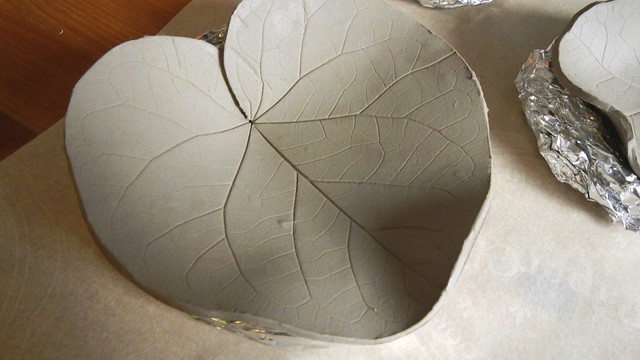
Make a little ring out of aluminum foil and pick up your clay leaf. Bend the leaf into a more natural shape (which it will want to do anyway) and set it inside the ring to dry. Feel free to play with curling the edges up and down, in the way that the leaf would do in nature. I left mine to dry overnight, then I flipped them over (with support) to dry on the bottom for another night.
Now you’re done! It’s up to you what you do with them next. They’re pretty fragile still, so nothing hardcore. My biggest morning glory ones broke along their vein fault lines just from picking them up wrong.
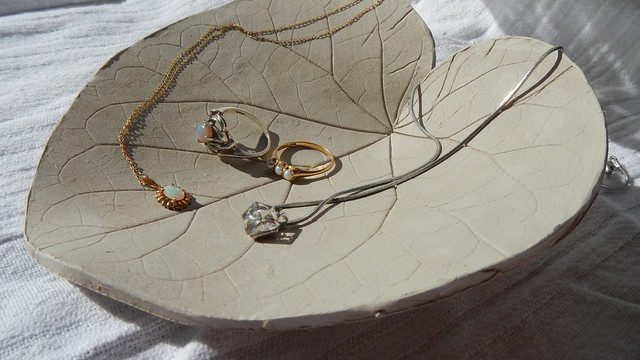
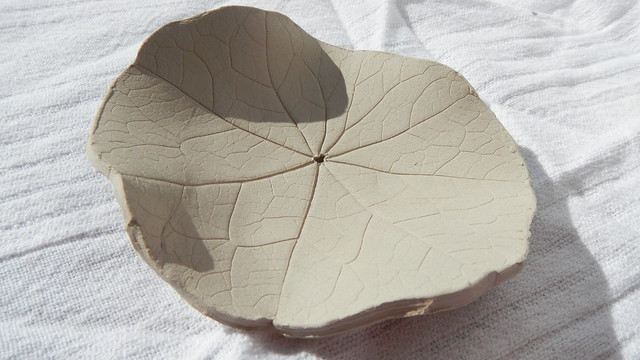
But they make pretty neat little dishes for small items, such as jewelry.
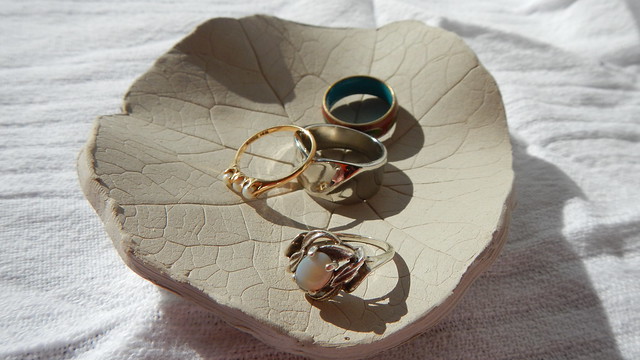
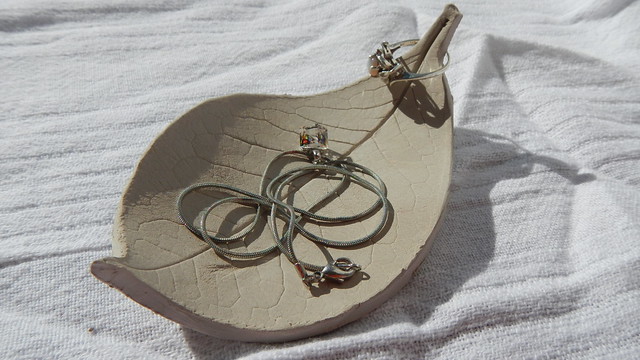
This leaf with a stem makes a nice holder for rings.
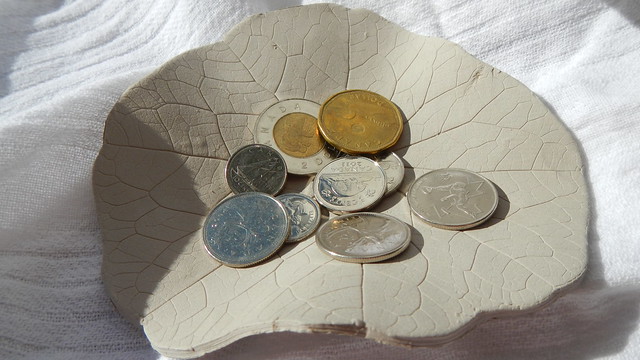
The larger nasturtiums make neat bowls for pocket change. In Canada we recently got rid of our penny, but with both our $1 and $2 denominations in coin, we still have plenty of change kicking around!
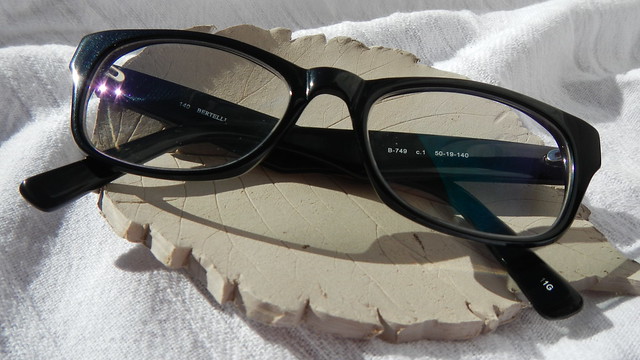
And these grape leaves make a good place to keep your spectacles, if you’re the type of person who forgets where you put them.
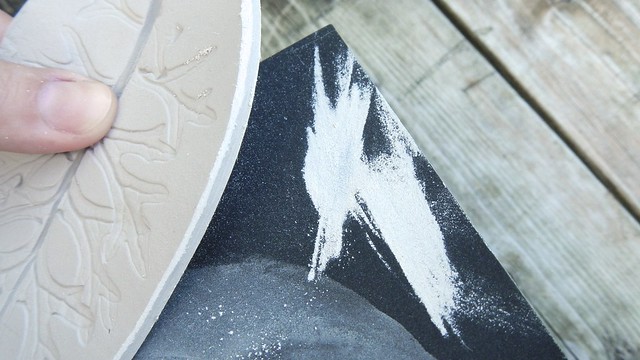
Because the clay is uncured, it tends to scrape off and leave a residue, so I wanted to finish them off a bit. I used an ultra-fine sandpaper to smooth off the edges of each dish. Make sure you do this outside in a well-ventilated area. Not only does the clay dust get everywhere, but you’re also likely to inhale a bunch of it if you’re not careful. Dust off each piece completely before you do anything else. Compressed air is handy for this, but make sure to do it outside.
I then painted each piece with an outdoor satin sealer that adhered pretty well to the clay surface. I like the soft shininess of it and the fact that it didn’t sink into the porous clay and discolour it.
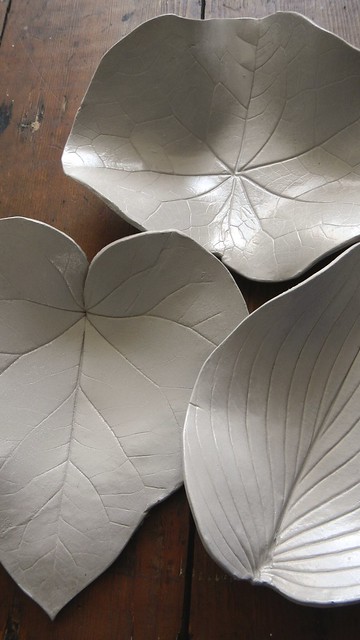
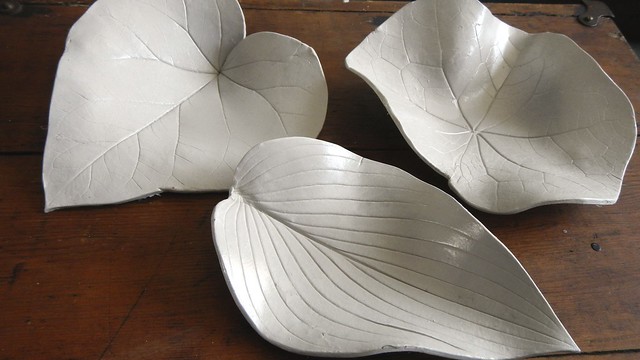
Some of the finished dishes. The one on the left is my favourite, because it’s so thin and delicate. I’m betting good money that whomever I give it to will break it within a week, and it won’t even be that person’s fault.

And some of the bigger ones. I made so many that pretty much everyone on my gift list is getting at least one. And because of that handy gift certificate, this cost me nothing but time!

Great work! Congrats 🙂 Do some more.
LikeLike
Working on it – just for you! 🙂
LikeLike
What a lovely idea, they are beautiful!
LikeLike
Reblogged this on VIVIMETALIUN.
LikeLike
Sooooo beautiful!
LikeLike
Reblogged this on The Happybubbles's Bubble.
LikeLike
This one is on my To Do List… I’ve seen something similar using concrete, but I love this air dry clay option better.. Thanking you kindly for posting this Art Of Beauty… Take care & Happy blogging to ya….
LikeLike
Thanks, and you’re welcome!
LikeLiked by 1 person
I looooooooove the huge leaf ones!
Too bad about the broken ones though… those are particularly beautiful looking.
LikeLike
Yeah I think I might try this again with an oven bake polymer like Sculpey at some point. It will be way pricier and harder to leave a good impression, but after baking it’s a much stronger material and it might work for these bigger ones.
LikeLike
I had the exact same thought about polymer 🙂
LikeLike
Yeah, I think it’s worth a shot. My only misgiving is that I did something else with leaf impressions on polymer (stay tuned!) and it definitely didn’t come up as detailed. 😦
LikeLike
Beautiful work!
LikeLike
Reblogged this on undilutedfacts's Blog and commented:
amazing……
LikeLike
Beautiful! Fantastic! Sharing with my arty daughter 🙂
LikeLike
I love these! SO pretty!
LikeLike
What a unique idea. Love it!
LikeLike
These are so neat! I am going to have to try this! 🙂
LikeLike
These would make great presents. I wonder how the clay take to painting? Love them!
LikeLike
You might have to do two coats because it might sink in, but give it a shot!
LikeLike
Lovely! I made a tile once with fern leaves, glazed and kiln-fired it. Sadly it curled up at the edges so it’s only suitable to put a plant-pot on. Lucky me I have oodles of plants!
LikeLike
You SURRRRE do!
LikeLike
I wonder if I can do this with some homemade play dough that I have left over after a babysitting stint.
LikeLike
You could try!
LikeLike