
I have been wanting to try this for YEARS, ever since I saw it on Make It … a Wonderful Life. I don’t exactly know why it is that I haven’t made any yet — but now is my chance. With the new place we have an excess of blank wall space and the Pie and I were both raised to believe that a) if you can see the colour of your walls you don’t have enough art on them; and b) there is no such thing as “enough” art.
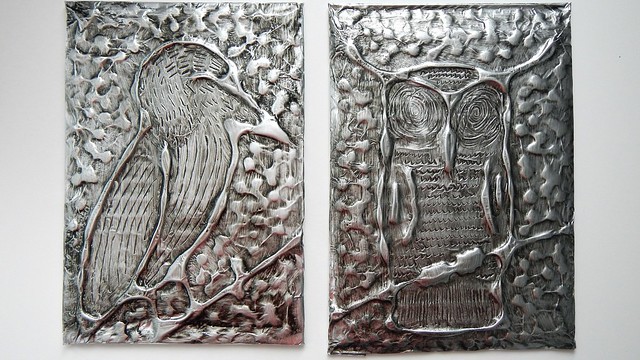
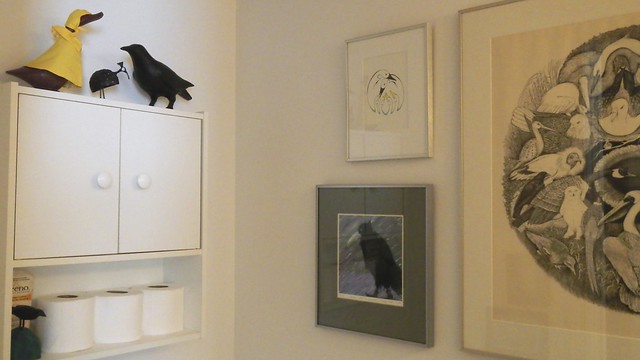
In our lower bathroom we have kind of an avian theme going on, so I thought I’d continue it while trying out this nifty craft. Make It … designed it to be a craft for school kids to learn different techniques, but I’ve taken out a few steps for us silly adults who have trouble following instructions.
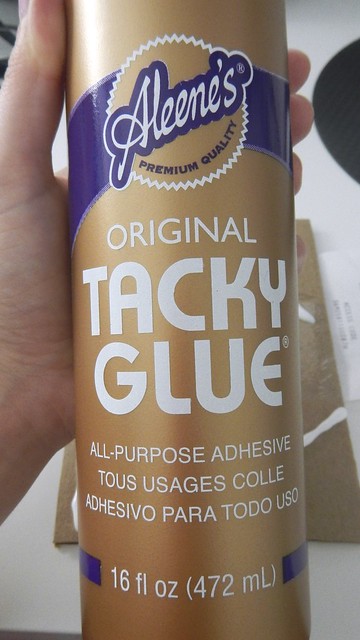
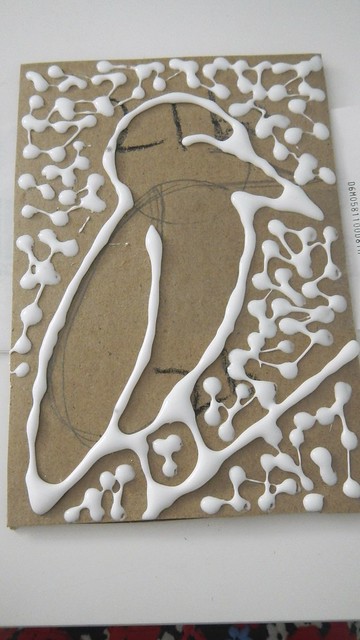
Start with a piece of cardboard the size and shape you want your finished piece to be. Draw a simple design onto the cardboard with a pencil or marker, and by simple I mean really simple. Big lines and grand shapes only. You can get fancy and detailed later. Now trace those lines with Tacky Glue.
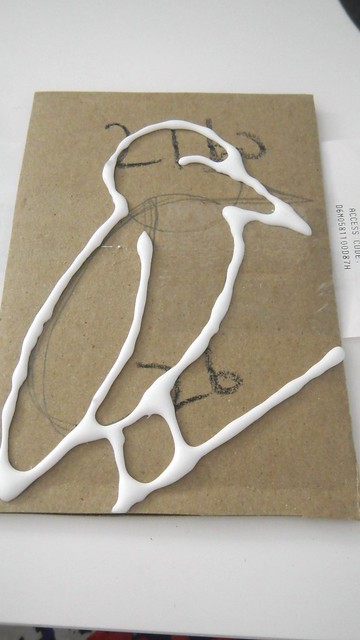
I actually prefer the brand name glue for this, as it’s the only white glue I can find that dries in the same thick lines in which you lay it down.
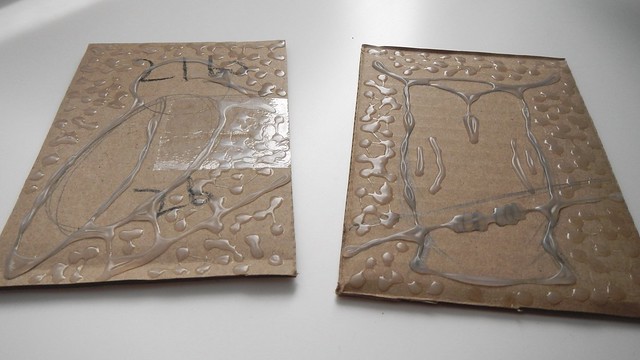
Anyway, once you’ve got all the lines traced, and filled in everything you want to, set that somewhere to dry completely, probably overnight.
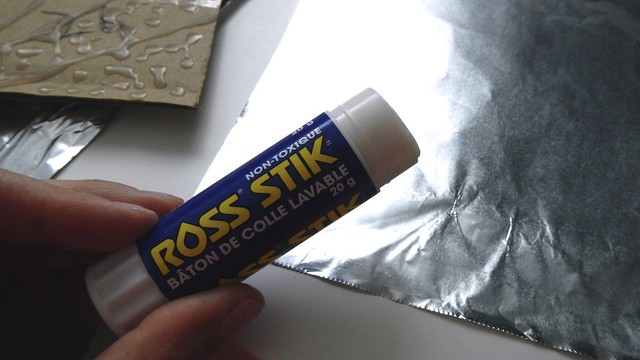
When it’s all ready to go, grab a piece of aluminum foil just slightly larger than the piece of cardboard and cover one side (shiny or dull, it’s your choice) with a glue stick (you have to use a glue stick or it will show through the foil).
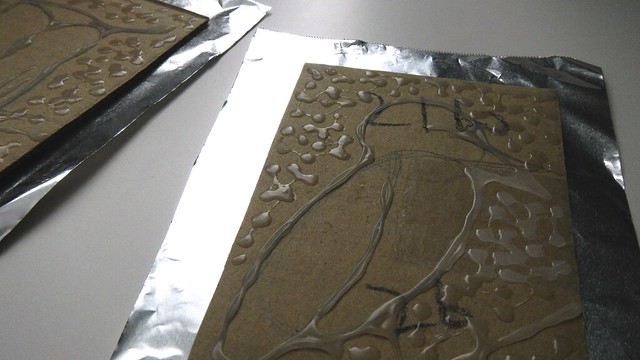
Be generous with the glue stick, and go over the foil a couple times with it. On my first one I didn’t use enough and had trouble sticking it down.
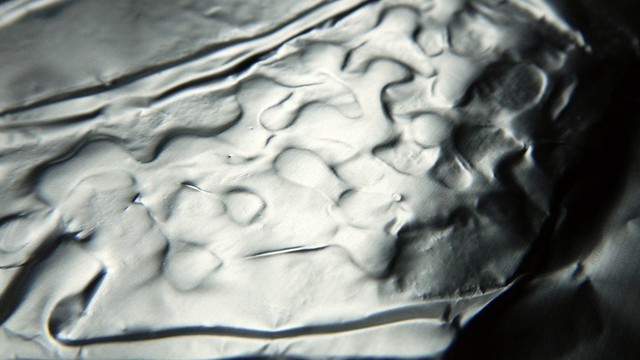
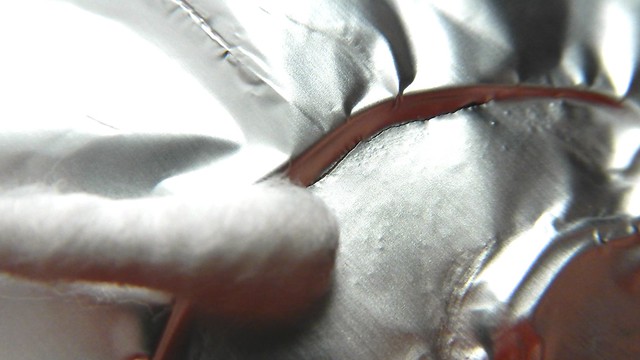
Press the foil, glue side down, over your design. It’s best to start from the centre and work your way out. Press the foil against the glue lines. You can rub them in gently with a paper towel wrapped over your finger and use a cotton swab to gently press the foil close against the glue lines so everything is tight.
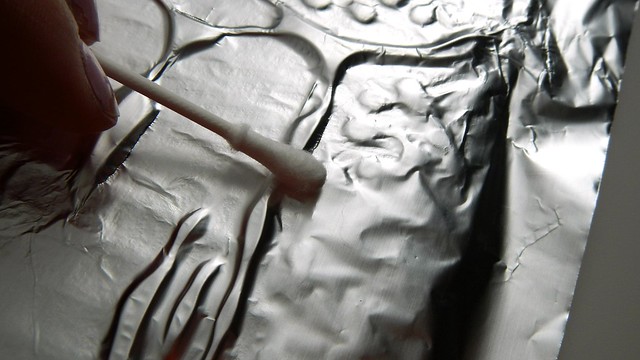
You may get rips, just because the foil is too tight. But don’t fret — they’ll be camouflaged later.
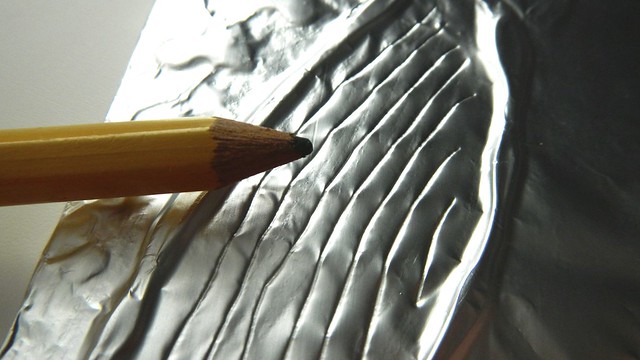
Now, if you like, you can take a dull pencil and start drawing in patterns in the blank spaces between the glue lines.
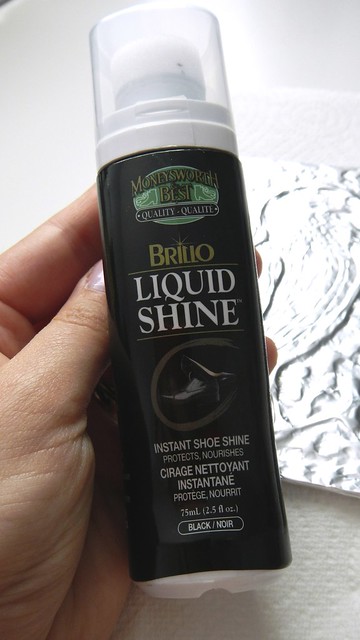
When you’ve decorated to your liking, take some black shoe polish and give the whole thing a once-over, getting the polish into all those little lines you made.
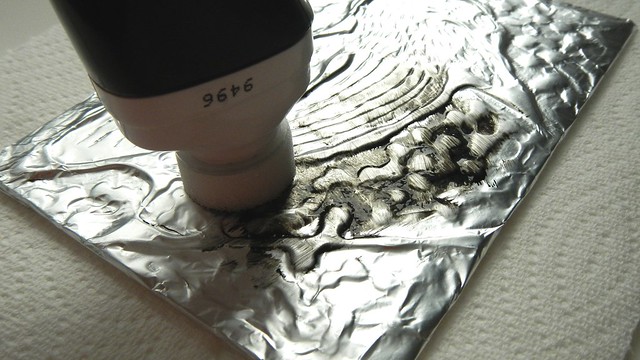
Make It … recommends the sponge-applicator shoe polish for ease of use, so that’s what I did.
Leave it for a moment and then gently buff it off with paper towel.
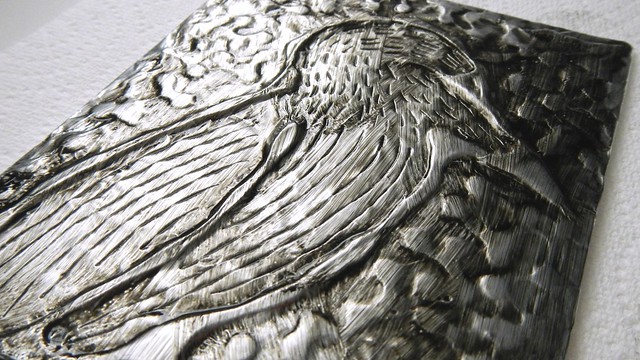
It leaves a lovely silvery patina and makes the whole thing look really cool.
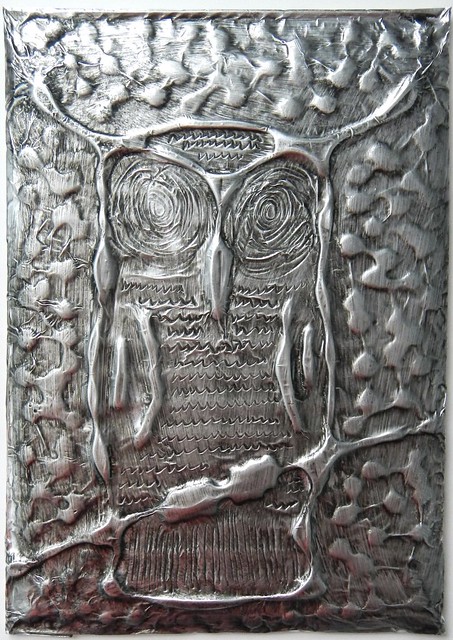
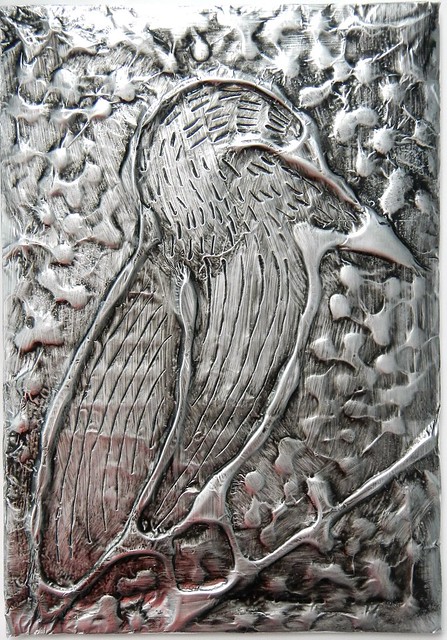
I stuck these to the boring bathroom cabinet to jazz things up a bit.


nice!!!!!!!!!
LikeLike
Cool! I love it!
LikeLike
Wow they turned out amazing! Going to give these a shot I think .. Thanks for sharing!
LikeLike
Wow – I think I could do that!!
LikeLike
You totally could!
LikeLike
AMAZING! I really love this one!
LikeLike
Thanks! I really wish I could draw better and do better things. I want to do something large scale but you might be limited by the width of the tin foil …
LikeLike
Wow!!! These look amazing! What a great idea! I absolutely love it!!!
LikeLike
What! This is amazing!!
LikeLike
I love this technique! I wonder if it’d be easier to do something with a little bit more detail if cornstarch was added to the glue to thicken it up a little bit. Cool project idea!
LikeLike
You could definitely try it. I think though if you have too much of a relief (i.e. the glue is too high) then the foil will rip more…
LikeLike
Adorable, something I must try! 🙂 Thanks for sharing. 🙂
LikeLike
Go for it!
LikeLike
I am no artist but I think I might be able to give this a go! It looks great.
LikeLike
It’s so easy!
LikeLike
it’s fantastic, and amazing,bravo,I must try that ist’s so beautiful,
LikeLike
I can’t wait to try this, yours came out great! I already have all the supplies around the house, I love when that happens!
LikeLike
Haha me too!
LikeLike
Wow!!! they look amazing!!! I’m definitely going to try it sometime!!!!
LikeLike
This is really cool and so simple! Thanks.
LikeLike
Unbelievable! Such simple materials. You are very talented.
LikeLike
Aw shucks! Thanks!
LikeLike
Reblogged this on leahlou30 and commented:
I am going to do this in my flat! This is amazing!!!
LikeLike
Frig man! AMAZING.
LikeLike
I really really love this idea. So simple and yet so effective!
LikeLike