
Cait and I decided to get up to shenanigans on Monday night and so this is what we did: we tie-dyed Easter eggs. Not “tie” like TIEd into knots (though you do that), but “tie” as in, dyed using a neckTIE. Yes. Neat, huh?
So what you need to do is go through your tie collection or go to your local thrift store and pick up some silk ties (I used 8 ties).
There will be a tag on the skinny end of the tie that will tell you if it’s silk or not. You can also do this with silk scarves, but I couldn’t find any at the thrift store that were 100% silk.

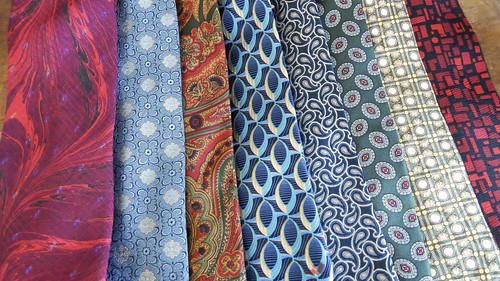
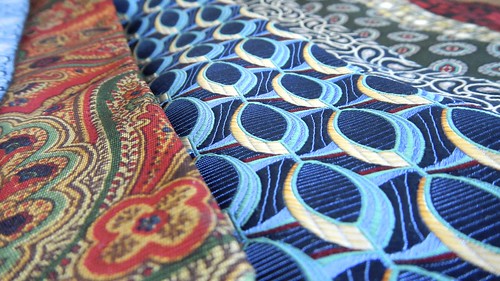
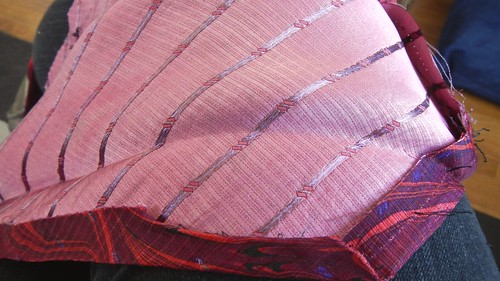
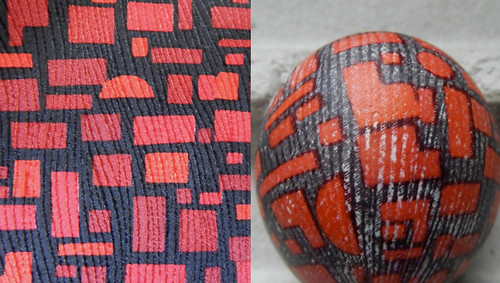
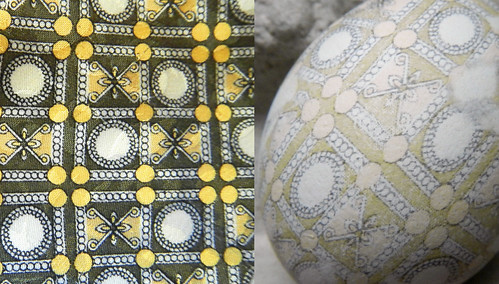
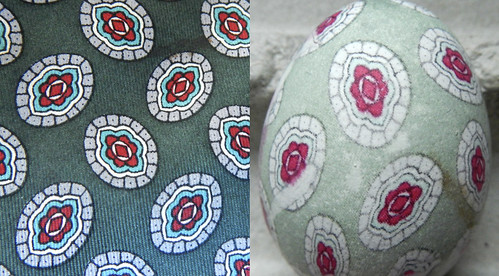
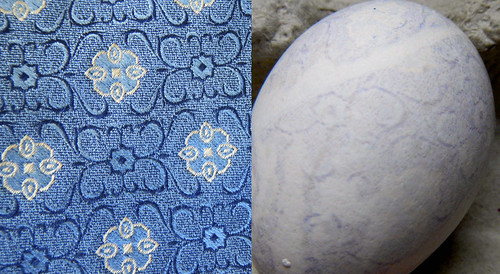
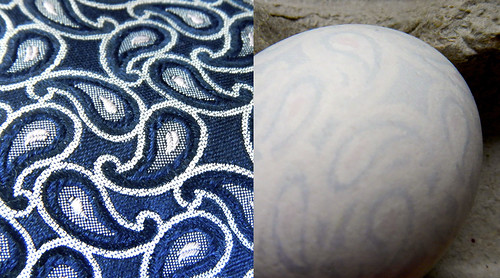
Having done this project now, I’m going to tell you to look for ties that are made of printed or painted silk, like this:
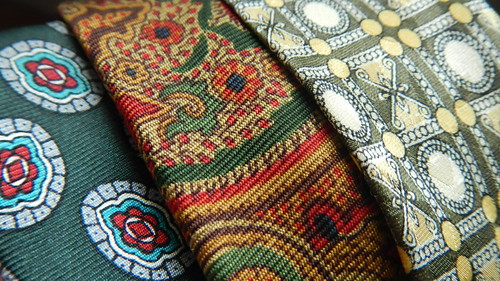
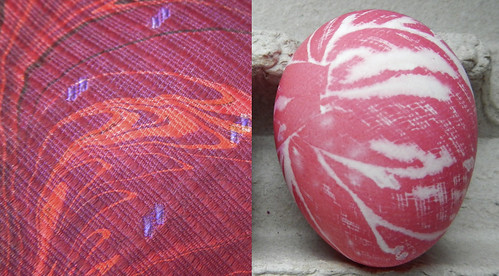
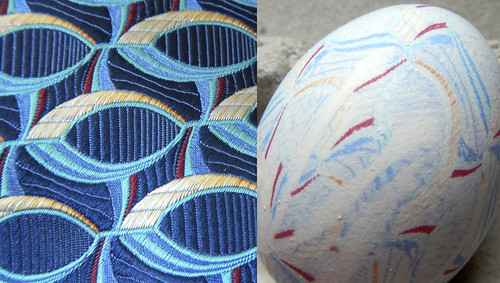
And to avoid jacquard-like woven silks, like these:
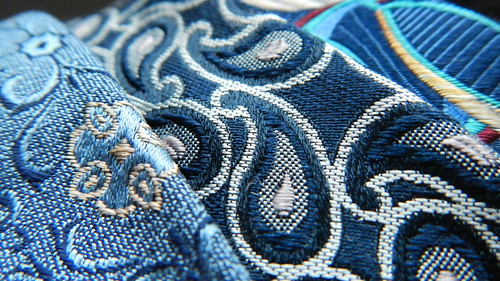
I’ll show you why later on.
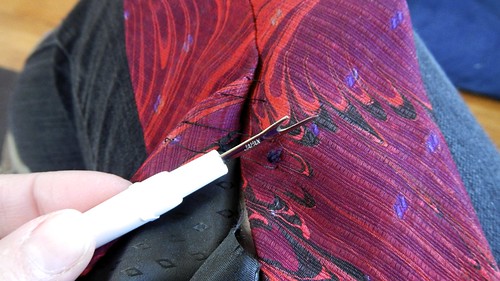
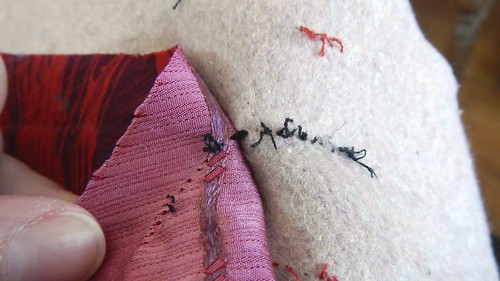
Then you will need to dismantle the ties, removing the satin lining and the foam or fabric insert. Ties are not sewn in a particularly sturdy manner, so it won’t take you long.

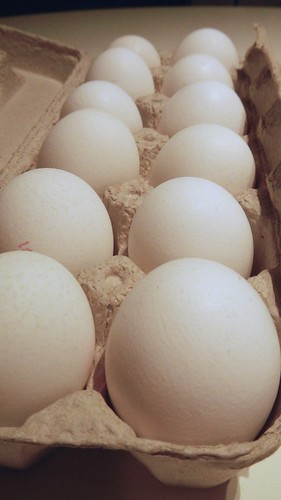
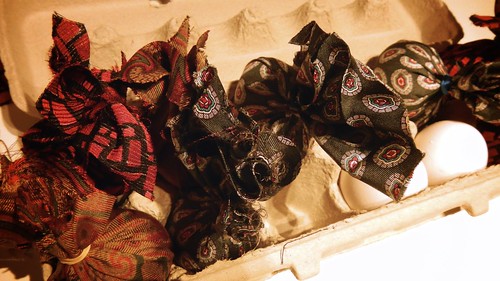
Now you need some eggs. We used 2 dozen white eggs. You don’t have to use white ones, but the colour will transfer best to white. With 24 eggs and 8 ties, we planned to have 3 eggs of each pattern.
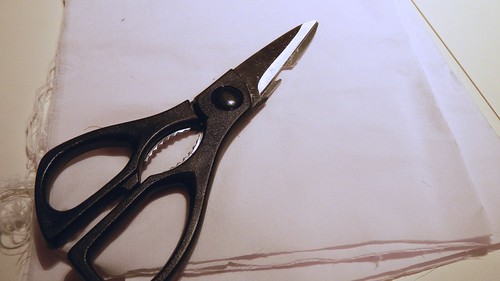
Cut a segment off your tie that will wrap completely around your egg.
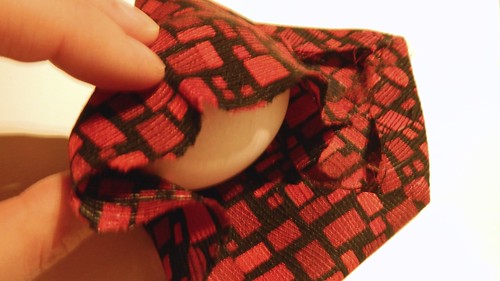
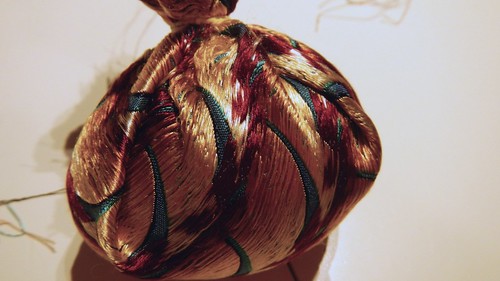
Wrap the fabric tightly around the egg (you can do it at any angle, but just remember that the smoothest side of the fabric is the part of the egg where the print will be the best) and fasten the tail with a rubber band. Make sure to do it so the “right side” of the fabric is touching the shell of the egg. I kept messing this up and Cait kept yelling at me. She’s tiny but mean.
Do this with all your eggs. We adjusted the angle at which we tied on the fabric, because we were going to display our eggs all higgledy-piggledy in a bowl. If you’re going to display your eggs in cups or something organized, you might want to consider tying them all the same way.
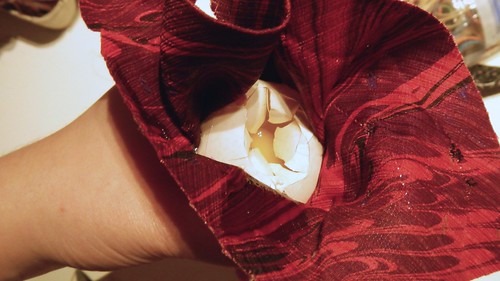
This is one of the jacquard ties. Much harder to get the fabric close to the egg.
After explaining to Cait that the egg was one of the structurally strongest shapes in the world, I promptly put my thumb through it.
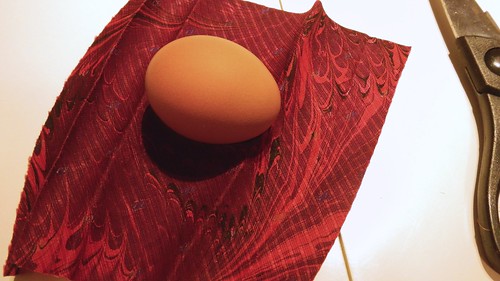
Because we were now out of white eggs, we replaced it with a brown one as a scientific experiment. It’s actually frightening that one of our most oft-uttered phrases to each other is “For SCIENCE!”
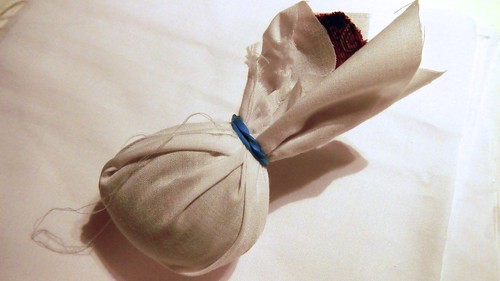
Once you’ve got all your eggs wrapped in tie scraps, you need to find some white or plain pastel cotton or muslin or similar scrap fabric. Old pillowcases work pretty well.
Cut the fabric into slightly larger pieces than you cut the ties. Wrap the muslin around the egg and fasten it with another elastic over the previous fabric tail.
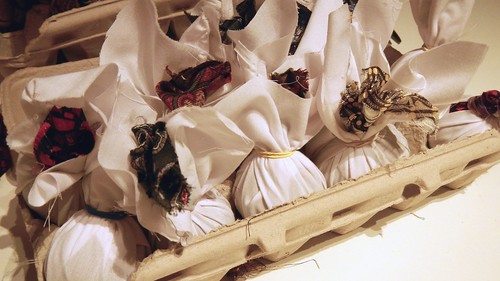
This is definitely a time consuming job.
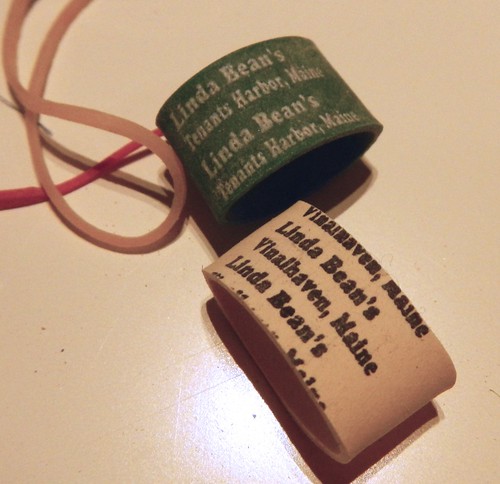
We were, however, entertained by our rubber bands. I picked up a bag at Dollarama, and I guess they got the rejects from various other manufacturers.
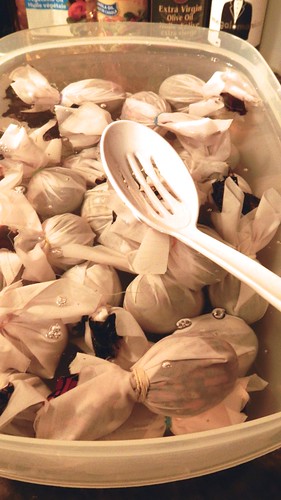
Plop your eggs in a large pot and cover with water so they’ve got about 2″ of water above them. Add in a cup or two of white vinegar, depending on how many eggs you’re doing. For 24 eggs we used 2 cups white vinegar.
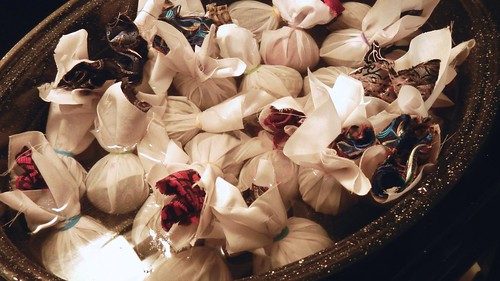
Bring that to a boil and let simmer for 20 minutes. When it’s done, scoop out the eggs into a bowl of cool water so they chill out faster.
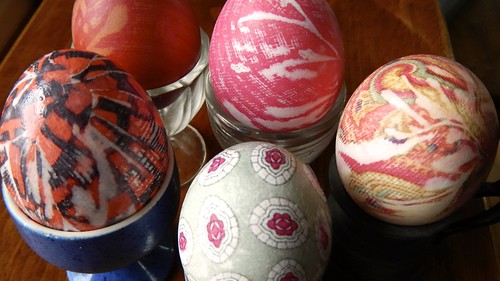
Carefully unwrap the eggs and store them in the fridge if you’re planning on eating them. They tend to look a little sharper if you rub them with a little bit of vegetable oil to get a nice shine.
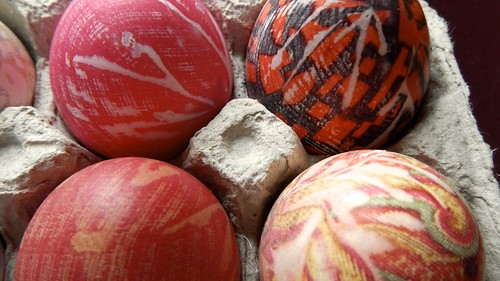
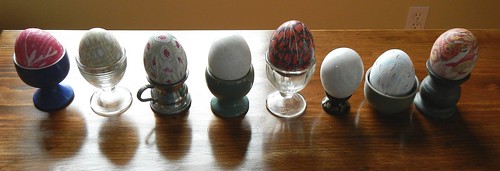
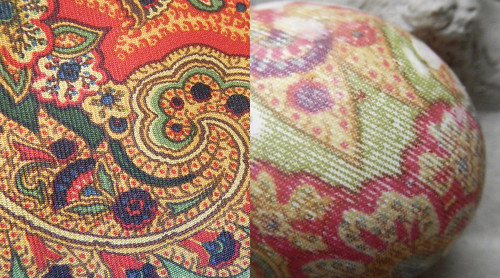
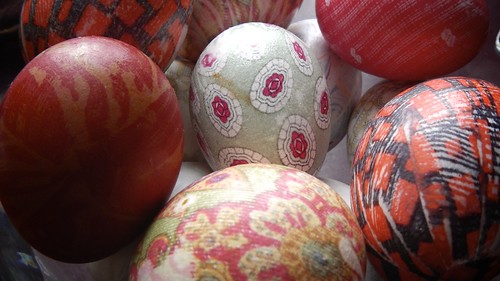
Here are the eggs, next to their various tie patterns. You can see that the jacquard ties (at the end) didn’t come out half as bright as we thought.
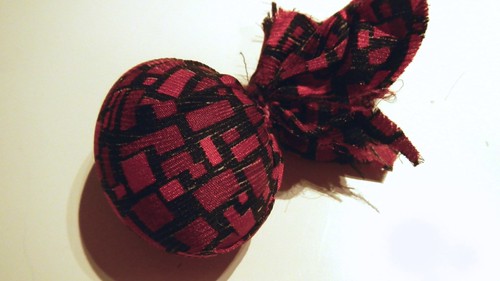
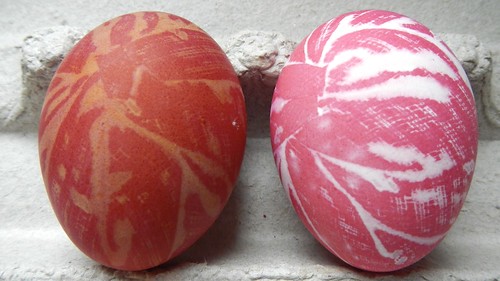
And here is the brown egg!
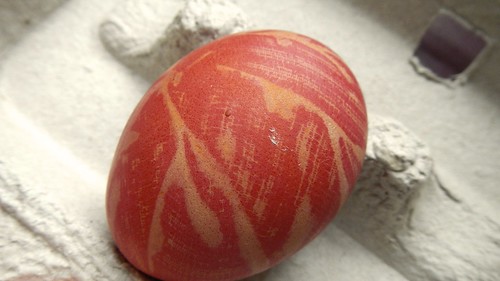
I think it looks really neat with the red. Here it is next to its white counterpart, for comparison.

What a great idea! Love it, off to raid the hubby’s wardrobe 😉
LikeLike
Love the idea and can’t wait to try it!
LikeLike
Reblogged this on Glenda the Good Foodie and commented:
Easter is just around the corner
LikeLike
amazing idea, they look brilliant. I wouldnt want to crack them! 🙂
LikeLike
That is so stinking cool!!!
LikeLike
RIGHT?
LikeLike
SO. COOL. Where did you get this idea? They are almost to pretty to eat! Do you think that, if you emptied out the egg with a pin and just used the shell, it would be too fragile?
LikeLike
I’m sure you can do it with an empty egg. You just have to be careful where you apply the pressure!
LikeLike
What a great idea! They came out beautifully. I wonder if there’s a way to do this with blown out eggs…
LikeLike
I’m sure you can do it, you just have to be a little more gentle with them.
LikeLike