
 Ten days ago (that would be 8 March 2011) was a very auspicious day. It was the 100th anniversary of International Women’s Day (go us!), and it was also Pancake Tuesday/Mardi Gras. AND. And. It was my birthday. I turned TWENTY-NINE. Holy smokes. That’s a prime number.
In honour of the occasion (and because I need to perfect my fondant for Chel‘s wedding cake in June), I made my own birthday cake.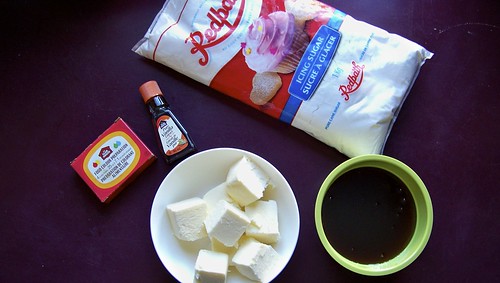
This is very loosely based on a cupcake the Pie and I made for our own wedding back in August 2009. The cupcake itself came from Susannah Blake’s Cupcake Heaven, but I think I’ve sufficiently changed this so I can call this recipe all my own.
Some of this stuff you can do ahead of time, like the fondant and the buttercream icing, and just put them in the fridge until you need them.
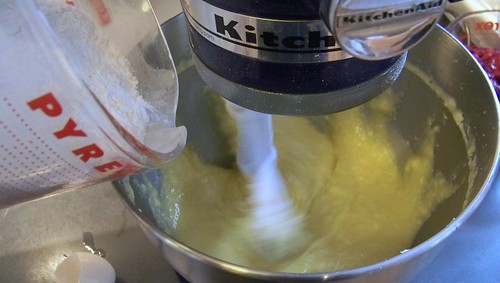
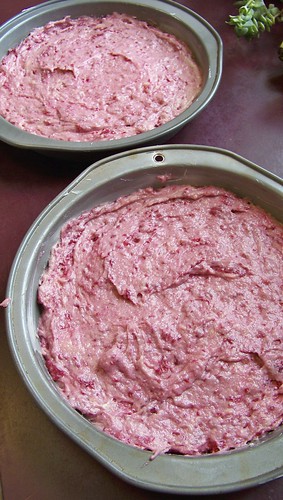
For the Cake:
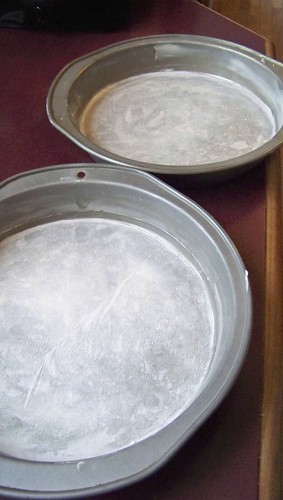

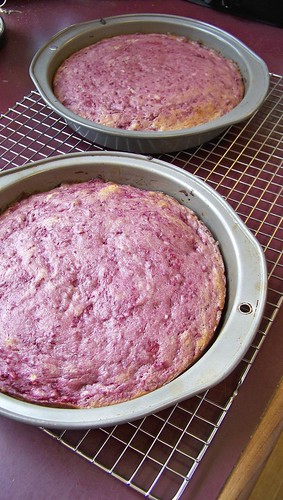
Remove the pans to racks to cool completely.
For the Fondant:
In the bowl of a stand mixer with the paddle attachment, whip together 3 teaspoons vanilla, 1 cup butter, softened but not melted, and 1 cup corn syrup. If you want your fondant to be white, use the light corn syrup, as the dark stuff I used gave the fondant a creamy complexion.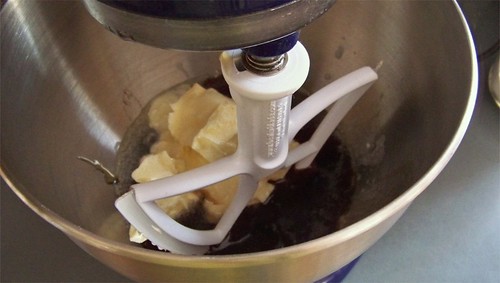
When the mixture is creamy and fluffy, reduce the speed to low and add 1kg icing sugar, a bit at a time. If you do it all at once, or if you do it on high, you will get a mushroom cloud of icing sugar everywhere.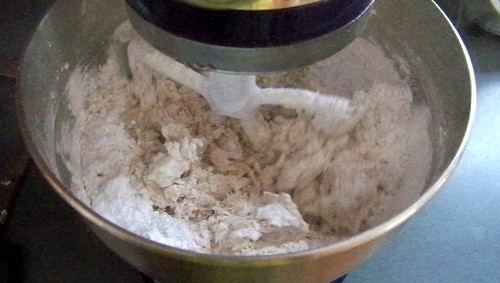
And it might even get on your dog.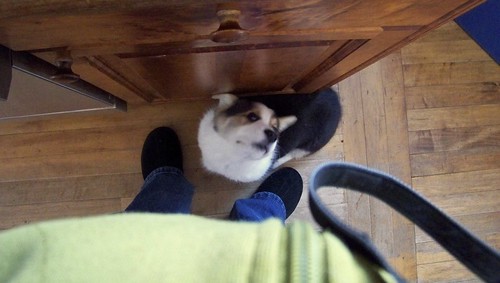
When it is all incorporated, you will have a large doughy mass. 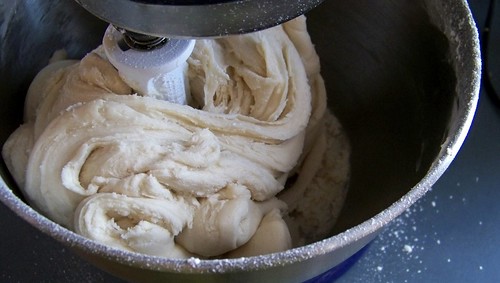
Tip it out onto some waxed paper and knead it into a ball. If your dough is too tacky you might find that you want to add more icing sugar. To do this simply dust a work surface with icing sugar and knead it in.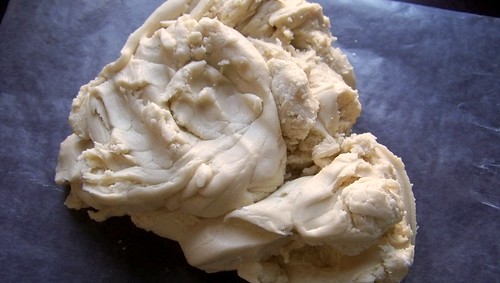
When the dough has reached the consistency that you are happy with (i.e., not sticky, but not so dry that it cracks), then you can colour it. It helps to wear gloves for this part.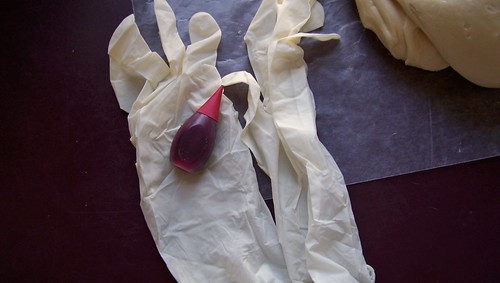
Spread a few drops of food colouring over your dough and knead them in until the colour is uniform. 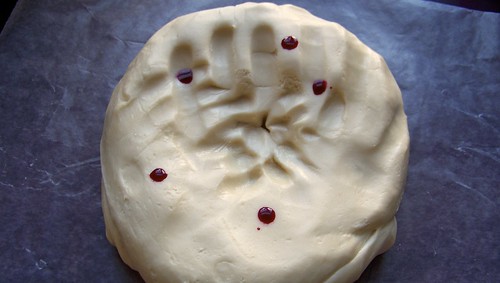
It will take a while to get it the colour you want it.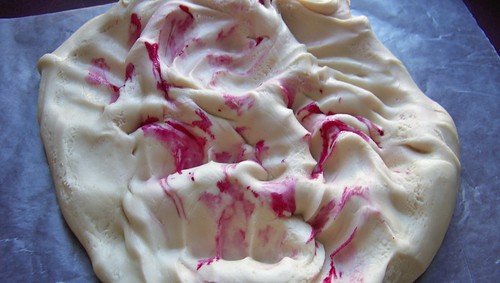
I was aiming for a pale pink but because of the yellowish tinge due to the dark corn syrup it came out more flesh coloured. Or at least, MY flesh colour.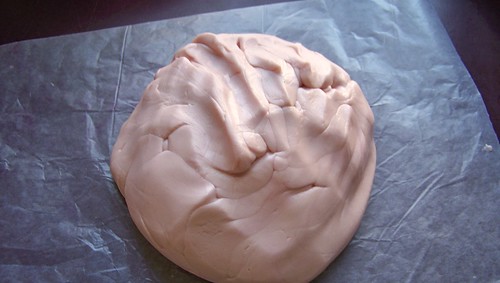
I pulled off an extra bit of the newly coloured dough here and added extra food colouring so it was a darker pink than the rest. 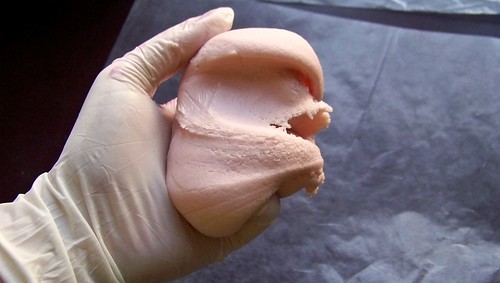
I will use this for the decoration part.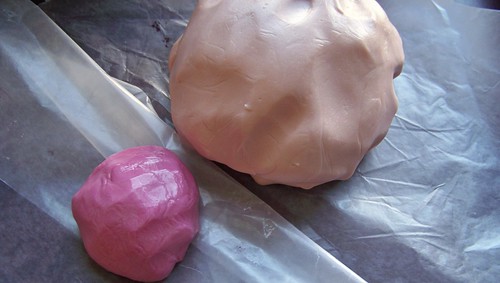
When you have kneaded to your satisfaction, wrap the dough tightly in waxed paper and seal it in an airtight container in the refrigerator until you need it.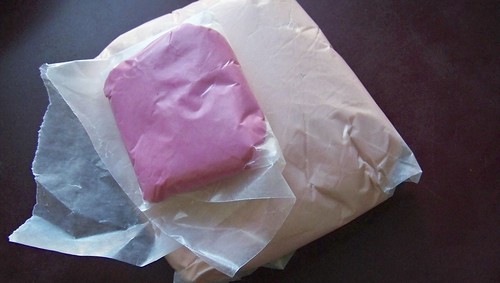
For the Buttercream Icing:
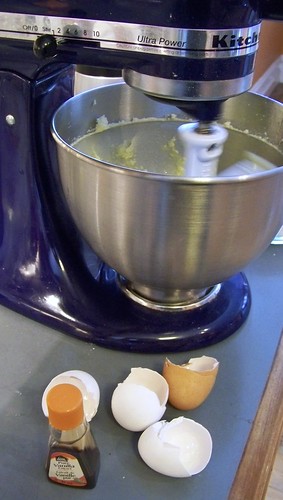
In a stand mixer, whip 2 cups softened butter until pale and fluffy. 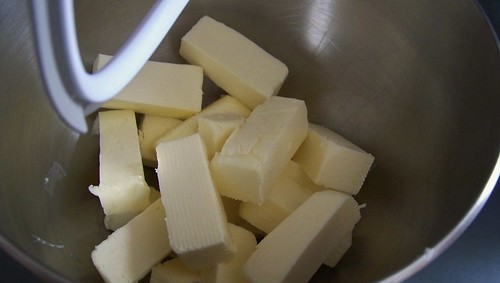
Beat in 2 cups icing sugar until you get soft peaks.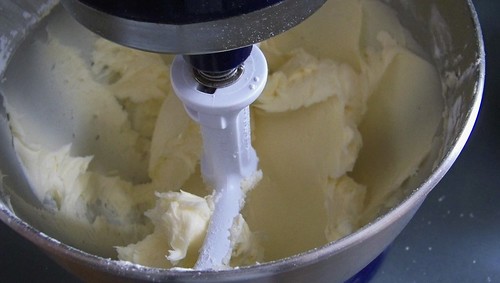
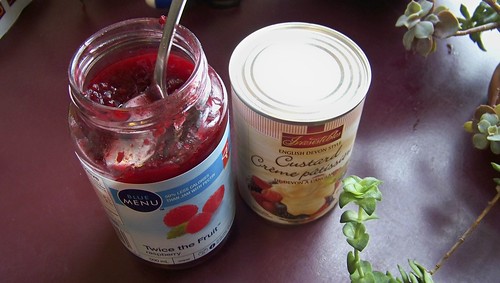
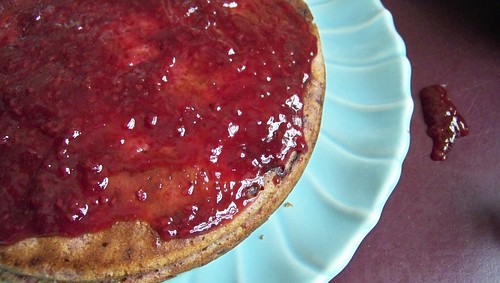
Add in 4 tablespoons raspberry jam.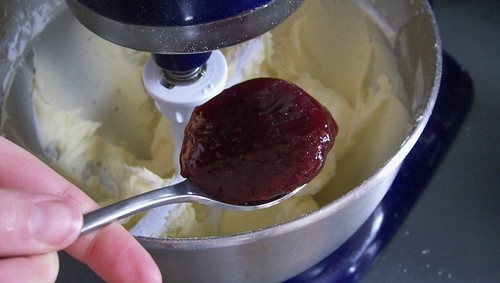
And that 1/2 cup reserved raspberry juice. 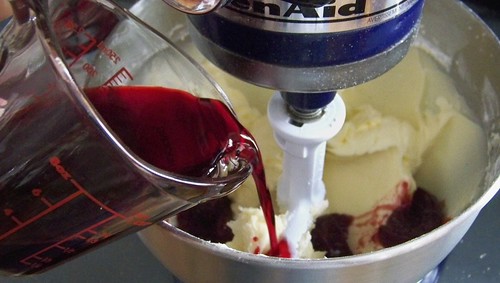
Mix well. It may be slightly grainy, but that’s okay for our purposes.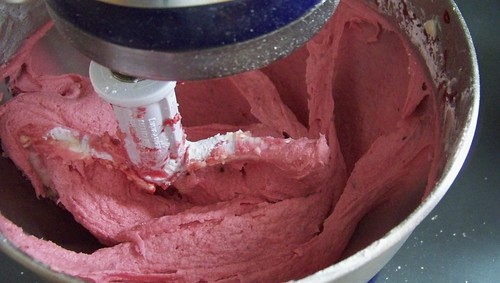
Plop the icing in the fridge until you are ready to use it.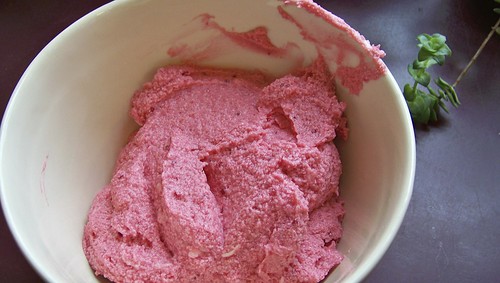
To Decorate:
Remove the icing and the fondant from the refrigerator and bring them to room temperature.
Tip out the cakes and peel off the parchment paper.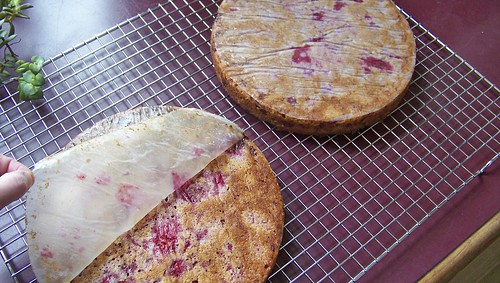
Slice off the round top of each cake, if you care about such things. I didn’t, because I wanted the top to be rounded slightly, and so I flipped one cake upside down and put the two flat sides together. Cut each cake in half horizontally.
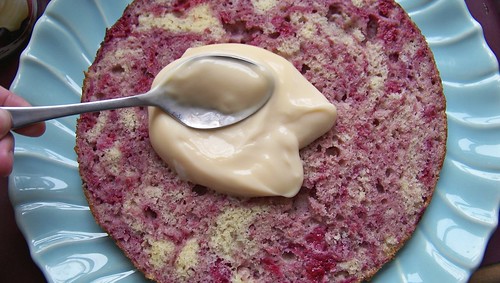
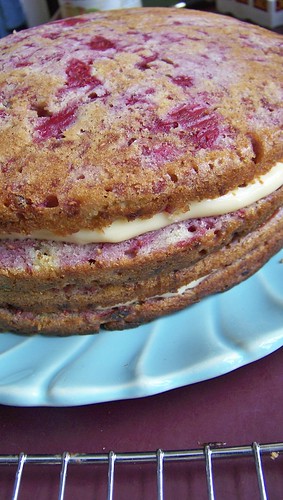
Spread a crumb coat of buttercream on your cake (just a thin layer to trap the crumbs) and place the cake in the refrigerator for 15 minutes until the icing has set. Remove the cake from the refrigerator and use the remaining buttercream to smooth out the surface. Chuck it in the refrigerator again until the second layer of icing is set.
While the cake is chilling, roll out your fondant on a surface dusted with icing sugar or corn starch. You will want to roll it to about 1/4″ thick. Any thinner and you will be able to see the flaws in the cake through it. Any thicker and you will have trouble stretching it properly. Make sure to take off your rings and watches while you do this so you don’t mar the fondant surface.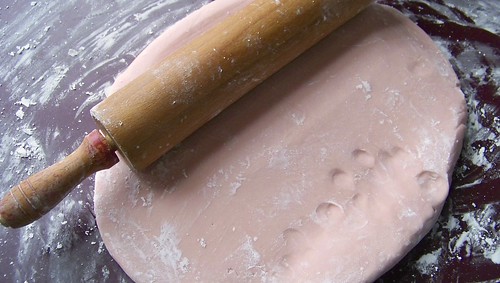
To determine the surface area you will be covering, measure the height and width of your cake. You will need to create a round surface of fondant that is a diameter of twice the height plus the width of your cake.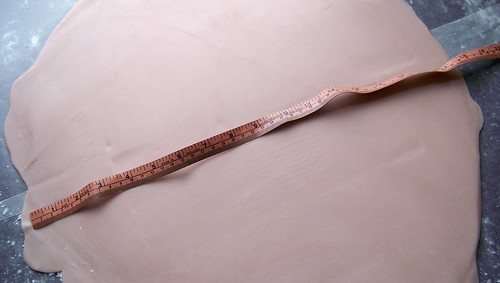
Gently lift the flattened fondant over your rolling pin and use it as a lever to help you lay the fondant over your chilled cake. I found that approach didn’t work for me, and I had to try several different methods before I found one that worked. I rolled it out over waxed paper and used the waxed paper to do the transfer. The only problem is that my waxed paper was too narrow and I had to double it, which resulted in it leaving a line on the fondant. I will have to find some industrial-width waxed paper for next time.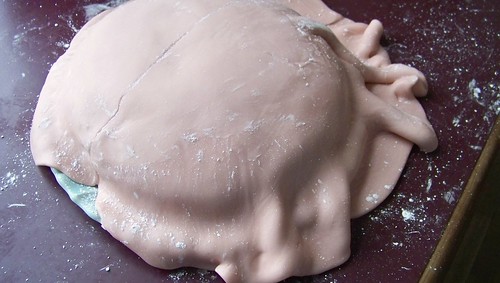
Using your hands, gently lift and press the fondant into the sides of your cake after smoothing the top. Don’t pull on the fondant or it will crack — lift instead and flatten out the wrinkles with the palm of your hand. It may seem counter-intuitive, but you’ll see what I mean when you do it. Notice the strong colour resemblance between my hand hand the fondant? Yes, I am pale and pasty and spring can’t come soon enough.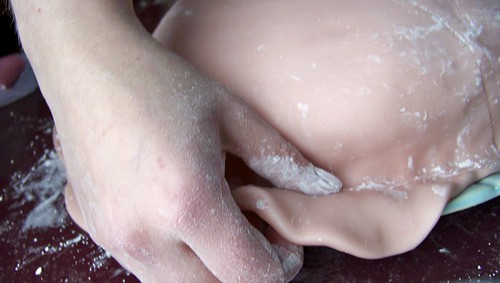
Trim off excess fondant at the base of the cake. Otherwise you will have a cake that resembles a demented jellyfish. Or some bizarre prehistoric alien life form that may slowly yet inexorably expand, engulfing your family, your house, and then the entire planet. THE THING THAT TIME FORGOT.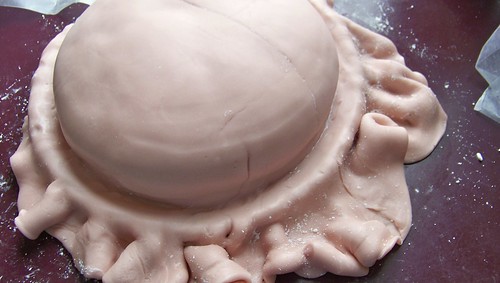
So yeah, you want to trim that sucker.
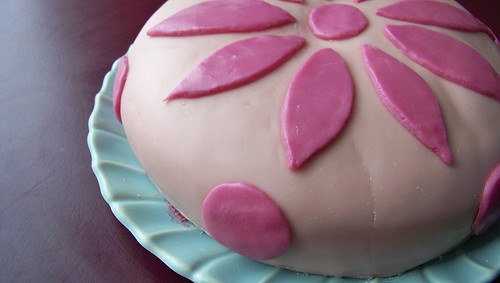
There are such things as fondant smoothers that you can use to even out the fondant surface. I didn’t have one, so I used a flat-sided plastic cup. And that excess icing sugar or corn starch on the surface? Don’t worry about it. It will either come off by itself in the course of you smoothing and shaping, or you can wipe it off with a wet finger. It’s far from perfect, but quite impressive for a first attempt, if I do say so myself.
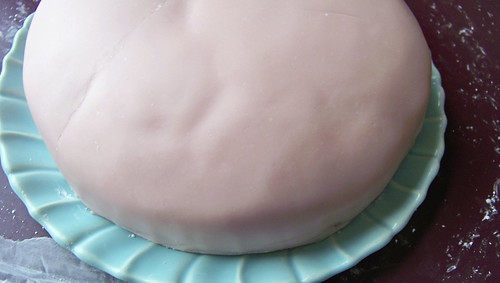
Here I have rolled out the darker fondant onto a sheet of waxed paper and traced on it a design. 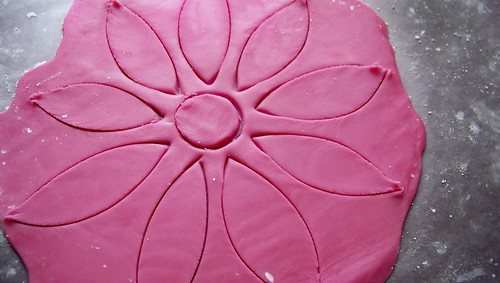
Cut out the design with a sharp knife and pull off the excess, leaving the design on the waxed paper.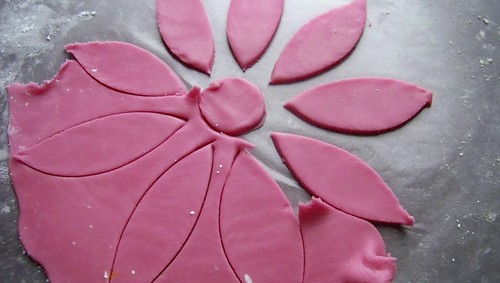
Lightly brush the top of the fondant pieces with water.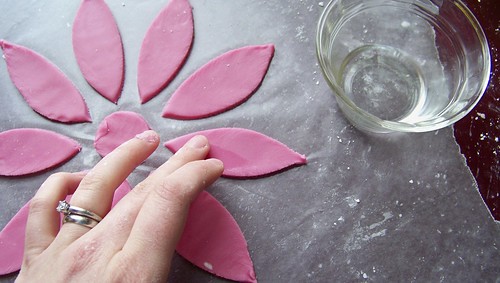
Carefully roll the design on the paper face down on top of the cake and press down lightly.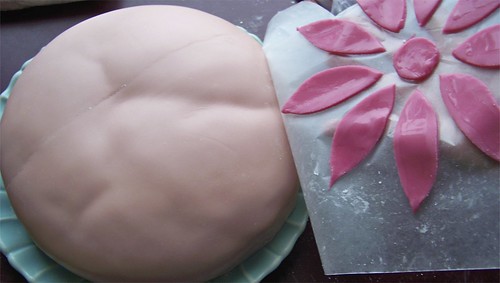
I took a deep breath after I’d done this.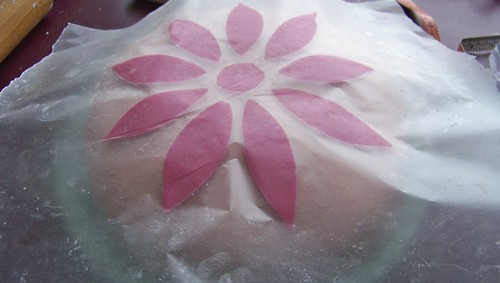
Even more carefully, peel off the waxed paper, leaving your design on the cake. Smooth the sharp edges with your fingers.
You can also freehand other elements out of the leftover fondant, as you see I did here. You can also store the scraps in the fridge in an airtight container, just in case you want them for something else later.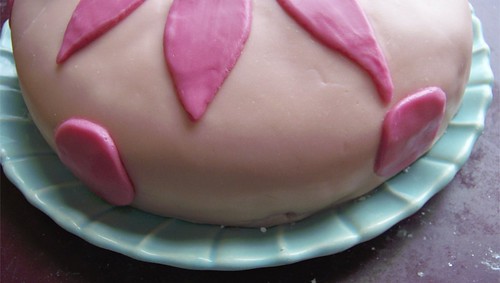
Chill the cake to harden the fondant before serving. Then eat as much of it as you can handle.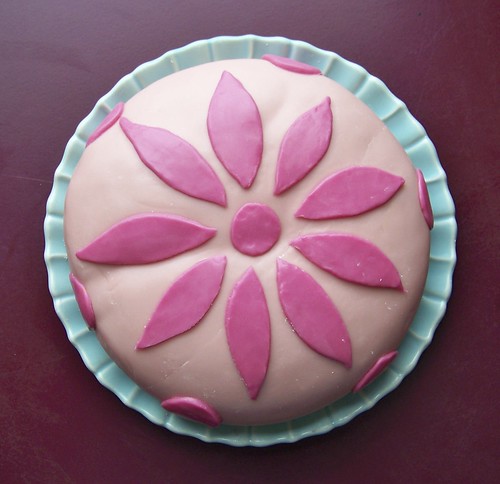
I would definitely recommend storing this cake in the refrigerator and eating it within a few days of making it.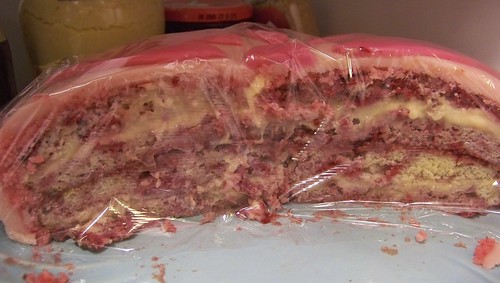

Oh my GOODNESS, that looks amazing! How long did it take you to make all of this?
LikeLike
Thanks — definitely a while, maybe three hours?
LikeLike
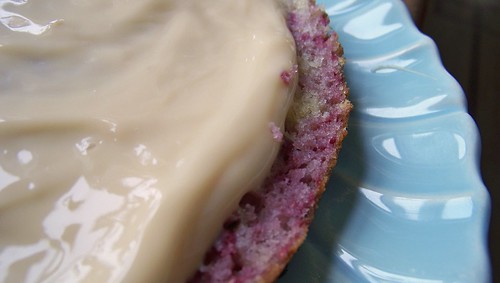
Wow, that’s just pink buttery goodness.
LikeLike
That is so beautiful and looks incredibly tasty too! I love the idea of a trifle cake.
LikeLike
I’ve always been afraid of fondant but your post really took the “fear factor” out of it. Excellent job and thanks for sharing
LikeLike
Thanks, I was afraid myself, and I definitely need more practice, but it’s not that difficult at all!
LikeLike
This looks absolutely divine! Nice job 🙂
LikeLike
MMMMMMMMMMMMMMMM 🙂
dru
LikeLike
i’ve never used fondant before… you did a wonderful job!
yours looks PERFECT! and delicious 🙂
LikeLike
This is amazing. Your recipe for fondant is much more appealing than those tiny jars you can buy in the hobby store. those scare me. Thanks for all your wonderful photos.
LikeLike
Thanks. I agree – the ones in the stores are terrifying because you don’t really know what’s in them. And this was so easy!
LikeLike
WOW! Love! We’re going to have to make this for our US cuisine tour!
LikeLike
Wow that a really cute cake!
LikeLike
I have a question. When you eat the cake…do you eat the fondant too? Or do you eat around it? Is it sickly sweet? I’ve always been kind of scared of it.
LikeLike
Hi Anna,
No, you get to eat the fondant. It just tastes like plain icing (because that’s essentially what it is, butter and icing sugar). It is very sweet but not overly so, and you can combat it with the flavours of your cake. I believe you can also flavour the fondant as well, but I haven’t gotten that far yet.
a
LikeLike
oh thanks for the quick reply. ok I will definitely try something with fondant now. I was always terrified of what appeared to be an impending sweet overload!
LikeLike
This looks amazing! Plenty of work but im sure it`s worth it! 🙂
LikeLike
Spectacular! My birthday is in two weeks….guess what I want for my cake?! I’ll have to make it myself (and that’s okay). Thanks for the great recipes and pictures.
LikeLike
Haha, awesome. Happy birthday in advance. I know you can do it!
LikeLike
Wow… the patience that must go into that. it is a lovely cake 🙂
LikeLike
Wow, just wow. Your photography in this post is simply amazing, keep up the good work !
LikeLike
I LOVE that you showed how to make fondant! I’m definitely going to test this out the next time I make a cake 🙂
LikeLike
Yeah, it was definitely much easier than I thought it would be!
LikeLike